This article was co-authored by wikiHow staff writer, Travis Boylls. Travis Boylls is a Technology Writer and Editor for wikiHow. Travis has experience writing technology-related articles, providing software customer service, and in graphic design. He specializes in Windows, macOS, Android, iOS, and Linux platforms. He studied graphic design at Pikes Peak Community College.
The wikiHow Tech Team also followed the article's instructions and verified that they work.
This article has been viewed 67,671 times.
Learn more...
Installing a new SSD (solid state drive) in your laptop is easy, but you'll need to take some extra steps if you want to set the new drive as your primary hard drive. This wikiHow article will show you how to choose the right SSD for your laptop, mount and install it, and clone your current hard drive to install your files on the SSD.
Steps
Getting Started
-
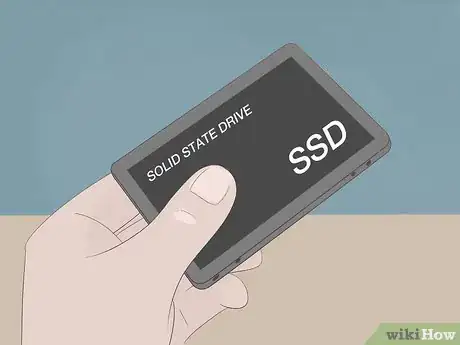
1Purchase the right SSD. SDD's can come in different sizes and thicknesses. You also need to make sure the drive has the right interface for your laptop (SATA, or IDE). A 2.5-inch, 7 mm thick SATA drive is what is most commonly used in newer laptops. However, thinner laptops may use a 1.8-inch drive (if they can be upgraded at all). Some laptops use a 9.5 mm drive. Consult your laptop's user manual, or the manufacturer's website to make sure you purchase the right SSD for your laptop.
-
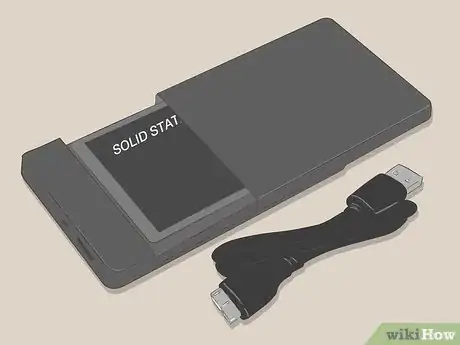
2Purchase an external enclosure or adapter. This will allow you connect your SSD to your computer via USB during the cloning process. Then after the drive is installed, you can use an external enclosure to turn your old hard drive into an external hard drive.Advertisement
-
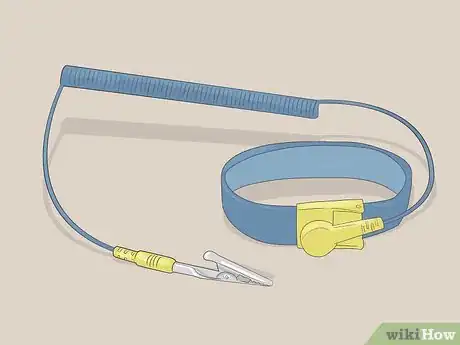
3Purchase EDS wrist straps {optional}. EDS wrist straps prevent static discharges that can cause permanent damage to your hard drive and other computer parts. If you are not using EDS wrist straps, make sure to ground yourself by touching something metal before you begin working with the hard drives, or the inside of your laptop.
-
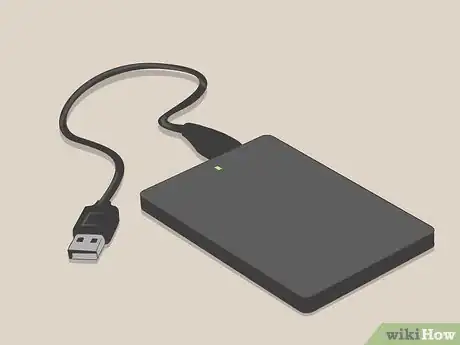
4Purchase an external hard drive (optional). If you have a lot of large folders, it may be useful to purchase an additional external hard drive to backup all your files.
Preparing Your Current Hard Drive
-
1Backup your files and free up space. The SSD you are installing is most likely smaller than the hard drive you currently have installed. If your SSD doesn't have enough space to transfer all your files, backup and delete as much as needed so that you can transfer all the contents of your current drive to the SSD drive. You can backup your files using an external drive, an optical disk, a USB drive, or cloud-based storage like Dropbox, or Google Drive.
-
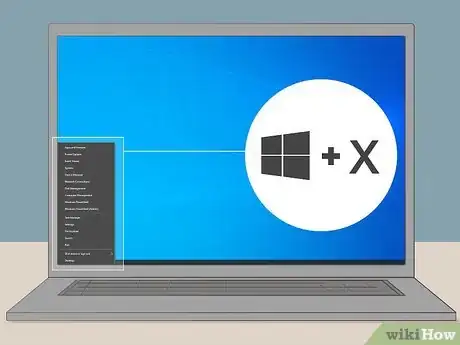
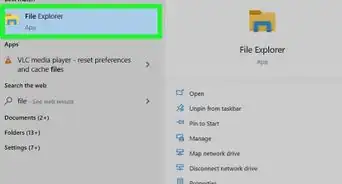
2Press ⊞ Win+X. This will display a list of Windows options you can click.
-
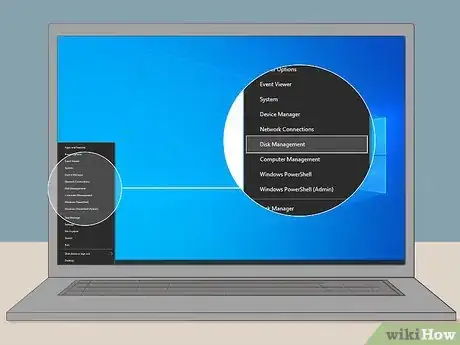
3Click Disk Management. It's about halfway down the list.
-
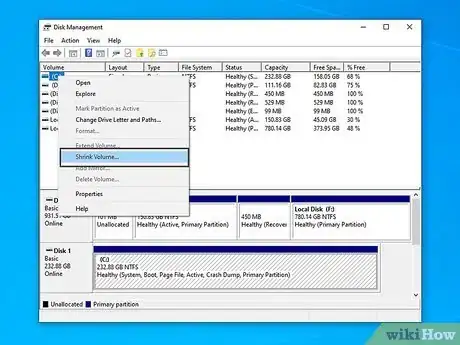
4Right-click your current hard drive. This is the hard drive that has Windows and all your files installed on it. This is usually the "C:" drive.
-
5Select Shrink Volume. It will take a moment to read the drive and see how much space you can shrink the volume by.
-
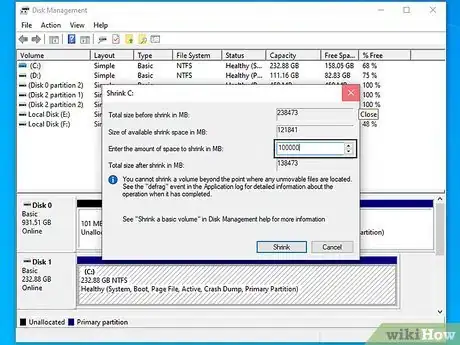
6Type the number of megabytes (MB) you want to shrink. Make sure the total size after the shrink is smaller than the SSD drive. If you have a 250 GB SSD, the total size after the shrink will need to be smaller than 250,000 MB (500,000 for a 500 GB SSD).
-
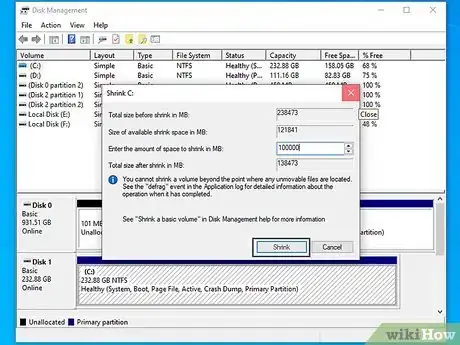
7Click Shrink. During the shrink process, your current drive so that it's smaller, and leave the rest of the space as unallocated.
Getting the Disk Cloning Software
-
1Go to https://www.easeus.com/backup-software/tb-free.html in a web browser. This website allows you to download a free version of EaseUS ToDo Backup, which will allow you to clone your current disk drive to your SSD. If you purchased a data transfer kit that comes with its own cloning software, go ahead and use that.
-
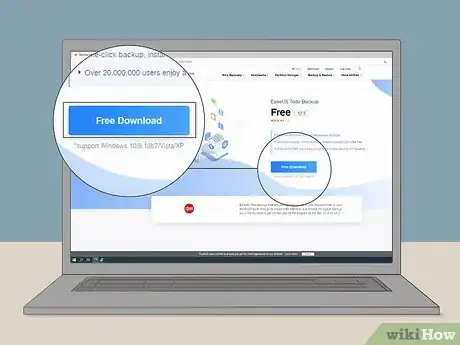
2Click Free Download. It's the large blue button in the center of the page.
-
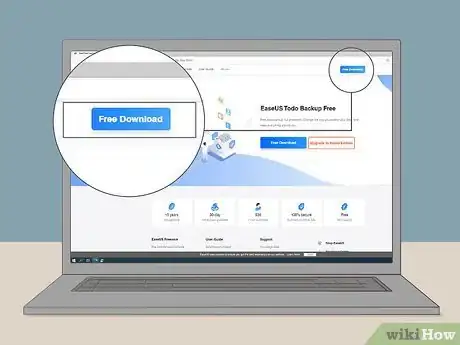
3Click Download Now. It's the large blue button at the top of the page.
-
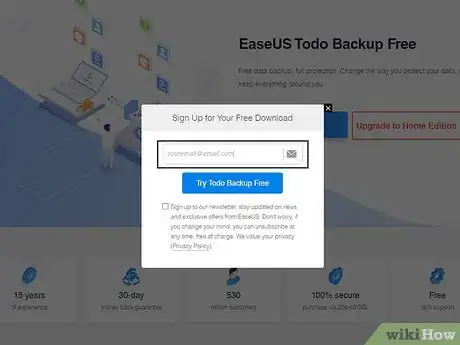
4Type your email address in the text field and click Submit. Your email address is required in order to download the software.
-
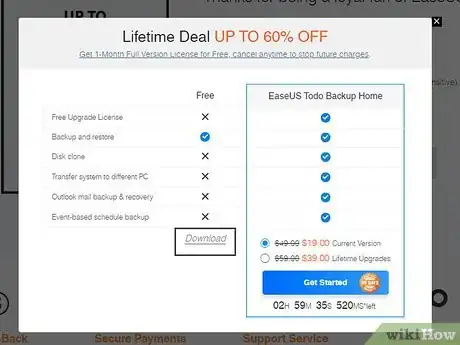
5Click Download EaseUS ToDo Backup Free. It's the link at the top of the window.
-
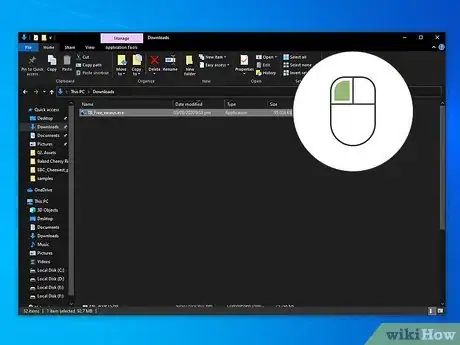
6Navigate to and click "tb_free.exe". By default, all downloaded files can be found in your "Download" folder.
-
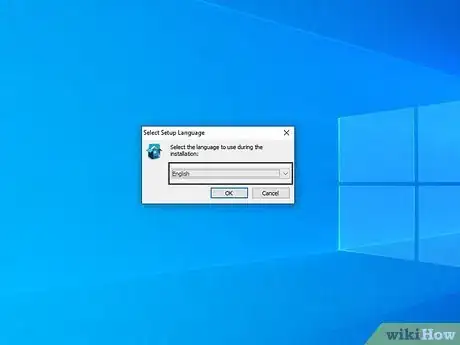
7Select your language and click Ok. Use the drop-down menu to select a language. "English" will be the default language.
-
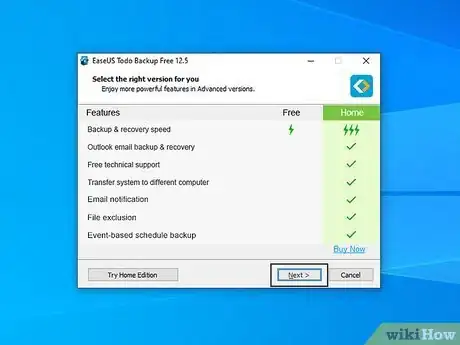
8Click Next. It's in the lower-right corner.
-
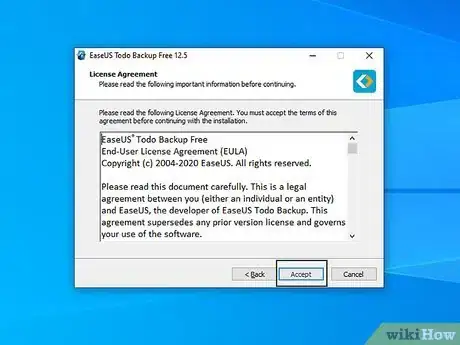
9Click Accept. This will indicate that you agree to the terms of conditions.
-
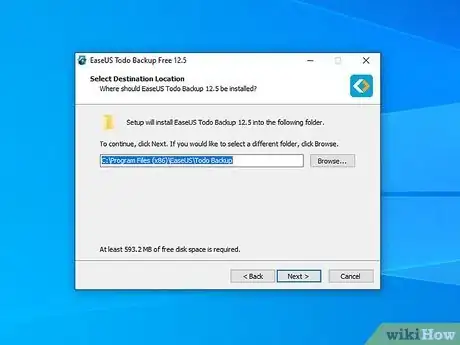
10Select an install location and click Next. Click the "browse" button to select a different install location, if you want the install location to be different from the default.
-
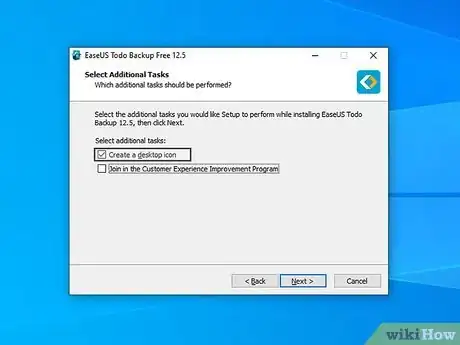
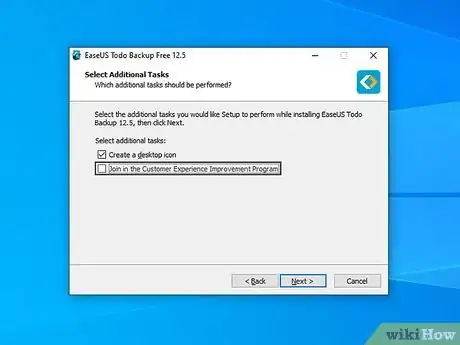
11Click Next. Make sure the checkbox next to "Create a desktop icon" is checked so that you can easily find and launch the program.
-
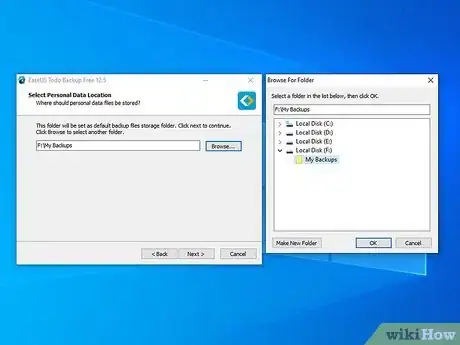
12Select a backup folder location and click Next. You can use your current drive, or select an external hard drive.
-
13Uncheck any offers and click Next. You may be presented with a couple of offers before the software installs. It is recommended that you uncheck those offers and click "Next".
-
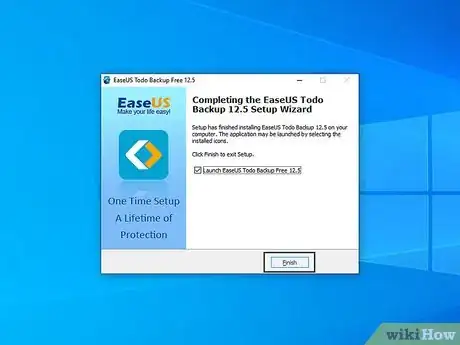
14Click Finish. One the install is complete, click "Finish".
Cloning Your Hard Drive
-
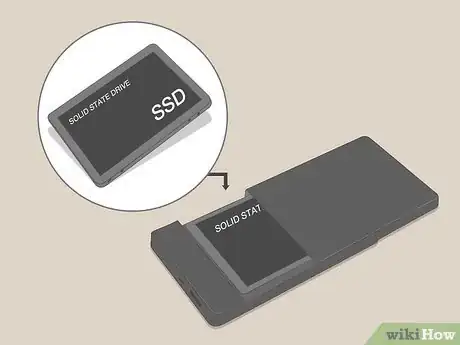
1Place the SSD drive in an external enclosure. The external enclosure is a device that you place your SSD in. Make sure you are wearing your EDS straps before handling your SSD. If you don't have EDS straps, make sure to ground yourself by touching something metal before handling the SSD.
-
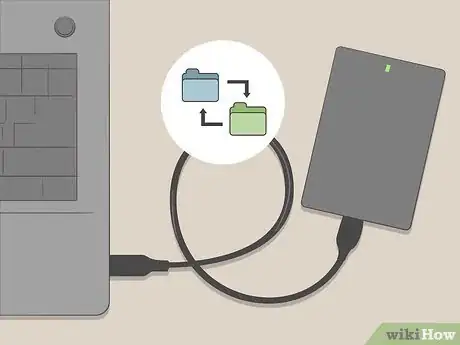
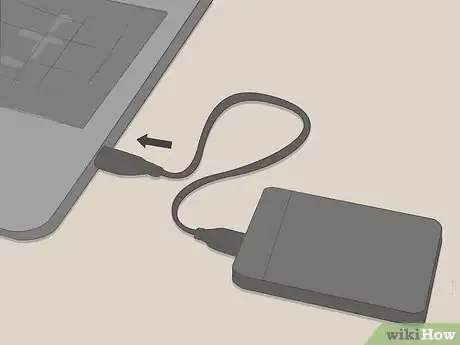
2Connect the external enclosure to the laptop. Use a USB cord to connect the external enclosure with the SSD to your laptop. Windows should automatically detect your external SSD.
- If Windows doesn't detect the SSD drive, press Win+X, then click "Disk Management". Right-click the SSD drive and click "Initialize disk".
-
3Close all applications. Before you launch your disk cloning software, close all windows and applications.
-
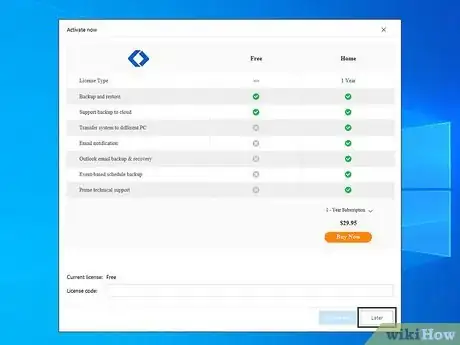
4Click to open your disk cloning software. If you downloaded EaseUS ToDo Backup, go ahead and click it to launch it. You may be asked to enter a license key the first time you launch it. If you are asked to enter a license key, just click "Later".
-
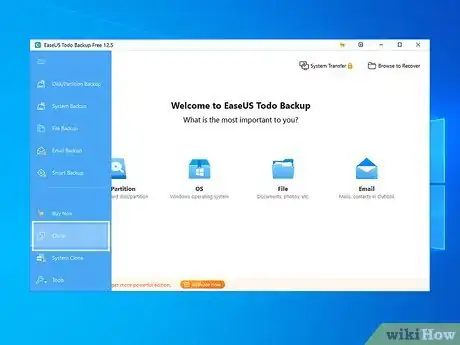
5Click Clone. It's at the top of the program, below the icon with two squares stacked on top of each other.
-
6Select a source drive and click Next. Your source drive is the current drive you have Windows and all your files installed on.
-
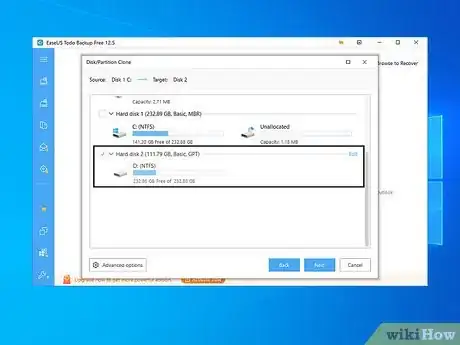
7Select the SSD as the target drive. The target drive is the drive that you want to clone your current hard drive too.
-
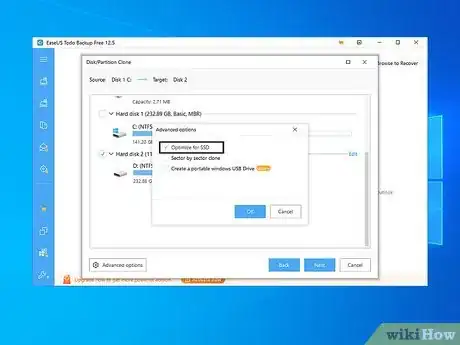
8Click Advanced options. It's in the lower-left corner of the software window.
-
9
-
10Click Proceed. It's the button with the check mark in the lower-right corner. This will start the cloning process. Allow a couple of hours for the process to complete.
Installing the SSD
-
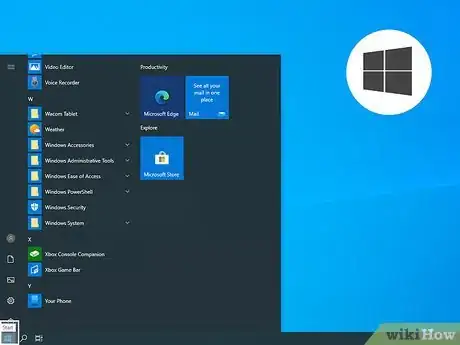
1
-
2
-
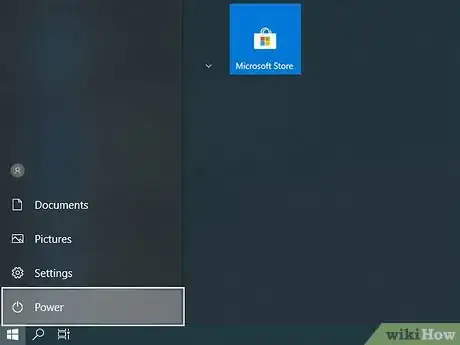
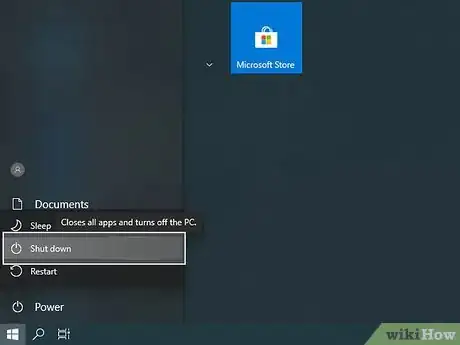
3Click Shut Down. It's in the power icon.
-
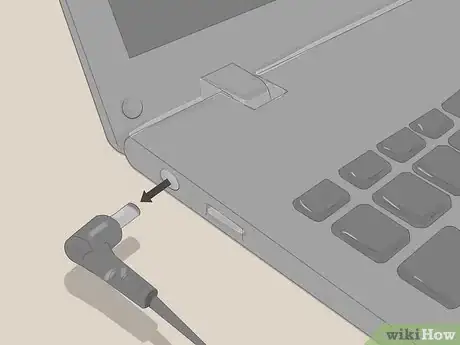
4Disconnect all cords connected to your laptop. Once your laptop is shut down, disconnect the power cord and all devices connected to the USB ports (including the SSD).
-
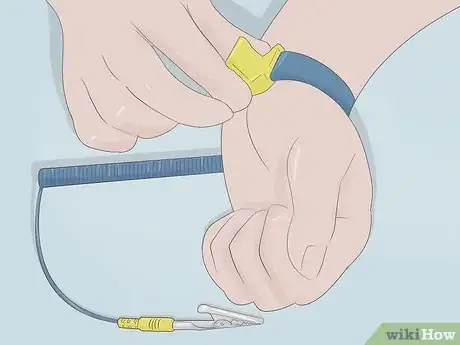
5Put on EDS wrist straps. If you do not have EDS wrist straps, touch something metal before handling the SSD or the insides of your laptop.
-
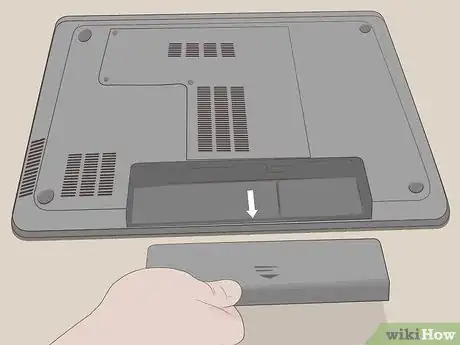
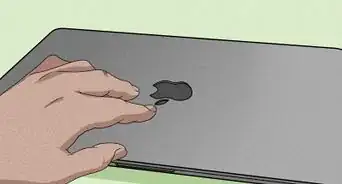
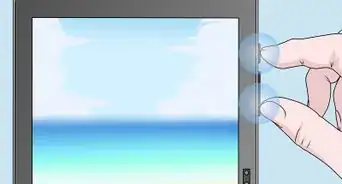
6Remove the battery. It's a good idea to remove the battery before proceeding. Press and hold the power button for 5 seconds to drain any charge that is still lingering in your laptop's circuits.
-
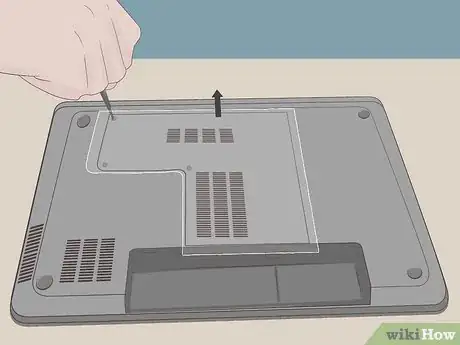
7Remove access panel. Use a small Philips screwdriver to remove the access panel. Normally, the access panel is on the bottom of your laptop. If you can't find it, consult the user's manual for your laptop to find the exact location.
-
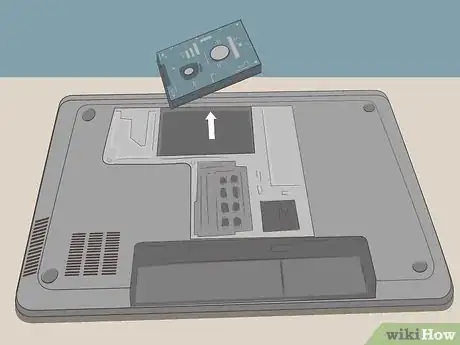
8Remove old hard drive. Lift the hard drive about 45 degrees and pull it out. If you're not sure where the hard drive is located, consult the user's manual for your laptop.
-
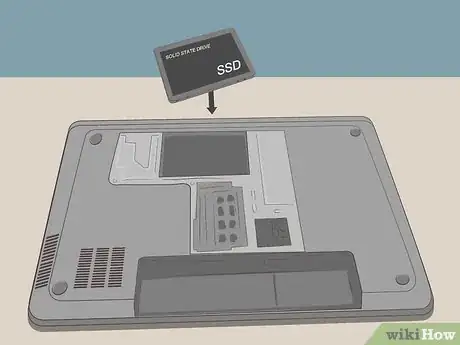
9Place SSD in the hard drive slot. Place the SSD in the same space you removed the old hard drive from.
-
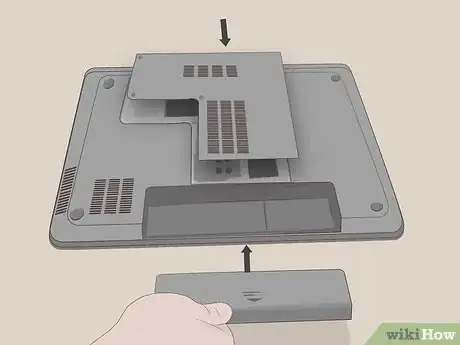
10Put the battery and access panel back on. Put the access panel back on and screw it down, and place the battery back in its slot.
-
11Boot up your laptop. Re-connect the power cord and press the power button. Your laptop should boot up the same as usual, but much faster.
