X
wikiHow is a “wiki,” similar to Wikipedia, which means that many of our articles are co-written by multiple authors. To create this article, volunteer authors worked to edit and improve it over time.
This article has been viewed 60,011 times.
Learn more...
Adding mud flaps to your car, truck, SUV or CUV can be easy with no drill mud flaps. But what does "no drill" really mean? It means installation without having to drill new holes into your vehicle. There are a few mud flap brands now offering mud flaps with easy installation. This means you don't have to drill into the steel of your vehicle to attach your new auto accessory.
Steps
-
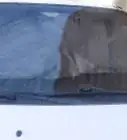
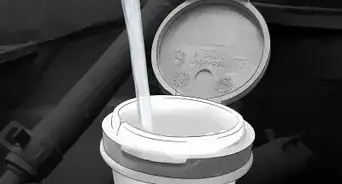
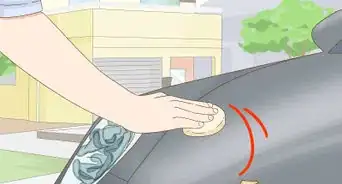
1Make sure the wheel well and installation area where you plan to attach your new mud flaps is clean and clear of dirt, grime and debris.
-
2Turn your front wheels all the way to the left to maximize the clearance in-between the tire in the wheel well.Advertisement
-
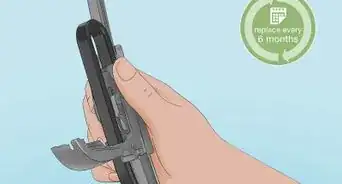
3Next turn your mud flaps over to see where they are marked on the back. They should be marked L or LH for the left side and R or RH for the right hand side.
-
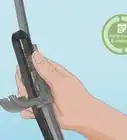
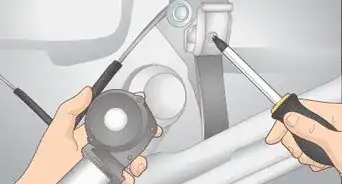
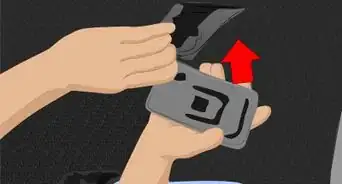
4The mounting holes used will be the ones that are currently factory drilled on your vehicle located in your wheel well. Remove the screws, but hold onto them.
-
5With the screw removed, move your mud flap into place. You’ll notice it fits perfectly to the contours of your vehicle.
-
6Reinstall the screws into the holes you removed them from, attaching the mud flaps to the wheel well. Don’t fully tighten these yet.
-
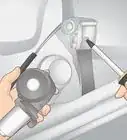
7Take any additional screws and washers provided with the mud flap and attach them to the mud flap and screw them into any remaining holes left open.
-
8When attaching these additional screws, don’t forget to insert your hex nuts on in-between the mud flap and the wheel well if they were provided with your kit.
-
9Before tightening your mud flap, adjust your mud flap to the angle you want it to be positioned.
-
10Tighten the screws.
-
11If your mud flap comes with additional holes and there is no available spot on your truck for a screw to enter, you will need to drill these holes out if you wish for extra stability.
-
12Follow steps 6-10 to complete the additional holes.
-
13You have completed your first mud flap install. Repeat steps 3-11 for each additional mud flap installation.


Advertisement
Community Q&A
-
QuestionHow do I put mud flaps in new holes after I removed rust?
 Georgie1004Community AnswerJust drill new holes into the flaps that will line up with the holes on your vehicle.
 -
QuestionCan I install mud flaps on my 2017 Toyota Tacoma?
 Community AnswerYes. You can install mudflaps on any vehicle you prefer.
Advertisement
Things You'll Need
- Screwdriver
- Mud flap kit
- Drill (if you decide to add additional holes)


About This Article
Advertisement