wikiHow is a “wiki,” similar to Wikipedia, which means that many of our articles are co-written by multiple authors. To create this article, 20 people, some anonymous, worked to edit and improve it over time.
This article has been viewed 99,914 times.
Learn more...
According to a legend,[1] the original Christmas tree was used as a symbol of religious devotion by Christian missionaries who used the evergreen branches to explain a basic religious tenet of the Trinity – God the Father, Son and Holy Spirit.[2] Originally, they hung trees upside down in houses to make sure anyone who saw a tree in the house knew it was not just a floral decoration. Nowadays, Christmas trees aremounted on a base[3] right side up. However, upside down Christmas tree decorating ideas look innovative and interesting, adding a contemporary (or unique vintage) charm to your holiday decor. Upside down Christmas trees are definitely catching on, especially in urban areas.[4] Many city dwellers prefer to hang a Christmas tree upside down instead of rearranging the furniture in small rooms during the holidays.This could be a great project to make for someone who can't have a Christmas tree because of pets or small children, or for the couple that's just starting out. It may seem impossible, but with a few easy steps, you too can have your very own upside down Christmas tree!
Steps
-
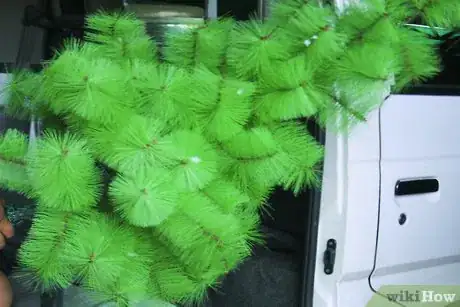
1Buy a lightweight, artificial tree. Though it is possible to use a real tree, it will be very heavy and much harder to hang, and it won't last long as you can't water it. Select a tree of the appropriate height and fullness to fill your space.[5] Look for one that is lightweight and that has fairly full, evenly spaced branches and a stand that attaches securely to the base of the tree. A wire tree stand or one with pre-drilled holes in the base is a bonus that will make the tree easier to hang.
-
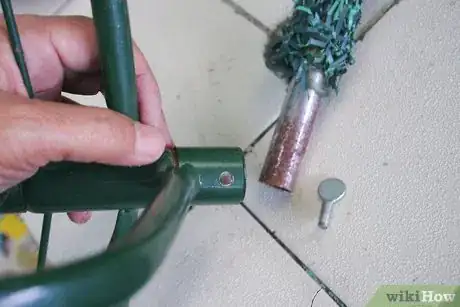
2Discard the stand that comes with your tree. Check to see whether the trunk has parts that might come loose when you hang the tree upside down; if it does, toss those too. It is necessary to have a solid 'trunk', nothing more.Advertisement
-
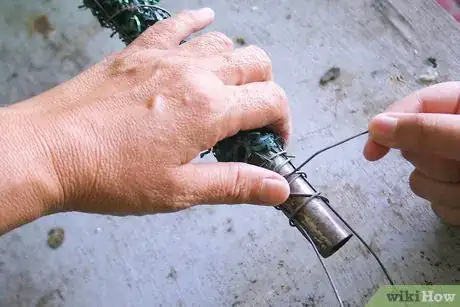
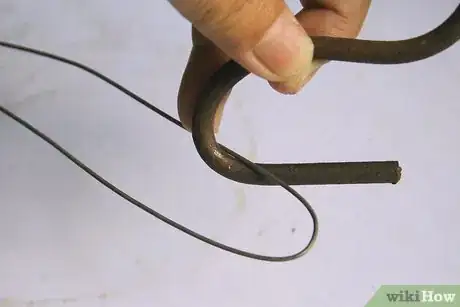
3Wrap wire or string around the trunk to create a loop by which to hook the tree from your ceiling. If your tree has a little loop on the bottom, great. Hook the string through that. If not, take the lowest 'branches' and tie the string around there, so it's up by the branches and doesn't slip down. Next, bring the string around and tie it into a loop.
-
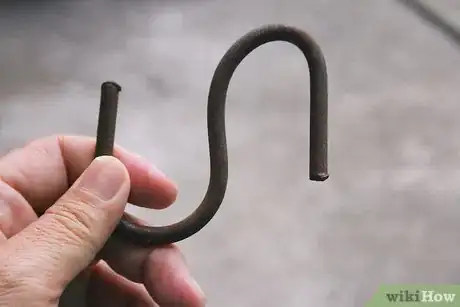
4Drill or stick a hook to your ceiling. This will be what you loop the string onto. If you choose to get a adhesive hook, make sure to get the heavy duty type (20+ pounds). However, this method is not recommended if you have bumpy, stucco-like ceilings, as it will be hard for the hook to adhere. If you drill, realize you may have to consult with your landlord (if you rent).
- When you drill, drill a pilot hole in the ceiling at the joist mark and screw a sturdy eye bolt into the joist. Clip a quick link to the eye bolt. Screw a hook or eye hook into the corner nearest the tree at the ceiling to drape a light cord to later.
-
5Wrap lights, garland, ribbon or any other ribbon like object you wish to use for decorating around your tree.
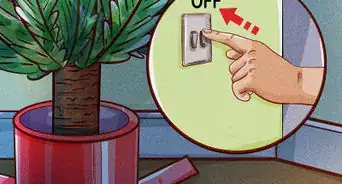
- If youuse lights, keep in mind that you need an outlet, so you may want to invest in an extension cord.
-
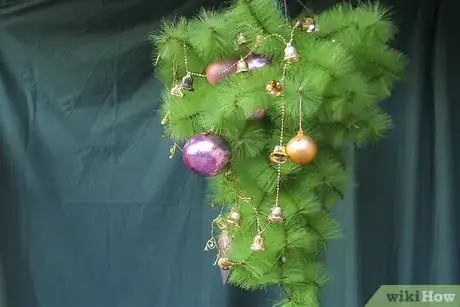
6Loop the string onto the hook. With the help of another person, invert the Christmas tree and place the loop in the hook, securing the tree. Cautiously let go, and if all seems okay, proceed to the next step.
-
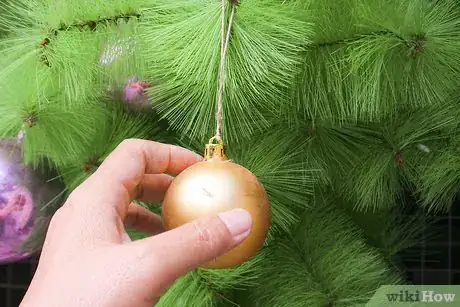
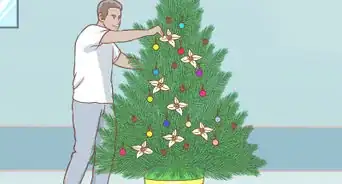
7Decorate the tree. Tighten the ornament hangers around each branch to hold them in place. Run an extension cord from the tree base—at the ceiling—to a hook in the nearest corner and down to a baseboard power outlet. Decorating the Christmas tree after successfully hanging it is quite similar to decorating an upright tree. However, weight concerns may play a role here as well. While many modern ornaments consist of aluminum or other lightweight metals, heavier vintage ornaments should be evenly spaced out to distribute the added weight properly.
-
8Stick a tree skirt to the ceiling. Tie the skirt around the 'trunk' then secure the edges to the ceiling. This step is completely optional.
Community Q&A
-
QuestionWhy would I want my Christmas tree upside-down on my ceiling?
 Community AnswerIt's a modern, "different" option. Also, some stores use this option to increase floor space. It's no different from choosing to go tree-free, use a live or plastic tree, it's just another choice. It's also a great talking piece.
 -
QuestionWhy would I throw the stand away before decorating the tree?
 Community AnswerThe stand is not needed. However, you can keep it in the attic/basement for future use if wished.
 -
QuestionWhat is the point of this?
 Community AnswerIt is f fun, unique way to display a Christmas tree! Just a way to spice up a traditional tree. It's for people who love to think outside the box and have some fun with the Christmas decorating.
Warnings
- Make sure that the hook is supportive enough to hold the Christmas tree. If not, it may fall any time on anyone or bring your ceiling down.⧼thumbs_response⧽
- Keep your youngsters and pets away from the tree, as there is a possibility that they could pull on the tree and make it fall on them or damage the ceiling.⧼thumbs_response⧽
- Use adhesive for holding the Christmas tree that is not only strong, but also does not damage the walls.⧼thumbs_response⧽
Things You'll Need
- Artificial tree
- Hook
- Adhesive
- Wire or string
- Decorations such as tinsel, ribbon, lights, etc.
- Other hooks for tidying cords (optional)
- Tree skirt (optional)
References
- ↑ http://www.whychristmas.com/customs/trees.shtml
- ↑ http://www.christmascarnivals.com/christmas-history/history-upside-down-christmas-tree.html
- ↑ https://en.wikipedia.org/wiki/Christmas_tree
- ↑ http://holidays.thefuntimesguide.com/2005/11/christmastree.php
- ↑ http://www.realchristmastrees.org/dnn/AllAboutTrees/SelectionTips.aspx
