This article was co-authored by Ed Beery. Ed Beery is an Automotive Specialist and the Owner of InTechgrity Automotive Excellence based in Denver, Colorado. With more than eight years of experience, he specializes in providing maintenance and repair services for both individuals and companies. Ed and the InTechgrity Automotive Excellence Team are approved by the American Automobile Association (AAA) for repairs and are Automotive Service Excellence (ASE) certified.
There are 19 references cited in this article, which can be found at the bottom of the page.
This article has been viewed 68,484 times.
Leaking fuel puddling on the ground is a telltale sign of a gas leak. Although it may seem alarming, most tanks can be repaired with minimal effort. Before you are able to make repairs, access the tank, find the source of the leak, and then clean the area around it. For a simple but efficient fix, cover the leak with epoxy putty. If you’re looking for something stronger and more permanent, you could weld the leak shut. Welding requires you to drain the tank and clear it completely of fumes. No matter what repair you use, your tank will be back in working order once it has a new, airtight seal on it.
Steps
Draining the Tank and Locating Leaks
-
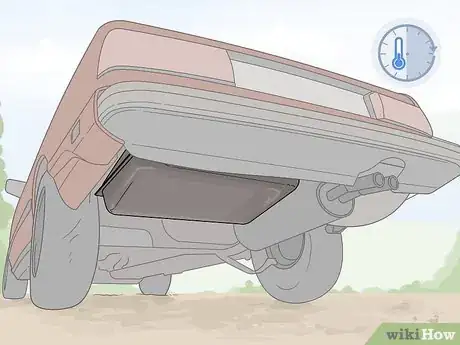
1Let the tank cool down for 30 minutes if it has been used recently. The tank may still be hot, so it’s a burn risk. Shut off the engine to allow the tank to begin cooling. Before touching the tank, put your hand close to it. If you feel heat coming off of it, give it more time to cool.[1]
- If you need to handle the tank before it finishes cooling, wear heat-resistant gloves. However, avoid attempting to drain hot fuel out of the tank.
-
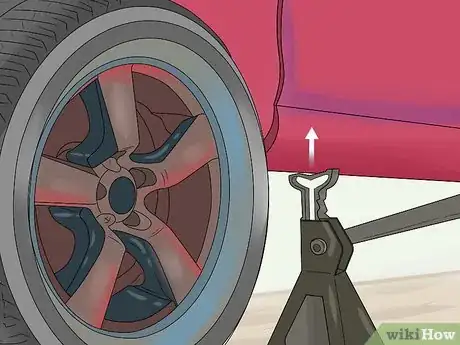
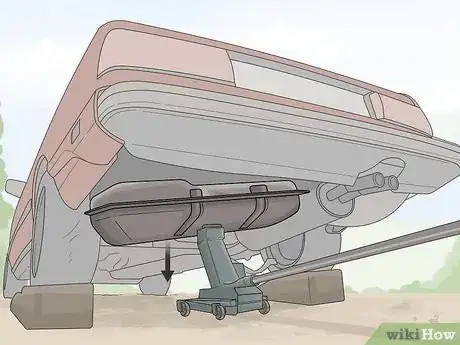
2Use a jack if you need to access the gas tank on a vehicle. A car’s fuel tank is accessible from below, so you won’t be able to reach it without using a jack. Place the jack underneath a jack point along the car’s frame, lift it up, then position jack stands around it to support the car’s weight. Lift up the rear end of the car on both sides. Then, locate the tank, which will be underneath the gas cap you open when refueling your car.[2]
- Park on solid, flat ground before attempting to lift the car. Make sure it’s stable on the jack stands before you crawl underneath it. Do not get below a vehicle if you are unsure that it is safely supported.
- Unless the gas tank has already been removed from the vehicle, you can’t repair it without getting underneath it. Most leaks are visible from the underside and can easily be patched up.
- If you’re fixing an accessible tank, you won’t have to use jacks. For example, jacks aren’t necessary for motorcycles or lawnmowers.
- Many vehicles’ fuel tanks can be accessed from inside the vehicle. Check your vehicle’s set up for how to access the top of the fuel tank.
Advertisement -
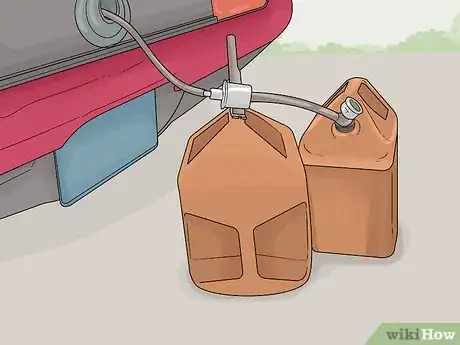
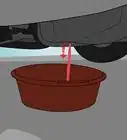
3Drain the tank to store the gas in a gas-safe container. Place a container underneath the tank’s opening. Make sure you’re using a heat-resistant container, such as a gas canister. You could place a plastic funnel on the canister to direct the gas as you pour it from the tank. When you’re ready, open the valve on the tank’s underside or tip the tank over to begin removing the gas.[3]
- For example, if you’re trying to drain a car’s fuel tank, the drainage valve is on the underside. Jack up the car, then pull the valve out to drain the fuel.
-
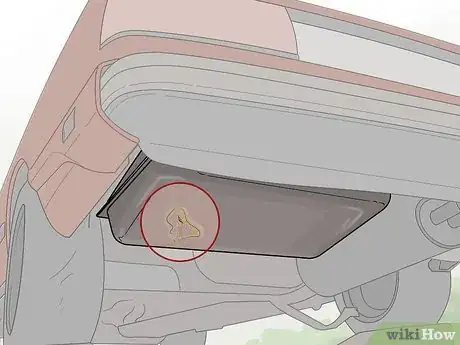
4Mark any spots that appear to be leaking. Leaks can be hard to spot, so take time to figure out where the gas is coming from. Damaged portions of a fuel tank often accumulate lots of grime or have noticeable fuel stains around them. Look for spots that are wet with fresh gas. If you’re having a hard time finding the spots, remove the tank first, then pour water through it. Watch for spots where the water seeps through the tank.[4]
- Note the size of the leaks as well. Epoxy is fine for cracks and small holes. If the tank has holes more than 1 to 2 in (2.5 to 5.1 cm) in diameter, try welding instead.
-
5Remove the tank if you need to in order to repair it. Dropping the tank is often necessary for welding repairs or if the leak is hard to reach. To detach a vehicle’s fuel tank, use a ratchet wrench to pull the fuel hoses off of it. Then, unscrew the bolts on the straps holding the tank to the underside of the car. Then, lower the tank gently, squeezing the wire clips on the electrical wires to detach them.[5]
- Removing a gas tank is often difficult work. If you’re dealing with a leaking tank on a vehicle or another device, consider using epoxy putty for the repair. It can often be applied without removing the tank.
- For other devices, such as lawnmowers, refer to the owner’s manual for specific instructions on how to detach the tank. They tend to have clips and bolts that are easy to remove with a socket wrench.
Cleaning out the Tank
-
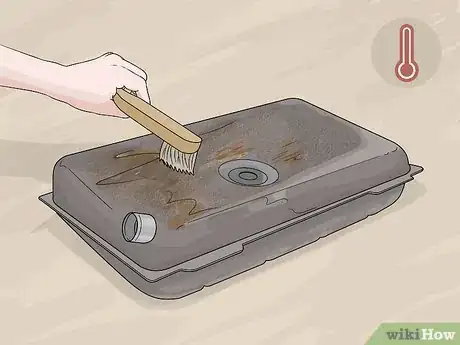
1Wash out the tank with water if you’re planning on welding it. Welding is a way to fix any hole, but it is especially useful for large ones over 1 in (2.5 cm) diameter. However, a welding torch could ignite gas fumes if you don’t spend extra time cleaning out the tank. Flush it out with hot water. If you are able to, reach into the tank and scrub off debris with a soft-bristled brush or rag. Afterward, dump out the water, then store the tank in a sunny area with good air circulation until it dries.[6]
- Note any rust or stubborn stains on the tank, especially if they are near the leak. You may need to flush out the tank several times in order to eliminate all debris.
- To ensure the tank doesn’t ignite, make sure it no longer smells like gas. If it still smells, wash it again. You could also use a gas detector to check for lingering gas fumes.
-
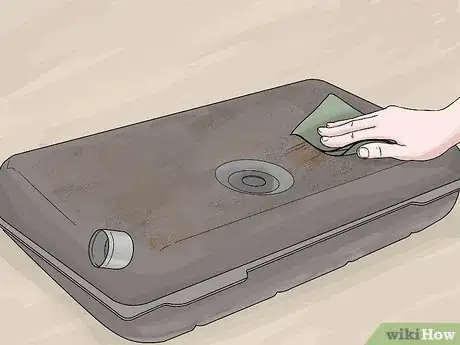
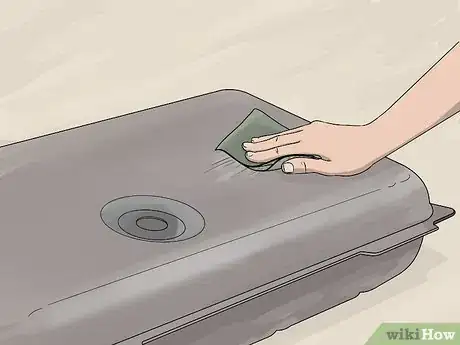
2Sand the area around the leak with 120-grit sandpaper. Gently rough up an area 2 to 3 in (5.1 to 7.6 cm) around the actual leak. No matter how you’re planning on fixing the tank, the area has to be clean so the repair material adheres properly. Scrub it with firm but gentle pressure, eliminating any rust or paint there.[7]
- If you’re fixing a metal tank, scrub it until you see bare metal.
- You could switch to rougher sandpaper, such as an 80-grit piece, if you’re having trouble removing tough stains.
-
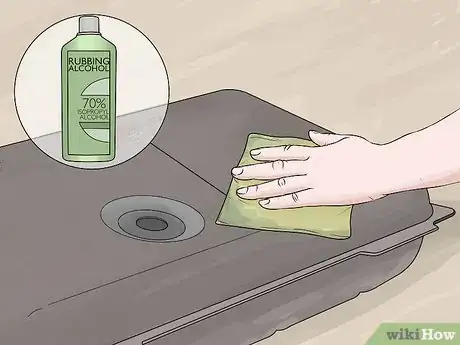
3Scrub the tank clean with rubbing alcohol or another degreaser. Dampen a cloth towel in rubbing alcohol, then use it to remove any debris on the tank. It should take care of any debris, including rust and dust from sanding. Make sure the area around the leak is completely clean. Anything left behind could prevent the leak from sealing correctly.[8]
- If the tank doesn’t look clean at first, apply more rubbing alcohol or degreaser. You may need to scrub it a few times to prepare it for the repair.
- If you don’t have rubbing alcohol, you could get a commercial degreaser like WD-40. They are available online, and most auto part stores and hardware stores also carry them.
Covering Small Leaks with Epoxy Putty
-
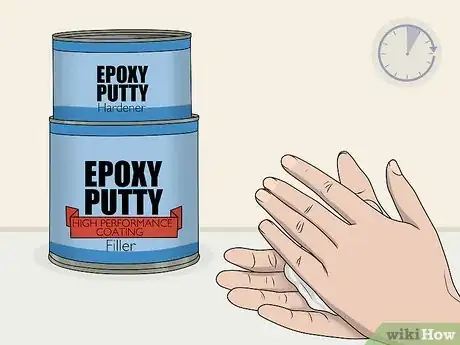
1Knead the putty by hand for 4 to 5 minutes to activate it. Most putty kits come with a pair of containers marked A and B. Take an equal amount of material from each container and combine them. You can place the putty on a clean piece of paper and use a ruler or putty knife to cut it. Then, roll the ball of putty in your hands until it reaches a consistent color.[9]
- Make sure you’re using a type of putty that matches the gas tank you want to repair. Regular epoxy putties are for plastic tanks, and there are specific products for metal tanks.
- Some types of putty don’t require mixing. All you have to do is knead it to the proper consistency.
-
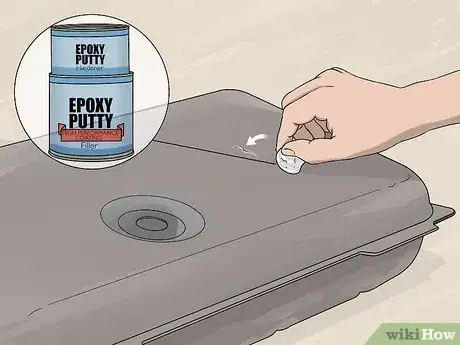
2Shape the putty to fit over the leaking area. If you’re repairing a long crack, roll the putty into a long, thin strip. Otherwise, roll it back up into a ball that you can press over the hole. Make sure the putty is wide enough to cover the area you sanded on the tank. It should overlap the crack or hole to create an airtight seal.[10]
- For small repairs, try cutting off a 1 in (2.5 cm)-long chunk of putty with a ruler or knife.
-
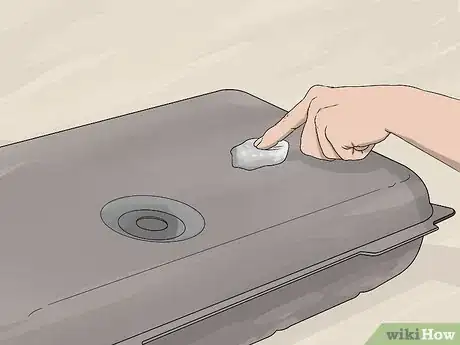
3Spread the putty over the damaged area by hand. Position the putty over the crack or hole, then press down on it. Make sure the putty goes into the damaged spot. Then, spread the rest of the putty out to cover the area you sanded. Press the putty as flat as you can against the gas tank to even it out.[11]
- Try to get the putty to blend in with the tank as much as possible before it has a chance to dry. Use more putty as needed to cover the area.
- To reinforce the putty, you could cut a fiberglass mesh patch, place it on the leaking spot, and then cover it with more putty.
-
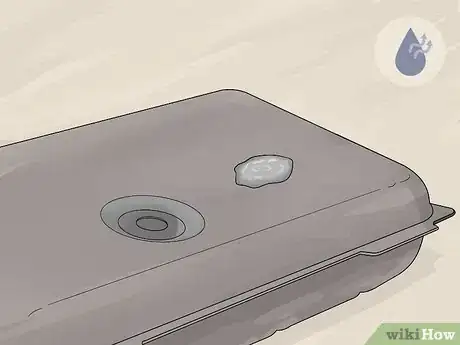
4Allow the putty to dry for at least 1 hour. Once you’re satisfied with the repair, let the putty solidify. It will be hard to remove after it hardens, so double-check the tank. Make any last-minute adjustments before then.[12]
- Avoid using the tank until the putty has fully cured. Once it has dried, refill the tank and check it for leaks again.
-
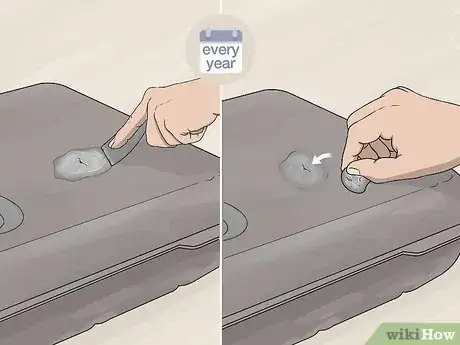
5Replace the putty after about a year if the tank leaks again. Epoxy putty isn’t a perfect fix, so your tank could start leaking again at any time. Be aware of any new gas leaks coming from the tank. Patch over new leaks with a new application of putty. You can keep reapplying the putty to create a new seal each time the tank leaks.[13]
- Your tank may leak before a year is up, or the epoxy seal could last longer than that. It depends on the application and the tank’s condition. It also can weaken faster if you use the tank often.
- For a more permanent fix, either weld the tank shut or replace the tank entirely.
Welding Larger Leaks Shut
-
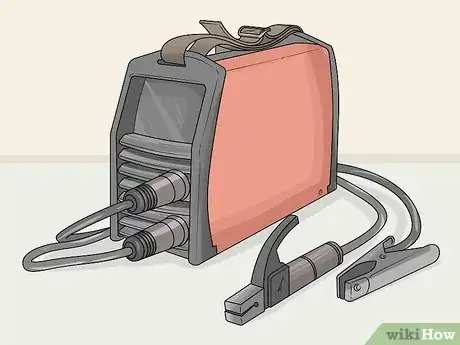
1Get a plastic or metal welder depending on the tank you’re fixing. Most gas tanks are made from a lightweight plastic and can be fixed with a plastic welder. If you’re working on a metal tank, get a stick welder. Both tools work by melting a welding rod onto the leak.[14]
- You could order welding rods online or from a hardware store. However, some places let you rent out the tools needed for the repair.
- If you’re unsure what kind of welder and rod to use, take the tank with you to a hardware store. Ask the employees for advice.
-
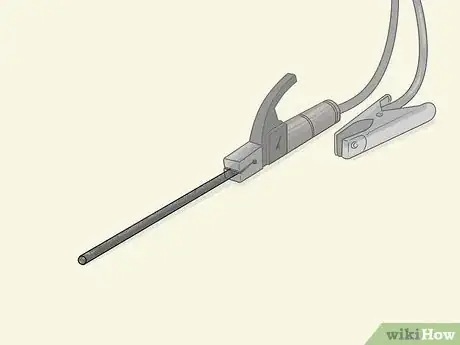
2Select a plastic or metal rod to melt over the leak. The rod should match the tank you’re repairing. Plastic tanks are made out of polyethylene, so choose a high-density polyethylene rod to melt over it. Metal tanks are either steel or aluminum. Using the correct welding stick material makes the repair stronger and more permanent.[15]
- Aluminum tanks are much lighter than steel ones. If the tank seems unusually heavy, then you will most likely need a steel rod to fix it.
-
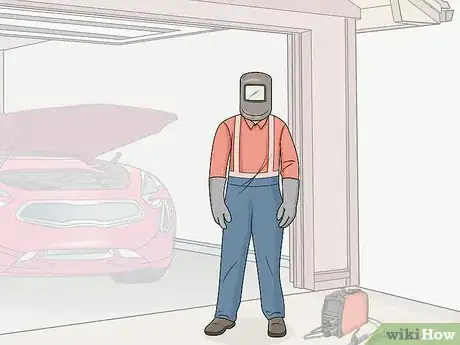
3Put on a welding mask, heat-resistant gloves, and other protective gear. Welding produces plenty of heat and fumes, which can be dangerous if you aren’t well-prepared. The mask should be shaded to protect your eyes. Also, wear a respirator mask underneath it for additional protection. Cover up with a long-sleeved shirt and long pants as well.[16]
- Ventilating your area is also important. Work outdoors if you are able to. Otherwise, open up nearby doors and windows.
- Keep other people and pets out of the room until you’re done with the repair.
- Have a holster or base to place a hot welding gun until it has had a chance to cool off.
-
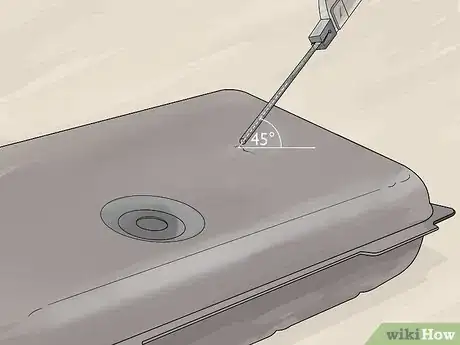
4Hold the stick and welder at 45-degree angles above the leak. Set the gas tank in a stable but accessible spot. Then, plug in your welder, holding it in your dominant hand while it begins to heat up. Position it at an angle with the tip about 1 in (2.5 cm) from the leak. Then, hold the welding stick at an opposite 45-degree angle with its tip below the welder.[17]
- If you’re using a metal stick welder, the stick fits inside the welder so you don’t have to hold it separately.
- For high-density polyethylene tanks, wait until the welder reaches 325 °F (163 °C).
- For metal, heat the welder to at least 375 °F (191 °C).
-
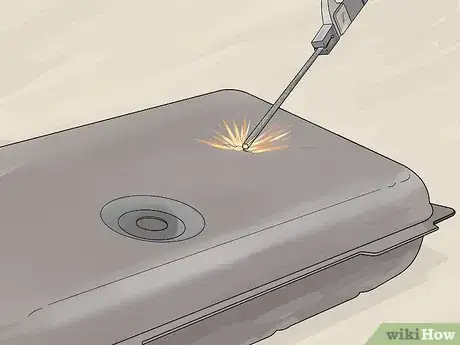
5Melt the welding stick around the edges of the crack or hole. Start at the top and gradually work your way to the bottom. Wait for the rod to begin to drip into the leaking spot. Once you notice it melting, move the welder and rod at a slow but steady rate around the leak. The melting rod should continue melting onto the leak, covering it with a consistent amount of material.[18]
- Once you reach the bottom edge of the crack or leak, move back up around its opposite side. Coat the entire rim of the leak with filler from the rod.
-
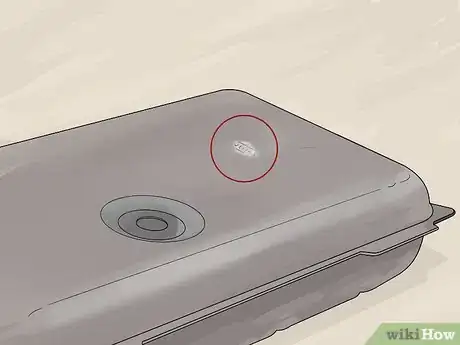
6Spread filler over the middle of the leak to finish sealing it. Move back down the center part of the leak to melt more of the rod and cover up any remaining gaps. You may wish to go from side to side to fill in the central portion, especially if you’re trying to fix a small hole. Continue working until the leak has been filled with a consistent coating of fresh material.[19]
- Note any gaps that haven’t been filled in. Go back and melt more of the rod so they are level with the rest of the tank.
- Ideally, the repair will look even and consistent throughout. You may notice some uneven spots were you applied too much material by mistake, but these spots can be sanded flat later.
-
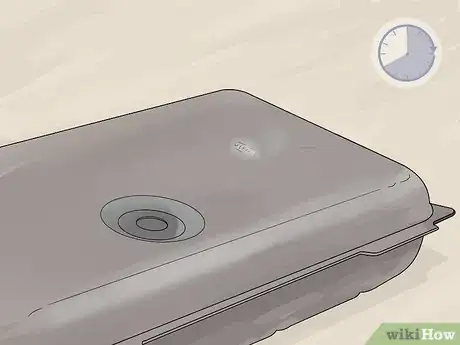
7Wait about 8 hours for the repair to solidify. Keep the gas tank in an area with plenty of air circulation. The filler from the melted rod will cool down and harden over time. Once it has had a chance to harden, check it to see if it’s cool to the touch. Place your hand near the repair to detect any heat coming off of it.[20]
- Avoid using the tank until the repair has solidified. If you try to use it too soon, you could end up weakening the repair.
-
8Use 120-grit sandpaper to smooth out the patch. Rub the repaired area with a firm, consistent amount of pressure. Work your way from top to bottom along the weld. Continue wearing it down until it is level and blends in well with the surrounding area. Once you’re done, you can paint the tank if you wish and then fill it with gas.[21]
- You could also use tools like an angle grinder that make the process much quicker. However, be very careful to avoid touching areas that don’t need to be sanded.
Expert Q&A
-
QuestionWhat causes a hole in the gas tank?
 Ed BeeryEd Beery is an Automotive Specialist and the Owner of InTechgrity Automotive Excellence based in Denver, Colorado. With more than eight years of experience, he specializes in providing maintenance and repair services for both individuals and companies. Ed and the InTechgrity Automotive Excellence Team are approved by the American Automobile Association (AAA) for repairs and are Automotive Service Excellence (ASE) certified.
Automotive Specialist As gas prices rise, some people will drill out fuel tanks to steal the gas. If your tank is drilled out, replacement will be necessary. If you smell fuel but do not see any fuel dripping beneath the car, the issue may be the top of your fuel tank, the fuel lines to the engine, or an exhaust gas recirculation (GR) system leak.
 -
QuestionHow do you perform a smoke test?
 Ed BeeryEd Beery is an Automotive Specialist and the Owner of InTechgrity Automotive Excellence based in Denver, Colorado. With more than eight years of experience, he specializes in providing maintenance and repair services for both individuals and companies. Ed and the InTechgrity Automotive Excellence Team are approved by the American Automobile Association (AAA) for repairs and are Automotive Service Excellence (ASE) certified.
Automotive Specialist Follow the instructions for the machine to load smoke into the system. Then, look carefully for any smoke that's escaping your fuel system. Keep in mind that the smoke escaping is usually very small—you're not looking for a large amount of smoke, but rather a small trickle.
Warnings
- Welding can ignite the gas tank if you don’t clean it out beforehand. Drain all gasoline and gas fumes before lighting a flame near the tank.⧼thumbs_response⧽
Things You’ll Need
Draining the Tank and Locating Leaks
- Socket or ratchet wrench
- Gas canister or alternative gas-safe container
- Car jack if you’re fixing a vehicle (optional)
Cleaning out the Tank
- Rubbing alcohol or alternative degreasers
- Hot water
- Soft-bristled brush or rag
Covering Small Leaks with Epoxy Putty
- Rubber gloves
- Epoxy putty
- Putty knife or ruler
- Paper to mix the putty on (optional)
Welding Larger Leaks Shut
- Plastic or metal stick welder
- Plastic or metal welding rod
- Welding mask
- Respirator
- Welding gloves
- 120-grit sandpaper
References
- ↑ https://www.popularmechanics.com/cars/how-to/a3663/4283377/
- ↑ https://www.popularmechanics.com/cars/how-to/a3663/4283377/
- ↑ https://www.popularmechanics.com/home/tools/reviews/a9646/how-to-store-small-engines-for-the-winter-16109095/
- ↑ https://www.propane101.com/checkingforgasleaks.htm
- ↑ https://www.youtube.com/watch?v=SuMeYxNDhro&feature=youtu.be&t=45
- ↑ https://www.youtube.com/watch?v=mciCgu8Vxi0&feature=youtu.be&t=33
- ↑ https://www.youtube.com/watch?v=NjwuZ9MLQTQ&feature=youtu.be&t=49
- ↑ https://www.youtube.com/watch?v=Luj6qPuxIPM&feature=youtu.be&t=115
- ↑ https://www.youtube.com/watch?v=3Iv5sWZ0nYI&feature=youtu.be&t=359
- ↑ https://www.youtube.com/watch?v=Luj6qPuxIPM&feature=youtu.be&t=311
- ↑ https://www.youtube.com/watch?v=3Iv5sWZ0nYI&feature=youtu.be&t=401
- ↑ https://www.youtube.com/watch?v=oxsrXHn8Pfo&feature=youtu.be&t=478
- ↑ http://www.polymericsystems.com/latestNews/PDF/EpoxySticksWhatTheyCanDo.pdf
- ↑ https://www.ahssinsights.org/news/understanding-differences-in-welding-steel-vs-aluminium/
- ↑ https://www.ahssinsights.org/news/understanding-differences-in-welding-steel-vs-aluminium/
- ↑ https://www.popularmechanics.com/home/tools/how-to/a15739/how-to-get-started-with-welding/
- ↑ https://www.youtube.com/watch?v=cVHoCRlXR2Q&feature=youtu.be&t=337
- ↑ https://www.youtube.com/watch?v=a9olwcU73RE&feature=youtu.be&t=305
- ↑ https://www.youtube.com/watch?v=G3qToCjW-hc&feature=youtu.be&t=455
- ↑ https://www.aisc.org/globalassets/modern-steel/archives/2000/02/2000v02_welds_temperature.pdf
- ↑ https://www.popularmechanics.com/home/how-to-plans/how-to/a4361/4322927/
