This article was co-authored by wikiHow Staff. Our trained team of editors and researchers validate articles for accuracy and comprehensiveness. wikiHow's Content Management Team carefully monitors the work from our editorial staff to ensure that each article is backed by trusted research and meets our high quality standards.
This article has been viewed 218,965 times.
Learn more...
A cat flap allows your cat to arrive and leave your home without you needing to open a door or window. These are most commonly installed in wooden doors as this is a straightforward process and it's best to consult a professional if you want to install a cat flap elsewhere. When your cat presses their body against the cat flap, this small, hinged pet door will open and allow your cat to come and go as they please. To install a cat flap, cut an opening in the door first before screwing the cat flap into place. Use treats to train your cat to get used to having their own entrance to your home!
Steps
Cutting the Door
-
1Mark the height of your cat’s stomach on your door. Use a ruler to measure the height of your cat’s stomach from the ground. Mark this measurement on the door with a horizontal line using a pencil. Use a spirit level to make sure that the horizontal line is straight.[1]
- The measurement for most cats is approximately 4.7 in (12 cm). If you have multiple cats, use the shortest belly height as taller cats are able to crouch.[2]
- Having the cat flap installed at the right height means that your cat will be able to easily get in and out.
-
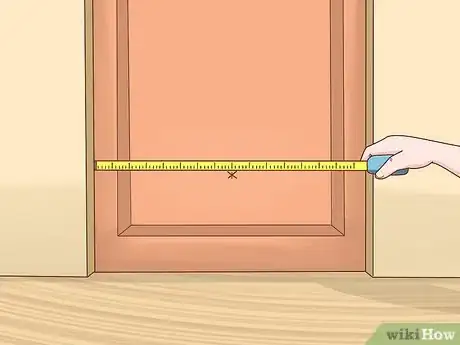
2Find the center of the width of your door. Use a measuring tape to measure how wide the door is. Divide this measurement by 2 to find where the center point is. Mark this point along the horizontal line that you drew using an “X” symbol.[3]
- Measure twice to find the center so that you can be confident that the measurement is accurate.
- This marking is where the center of the cat flap will be.
Advertisement -
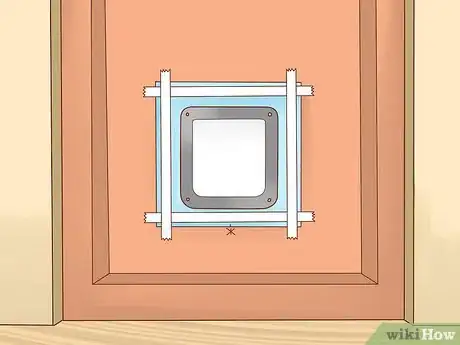
3Stick the cat flap template to your door using masking tape. Follow the instructions that came with the cat flap to fit the template. Line the template up along the horizontal line so that the cat flap will be the correct height. Make sure that you secure the template so that the middle is at the center of the door.[4]
- Use the spirit level again to ensure that the template is sitting straight.
- If your cat flap kit doesn't include a template, photocopy the cat flap to create your own template.
-
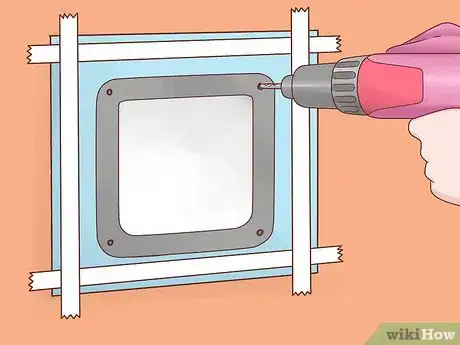
4Drill 1 hole in each corner of the template. The cat flap template will indicate where you need to drill the holes. Make sure that the holes are slightly larger than the jigsaw blade width. A 3/8 in (10 mm) flat bit is an ideal size to use for drilling the corner holes.[5]
- For square or rectangular cat flaps, you will need to drill 4 holes. However, for circular cat flaps, drilling only 1 hole at the top of the template is usually all that’s necessary.
-
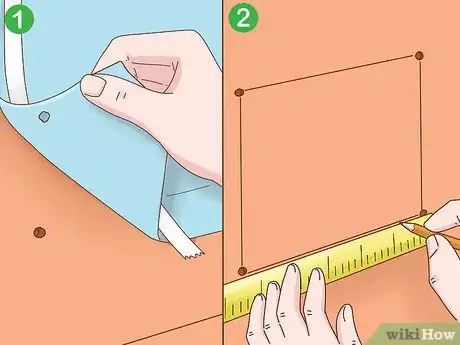
5Remove the template and draw a line to connect the holes. Peel the masking tape off to remove the template. Use a pencil and a ruler to create a square or rectangle that joins the holes together. This will serve as a guide for the opening that you are about to cut.[6]
-
6Cut out the cat flap shape using a jigsaw. Place the blade of the jigsaw into a corner hole. Drill from 1 hole to the next to cut out the shape from the door. Follow the line as closely as possible and guide the blade around the shape.[7]
- Don’t push the jigsaw to make it go faster. Let it work at its own speed as this will result in the best and most accurate cut.
-
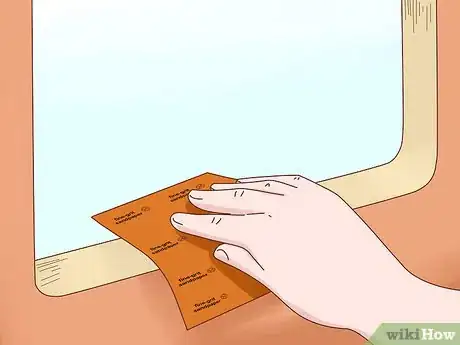
7Smooth the edges of the hole using a piece of fine-grit sandpaper. Rub along the edges of the cut out using sandpaper to tidy up the shape. Be careful not to sand too much to prevent the size from changing.[8]
-
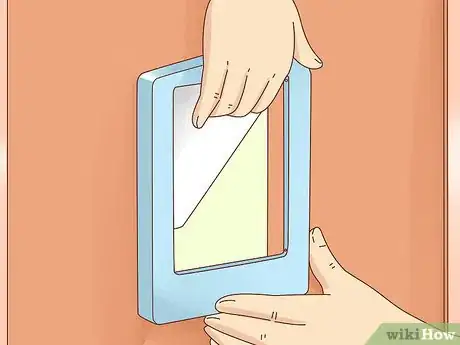
8Check that the cat flap opens properly. Hold the cat flap up against the cutout on the door. Push the cat flap open and let it close on its own to make sure that it works properly and doesn’t catch on the door.[9]
- If the cat flap catches on anything, take note of which part of the cut out isn’t right and use a rasp or a file to adjust the size.
Installing the Cat Flap
-
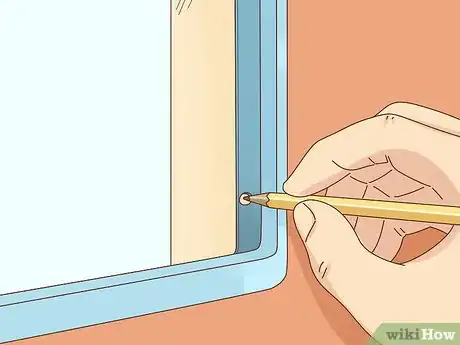
1Mark where the screw holes for the cat flap are on the door. Hold the cat flap up to the cutout. Use a pencil to mark where each screw hole on the cat flap is. This will show you where exactly the cat flap will be screwed onto the door.[10]
- Make sure that the cat flap is the right away around when you are doing this. The cat flap should always open to the outside, with the lock located on the inside.
-
2Drill holes into the door where the screws will go. Remove the cat flap from the door. Drill a hole into each marking that reaches through to the other side of the door.[11]
-
3Use screws to secure the cat flap into the door. Hold the front of the cat flap against the door. Push 1 screw into each hole and place the back of the cat flap over the other side of the screws. Tighten the screws using a drill and add nuts. Then test the cat flap to ensure that it is secured tightly in place.[12]
Getting Your Cat to Use the Cat Flap
-
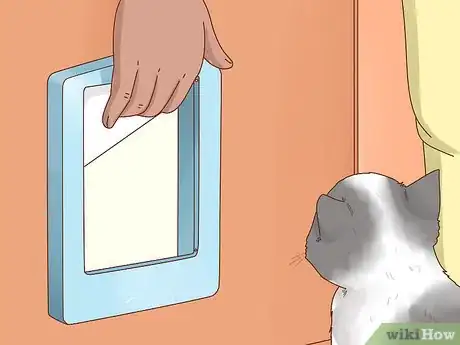
1Prop the cat flap open until your cat begins to use it. Leave the cat flap open for a day and see if your cat will use it on their own. If not, stand on the other side of the door and encourage the cat to walk through. You may need to use treats for this.[13]
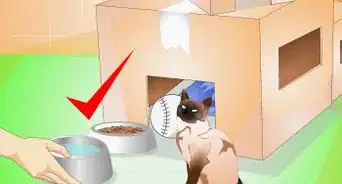
- Alternatively, place some cat food in a bowl and leave it on the other side of the door, where it can be seen through the open cat flap. This should help to encourage your cat to walk through without you needing to be there holding a treat.
- You can keep the cat flap propped open using a piece of string. Attach the string to the cat flap using masking tape. Then tape the string to the wall to hold the cat flap open.[14]
-
2Close the cat flap and encourage your cat to walk through using a treat. Once your cat can comfortably walk through the cat flap while it's open, let it shut and encourage the cat from the other side of the door again. This will prompt your cat to push against the cat flap with their head, which will teach it how to open it.[15]
- After enough practice, your cat will eventually get used to pushing against the cat flap to open it and won't need to be encouraged anymore.
- Give your cat a lot of praise and affection when they start using the cat flap on their own.[16]
-
3Avoid pushing your cat through the cat flap. While it may take a while for your cat to learn how to use the cat flap, never force it to walk through the cat flap. This may hurt your cat and may also ruin all of the training that you have done.[17]
Community Q&A
-
QuestionI need a cat flap for my cats, but I have a lot of cats in my neighborhood that will come in my house. Is there a way to prevent this?
 Community AnswerThe only way I can think of to only let your own cats in and not the neighborhood cats is a pet identification cat door. They’re expensive, but they work.
 -
QuestionHow do I replace an existing cat flap?
 Community AnswerYou'll have to replace the entire door in order to completely get rid of it. Visit a local hardware store for guidance.
 -
QuestionWhat is the maximum height above ground for a cat flap that an average-sized cat can use easily?
 Community AnswerI would say 12 inches. However, you could install a platform so that it could be higher, allowing him/her to jump onto it and go in/out.
Things You’ll Need
- Ruler
- Pencil
- Spirit level
- Measuring tape
- Cat flap kit
- Masking tape
- Drill
- 3/8 in (10 mm) flat bit
- Jigsaw
- Fine-grit sandpaper
- Rasp or file
- String
- Cat treats
References
- ↑ https://www.diydoctor.org.uk/projects/catflap.htm
- ↑ https://www.tuxedo-cat.co.uk/microchip-cat-flaps/installing-your-microchip-cat-flap/
- ↑ https://www.diydoctor.org.uk/projects/catflap.htm
- ↑ https://www.idealhome.co.uk/care-and-cleaning/how-to-install-a-cat-flap-51105
- ↑ https://www.diydoctor.org.uk/projects/catflap.htm
- ↑ https://www.idealhome.co.uk/care-and-cleaning/how-to-install-a-cat-flap-51105
- ↑ https://www.diydoctor.org.uk/projects/catflap.htm
- ↑ https://www.diydoctor.org.uk/projects/catflap.htm
- ↑ https://www.diydoctor.org.uk/projects/catflap.htm
- ↑ https://www.vividdoors.co.uk/blog/install-cat-flap-wooden-door/
- ↑ https://www.vividdoors.co.uk/blog/install-cat-flap-wooden-door/
- ↑ https://www.diydoctor.org.uk/projects/catflap.htm
- ↑ https://www.independent.co.uk/property/house-and-home/pets/features/your-questions-how-can-i-make-my-cat-use-his-cat-flap-1880926.html
- ↑ https://www.tuxedo-cat.co.uk/microchip-cat-flaps/training/
- ↑ https://www.independent.co.uk/property/house-and-home/pets/features/your-questions-how-can-i-make-my-cat-use-his-cat-flap-1880926.html
- ↑ https://www.tuxedo-cat.co.uk/microchip-cat-flaps/training/
- ↑ https://www.independent.co.uk/property/house-and-home/pets/features/your-questions-how-can-i-make-my-cat-use-his-cat-flap-1880926.html
About This Article
To fit a cat flap onto your door, mark the height of your cat’s stomach on the door. Measure the height and width of the cat flap and mark the dimensions on the door, using the height of the cat’s stomach as the center point. Cut out the square hole with a jigsaw and smooth the edges of the hole with fine-grit sandpaper, then place the cat flap in the hole and screw it into place. Remember to make sure that the cat flap swings freely, allowing the cat to enter and exit the house with ease. For tips on helping your cat learn how to use the cat flap, keep reading!

