This article was co-authored by Courtney Foster. Courtney Foster is a Licensed Cosmetologist, Certified Hair Loss Practitioner, and Cosmetology Educator based out of New York City. Courtney runs Courtney Foster Beauty, LLC and her work has been featured on The Wendy Williams Show, Good Morning America, The Today Show, The Late Show with David Letterman, and in East/West Magazine. She received her Cosmetology License from the State of New York after training at the Empire Beauty School - Manhattan.
There are 11 references cited in this article, which can be found at the bottom of the page.
This article has been viewed 132,073 times.
Changing your hair color can add a boost to your confidence. It is often fun and exciting to change your look up, but you should be careful when actually taking the step to dye your hair. Some things to consider before dyeing your hair are the color you want, what type of hair you have, and if what you want can be achieved without the help of a professional. Once you have made the decision to dye your hair, prepare the dye, dye your hair, and maintain the color to make it look great for as long as possible.
Steps
Preparing to Dye
-
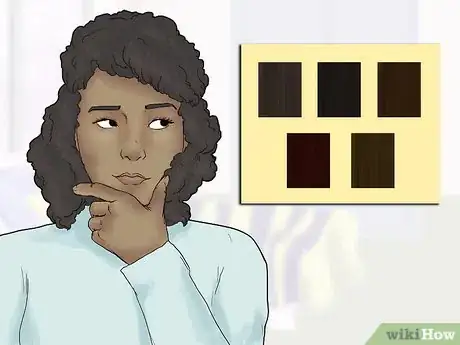
1Select the color you want for your hair. Go for a color that complements your skin tone and personality, and stay away from anything too brash to avoid disappointment. If you are dyeing your hair at home, it is better to stay with a darker shade. A blonde or dramatically different shade can be difficult to achieve without the help of a stylist, and dyeing it improperly can leave hair very damaged.
- If your hair has been relaxed, then it is best to go to a professional.[1] If you don't want to go to a professional, it's best to stick to temporary dyes.
- Choose a color that is within two to four shades of your natural hair color. Choosing blonde when your hair is naturally dark can result in a shade of orange.
-
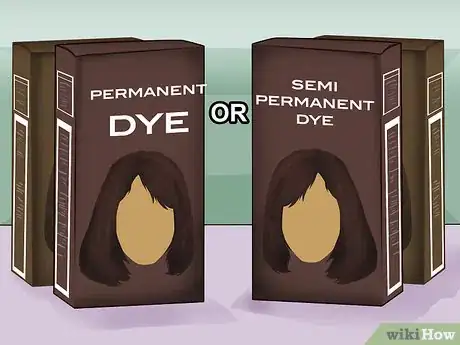
2Choose a permanent or semi-permanent dye. You have the option of choosing a permanent, semi-permanent, or temporary dye. A semi-permanent dye is probably the better option because it isn’t as harsh and doesn’t last as long. A temporary dye doesn’t penetrate the strands, and it will wash out within a few washes. Choosing a semi-permanent dye can also be healthier for your hair because natural hair coloring options, like henna, are available with semi-permanent hair color.
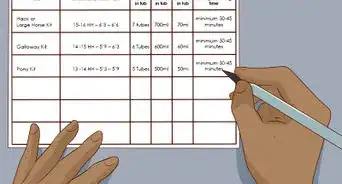
- The longer your hair, the more boxes you'll need. If your hair is long, it's best to buy at least two boxes of color to be sure that you will have enough dye. If you have short hair, you should need just one box.
- Henna is a great choice for natural, virgin hair. But, if you’re hair has already been chemically treated, then henna can damage your hair.[2]
- It is possible to apply dye to locs.
Advertisement -
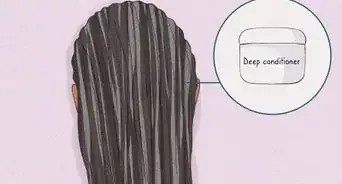
3Deep condition two days before dyeing. Applying a deep conditioner will strengthen your hair before exposing it to the dye. Using a deep conditioner will also provide your hair with more moisture, which will allow the color to soak in better. Apply the conditioner for five to thirty minutes, depending on the instructions, and then rinse thoroughly.[3]
-
4Avoid shampooing your hair before dyeing. Clean hair can be too slippery for the hair color to attach to. Although it might not feel right, it is better for your hair to be slightly dirty when you apply color. The natural oils give the color something to hold on to, and the oils act as a buffer between your scalp and the hair dye.[4]
-
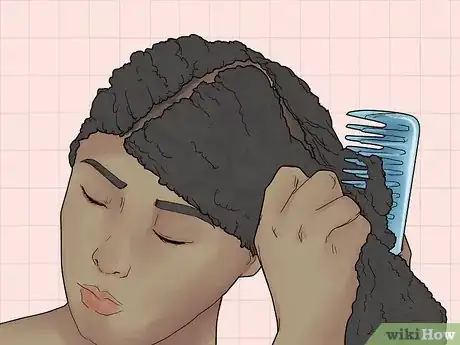
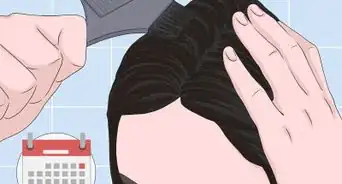
5Prepare your hair. Comb through your hair gently in order to relieve any tangles. Doing this will ensure that there are no obvious “patches” in your hair after it is dyed. Then, part your hair into four sections and clip the sections down and away from each other. You will apply the dye to one section at a time to ensure that every strand is coated with color.[5]
Dyeing the Hair
-
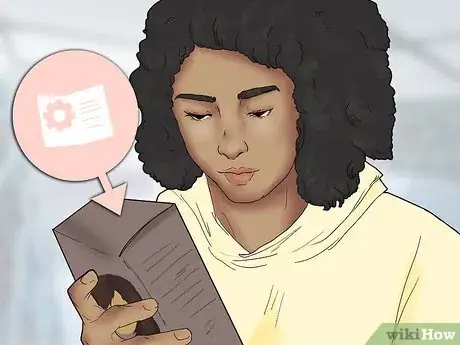
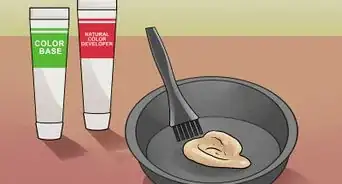
1Read the instructions. Carefully review the instructions specific to the product you’ve chosen before preparing the dye. There is generally an activator along with the color and an applicator to apply the mixture to your hair. Typically, you will need to mix the applicator and color into one bottle, shake it, and then you are ready to apply the color to your hair.[6]
- If an applicator is not supplied, you can use an applicator brush. You will also need a mixing bowl so that you can use the brush.
- Every hair dye kit is different. Don’t assume you know how to prepare the dye because you’ve used a hair dye kit in the past.
-
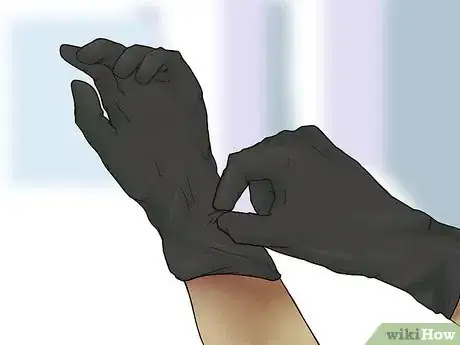
2Put on the gloves. Gloves should be supplied in the kit. If not, you can buy a plastic or rubber pair from a beauty supply store, like Sally’s Beauty Supply. Gloves are important to wear during the dyeing process because skin exposed to dye can be burned by the chemicals used in the dye.[7]
- You should also use gloves to avoid staining your hands and fingernails.
-
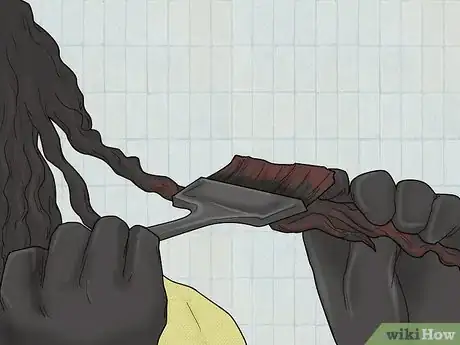
3Do a strand test. Take a small amount of color and apply it to a strand of your hair. You should do this to test the color and make sure it is what you want before committing to it. Your hair texture also determines the amount of time the color needs to sit, so a strand test helps you decide how long you will need to set the timer for when you apply the color to all of your hair.[8]
- If the color does not turn out as expected, it is best to wait for professional guidance or buy another kit.
-
4Protect your clothing. Hair dye may drop during the application process. Wear an old T-shirt or robe you don’t care about staining while dyeing your hair. Make sure to wear something that can be easily removed and will not rub against the hair dye when you remove your clothing for a shower.
- An old button-up shirt or robe is ideal because you don’t have to remove it over you head.
-
5Protect your skin. It’s normal for some hair dye to get on the forehead and neck during application. Apply Vaseline to the forehead around your hairline and any area that may be exposed to dye to avoid the dye staining your skin. If dye does stain your skin, you can remove it with products like makeup remover and nail polish remover with a washcloth.[9]
- Be sure to rinse the remover as soon as the dye is removed. Nail polish remover can cause irritation to skin.
-
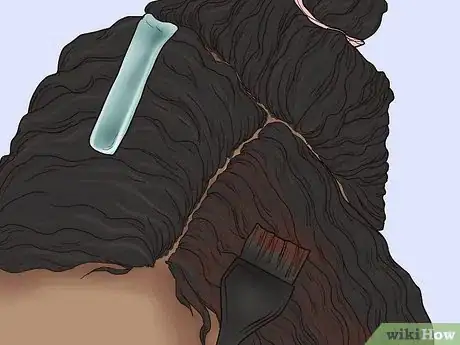
6Divide your hair into four sections. First, divide your hair down the middle to create two big sections. Then separate those sections into four by dividing your hair from ear-to-ear. Clip each section in place.
- This will make it easier to dye your hair, as you can apply the dye to one section at a time.
-
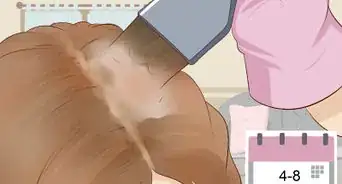
7Apply the dye one section at a time. Going by one section at a time, apply the dye mixture using the applicator. Untie or unclip the section you are dyeing, but leave the other sections up until you are ready to dye them. Smooth the dye into the hair with your fingers gently moving from root to tip. Take your time as you apply. Going too fast could affect your curl pattern. Make sure every strand is covered.[10]
- Once you think all of the hair has been covered in dye, go back through one more time and make sure there are no strands left to color.
-
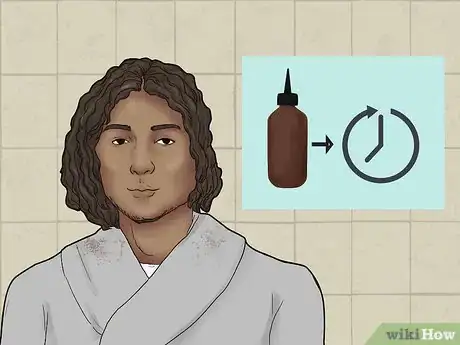
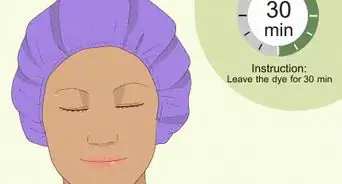
8Wait for the hair color to take. Read the instructions to check how long the color should stay on for. You can also judge the amount of time according to the strand test you did before coloring all of your hair. Set a timer to make sure the color sits for the length of time required.[11]
- Some dyes are made to stop processing when the amount of time is up. Keeping the color on longer will likely not impact the color, but not keeping the color on long enough can change the results.
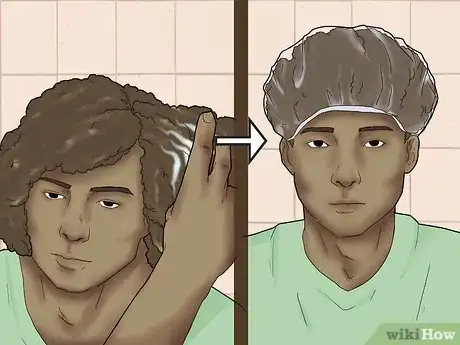
- To limit your risk of drips and stains, wear a plastic shower cap over your hair while the dye is processing.
-
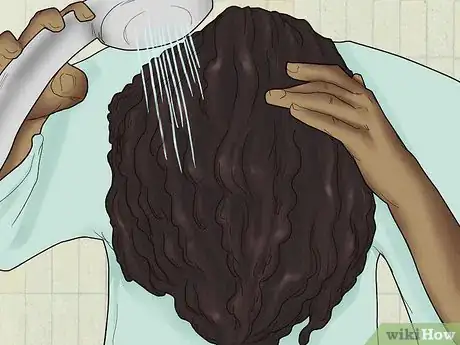
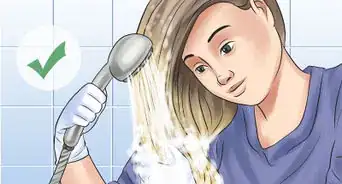
9Rinse thoroughly. Once the dye has been in your hair for the required time as per instructions, rinse your hair thoroughly with cool to warm water until there are no traces of dye left. You can use a shampoo for color-treated hair during this time to clean the hair. There should not be any dye visible in the water when you are finished rinsing your hair.[12]
Finishing the Dyeing Process
-
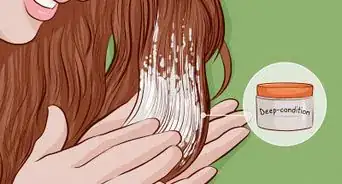
1Use a deep conditioner. Many dye kits will come with a deep conditioner to use directly after the dyeing process. If not, use a deep conditioner of your home. It’s important to deep condition your hair after dyeing to strengthen the hair and add shine. Apply the conditioner and gently run your fingers through your hair to make sure it is coated. Then, wrap your hair in a warm towel, or cover with a shower cap and scarf for approximately fifteen minutes to lock in the moisture. Rinse thoroughly with cool water once the amount of time is up.[13]
- Look for a deep conditioner that contains shea butter, honey, or avocado to add moisture back to your tresses. If you have one, sit under a dyer or steamer for 10-15 minutes to let your deep conditioner penetrate the hair shaft.
-
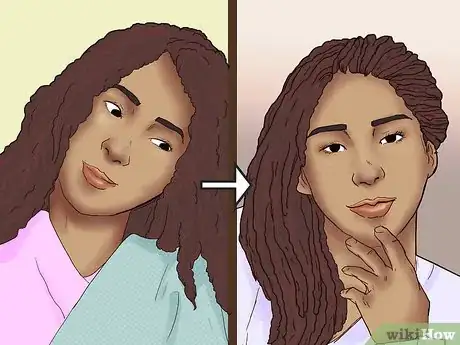
2Dry and style as you wish. Avoid using a hair dryer if possible. Instead, allow it to dry naturally. During this time, you can use a styling product, like mousse or oil, to aid in the styling process and add extra shine.[14]
- Make sure to use a heat-protectant product whenever you use heat-styling tools.
-
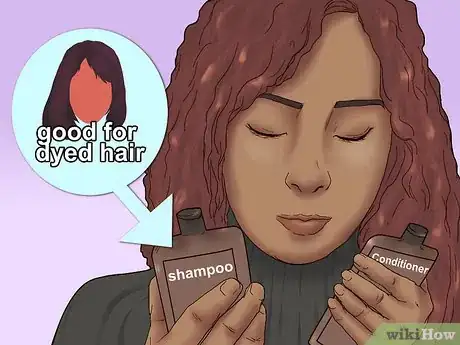
3Invest in a shampoo and conditioner for dyed hair. Use a shampoo and conditioner made for dyed hair to provide extra moisture and extend the life of your hair. Shampoos and conditioners made for dyed hair should not contain sulfates, which will strip the hair.[15]
Expert Q&A
Did you know you can get expert answers for this article?
Unlock expert answers by supporting wikiHow
-
QuestionCan you dye black hair without bleaching it?
 Laura MartinLaura Martin is a Licensed Cosmetologist in Georgia. She has been a hair stylist since 2007 and a cosmetology teacher since 2013.
Licensed Cosmetologist
-
QuestionIs there a way to dye your hair blonde without bleaching it?
 Laura MartinLaura Martin is a Licensed Cosmetologist in Georgia. She has been a hair stylist since 2007 and a cosmetology teacher since 2013.
Licensed Cosmetologist
-
QuestionCan you dye black hair blonde?
 Laura MartinLaura Martin is a Licensed Cosmetologist in Georgia. She has been a hair stylist since 2007 and a cosmetology teacher since 2013.
Licensed Cosmetologist
Things You'll Need
- Hair dye kit
- Gloves
- Timer/watch
- Wide tooth comb
- Hair clips
- Towels for hair and to protect clothes
- Applicator brush (optional)
- Shower cap and scarf (optional)
Warnings
- Always read the manufacturer's instructions first, before putting any chemicals in your hair. Do a strand test to check for any reaction.⧼thumbs_response⧽
- If you want to dye your hair a much lighter color than your natural tone, i.e. blonde; this will require bleaching and is best left to a professional.⧼thumbs_response⧽
- Check that all items listed on the packaging are included in the kit.⧼thumbs_response⧽
References
- ↑ http://www.teenvogue.com/story/how-to-dye-relaxed-hair
- ↑ http://www.essence.com/2014/05/20/ask-experts-how-dye-natural-hair-yourself
- ↑ http://www.womansday.com/style/beauty/a1711/wds-guide-to-at-home-hair-dyeing-108643/
- ↑ http://www.cosmopolitan.com/style-beauty/beauty/news/a46646/natural-hair-dye-tips/
- ↑ http://www.womansday.com/style/beauty/a1711/wds-guide-to-at-home-hair-dyeing-108643/
- ↑ http://www.womansday.com/style/beauty/a1711/wds-guide-to-at-home-hair-dyeing-108643/
- ↑ http://www.womansday.com/style/beauty/a1711/wds-guide-to-at-home-hair-dyeing-108643/
- ↑ https://www.wella.com/retail/en-AR/article/text/tips-before-coloring
- ↑ https://www.foreo.com/mysa/13-ways-remove-hair-dye-skin
- ↑ http://www.cosmopolitan.com/style-beauty/beauty/news/a46646/natural-hair-dye-tips/
- ↑ http://www.womansday.com/style/beauty/a1711/wds-guide-to-at-home-hair-dyeing-108643/
- ↑ http://www.womansday.com/style/beauty/a1711/wds-guide-to-at-home-hair-dyeing-108643/
- ↑ http://www.cosmopolitan.com/style-beauty/beauty/news/a46646/natural-hair-dye-tips/
- ↑ http://blacknaps.org/best-natural-hair-products/
- ↑ http://www.naturallycurly.com/curlreading/hair_color/coloring-type-4-hair/
- ↑ http://blackgirllonghair.com/2011/10/how-to-moisturize-colored-hair/
- ↑ http://blackgirllonghair.com/2014/05/5-great-products-for-coloring-natural-hair-and-maintaining-shine-and-vibrancy/
- ↑ http://www.womansday.com/style/beauty/a1711/wds-guide-to-at-home-hair-dyeing-108643/
About This Article
If you want to dye your natural hair, part your hair down the middle to create 2 big sections, then divide each of those into a front and back section. Clip or tie back each section. Put on gloves and an old T-shirt, then mix the dye according to the product instructions. Use the applicator to apply the dye to one section at a time, smoothing the dye into your strands from root to tip. Follow the instructions on the box to determine how long to leave on the dye, then rinse it out completely with cool water. Deep condition your hair afterward to protect it from damage. For tips from our cosmetology reviewer on getting ready to dye your hair, like performing a strand test, read on!
