This article was co-authored by Mark Spelman. Mark Spelman is a General Contractor based in Austin, Texas. With over 30 years of construction experience, Mark specializes in constructing interiors, project management, and project estimation. He has been a construction professional since 1987.
There are 7 references cited in this article, which can be found at the bottom of the page.
This article has been viewed 38,819 times.
Whether you need to tone down the finish or mix up a more muted shade, there are lots of ways to dull down paint. If you already painted your project and don't like the finish, do not fret; you can dull the finish down with a quick coating of spray-on or brush-on matte sealer. If you are painting something, and need a more muted shade of a certain color, you will need to apply a little bit of color theory to dull the paint down.
Steps
Applying a Spray-On Sealer
-
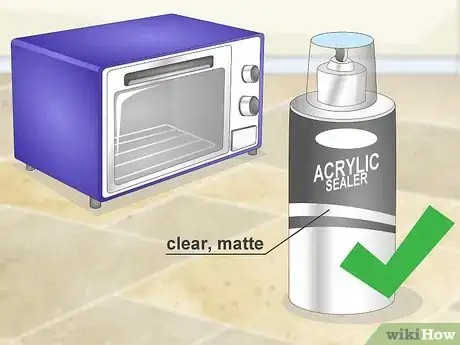
1Get a can of clear, matte, acrylic sealer. Check the label to ensure that it is matte. Spray-on sealers are suitable for large surfaces. If you want to dull just one detail, you should use the brush-on kind.
- You can find matte acrylic sealers alongside the spray paints in arts and crafts stores.
-
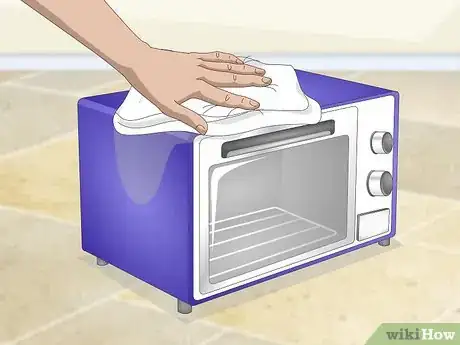
2Make sure that the painted surface is dry and cured. If you originally painted the surface with acrylic paint or spray paint, you likely won't have a curing time. Other types of paint, however, such as enamel and house paints, may have a curing time. In this case, you should wait until the surface has cured and is no longer tacky.Advertisement
-
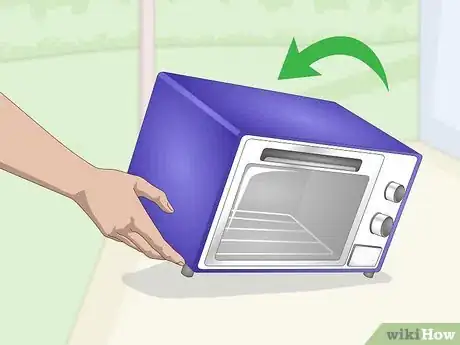
3Move the project to a well-ventilated area. Outdoors would be the best, but if you can't work outside, a large room would be your next best choice. If you are working indoors, open up a window and turn a fan on; point the fan away from the project.
-
4Set the project onto a sheet of newspaper. You can also use a piece of paper for small objects, a paper bag, a trash bag, or even a cheap, plastic table cloth. This will protect your work surface.
-
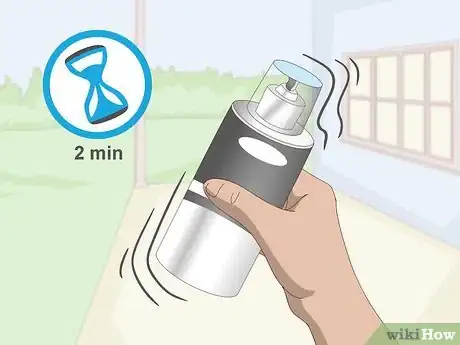
5Shake the can for 2 minutes. Most cans may say that you only need to shake them for 10 seconds, or until you can hear the little ball rattle inside. There is nothing wrong with shaking the can for longer, however, and the extra 1 minute and 50 seconds will really make a difference![1]
-
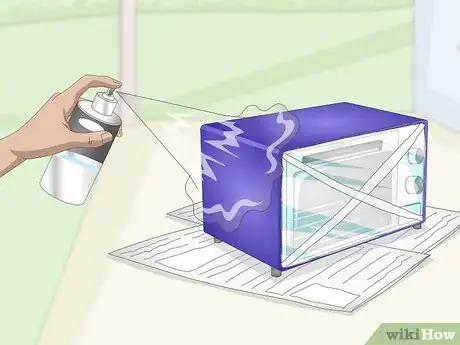
6Spray on a thin, even coat. Hold the can about 12 inches (30 centimeters) away from the piece. Spray the sealer on using neat, even overlapping strokes. Don't worry if the coat looks too thin; you can always apply more coats. When it comes to spray-on sealers, it is better to apply several thin coats rather than one thick coat.[2]
-
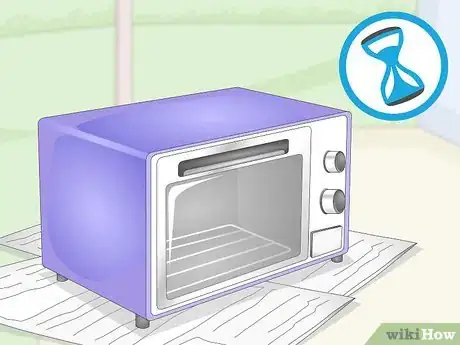
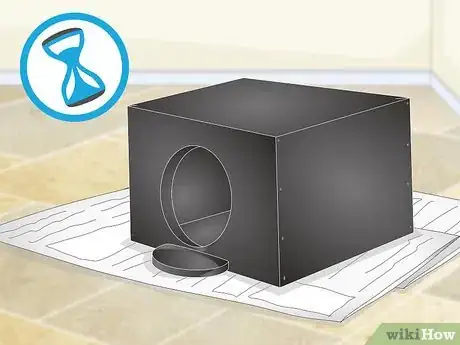
7Wait for the sealer to dry. If you need to, rotate the object, and spray the other sides. Wait for each side to dry before moving onto the next one. If the coverage is not enough for you, you can apply a second coat of sealer, but you must allow the previous coats to dry.
- Some sealers have a curing time in addition to a drying time. Check the label on your spray can to make sure.
Applying a Brush-On Sealer
-
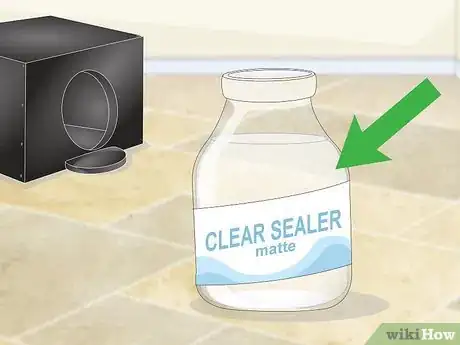
1Get a bottle of clear, matte sealer. You can use acrylic sealers or polyurethane sealers. You can also try a decoupage sealer, such as Mod Podge, but keep in mind that it is not waterproof and that it may turn tacky over time.[3]
- Brush-on sealers are great for paper crafts as well as small, details.
-
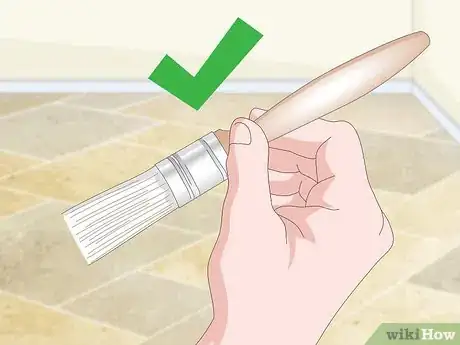
2Get a brush that's suitable for the area you are covering. A flat paintbrush will work the best for most surfaces. Another option would be a foam brush. If you are dulling small details, such as letters or vines, choose a round brush with a pointed tip. The bigger the surface you are painting, the wider the brush should be.
- Choose a brush that has taklon, sable, or kanekalon bristles. Avoid bristle and camelhair brushes.
-
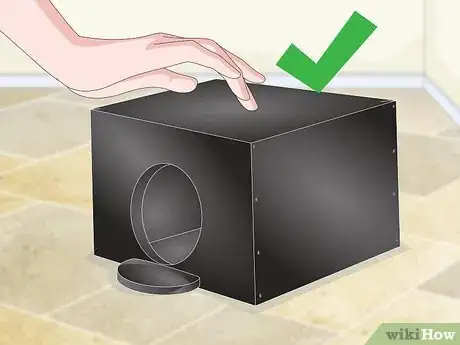
3Make sure that the surface to be sealed is dry. Some types of paint, such as enamel and house paint, will have curing times as well. If the surface feels tacky or soft, it has not finished curing, and you should wait a little longer before coating it.
-
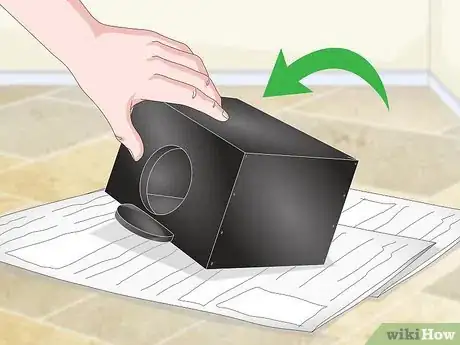
4Place the object onto a sheet of paper to protect your work surface. You can also use other disposable coverings, such as paper bags, wax paper, paper plates, etc. This will protect your work surface against any drips or overhang.[4]
-
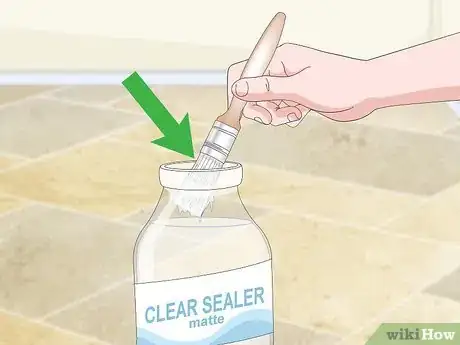
5Dip the brush into the bottle, then scrape it across the rim. Dip the brush no more than halfway up the bristles, otherwise you will overload the brush. Scrape one side of the brush against the rim of the bottle to remove excess sealer.
- If the brush is too big for the neck of the bottle, pour some of the sealer out onto a small dish.
-
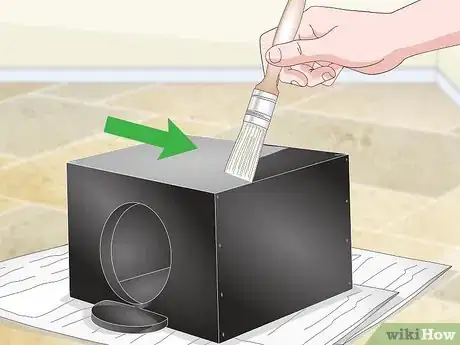
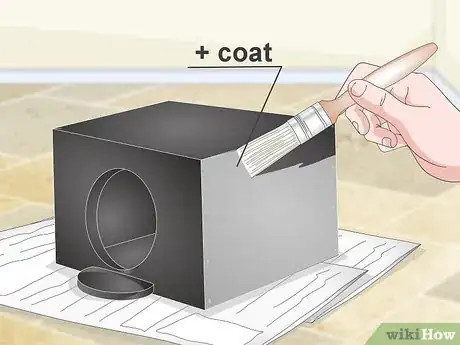
6Apply the sealer to the object in neat, even rows. Use the wet side of the brush as you run it across the object from one side to the other. When you run out of sealer, dip the brush into the bottle again, and scrape the excess sealer off. Keep the layer thin and even; it is better to apply several thin coats rather than one thick coat.[5]
- If you are working on details, such as letters or vines, trace the details with your pointed brush.
- It helps to keep both the surface and the brush wet with sealer as you work.
-
7Allow the sealer to dry. Once the sealer is dry, you can flip the object over, and seal the other sides. If the object has multiple sides, like a box, you'll need to wait for the previous side to dry before moving onto the next one.
- If you are sealing paper, move the object while the sealer is still wet, otherwise you risk sealing it to your protective covering.
-
8Apply another coat of sealer, if needed. Before you add the second coat, sand down the surface with a very fine grit sandpaper. If you sealed tiny details, such as letters or vines, you won't need another coat.
-
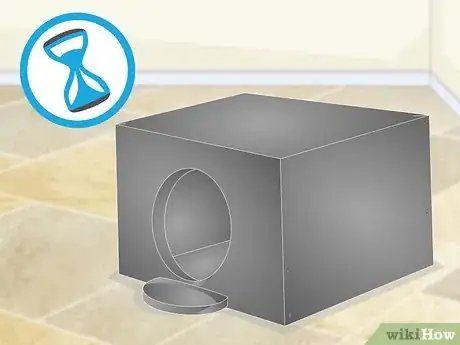
9Wait for the sealer to dry completely. Most brush-on sealers have a curing time as well. The curing time can be as short as a few hours to as long as several days. Check the label on your bottle of sealer for more specific curing times.
Mixing Dull Paint Colors
-
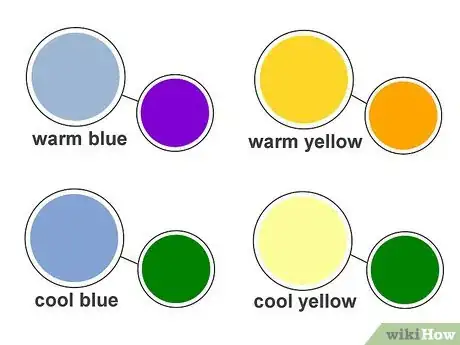
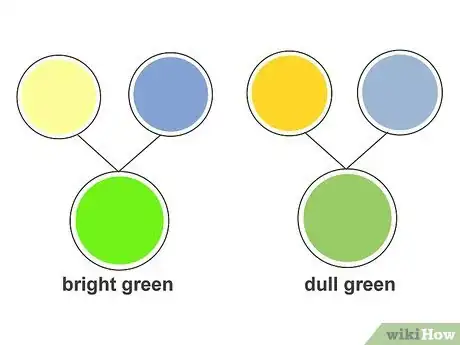
1Understand color theory. Many colors have a warm shade and a cool shade. For example, you can have a warm blue with purple undertones, and a cool blue with green undertones. You can also have a warm yellow with orange undertones and a cool yellow with green undertones.[6]
-
2Mix complementary undertones together. Mixing a cool blue (green undertone) with a cool yellow (green undertone) will give you a bright, vibrant green. If you want a dull green, however, you should mix a warm blue (purple undertone) and a warm yellow (orange undertone). You can apply this theory to other shades as well. For example, a warm red (orange undertones) and a warm blue (purple undertone) will give you a dull purple.[7]
-
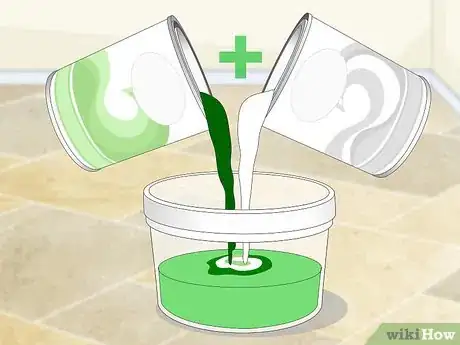
3Add some white to get a muted, pastel shade. White can lighten shades, but it won't make them brighter. If you were to add some white to dark green paint, you won't get a bright, leafy green; you will get a pastel, muted dark green instead. In most cases, plan on using equal amounts of color and white.[8]
- If possible, use titanium white; zinc white tends to be too translucent.
-
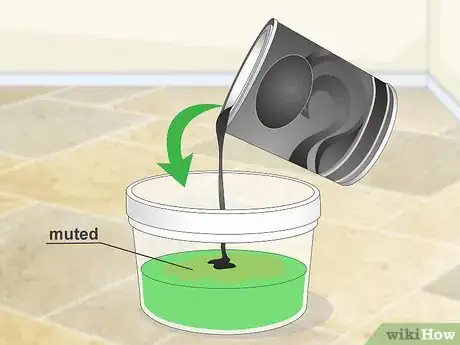
4Add some black to get a muted, murky shade. In most cases, black paint will not always make something darker. For example, if you were to add black paint to yellow paint, you won't get a dark yellow. Instead, you will get a murky, dark green. Be careful with black paint, however; a little goes a long way![9]
- Black paint typically has blue undertones to it.
-
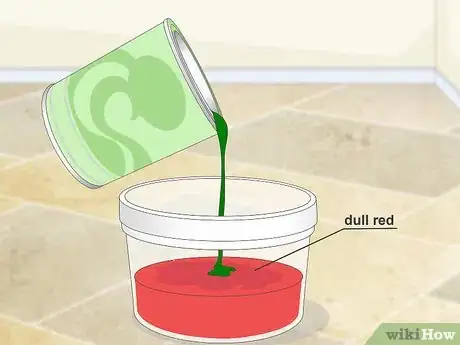
5Mix in a bit of a complementary color. Complementary colors are colors that lay opposite of each other on the color wheel. Adding a little bit of a complementary color to your first color will help dull the shade down. For example, if you wanted to dull down red paint, you would add a little bit of green paint to it. The more you add of the complementary color, the more grey the first color will become.[10] Examples of complementary colors include:
- Red and green
- Blue and orange
- Yellow and purple
-
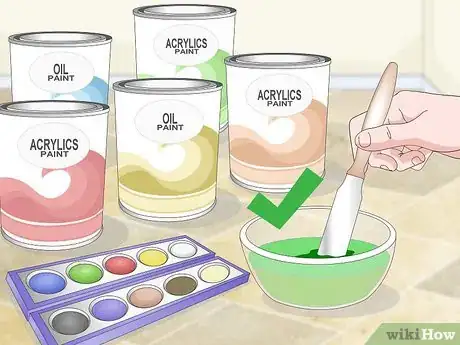
6Always mix a test swatch. Mix oil paints or acrylic paints on a palette with a palette knife. Dilute watercolor colors first, then mix them in a separate palette with a watercolor or camelhair brush. If you are working with bottles or cans of paint, mix them in a smaller jar or dish first, and keep track o the proportions. Never mix whole cans of paint all at once.
Expert Advice
Think about these factors when you're choosing your exterior paint colors:
- Consider the color of any brick and stone, as well as the color of your roof. Strong, stark colors can look garish against earthy brick and stone. The roof is not usually that big a factor, unless it's an unusual color like red or green.
- Account for the size of your home. If you have a small- or medium-sized home that's all stucco or wood, you can get away with bolder and darker colors than you could in a sprawling home that's 2 or 3 stories tall. If you do use those colors on a larger home, break it up with a contrasting neutral on the trim, or add a punchy front door to enliven a dark color.
- Check out the houses around you. The natural setting of your neighborhood may influence your color choices. For instance, some neighborhoods are full of vintage homes painted in fun, funky colors, and it just works. "
Warnings
- Always work in a well-ventilated area with spray-on sealers. If you start to feel lightheaded, take a break and get some fresh air.⧼thumbs_response⧽
Things You'll Need
Applying a Spray-On Sealer
- Object to be dulled
- Clear, acrylic, matte spray sealer
- Protective covering (i.e.: newspaper, plastic tablecloth, paper, etc.)
Applying a Brush-On Sealer
- Object to be dulled
- Brush-on sealer in matte (i.e.: Mod Podge, acrylic sealer, etc.)
- Taklon, sable, or kanekalon brush
- Protective covering (i.e.: paper, wax paper, paper plate, etc.)
- Tray or dish for sealer (optional)
Mixing Dull Paint Colors
- Paint
- Palette
- Palette knife
References
- ↑ http://willkempartschool.com/how-you-can-charge-more-for-a-varnished-painting/
- ↑ http://willkempartschool.com/how-you-can-charge-more-for-a-varnished-painting/
- ↑ https://thebluebottletree.com/what-is-the-difference-between-mod-podge-and-acrylic-medium/
- ↑ http://willkempartschool.com/how-you-can-charge-more-for-a-varnished-painting/
- ↑ http://willkempartschool.com/how-you-can-charge-more-for-a-varnished-painting/
- ↑ http://willkempartschool.com/the-hidden-secret-of-colour-mixing/
- ↑ http://willkempartschool.com/the-hidden-secret-of-colour-mixing/
- ↑ http://guidetooilpainting.com/mixingPaintColors.html
- ↑ http://emptyeasel.com/2006/12/22/how-to-make-better-oil-paintings-tips-and-techniques-for-correctly-mixing-color/
