This article was co-authored by wikiHow staff writer, Jessica Gibson. Jessica Gibson is a Writer and Editor who's been with wikiHow since 2014. After completing a year of art studies at the Emily Carr University in Vancouver, she graduated from Columbia College with a BA in History. Jessica also completed an MA in History from The University of Oregon in 2013.
There are 7 references cited in this article, which can be found at the bottom of the page.
This article has been viewed 989,517 times.
Learn more...
If you're new to drawing manga, practice making chibi characters. These short figures are recognizable for their oversized heads, cute faces, and small bodies. Since they're so petite, you can keep their features simple and still end up with effective characters. With some practice, you can draw your own Chibi characters based on real people or characters from TV shows and movies!
Steps
Drawing a Chibi Head and Face
-
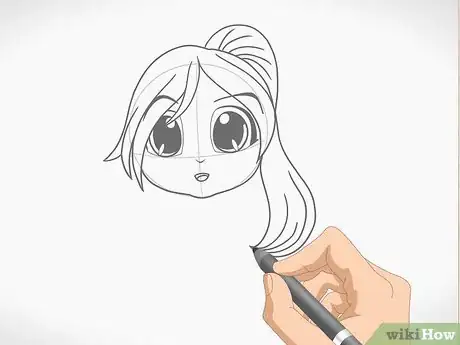
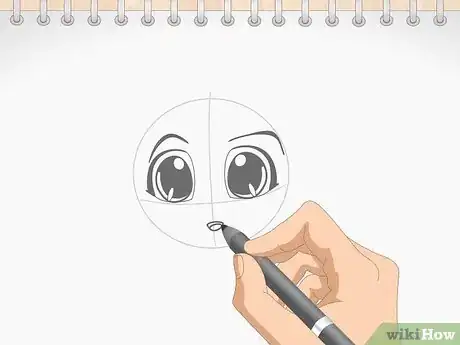
1Sample Chibi head and face.[1]
-
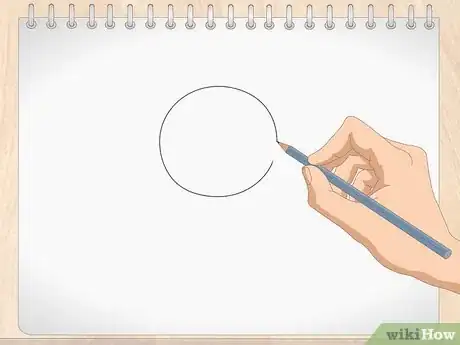
2Draw a large circle to make the chibi face. Make the circle any size you like depending on how big you want to make the character. Keep in mind that the character's head should be the same size as the rest of the entire body.[2]
- The disproportionately large head will make your chibi character look even cuter.
Tip: Although you can leave the face completely round, many chibi characters have distinctive jawlines. You could draw a square or pointed jaw, for instance.
Advertisement -
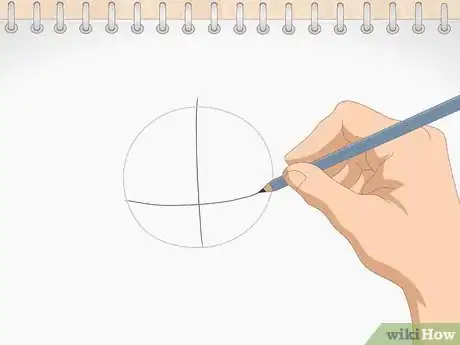
3Make 2 lines that intersect in the circle. Lightly draw a vertical line that runs straight through the circle. Then, make a faint horizontal line that runs through the vertical one. Place the horizontal line in the lower third of the circle.[3]
- You'll use these 2 lines as guidelines for placing the facial features.
- If you want the facial features to be even lower on the face, make the horizontal line in the bottom quarter of the circle.
-
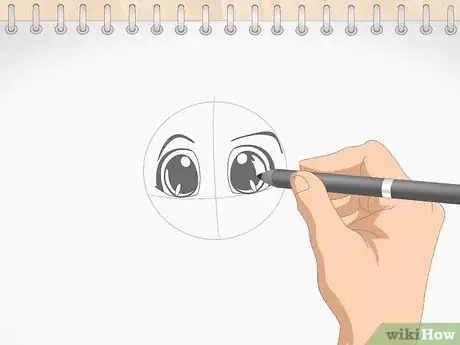
4Sketch 2 wide eyes on the horizontal line in the circle. To make classic chibi eyes, draw 2 tall rectangles with rounded corners. Then, make the upper lid of each eye bold and very curved so the tops of the eyes are round. Draw large pupils and irises so only a sliver of white is visible in each eye. Include at least 1 white circle in the eye to show the reflection of light.[4]
- Leave a gap the size of 1 eye between the eyes you drew.
- The line can pass through the center of the eyes or you can position the eyes so the bottom of the eyes rest on the horizontal line.
- Remember that you're not trying to make the eyes realistic. Chibi eyes can show any expression, but they're usually exaggerated, shiny, and bold.
-
5Draw a small mouth near the bottom half of the circle. For a very simple mouth, draw a small line that curves up or down depending on your character's emotions. You could draw a circle or triangle if you'd like your character's mouth to be open. If you want to make a detailed mouth, you can include teeth or their tongue.[5]
- The mouth can be as expressive as the eyes. For example, if your chibi character is in love, you might make their mouth heart-shaped.
-
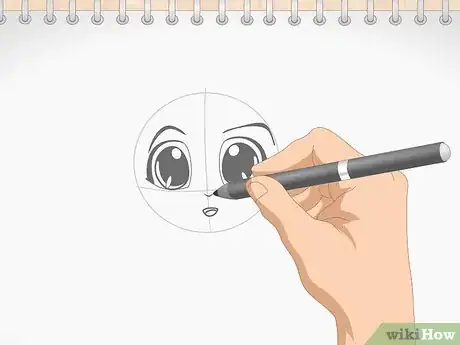
6Include a small nose for additional detail. Sketch a nose that's no bigger than the size of the mouth you just made and place it on the vertical guideline below the eyes. You can draw a small slightly curved line, a tiny circle, or an upside-down triangle and keep the nose as simple as you like.[6]
- Some chibi characters don't have noses. Feel free to leave it off of your character if you like.
-
7Add any style of hair you like to the character's head. Large hair is another feature of chibi characters so make the hair on your drawing really stand out. Play around with drawing wavy, shaggy, or spiked hair, for instance. Let a few strands cover the sides of the character's face or fall across 1 of their eyes.[7]
- You could give your character a ponytail, pigtails, or ribbons to make the character appear more playful.
Sketching a Chibi Body
-
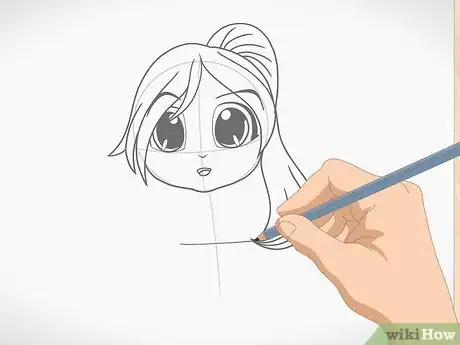
1Sample Chibi body.
-
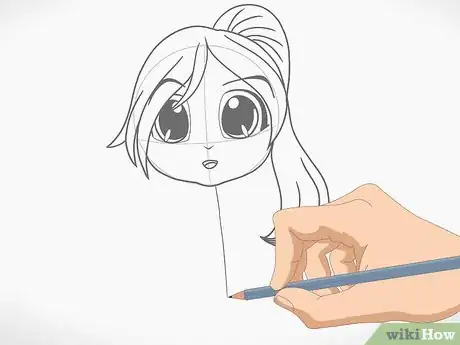
2Draw a vertical line that extends below the center of the head. The line should be the same size as the head. This will be the guideline for the torso of your chibi character.[8]
- Keep the line light so it's easy to go back and erase the pencil.
- If you prefer to draw your character turning, bending, or crouched, for instance, you can skip this step.
-
3Make a small horizontal line halfway through the line to make the upper body. Decide how wide you want your character's waist to be and sketch a horizontal line halfway on the vertical torso line. The horizontal line will become your character's waistline. Then, draw an angled line coming from each side of waistline that narrows near the head.[9]
Tip: If you don't want the waistline to be visible on your finished character, you can erase it after you've drawn the legs.
-
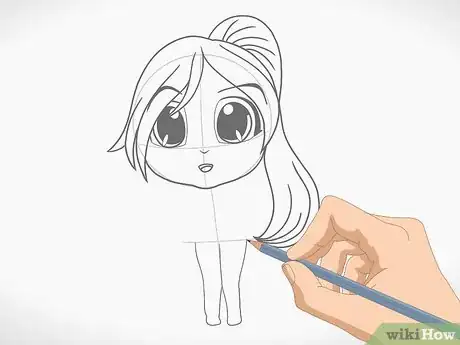
4Draw 2 legs that extend down from the waistline. Place your pencil at 1 end of the waistline and make a slanting line goes down and slightly in towards the vertical guideline. Do this for the opposite side and then make an upside-down V shape that's centered on the guideline.[10]
- The upside-down V will distinguish the 2 legs.
-
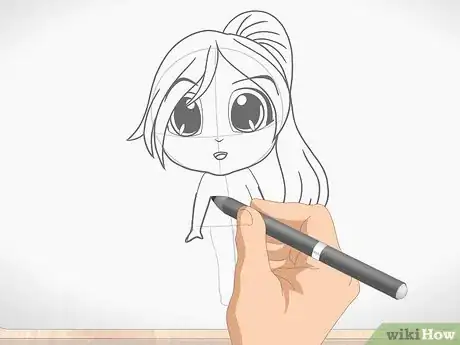
5Sketch 2 arms that extend from where the head meets the body. The arms can be as narrow or thick as you like, but ensure that they extend just below the waistline. Then, make a small rounded circle at the end of each arm to represent the hands.[11]
- If you like, you can make the hands more detailed by drawing fingers or jewelry.
-
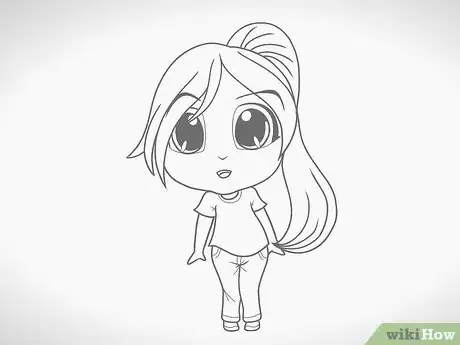
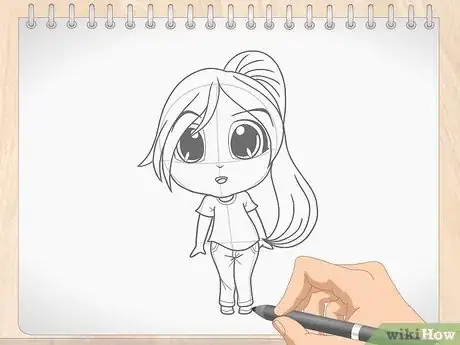
6Add clothes to the body. If you're drawing a simple character, you could draw a plain top and pants or a dress. For a more detailed character, include a few more features, such as socks, shoes, a tie, a belt, or a scarf.[12]
- Feel free to add accessories to your character. For example, if you're drawing a chibi wizard, draw a cloak and staff.
-
7Finished.
Community Q&A
-
QuestionHow can I make a chibi in my own style if it is the first time I am drawing a full body?
 Community AnswerYour style is something you develop over time, not immediately. If you're a beginner, you should look up tutorials on Youtube or Deviantart. Once you start understanding how to draw a chibi, you can begin to develop your own unique style.
 -
QuestionHow do you make the chibi look like an adult and a child?
 Community AnswerMake the adult more refined and taller and make the child shorter, simple, casual and innocent. These will work well unless it's an assassin family, in which case make them look a little wicked and cheeky.
 -
QuestionHow do I draw short sides and long fringe on hair for a male?
 Community AnswerMale hair is often swept to one side in anime. Also, keep in mind that hair flows like water - Give it a point to flow from!
Things You'll Need
- Pencils
- Paper
- Eraser
- Colored pencils or markers, optional
- Ruler, optional
References
- ↑ https://www.animeoutline.com/how-to-draw-chibi-anime-character-step-by-step/
- ↑ https://youtu.be/atYPuuzhB7A?t=118
- ↑ https://www.drawingforall.net/how-to-draw-a-chibi-character/
- ↑ https://www.designyourway.net/blog/resources/tutorials/drawing/chibi-drawing-tutorials-and-gallery/
- ↑ https://www.designyourway.net/blog/resources/tutorials/drawing/chibi-drawing-tutorials-and-gallery/
- ↑ https://www.designyourway.net/blog/resources/tutorials/drawing/chibi-drawing-tutorials-and-gallery/
- ↑ https://www.animeoutline.com/how-to-draw-chibi-anime-character-step-by-step/
- ↑ https://www.animeoutline.com/how-to-draw-chibi-anime-character-step-by-step/
- ↑ https://youtu.be/CuO4bIUxVHY?t=50
About This Article
To draw your own Chibi character, start by lightly sketching the shape of the head, and then outlining the smaller body. After you have the basic outline, you can add facial details like eyes, a mouth, and a nose, as well as simple hair with accessories. Then, connect the head to the body outline by adding the neckline before starting on your character’s clothes. Once the clothing is drawn, add hands, legs, and feet before erasing any unnecessary lines and finishing your character with color! For more tips on drawing, including making anime Chibi, read on!
