This article was co-authored by Claire Wentzel. Claire Wentzel is an award-winning Artist and Strategic Creative Consultant. Her business, Red Rose Studios, is based in Las Vegas, Nevada, where she also serves on the Clark County Public Art Committee. With over 20 years of experience, she specializes in mixed media participatory art, brand messaging, and building organizational culture. She earned her BA in Fine Art with Distinction from the University of Colorado-Boulder and completed a painting residency at the International School of Painting, Drawing, and Sculpture. Her chalk mural work has been featured in EdHat and I Madonnari Italian Street Painting Festival advertising.
This article has been viewed 140,395 times.
Looking for an easy way to improve your art? Drawing what you see is a simple and effective technique to take your skills to the next level. In this article, we've put together plenty of tips and tricks to help you get started with this fun exercise. Once you've gotten this technique down, you can do it just about anywhere!
Steps
Community Q&A
-
QuestionHow can I check that my drawing is in proportion??
 Community AnswerTest the parts of the drawing you've finished to the object you are drawing (preferably using the pencil/paintbrush technique to remeasure), or sometimes, if the one part looks "right" compared to the rest, it's most likely in proportion.
 -
QuestionDo I use basic shapes to draw what I see?
 Community AnswerUse basic shapes to create a guide on how bodies look. You can't just draw the perfect torso without having the base guides (shapes).
 -
QuestionWhat is the best angle to hold a pencil while drawing so I can draw lightly?
 Community AnswerI hold mine at about a 45 degree angle so that I don't scratch my paper, but it is a matter of taste and comfort. Experiment and see what works best for you.
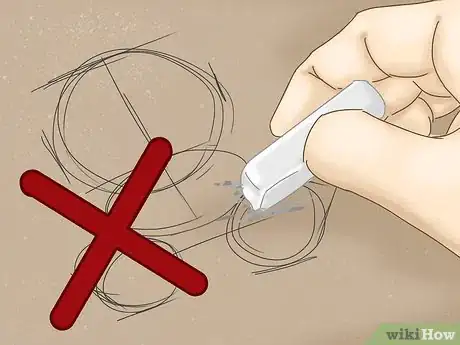
Don't use an eraser at first.=
- You won't need it for the original sketching because it is meant to be quick and very light. The lines you create at first will be barely visible!
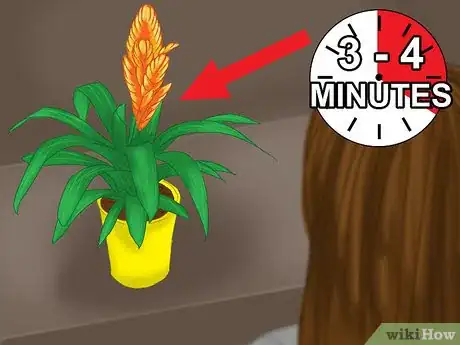
Look carefully at the scene or object you want to draw.
- Visually take a picture of it. Try to absorb every detail into your brain. Spend about 3-4 minutes doing this.
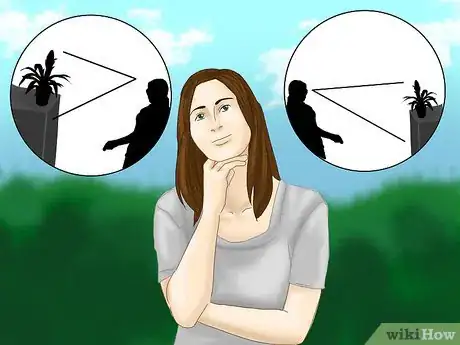
Remember the general rule of proportions.
- Objects higher up on the plane (closer to the sky) are smaller and farther away. Meanwhile, lower objects appear closer to you. Objects that are far away are less clear and have softer edges as though they are foggy.
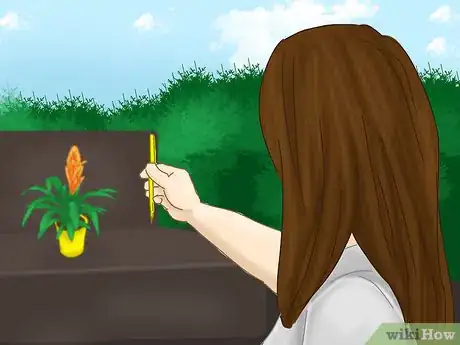
- You'll notice some artists stick their pencil out in the air between their eye and their subject - this is to measure objects.
Hold your arm out straight with a pencil in hand.
- Move your thumb to take a measurement from the end of the pencil to your thumb. If a person in your scene measures 1/2 the length of your pencil, and the height of a park bench measures 1/4, then make the bench in your drawing half the height of the person.
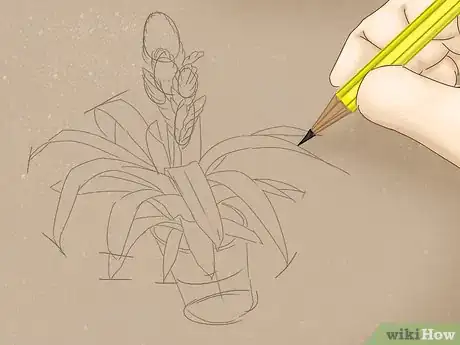
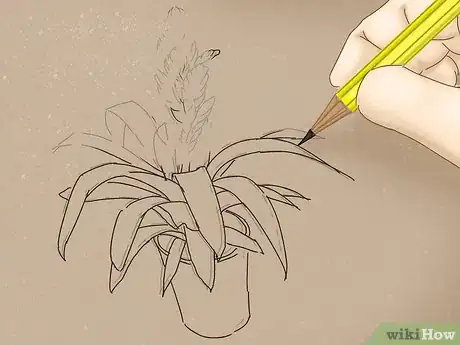
Sketch the entire scene lightly.
- Keep the above rules in mind as you go. Sketch so lightly that you can barely see the pencil marks, and only spend about 5 minutes drawing the entire scene.
- Don't worry if everything doesn't look right the first time. This is why you drew lightly.
Work on the drawing in large portions.
- Don't start drawing a tiny portion of your scene and work on that part for a long time. Draw everything at once - otherwise, every part of the drawing will look like it's the wrong size in relation to everything else.
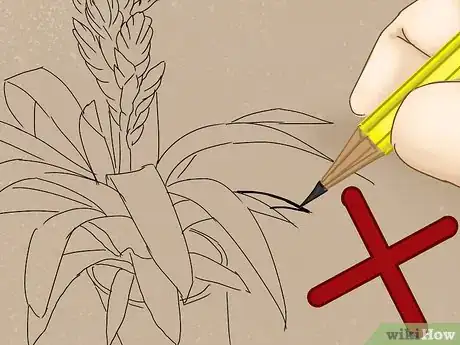
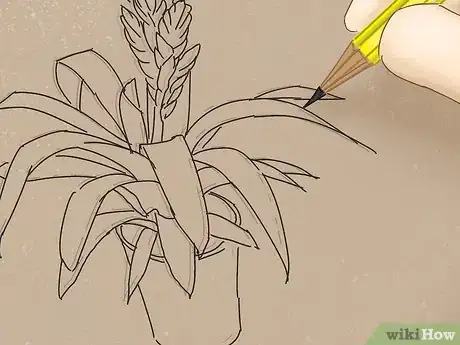
Fill in the sketch with slightly darker lines.
- You can use these lines to be more careful and correct the first lines. If you mess up, erase the first line. Don't get too dark, or you won't be able to completely erase the lines!
Sketch general shapes.
- Common objects/forms can be represented with different shapes. A person's head is an oval, a rock that is resting on the ground should have a flattened bottom, an animal can be drawn with a series of ovals, circles, and hot-dog shapes. Trees are all different - but careful not to make all the trunks and limbs perfectly straight. Even the limbs of a pine tree swoop down slightly and then curve back out to match the horizon line.
- If you are drawing geometric shapes like buildings or mechanical objects, you will want a ruler and some templates. (See the list below)
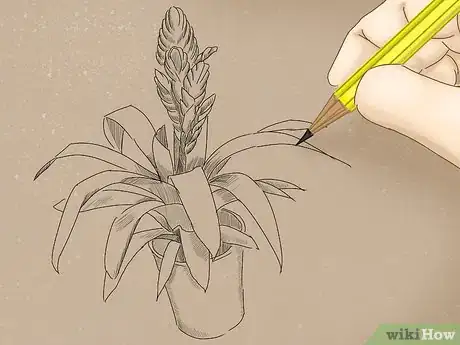
Shade what is not completely drenched in light.
- Use soft lines, crisscrosses, or whatever way you feel comfortable making darker areas. If anything is white or yellow in your scene, don't draw it! Let the paper be the lightest areas.
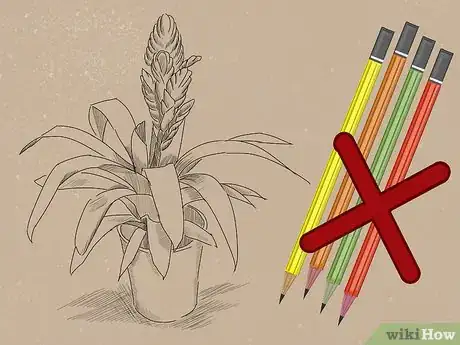
Use color sparingly.
- Pencil lead is sensitive and will smear easily across the page. Colored pencils or markers will make this worse. Painting, however, is an option - you can completely paint over your drawing and use the drawing as a template. Although it is best to photo-copy it first so you can still see your original drawing.
Things You'll Need
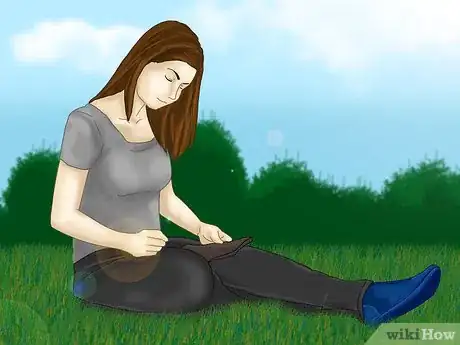
- A comfortable spot to sit for about 20 minutes.
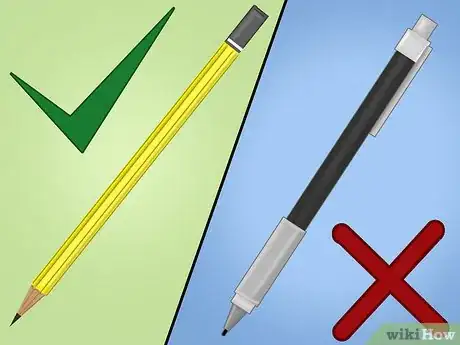
- A mechanical pencil or a #2 pencil and pencil sharpener.
- An eraser ("kneaded" erasers last longer and leave no mess!)
- Paper: any sketch pad in the size of your choice will do. Newsprint is extremely thin and will deteriorate easily so you will probably want something thicker. When you purchase the paper, feel a sheet between your fingers. If you want to do marker drawing you will need very thick paper - it should feel like poster board.
- If you are drawing geometric objects rather than the natural outdoors, you may want to buy some templates and a small ruler. The ruler should be no larger than your paper size. Templates are usually plastic sheets with circle, squares, triangles, and other shapes cut out so you can trace them.
- Buy a "triangle" - literally a triangular sheet of plastic - for making 90 degree angles. This can be found in math tool sets, along with compasses.
About This Article
To draw what you see, start by taking a few minutes to carefully observe your subject so you're familiar with all of its shapes, shadows, and highlights. Then, do a light sketch of your entire subject. Don't worry about erasing anything at this point. Just try to get a general outline down on the page. As you're sketching, hold your pencil out in front of you and use it to measure your subject so it's easier to get the proportions right. For example, if a flower pot you're drawing is half the height of your pencil, and the flower in the pot is the same height as your pencil, then you know the flower is twice as tall as the pot. When you're finished with your light sketch, go back in and darken the lines, adjusting the proportions as necessary. Finally, shade in your drawing. To learn how to shade in a pencil drawing, scroll down!
