This article was written by James Bell and by wikiHow staff writer, Travis Boylls. James Bell is a Phone Repair Specialist at Phone Techs in Winchester, California. With over seven years of experience, he specializes in cell phone, tablet, game console, and PC repairs. Phone Techs is an Akko Partner.
This article has been viewed 212,566 times.
This wikiHow teaches you how to download files directly to your Android’s SD card. You can enable saving to your SD card using the Files app on the latest version of Android. If files do not save to the SD card automatically, you can transfer them to the SD card using the Files app on stock Android, or the My Files app on Samsung Galaxy.
Things You Should Know
- If you have Android 10 or 11, use Files by Google to enable Save to SD Card. For earlier versions, the option is in your Settings.
- To transfer files on stock Android, tap the three dots, tap "Move to," then choose "SD card."
- On a Samsung Galaxy, tap and hold the file, choose "Move," navigate to the SD card, then choose "Move here."
Steps
Enabling Save to SD Card on Android 10 and 11
-
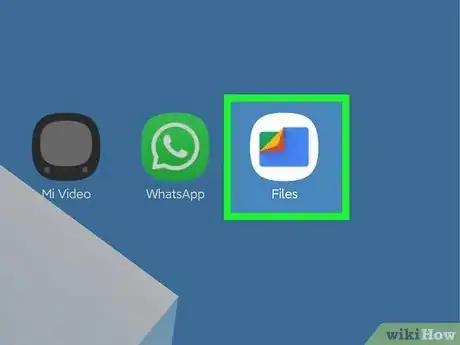
1Open the Files by Google app. It has an icon that resembles a blue folder with red, green, and yellow pages in the middle. Tap the icon in your Apps menu to open Files by Google.
-
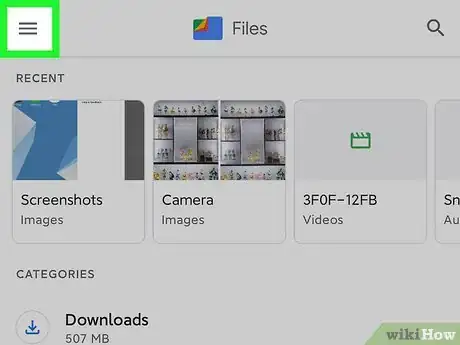
2Tap the More menu ☰. It's the button with three horizontal lines in the upper-left corner. This displays the More menu.Advertisement
-
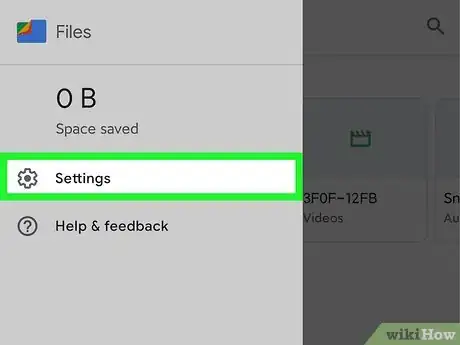
3Tap Settings. It's near the top of the More menu. It's next to an icon that resembles a gear.
-
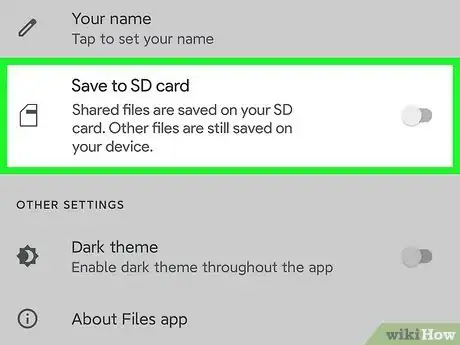
4Scroll down and tap the toggle switch next to "Save to SD Card." It's near the bottom of the Settings menu. This enables saving to the SD card.
-
5Tap Continue. This screen informs you that you need to grant Files access to your SD card.
-
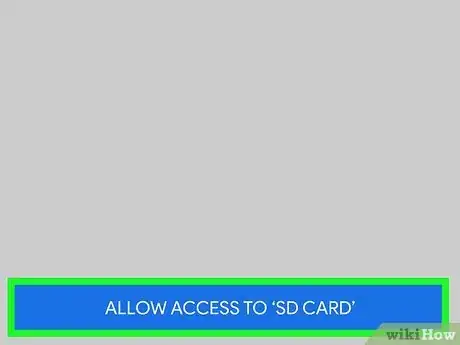
6Tap Allow Access to SD Card. It's the blue button at the bottom of the screen. This displays a prompt asking you to allow Files to access your SD card.
-
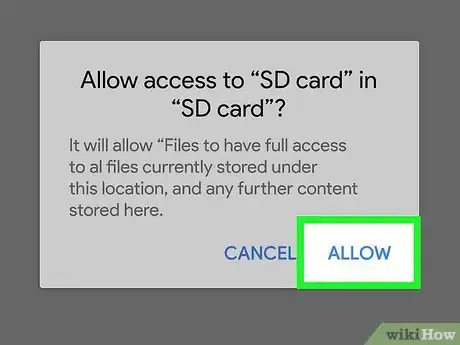
7Tap Allow. This grants Files access to your SD card and allows you to save files to your SD card.[1]
Transferring Files to the SD Card on Stock Android
-
1Open the Files by Google app. It has an icon that resembles a blue folder with red, green, and yellow pages inside. Tap the icon to open Files by Google.
-
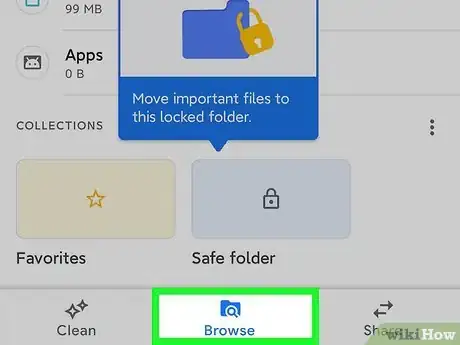
2Tap Browse. It's the middle tab at the bottom of the screen. It has an icon that resembles a folder and a magnifying glass.
-
3Tap Internal Storage. It's near the bottom of the menu below "Storage Devices". This displays files on your phone or tablet's internal storage.
-
4Tap a category. Files are organized by Image, Video, Audio, Documents, Podcasts, and more. Tap whichever category the file you want to transfer falls under.
-
5Tap the three dots next to the file you want to transfer. Tapping the three dots next to a file displays a menu.
-
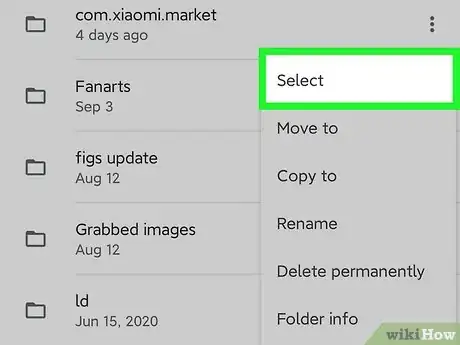
6Tap Select. It's in the menu that appears when you tap the three dots. This displays a blank circle next to all the files, which allows you to select multiple files.
-
7Check all the files you want to transfer. To place a checkmark next to a file, tap the circle icon next to the file. Check all files you want to transfer.
-
8Tap the More menu button ⋮. It's the icon that has three vertical dots in the upper-right corner. Tap this icon to display the More menu.
-
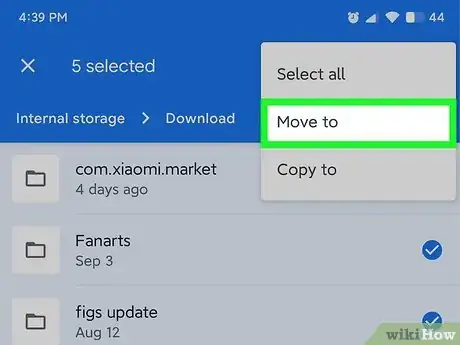
9Tap Move to. This option allows you to move the selected files to another location.
- Alternatively, you can tap Copy to to copy the files to the SD card instead of moving them.
-
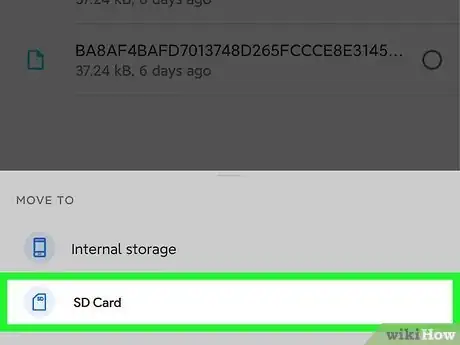
10Tap SD Card. This moves all the selected files to the SD card.[2]
Transferring Files to the SD Card on Samsung Galaxy
-
1Open the My Files app. It has an icon that resembles a yellow folder. It is generally found in the Samsung folder in the Files menu.
-
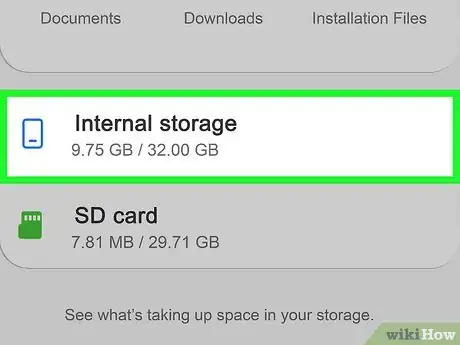
2Tap a category or tap Internal Storage. You can browse files by type, by tapping Video, Images, Audio, Documents, or Downloads at the top of My Files. To browse all folders on your device's internal storage, tap Internal Storage.
-
3Navigate to the file(s) you want to transfer. Locate the folder that contains the file you want to transfer and tap the folder to open it.
- Folders that have an icon that resembles an SD card in the upper-left corner are already stored on the SD card.
-
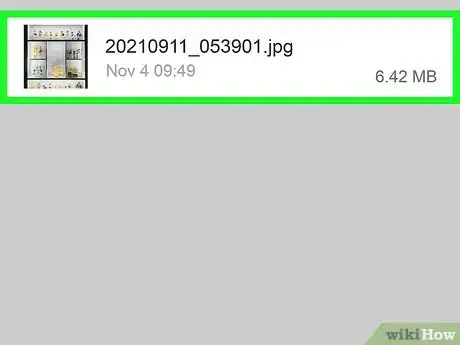
4Tap and hold the file you want to transfer. This displays a checkmark in the upper-left corner of the file. You will also see a blank circle in the left corner of the rest of the files in the folder.
-
5Check all files you want to transfer. To check a file, tap the blank circle in the upper-left corner of each file to place a checkmark in the circle.
-
6Tap Move. It's the first tab at the bottom of the screen. It has an icon that resembles a folder with an arrow.
-
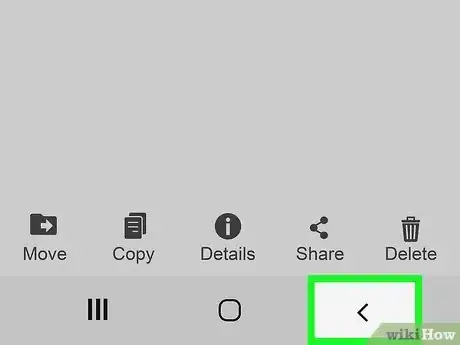
7Return to the main menu in My Files. To do so, tap the backward navigation button at the bottom of the screen until you return the main menu in My Files. The backward navigation button resembles a bracket pointing left. It's at the bottom of the screen.
-
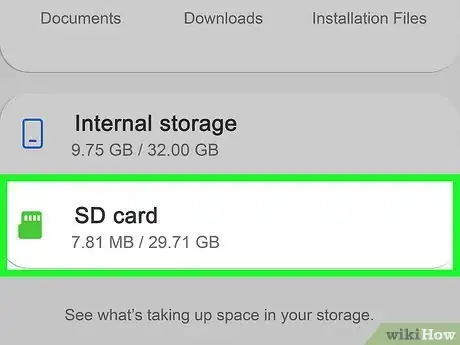
8Tap SD Card. This displays all files and folders stored on your SD card.
-
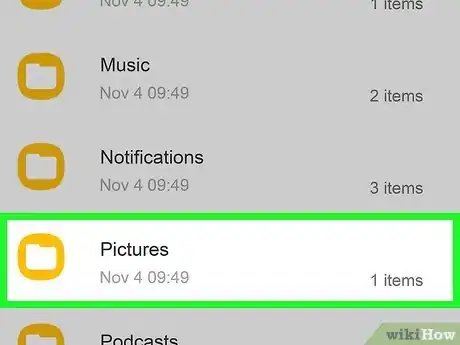
9Tap a folder you want to transfer the select files to. Tap the folder to open it.
- To create a new folder, tap the More menu button (⋮) in the upper-right corner and then tap Create Folder.
-
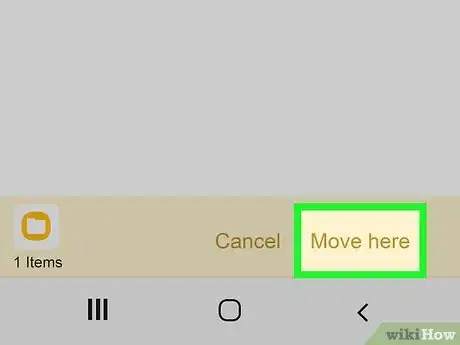
10Tap Move Here. It's the second option at the bottom of the screen. This moves all the selected items to the current folder on the SD card.
Enabling the Save to SD Card on Android 7.0 (Nougat)
-
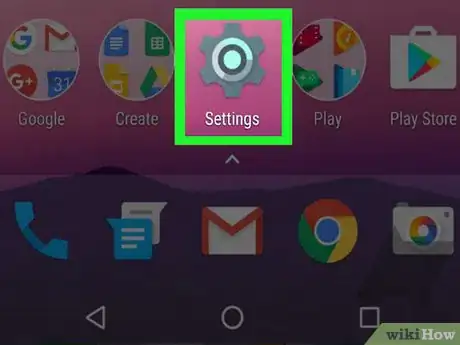
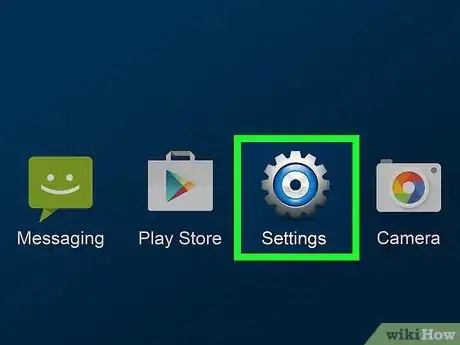
1Open your Android’s Settings . It’s the gear icon typically found in the app drawer.
- As of Android 6.0 (Marshmallow), you can configure your SD card as part of your internal storage. This makes it so you can download Play Store apps directly to the card.
- This method involves formatting (erasing) the SD card.
- You will not be able to take the SD card out and use it in another device (unless you erase all of its data).
-
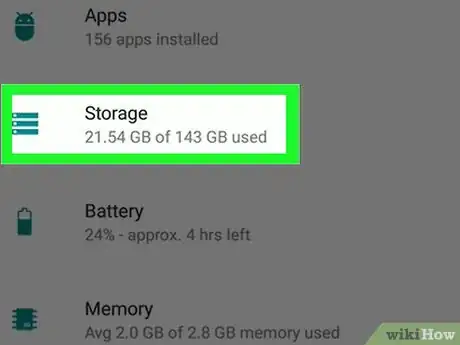
2Scroll down and tap Storage. It's near the bottom of the Storage menu.
-
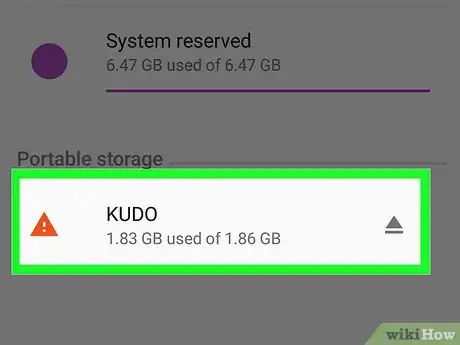
3Select your SD card. It may be called something like “External Storage” or “SD Card.”
-
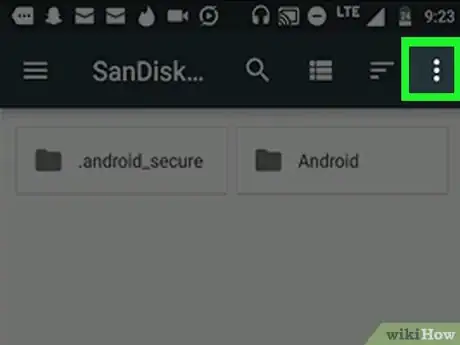
4Tap ⁝. It’s the three vertical dots at the top-right corner of the screen.
-
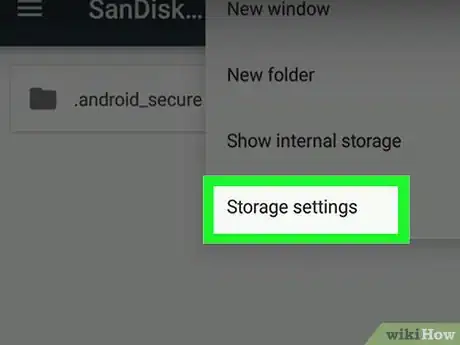
5Tap Change storage type. This may be called “Storage Settings” on some devices.
-
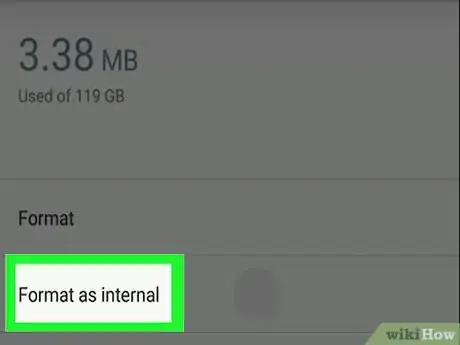
6Tap Format as internal. This formats the SD card so that it can be used to store files on your Android device.
- This will erase all data currently stored on the SD card.
-
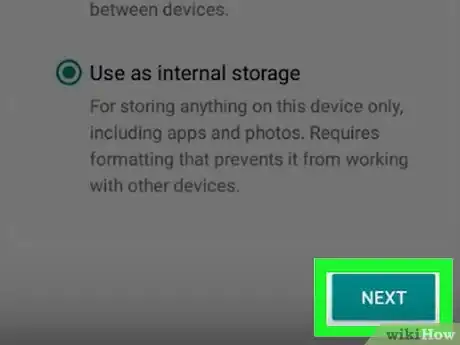
7Select a storage option and tap Next. Some devices allow you to choose from two storage options:
- If you want apps to save their data files (such as the cache) to your SD card in addition to apps, select Use as an internal storage for both apps and data.
- If you only want apps to be stored on the card, select Use as internal storage for apps only.
-
8Tap Erase & Format. The data on the card will be erased and then set up to allow downloads. You’ll see a confirmation message once the format is complete.
Enabling the Save to SD Card on Android 6.0 (Marshmallow)
-
1Open your Android’s Settings. It’s the gear icon typically found in the app drawer.
- As of the release of Android 6.0 (Marshmallow), it is possible to configure your SD card as part of your internal storage. This makes it possible to download Play Store apps directly to the card.
- This method involves formatting (erasing) the SD card. Make sure to use a blank card or one you’ve already backed up elsewhere.
- This method makes it so you cannot take the SD card out and use it in another device (unless you erase all of its data).
-
2Scroll down and tap Storage.
-
3Select your SD card. It may be called something like “External Storage” or “SD Card.”
-
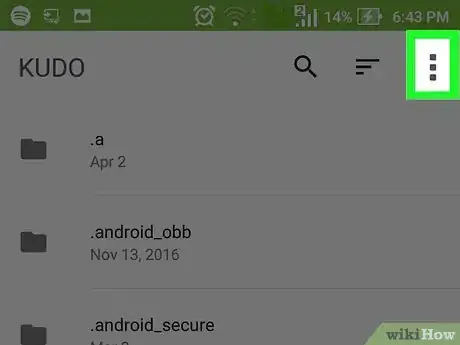
4Tap ⁝. It’s the three vertical dots at the top-right corner of the screen.
-
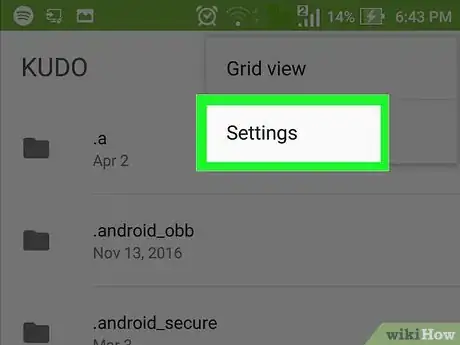
5Tap Settings. It's in the menu with three dots in the upper-right corner. This opens the Settings menu.
-
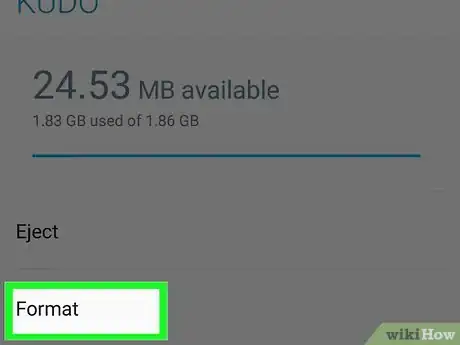
6Tap Format as internal. Now you’ll see a warning that lets you know the data on the card will be erased.
-
7Tap Erase & Format. The card will now format as internal storage. Once the card is formatted, apps you download from the Play Store will typically save there by default.
- Some apps are not able to download to an external card. Such apps will still be installed in the device’s internal storage.
Enabling the Save to SD Card on Android 5.0 (Lollipop) and Earlier
-
1Open your Android’s file manager. It’s the folder icon labeled something like My Files, File Manager, or Files.
-
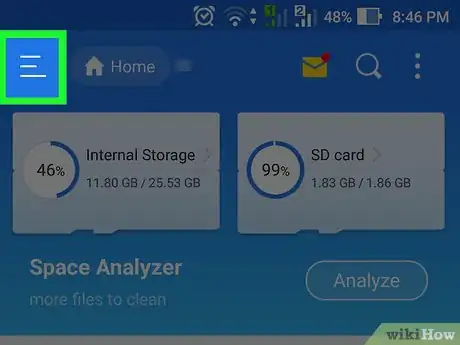
2Tap the menu ☰ or ⁝. It’s the three horizontal lines (or three vertical dots) at the top-right corner of the screen. The menu button varies by device, but you’ll know you’re in the right place if you see a menu that contains a “Settings” option.
- If you’re using an older Android, tap the menu button on your device.
-
3Tap Settings. It has an icon that resembles a gear.
-
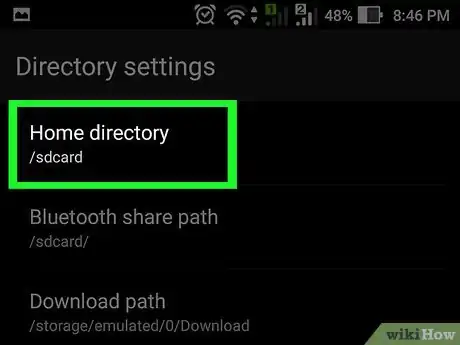
4Tap Set home directory. It’s in the main panel under the “Select directories” header.
-
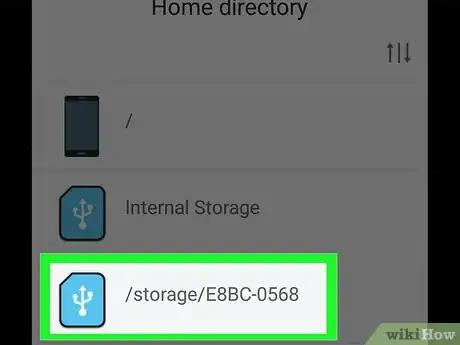
5Tap SD Card. This may have a different name, such as “extSdCard.”
-
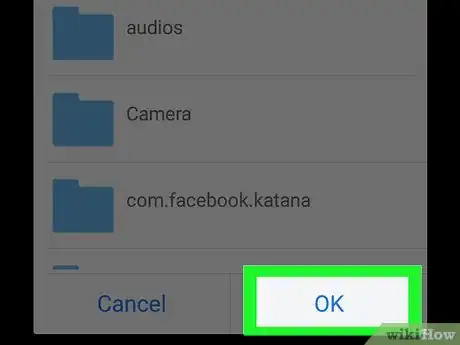
6Tap Done. Downloads will now save to your SD card by default.
Community Q&A
-
QuestionMy Android Version is 6.0.1 this method is not working. Any idea why?
 Wing Hong ChanCommunity AnswerSome manufacturers like Samsung and LG do not always allow users to format an SD card as internal. As an alternative, you can change your browser's settings to download files (from now on) to the SD card by default. In Google Chrome, tap ⁝ menu in the top right, then Downloads, ⚙ settings, Download location, then select SD Card.
 -
QuestionI have fomatted my card but still it is not downloading directly into the SD. Any ideas?
 Rudy TothCommunity AnswerThe reason why you can't download anything from a play store directly into the SD card is because if you get in there, it is very hard to remove it later. Most likely all apps will only download to your device's HD and not to a SD card. This applies to music files also.
 -
QuestionMY SD card has been formatted, still cannot download apps from Playstore there
 Rudy TothCommunity AnswerThe primary problem is once you download apps into a SD card is that you later can't remove them. It is better for the apps to be placed on your phone's hard drive where it is easier to work with than being on a SD card made for only pictures for extra storage. This applies to music files too - they should not be on a SD card.
References
About This Article
1. Open the Files by Google app.
2. Tap the icon with three lines in the upper-left corner.
3. Tap Settings.
4. Scroll down and tap Save to SD Card.
5. Tap Continue.
6. Tap Allow Access to SD Card.
7. Tap Allow.
