wikiHow is a “wiki,” similar to Wikipedia, which means that many of our articles are co-written by multiple authors. To create this article, volunteer authors worked to edit and improve it over time.
wikiHow marks an article as reader-approved once it receives enough positive feedback. This article has 15 testimonials from our readers, earning it our reader-approved status.
This article has been viewed 108,219 times.
Learn more...
There are many varieties of phlox plants, all of which produce fragrant flowers in a wide range of colors. The most common garden phlox variety is the tall phlox, which grows to heights of 2 to 4 feet (0.6 to 1.2 m) tall in large clusters of dense foliage. This hardy perennial plant does best when it is divided every 3 to 5 years.
Steps
Divide Phlox
-
1Determine when to divide phlox.[1]
- Divide phlox while it still looks healthy. The most common mistake home gardeners make when growing phlox is waiting until the plant shows signs of failing or over-crowding before they divide it.
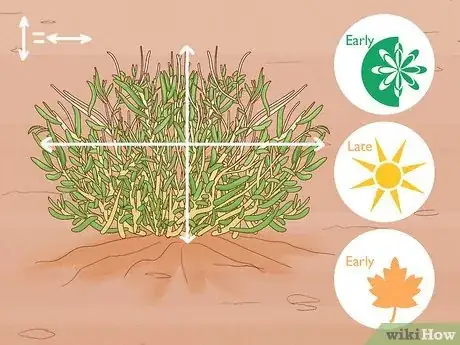
- As a rule of thumb, allow the diameter of the plant cluster to grow to the same width as the plant's height before dividing it. Divide the phlox sooner if the plant becomes over-crowded, or if the center of the plant fails to bloom and produces less foliage.
- Divide phlox in early spring, late summer or early fall. Phlox division is most successful when done in the early spring before new growth begins, or in the late summer or early fall when flowering is done.
-
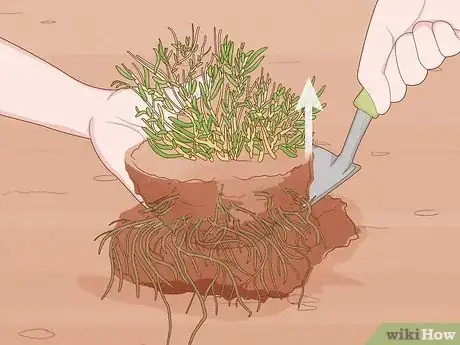
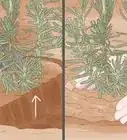
2Remove the entire cluster of phlox from the ground.[2] If you want to leave a piece of the plant in its original location, you can plant 1 of the divisions back into the original spot later.
- Dig a trench around the outside of the entire plant cluster, severing the plant's roots with the blade of your garden shovel as you go.
- Chop the roots under the plant by circling back around the trench again with your shovel. Push the shovel blade into the ground, angling it to reach under the plant's root base. Push down on the handle to lift the roots. Continue around the phlox until the cluster lifts from the ground.
Advertisement -
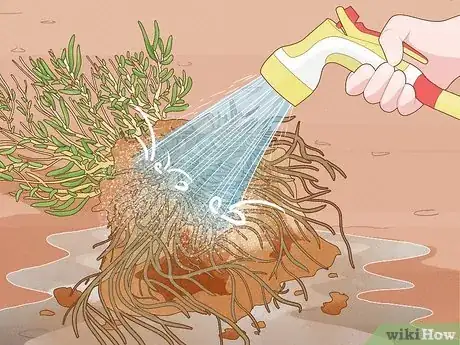
3Wash the soil from the roots with a garden hose. This gives you a better look at the roots and plant crowns. The crowns are visible at the top of the root base.
-
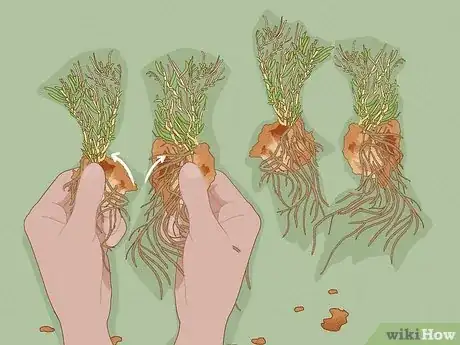
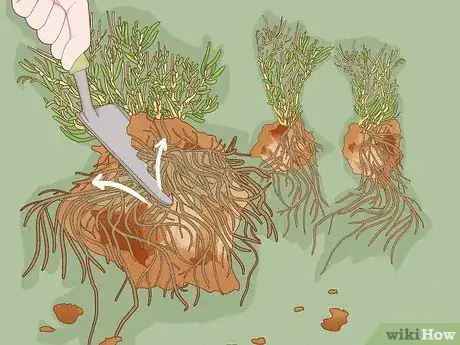
4Make multiple small divisions from the cluster. Make sure each new division has at least 1 or 2 healthy plant crowns and an ample root base to sustain the plant.[3] There are several ways to divide the cluster:
- Break pieces off from the outside of the cluster using your fingers to separate the roots and your hands to snap the plant crowns apart. Keep breaking divisions off until the entire plant has been divided.
- Use a serrated kitchen knife to cut sections off the cluster you are unable to divide the plant by hand.
-
5Cut the cluster into 2 to 4 smaller clusters by chopping it with the garden shovel.
Transplant Phlox
-
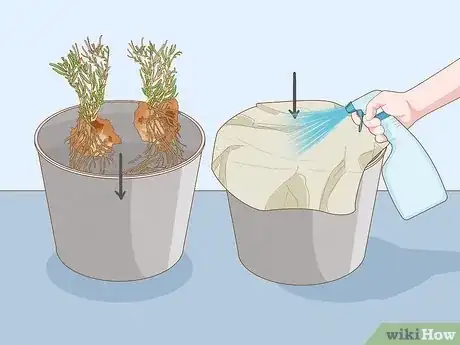
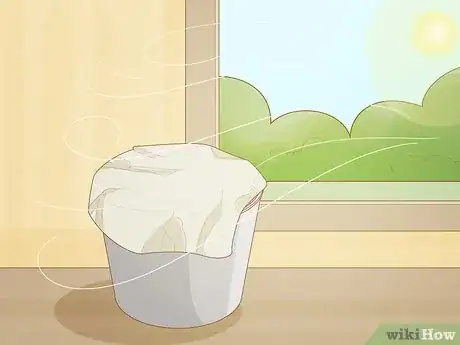
1Keep the new plant divisions cool and moist. Put the bare-rooted phlox into boxes, buckets or pots and move them into the shade if you are transplanting on a hot, sunny day. Cover the plants with newspaper to help them retain moisture.
- Mist the roots and the newspaper lightly with water if the plants are still waiting to be planted after a couple of hours.
-
2Select sunny, dry, well ventilated locations in which to transplant the phlox divisions.
-
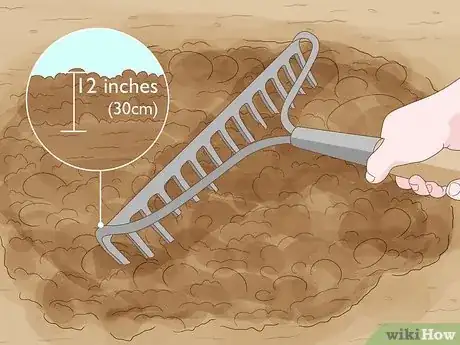
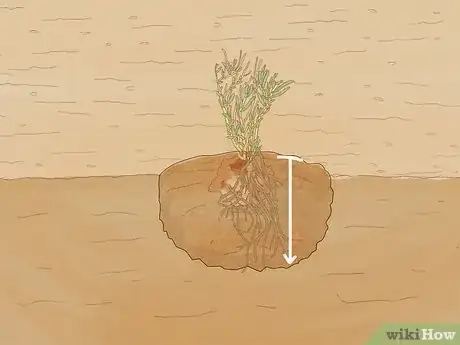
3Till the soil to a depth of at least 12 inches (30 cm). Enrich the soil with organic compost if necessary. Phlox prefer rich soil with good drainage.[4]
-
4Dig a hole large enough to accommodate the root base of the plant.
-
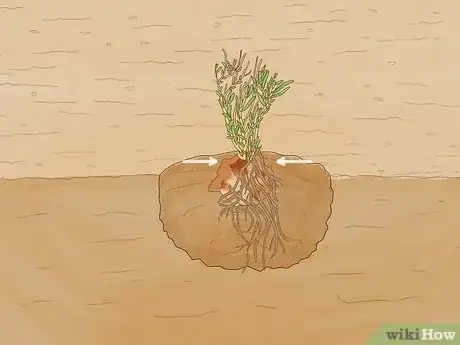
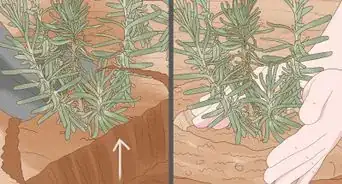
5Put the roots into the hole. Make sure the crowns of the plants are at ground level, and fill the rest of the hole with soil.[5]
-
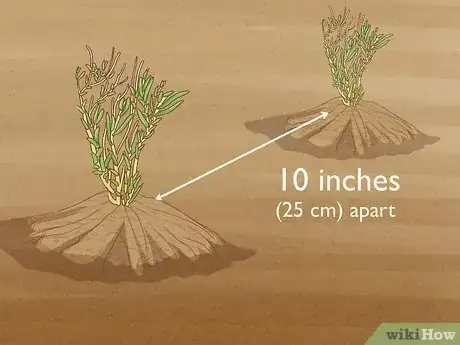
6Space the divisions so that each plant receives good air circulation. This prevents moisture from accumulating on the leaves. Phlox grown in areas without enough sun or ventilation or with too much moisture are prone to powdery mildew disease.
- Space new plant clusters at least 3 to 5 feet (1 to 1.5 m) apart. You can space the divisions at least 10 inches (25 cm) apart if you are growing smaller clumps or single phlox in a row or border.
-
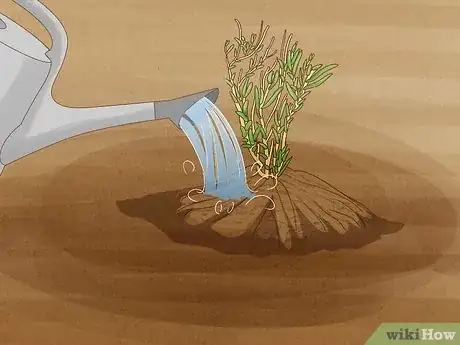
7Water your newly transplanted phlox at ground level. Avoid getting the flowers and foliage wet.
Community Q&A
-
QuestionCan I divide creeping phlox I just bought?
 NinoxTop AnswererYes, you can divide phlox as soon as you want. It is a very vigorous plant, so it should grow normally after that.
 -
QuestionAfter the phlox is done blooming, should I trim back the foliage?
 NinoxTop AnswererNo, you don't have to do that. However, you can cut the dead blooms to be sure that the plant won't use energy for nothing.
 -
QuestionHow can I keep deer from eating my phlox?
 Carlene SalazarCommunity AnswerUse deer and rabbit repellent. It's not a perfect solution, but it helps. It also can be smelly upon application, but the smell dissipates after a little while.
Things You'll Need
- Garden shovel
- Garden hose
- Serrated knife
- Boxes or pails
- Newspaper
References
- ↑ https://www.finegardening.com/article/10-tips-on-dividing-perennial-plants
- ↑ https://www.rhs.org.uk/advice/profile?pid=363
- ↑ https://www.rhs.org.uk/advice/profile?pid=363
- ↑ https://www.almanac.com/plant/phlox
- ↑ https://www.youtube.com/watch?v=nlzzJ0bszY0
- http://www.finegardening.com/how-to/articles/dividing-perennials.aspx
About This Article
Phlox plants grow to be between 2-4 feet tall, and they can usually be divided every 3-5 years. A good time to divide your phlox is during the early spring, late summer, or early fall when the plant is as wide as it is tall. You’ll need to remove the entire phlox plant from the ground, making sure to include its root ball. Then, wash the soil from its roots with a hose and break the plant apart into pieces. Each new division should have 1 or 2 healthy plant crowns and plenty of root base for it to be successful. Plant the new divisions in a sunny, dry location, and give each plant at least 3-5 feet of room to grow. To learn how to store your plant divisions if you’re not ready to plant them, read on!
