This article was co-authored by Matt Daly. Matt Daly is a Landscape Designer and the Founder of Water & Earth Landscape Design, which is based in both Richmond, Virginia, and San Jose, California. With nearly 10 years of experience, he specializes in designing outdoor living spaces, including patios, pools, and fireplaces. Matt also runs a blog where he educates homeowners about landscaping topics: https://www.liveinyourbackyard.com/. He earned his Landscape Design & Horticulture Certification from The University of Richmond, where he also studied Sustainable Landscape Practices.
This article has been viewed 231,056 times.
Swales are an excellent technique in rainwater harvesting. They capture surface runoff and send it deep into the aquifer, both nourishing trees and reducing erosion. The berms beneath them make great fertile planting beds. And best of all, swales can be dug by hand and cost you nothing.
Steps
-
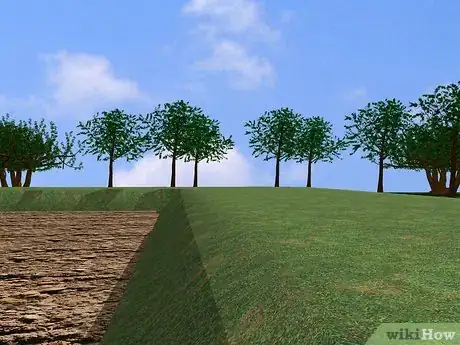
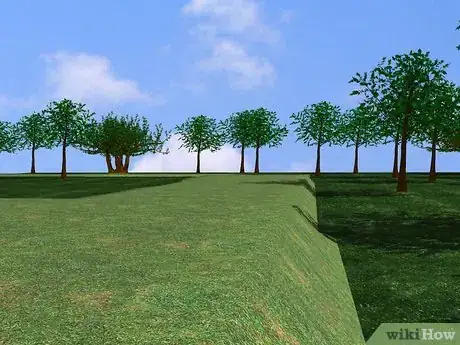
1Site the swales. Put them slightly uphill from areas you want to hydrate, and/or areas you want to stop erosion in. Take two stakes and run line between them for the length of the proposed swale. The above swales are each 30' long. A swale must be dug 'on contour', and have a level bottom.[1] This is so the water captured by the swale pools evenly and percolates deep into the soil.
-
2Attach the line to the stakes at the same distance up from the bottom. That way when the stakes are stretched out, you can read whether they're at the same elevation by using a line level placed at the center of the string. Set the line rather high to clear weeds and other obstructions. Keep moving one stake until the line level on the string reads level. This may be diagonally across your slope - this is fine, just stagger your swales so that runoff can't get by. You may want to construct a simple A-frame, a leveling device that will show you the contour as well.[2]Advertisement
-
3Pound in stakes once you've found the contour for your swale. A good swale width is around 16"-18" - wide enough for you to get in and dig.
-
4
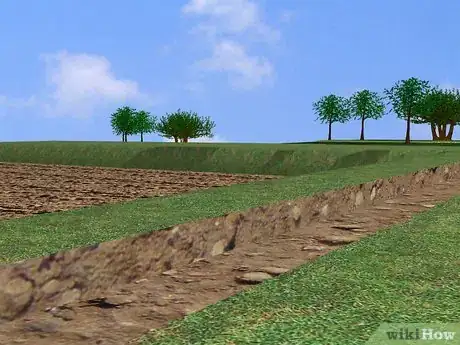
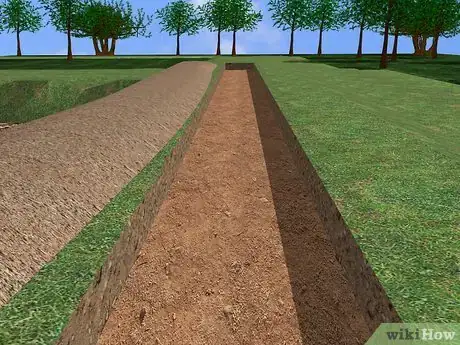
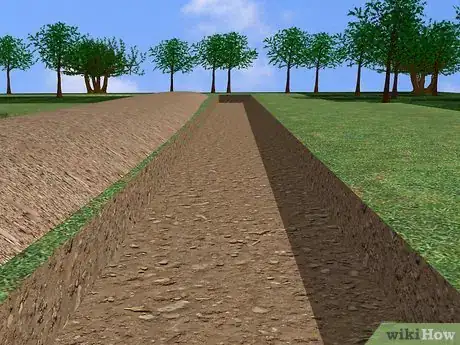
Dig a level trench. The trench can be as deep as you need - 1' is about average, less if you don't plan on filling it in with anything. Loosen the dirt with a pick. Shovel it out with a half-length snub-nosed transfer shovel. All the loose dirt goes on the downhill side of the swale, heaped up into what is called a "berm." It acts as a retaining wall and holds water back that fills the swale. It also makes a great planting bed, as the dirt is tilled and mounded up with little competition nearby, and copious water. Planting the berm will stabilize the new soil.[3] -
5Get the bottom of the trench flat and level.[4] Lay a long straight board along the bottom, with the narrow or "factory" edge up - place a 4' to 6' level on it. Get the board level, then look beneath it to gauge where in your trench you need to go a little deeper. Rather than dig with a pick here, it's much better to scrape the bottom with a square-edged shovel to get it nice and flat. Once this area is done, move the board further down the trench and continue, until the entire bottom of the trench is straight across and level. Don't worry about absolute perfection here - just do the best you can. Keep in mind, rotting swale material, and any movement of berm dirt will lump up the bottom and throw it off - so perfection won't last anyway. You can also crack the bottom of the swale with a spading fork to aid in percolation:
-
6
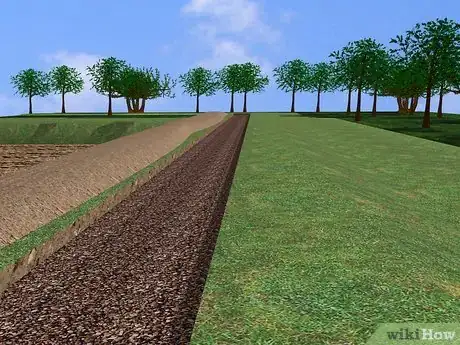
Begin filling the swale. Gravel works but is costly, and you have to haul it up to the swale. If you're planting the berms with something acid-loving, like blueberry, try to simulate the conditions it likes in the wild. Start with a layer of leaves. -
7Add bulk material, like rotten wood.[5] Make sure it's spongy so it will continue to decay. You have the option of not filling the swale at all, but that will leave a rather unsightly hazardous ditch susceptible to erosion. The wood will rot and provide nutrients for whatever you plant the berm with, and stabilize the trench. If you don't have rotten boards, gather rotten wood from the forest.
-
8
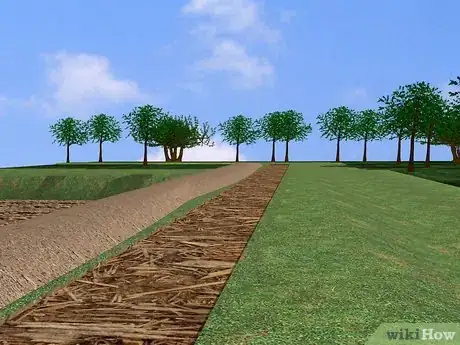
Add a final cover material, like straw. It will help hold the moisture in the wood. If possible, just run some water over the wood, or pour a few buckets in, before you cover with straw. -
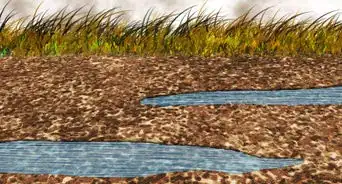
9Dig more swales the same way, until you've covered the necessary area. Make sure each swale butts up to the other, or overlaps, so runoff can't get through and start a gully. Plant the berms and you're done!
Community Q&A
-
QuestionThere is a grassy rut on my property which handles runoff on mountain-side land with a gentle pitch that is mostly dry. Is a swale appropriate for this situation where the land runs down?
 Community AnswerYep, that's the best. No maintenance, replacement or back-flushing of anything, and it can be both widened or deepened to handle more, if you have a home gutter system that you want to tie into it with pipes or another swale.
Warnings
- Be aware that if your property is located on a wetland, then you will need a US Army Corps of Engineers (USACE) permit to do this work. Any dredge of material into a wetland is considered a violation and you could face heavy fines for illegal work. You can find information concerning this at the USACE website. If you are not sure if your property is located on a wetland, it is best to look up your property on a topographic map with a National Wetland Inventory map to overlay to give you approximate boundaries of potential wetlands. These maps can be located on the US Fish and Wildlife website or you can contact your local Corps office for more information.⧼thumbs_response⧽
- Make sure to call your local utility companies before you start doing any digging or leveling, even in your own property.⧼thumbs_response⧽
Things You'll Need
- Twine
- Pick/Mattock
- Transfer Shovels (half-length, snub-nosed and square-end)
111*Line Level
- 4' to 6' Level
References
- ↑ https://www.tenthacrefarm.com/how-to-build-swale/
- ↑ https://www.tenthacrefarm.com/how-to-build-swale/
- ↑ https://www.regenerative.com/magazine/six-steps-building-swale
- ↑ https://www.regenerative.com/magazine/six-steps-building-swale
- ↑ https://permaculturenews.org/2015/07/24/how-to-build-a-swale-on-contour-successfully/
- Homesteading in Tennessee: Digging Swales - Original source of content, shared with permission.
