X
This article was co-authored by Michelle Bebbington. Michelle Bebbington is a Professional Hair Stylist and the Owner of The Living Room Hair and Skin based in Great Falls, Montana. With over 20 years of experience, she specializes in hair education, coloring, and styling.
This article has been viewed 65,259 times.
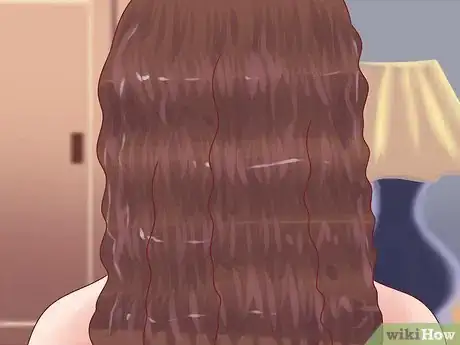
The quickest and most common way to crimp hair is to use a crimping iron. Unfortunately, heat styling can be very damaging to hair, even with a heat protecting spray. Fortunately, there are several ways to crimp your hair without using any heat. It will take longer than with heat styling, but the results are safe and worth it.
Steps
Method 1
Method 1 of 3:
Braiding Hair for a Tight Crimp
-
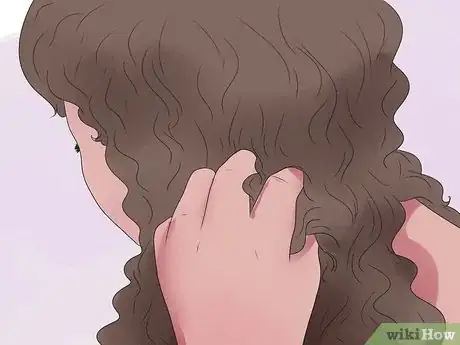
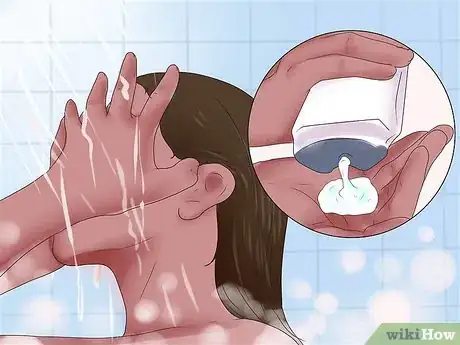
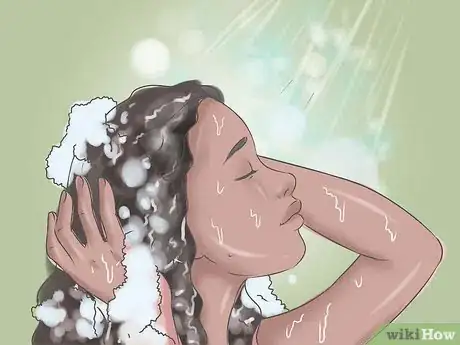
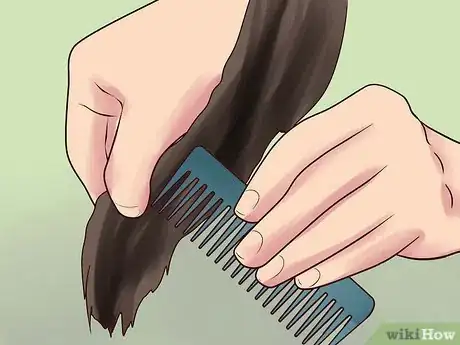
1Start with clean, damp, tangle-free hair. If you have not already, shampoo and condition your hair. Let it air dry partway before continuing; it will be easier to braid. Make sure that your hair is completely tangle-free. Run a wide-toothed comb through it, if necessary.
-
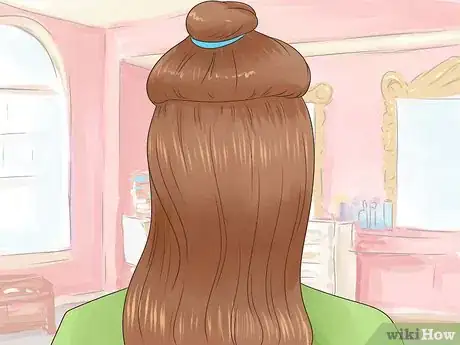
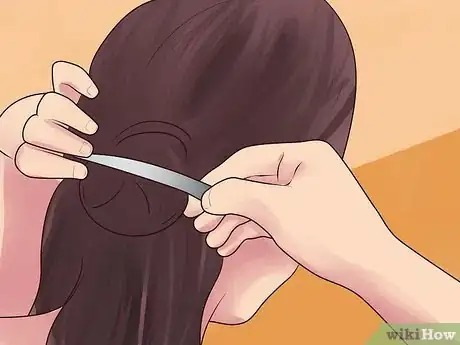
2Pull your hair up into a bun, with the bottom layer loose. This will make it easier to work with. For a tighter crimp, pull the top three-quarters of your hair into the bun and leave the bottom fourth loose. For a looser crimp, pull only half of your hair up into the bun, and leave the bottom half loose. This will be the first layer you will be working with.Advertisement
-
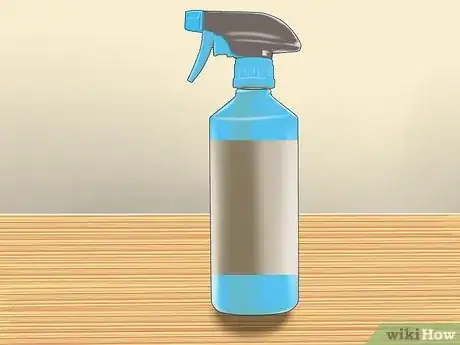
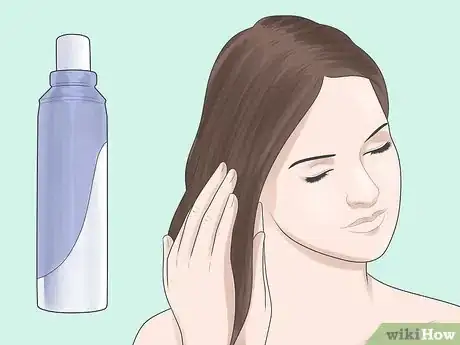
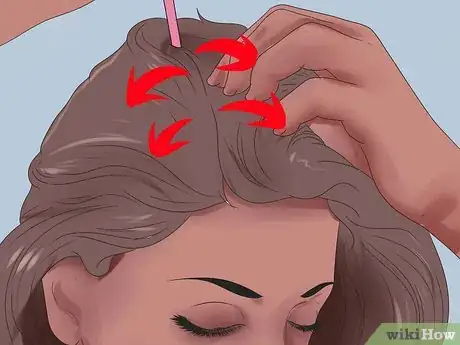
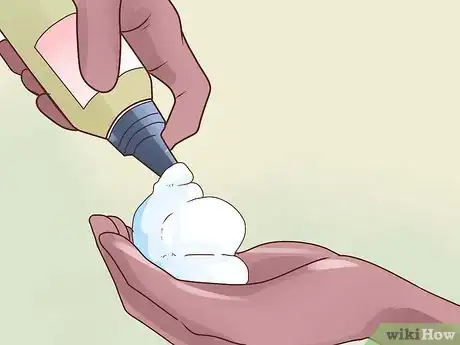
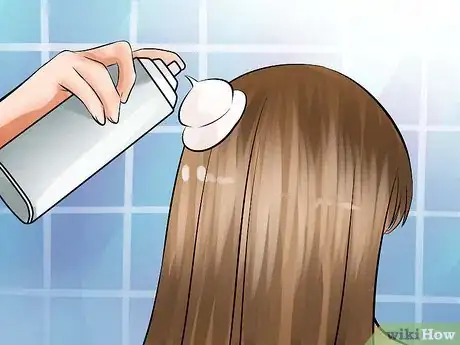
3Consider massaging some light-hold styling mousse into the bottom layer. This will help your hair hold the crimp better, especially if your hair is very straight or does not hold a curl well. If you do this, you will need to do it for each layer of hair that you work with.
- You can use hairspray instead of mousse if you prefer.[1]
-
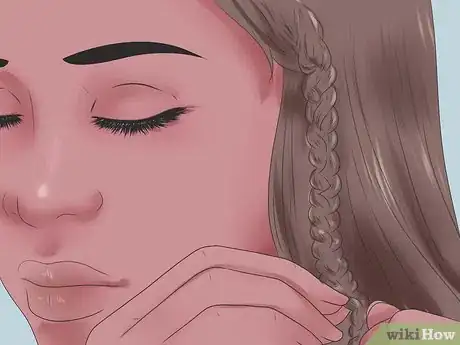
4Take a ½ to 1 inch (1.27 to 2.54 centimeters) wide section of your hair and braid it. Take a section of hair closest to your face. Try to keep the braid tight. The smaller section of hair you braid with, the tighter crimp you will get.
-
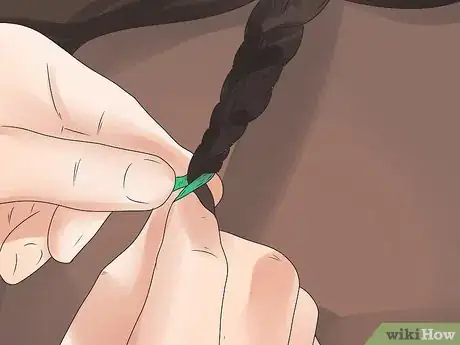
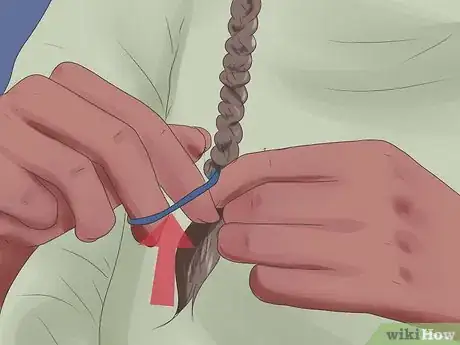
5Tie the braid off with a mini hair elastic and tuck the end unto the elastic. When you get to the very end of your hair, tie a mini hair elastic around the braid ½ inch (1.27 centimeters) from the bottom. Loop the tail end of the braid into the hair elastic.[2] This will help keep the ends looking crimped and prevent them from appearing too straight.[3]
-
6Keep braiding in ½ to 1 inch (1.27 to 2.54 centimeters) wide sections until you reach the other side of your head. Try to keep the braids as even as possible.[4]
-
7Let down the next layer of hair. Once you finish the row, undo the bun at the top of your head, and let down another layer of hair. If you are working with more than two layers for a tighter crimp, pull the rest of your hair up into the bun.
- If you applied mousse into the bottom layer earlier, be sure to apply more mousse to this new layer.
-
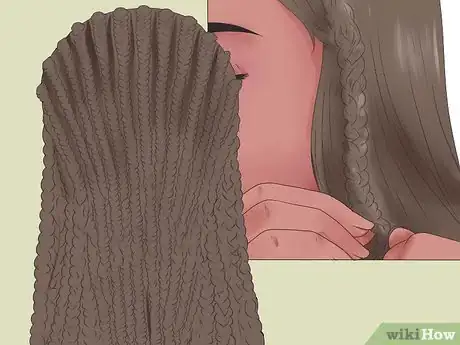
8Keep braiding and letting down layers until you have no more hair left to braid. When you finish the end of a row, let down some hair. You want to end up with four rows of braids for a tight crimp, and two rows for a loose crimp.
-
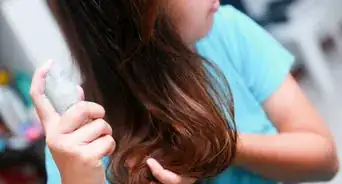
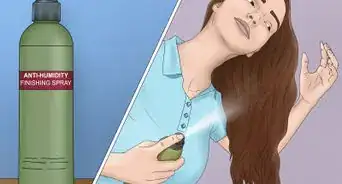
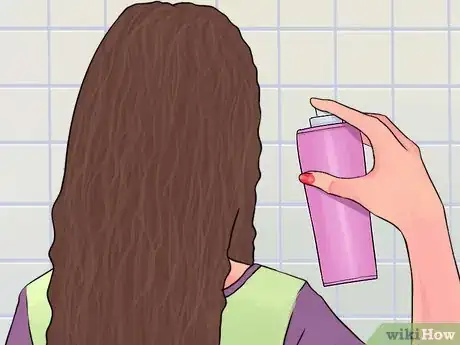
9Consider adding a light mist of hair spray. This will help give your hair some extra holding power.[5]
-
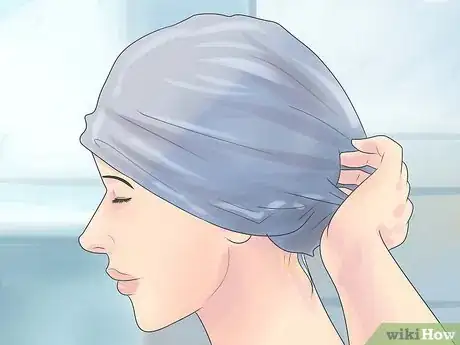
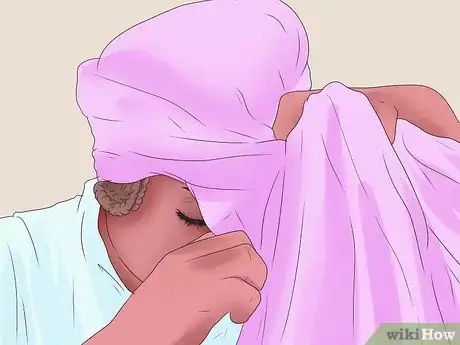
10Let your hair dry. This can take anywhere between two to four hours. If you are going to sleep with the braids in, then consider wrapping your hair with a head scarf or sleeping on a satin pillowcase. This will help reduce friction and prevent frizz.
-
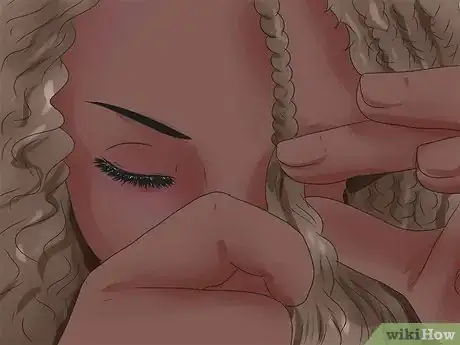
11Remove the braids when your hair is completely dry. Start with the bottom layer first, then work your way to the top. If you aren't certain whether or not your hair is dry, press your fingers into one of the braids. If the hair inside the braid feels dry, the braids are safe to undo. If the hair inside the braid feels damp, let your hair dry longer.[6]
-
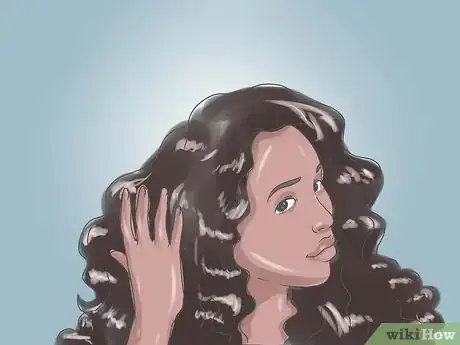
12Style your hair as desired, but do not brush it. Brushing crimped hair will make it turn frizzy. You can leave your hair loose, or you can part it off to one side. You can even wrap a headband around your head or pull your hair up into a high ponytail.
- If the crimps aren't fluffy enough, you can soften them by gently running your fingers through your hair.
Advertisement
Method 2
Method 2 of 3:
Braiding Hair for a Loose Crimp
-
1Start with clean, damp, tangle-free hair. If you have not already, shampoo and condition your hair. Let it air dry partway before continuing; it will be easier to braid. Make sure that your hair is completely tangle-free. Run a wide-toothed comb through it, if necessary.[7]
-
2Consider massaging some light-hold styling mousse into the bottom layer. This will help your hair hold the crimp better, especially if your hair is very straight or does not hold a curl well. If you do this, you will need to do it for each layer of hair that you work with.
-
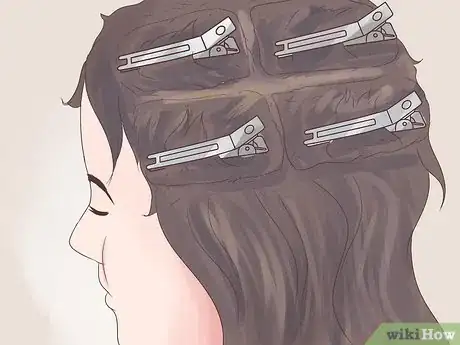
3Divide your hair into sections. The more sections you have, the tighter crimp you will get. If you want, you can keep these sections separated temporarily with a hairclip, a claw clip, or even some hair ties. Be sure to take these out before you are braiding that section.
- For thinner hair, try 3 to 5 sections.
- For thicker hair, try 3 to 10 sections.
-
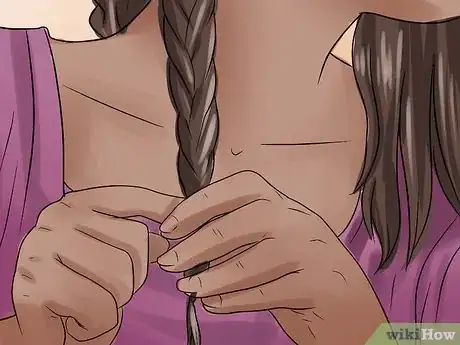
4Braid or French braid your hair. Try to keep the braids as tight as possible. A regular braid will result in straighter hair at top, and crimped hair at the bottom. A French braid will result in an all-over crimp.[8]
- Be sure to braid your hair all the way to the ends. Tie the braid off with a hair tie about ½ to 1 inch (1.27 to 2.54 centimeters) from the ends. Loop the tail end of the braid into the hair elastic. This will help create that all-over crimped look, and prevent any straight ends.
-
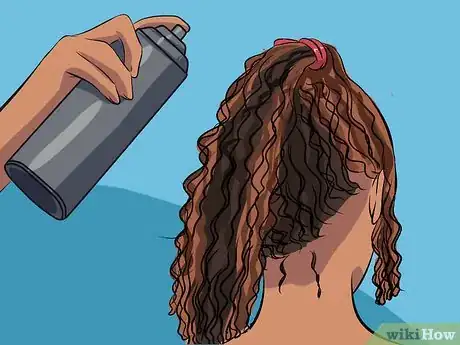
5Add a light mist of hairspray if your hair has troubles holding curls. The hairspray will help your hair keep the crimp longer.
-
6Wait for you hair to dry. This can take up to four hours, or even longer, depending on the thickness of your hair. If you are going to sleep with the braids in, try wrapping your hair with a head scarf or sleeping on a satin pillowcase. This will help prevent friction and frizz.
-
7Take the braids out when your hair is dry. If you can't tell if your hair is dry, press your fingers into one of the braids. If the hair inside the braid feels dry, then you can undo the braids. If the hair feels damp, let your hair dry longer.[9]
-
8Style your hair, but do not brush it. Brushing crimped hair will make it turn poofy. If the crimps aren't fluffy enough for you, soften them up by gently running your fingers through them.
Advertisement
Method 3
Method 3 of 3:
Using Straws
-
1Start with clean, damp, tangle-free hair. If you have not already, wash your hair with shampoo and conditioner. Run a wide-toothed comb through your hair to undo any tangles, if necessary. Allow your hair to hair dry partway before continuing.
-
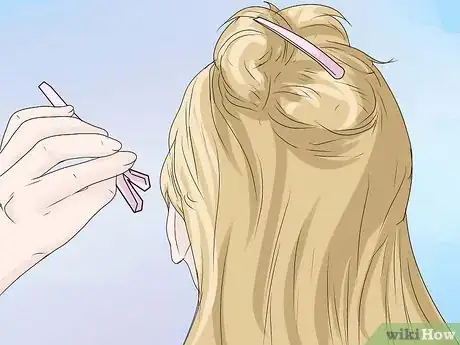
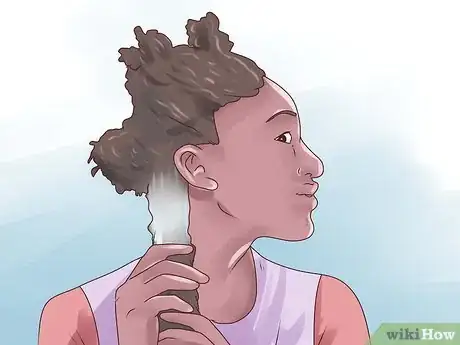
2Pull your hair up into a bun at the top of your head, leaving the bottom layer undone. Plan on having the top three-quarters up in the bun, and the bottom forth loose. You will be winding this hair around the straws first.
-
3Consider adding some light-hold styling mousse for extra holding powder.[10] This is especially helpful for those with very straight hair, or whose hair can't hold a curl. Just remember, each time you let down another layer of hair, you will need to apply more mousse to that layer.
-
4Take a 1 inch (2.54 centimeters) wide section of hair from the bottom layer. Choose a section closest to your face. Smooth out any flyaways using your fingers or a comb.
-
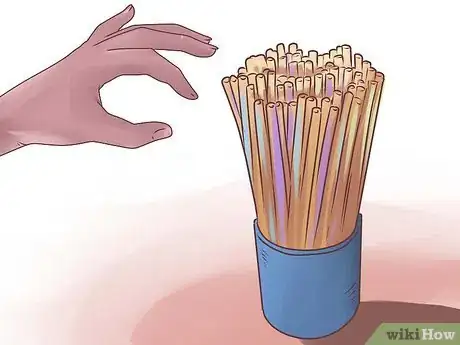
5Bend a straw in half. If the straw has a bendy tip, you might want to cut that part off. You will be weaving the hair section around the straw.
-
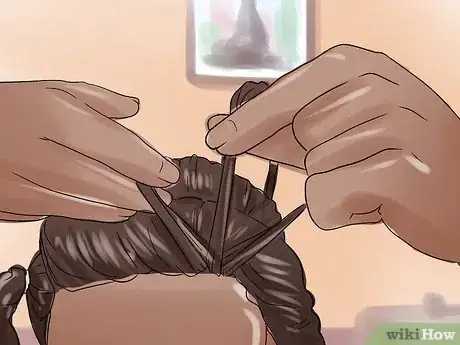
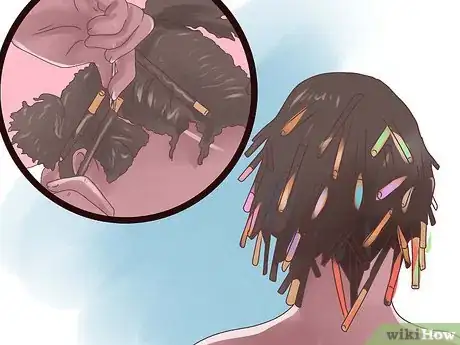
6Begin wrapping the hair around the straw in figure-eights. Sandwich the hair between the two sides of the straw. Bring the straw as close to your roots as possible. Weave the hair around the two sides of the straw in figure-eights. Try to keep the hair as tight as possible.
-
7Tie a mini hair elastic around the ends of the straw when you reach the end of your hair. When you have no hair left to weave, pinch the two ends of the straw together. Wrap a mini hair elastic around the two ends of the straw, pinning the hair shut between them.
-
8Repeat the process for the rest of the hair in the bottom layer. When you reach the other side of your hair, undo the bun and let down the next layer of hair. Half of your hair should now be loose. Pull the top half of your hair up into a bun. If you applied styling mousse to your hair before, apply it to this new layer now.
-
9Keep winding your hair around straws in one inch sections until you reach the top of your head. You should have four rows of hair-wrapped straws.
-
10Consider giving your hair a light mist of hairspray.[11] This will help your hair hold its crimped shape better when you take the straws out.
-
11Let the hair dry. This can take several hours. If you are going to sleep with the straws in your hair, you might want to tie a head scarf around your hair, or sleep on a satin pillowcase. This will help reduce friction and frizz.
-
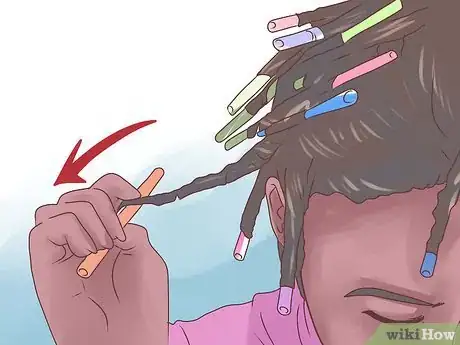
12Remove the straws the next day. Start with the bottom-most layer. Take a straw closest to your face, and pull the hair elastic off. Grip the straw by the folded end, and carefully slide it out of your hair. Finish pulling the straws out of the bottom-most row before you move onto the next.
-
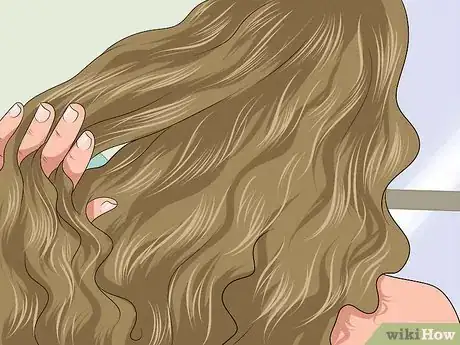
13Style your hair, if desired, but avoid brushing it. If you brush your hair, it will turn frizzy. If the crimps are too tight for your liking, you can fluff them out a little with your fingers.
-
14Finished.
Advertisement
Community Q&A
-
QuestionHow do you crimp your hair without braids?
 Community AnswerWith a crimping machine, but this would be using heat.
 -
QuestionHow long will my hair stay crimped?
 Community AnswerIf you wrap your hair in a head scarf, it should stay for about 3-4 weeks.
Advertisement
Warnings
- Your hair must be completely dry before you take the braids or straws out. If you hair is even a little damp, your hair will not be crimped.⧼thumbs_response⧽
Advertisement
Things You'll Need
Braiding Hair for a Tight Crimp
- Lots of mini hair elastics
- Head scarf or satin pillowcase (optional but recommended)
- Hair mousse (optional)
- Hair spray (optional)
Braiding Hair for a Loose Crimp
- Lots of hair elastics
- Head scarf or satin pillowcase (optional but recommended)
- Hair mousse (optional)
- Hair spray (optional)
Using Straws[12]
- Lots of straws
- Lots of mini hair elastics
- Head scarf or satin pillowcase (optional but recommended)
- Hair mousse (optional)
- Hair spray (optional)
References
- ↑ Michelle Bebbington. Professional Hair Stylist. Expert Interview. 3 August 2021.
- ↑ Michelle Bebbington. Professional Hair Stylist. Expert Interview. 3 August 2021.
- ↑ Bustle, I Crimped My Hair Without Heat And It Turned Out Way Cuter Than I Thought It Would
- ↑ Michelle Bebbington. Professional Hair Stylist. Expert Interview. 3 August 2021.
- ↑ Bustle, I Crimped My Hair Without Heat And It Turned Out Way Cuter Than I Thought It Would
- ↑ Michelle Bebbington. Professional Hair Stylist. Expert Interview. 3 August 2021.
- ↑ Michelle Bebbington. Professional Hair Stylist. Expert Interview. 3 August 2021.
- ↑ Michelle Bebbington. Professional Hair Stylist. Expert Interview. 3 August 2021.
- ↑ Michelle Bebbington. Professional Hair Stylist. Expert Interview. 3 August 2021.
- ↑ The Beauty Department, Halloween Hair Tutorial 2
- ↑ The Beauty Department, Halloween Hair Tutorial 2
- ↑ Cute Girls Hairstyles, Get Merida’s Fiery and Curly Red Hair
About This Article
Advertisement


-Step-2-Version-2.webp)
-Step-4-Version-2.webp)
