This article was co-authored by Kanika Khurana and by wikiHow staff writer, Janice Tieperman. Kanika Khurana is an Interior Designer and the Owner of Kanika Design. With over 12 years of experience, Kanika specializes in remodeling, refurnishing, and color consulting. Kanika holds a Bachelor’s Degree in Psychology from San Francisco State University, a Redesign and Home Staging Certification, and an Associate Degree in Business Administration from Cañada College.
There are 10 references cited in this article, which can be found at the bottom of the page.
This article has been viewed 12,550 times.
If you’re looking to upgrade or renovate your home, tongue and groove walls, otherwise known as paneling, may be an unwanted design element in some of your rooms. While you can disguise the panels with a fresh coat of primer and paint, it’s far more effective to fill in the grooves with a mixture of joint compound and mud powder, then paint over the smooth wall. With a bit of patience, you can create a whole new design for parts of your home!
Steps
Filling in the Grooves
-
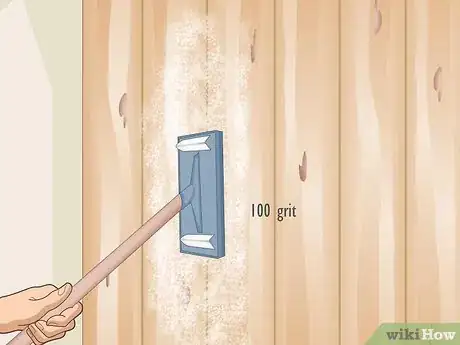
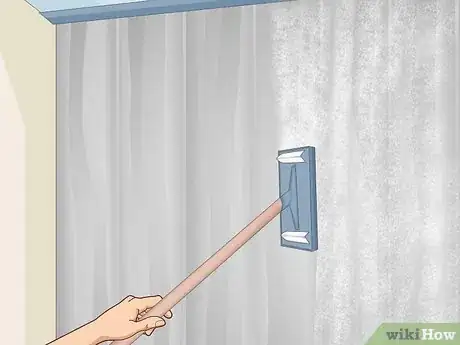
1Rub down the surface of the wood with 100-grit sandpaper. Attach an extension pole to a large, rectangular block or base of smooth sandpaper. Using this extension, sand down all the panels on your tongue and groove wall. Try to work in long, vertical movements so you can keep track of how much you’ve sanded.[1]
- You can purchase large sandpaper sections, a sandpaper extension base, and an extension pole from your local hardware or home improvement store.
Tip: To protect your nose, mouth, and lungs, consider wearing a breathing mask while you sand.
-
2Wipe away any dust lingering on the wall. Take a clean cloth and wipe down the surface of the panels, as well as the edges and inner grooves. Focus on any areas where dust has collected, and do your best to brush it off the wall entirely.[2]
- You don’t want dust getting stuck in the joint compound mixture later on.
Advertisement -
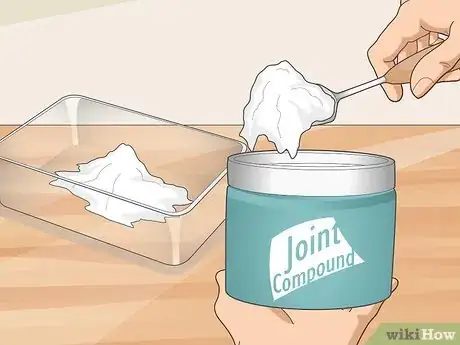
3Scoop some joint compound into a small container. Use a small, 4 in (10 cm) palette knife to add at least 2 cups (470 mL) of joint compound into a narrow, rectangular container. While you don’t want to use too much compound, make sure that you have enough to coat your entire wall.[3]
- You can find joint compound at your local home improvement or hardware store.
-
4Stir a 4-5 spoonfuls of fast-acting mud powder into the joint compound. Use your small palette knife to mix the 2 ingredients together until they form an even mixture with no leftover powder. If you don’t want to measure an exact amount into your compound, you can tilt the bag to add a small amount to your container.[4]
- This powder can be found at most home improvement or hardware stores.
-
5Use a palette knife to fill the grooves with the compound. Scoop a plum-sized amount of the compound-powder mixture onto your palette knife, then spread the filler into the grooves of the wall. Use smooth, downward motions to work the compound into the grooves, keeping the flat edge of the knife along the wall as you apply and spread the mixture. Focus on small, 1 to 2 ft (30 to 61 cm) sections at a time if you want to be more exact.[5]
-
6Spread the mixture down the entire gap along the wall. Continue dipping your palette knife into the compound mixture, filling the grooves as you go. Work in smooth, downward motions so you can make sure the grooves are evenly filled.[6]
-
7Smooth out the joint compound with a large palette knife. Take a larger palette knife that’s at least 8 in (20 cm) long and scrape it on top the filled grooves of your wall. Drag the flat edge of the knife down the wall so you can pick up and get rid of any excess joint compound. Repeat this process along all of the grooves that you’ve filled in so far.[7]
- Use a different palette knife than the tool you used to apply the compound-powder mixture initially.
-
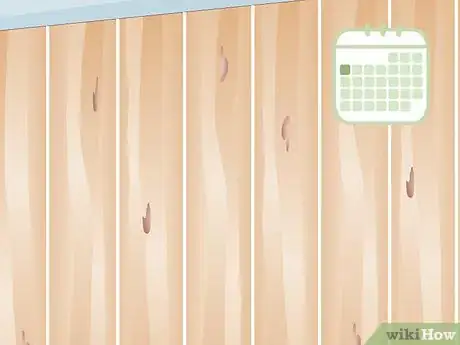
8Wait at least 1 day for the compound to dry completely. Leave your newly filled walls alone, allowing the grooves to harden into drywall over the next day or so. Depending on the temperature and humidity levels in your room, it may take a longer or shorter amount of time for the compound to dry completely.[8]
- For instance, if your room is 70 °F (21 °C) and not very humid, it may only take 10 hours for the compound to dry.
-
9Add a second coat of joint compound if your wall has thick grooves. Check the surface of your dried wall to see if there are any visible grooves in the surface. Create the same mixture as you did before, then dip a palette knife into the compound to apply it to your walls. Once you’ve filled in the gaps with the compound, use the larger palette knife to remove any excess mixture from the walls.[9] Wait 1 day or so for the compound to harden.[10]
- If you can still see visible grooves in the wall, you may need to apply an extra layer of joint compound and mud powder to the walls.
- The drying time will ultimately depend on the temperature and humidity levels of the room.
-
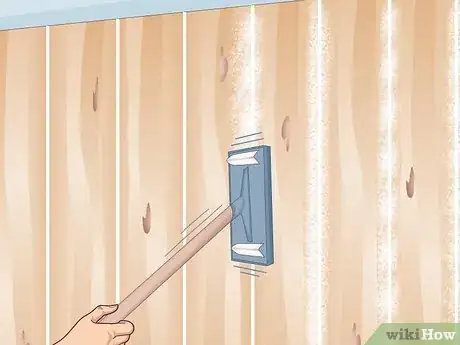
10Sand down any excess compound with a sandpaper pole attachment. Use your extension pole and 100-grit sandpaper to rub away any excess compound from your walls. Work in long, vertical movements across the entire wall, so you can create a smooth, even surface across the entire wall.[11]
Painting Over the Wall
-
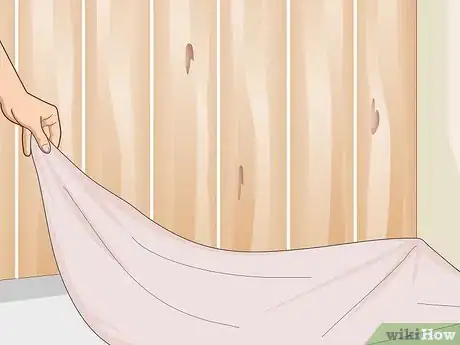
1Set up drop cloths and plastic sheeting to protect your workspace. Place large sections of newspaper or drop cloth on the floor in your workspace, then use long strips of painter’s tape to secure them into place. If the room has windows, tape a large piece of plastic sheeting over the window opening in the wall. Additionally, be sure to cover any furniture in the room with drop cloths or sheeting as an extra precaution.[12]
- As an extra precaution, you might want to wear a breathing mask so you don’t breathe in any paint fumes.
- If you’re working in an enclosed area, consider opening a window or setting up a box fan to improve the ventilation of your workspace.
-
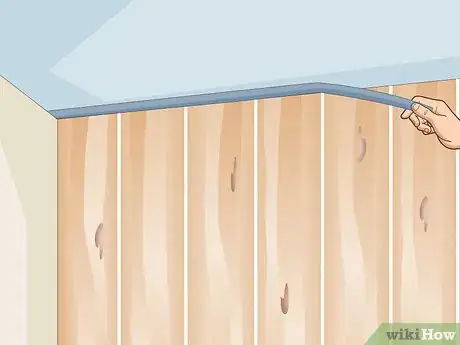
2Use painter’s tape to mask the upper edge of the wall. If needed, use a ladder to reach the area where your wall meets the ceiling. Take several long strips of tape to cover and mask the edge of the ceiling, which will prevent any primer or paint from dripping or smearing onto it. Additionally, apply multiple strips of tape to the edge of the trim, so your coats of primer and paint can be as smooth as possible.[13]
-
3Sand the wall then wipe it down to remove dust. Attach a large sheet of 100-grit sandpaper to the base of an extension pole, then start rubbing down the surface of the wall. Work in long, vertical motions, making sure to sand down the entire surface of the wall. Then, use a tack cloth to remove all the dust from the wall.[14]
- The primer is more likely to stick to a rough surface than a smooth one.
- If your wall feels rough from when you previously used sandpaper, you don’t have to worry about this.
-
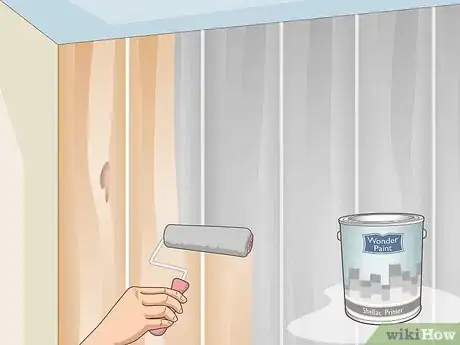
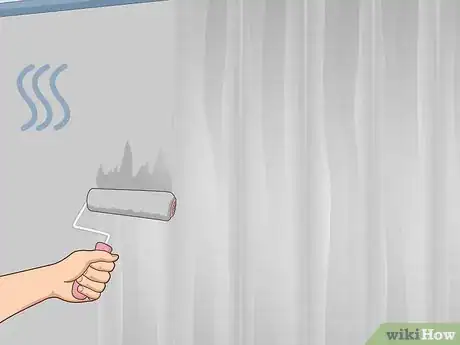
4Apply a layer of shellac-based primer over the entire wall. Pour at least 1 cup (240 mL) of primer into an empty painting tray. Roll a large, clean paint roller into the primer until it’s completely coated, then begin rolling the paint onto the walls. Work in long, even strokes, keeping the primer as smooth and even as possible. As you go, roll out any splotches or uneven sections of paint on the surface.[15]
- Shellac-based stain blocking primer is best for tongue and groove walls. You can find this at your local hardware or home improvement store.[16]
-
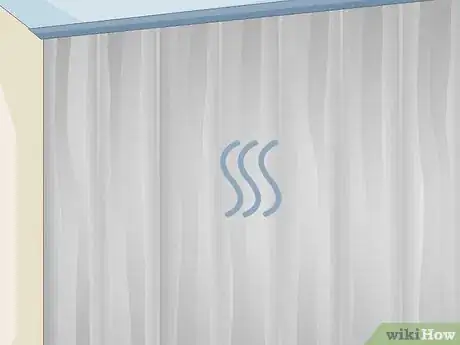
5Wait for the primer to dry completely. Read the instructions on your can of primer to see how much time the product needs to dry. Step away from your painting area for a bit, allowing the minimum amount of drying time to pass. Don’t apply any extra primer until the wall is completely dry to the touch.[17]
- If you have gloves on, lightly tap the wall to make sure that the wall is dry.
-
6Rough up the first coat of primer with sandpaper. Attach a smooth sheet of 120-grit sandpaper to the base of an extension pole, then begin rubbing down the primed wall. Work in a continuous direction so you can rub down the wall evenly. Wipe down the wall with a tack cloth when you're done to remove the dust.[18]
- Double-check that the wall is completely dry before sanding it again.
-
7Apply a second coat of primer to the wall and let it dry. Dip a large paint roller into the paint tray or primer, then roll the primer onto the wall’s surface. Try to paint in 1 direction, so you can apply the primer as evenly as possible. Continue painting from right to left, using long, vertical strokes until you completely cover the wall.[19] To be safe, wait 1 full day so the primer can fully dry.[20]
- This second layer of primer helps to better disguise any leftover compound.
-
8Paint over the primed wall with a new roller. Pour some wall paint into a new, clean paint tray. Dip and coat a clean roller in the tray, then begin applying the paint over your primed walls. Work in a continuous direction, applying the paint in long, vertical strokes as you go.[21]
- If you have to paint any trim or door frames, use a small, 4 in (10 cm) wide paintbrush to get the job done.
-
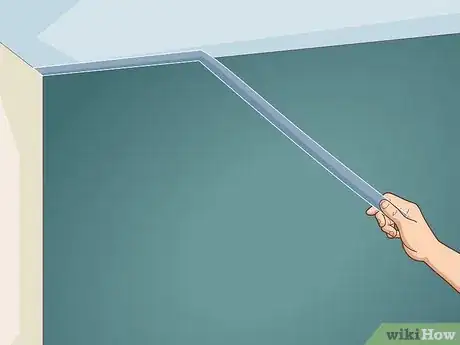
9Peel away any painter’s tape before the paint dries. Step on your ladder so you can reach the strips of masking tape safely. While the paint dries, remove the painter’s tape at a 45-degree angle to keep the ceiling edges clean and crisp. After this, read your paint can for specific recommendations on drying time.[22]
- Wait around 1 day to make sure the paint is completely dry.[23]
Things You’ll Need
Filling in the Grooves
- Cloth
- Joint compound
- Fast-acting mud powder
- Small container
- Small and large palette knife
- 100-grit sandpaper
- Sandpaper base
- Sandpaper pole attachment
Painting Over the Wall
- Drop cloths
- Plastic sheeting
- Painter’s tape
- Breathing mask
- 100- and 120-grit sandpaper
- Paint rollers
- Paint tray
- Shellac-based stain-blocking primer
- Wall paint
- Paintbrush (optional)
References
- ↑ https://todayshomeowner.com/video/how-to-fill-grooves-in-paneling-before-painting/
- ↑ https://todayshomeowner.com/video/how-to-fill-grooves-in-paneling-before-painting/
- ↑ https://todayshomeowner.com/video/how-to-fill-grooves-in-paneling-before-painting/
- ↑ https://todayshomeowner.com/video/how-to-fill-grooves-in-paneling-before-painting/
- ↑ https://todayshomeowner.com/video/how-to-fill-grooves-in-paneling-before-painting/
- ↑ https://todayshomeowner.com/video/how-to-fill-grooves-in-paneling-before-painting/
- ↑ https://todayshomeowner.com/video/how-to-fill-grooves-in-paneling-before-painting/
- ↑ http://dwfc.org/wp-content/files/2010_03_16_Joint_Compound_Drying.pdf
- ↑ https://todayshomeowner.com/video/how-to-fill-grooves-in-paneling-before-painting/
- ↑ http://dwfc.org/wp-content/files/2010_03_16_Joint_Compound_Drying.pdf
- ↑ https://todayshomeowner.com/video/how-to-fill-grooves-in-paneling-before-painting/
- ↑ https://www.youtube.com/watch?v=BM601ZrPTvc&t=1m8s
- ↑ https://www.youtube.com/watch?v=BM601ZrPTvc&t=1m4s
- ↑ https://todayshomeowner.com/video/how-to-paint-paneling/
- ↑ https://todayshomeowner.com/video/how-to-paint-paneling/
- ↑ https://todayshomeowner.com/video/how-to-fill-grooves-in-paneling-before-painting/
- ↑ https://www.youtube.com/watch?v=BM601ZrPTvc&t=1m58s
- ↑ https://www.youtube.com/watch?v=BM601ZrPTvc&t=2m2s
- ↑ https://www.youtube.com/watch?v=BM601ZrPTvc&t=2m28s
- ↑ https://www.bobvila.com/slideshow/the-8-painting-mistakes-almost-everyone-makes-48420#painting-tools/#7
- ↑ https://todayshomeowner.com/video/how-to-paint-paneling/
- ↑ https://www.youtube.com/watch?v=BM601ZrPTvc&t=3m2s
- ↑ https://www.bobvila.com/slideshow/the-8-painting-mistakes-almost-everyone-makes-48420#painting-tools/#7
- ↑ https://todayshomeowner.com/video/how-to-paint-paneling/
