This article was co-authored by Alberto DeJesus and by wikiHow staff writer, Hannah Madden. Alberto DeJesus is a Construction Specialist and the CEO of DeJesus Industries. With more than four years of experience, he specializes in high-end real estate development and construction. Alberto and DeJesus Industries have been featured on NBC News and have worked with numerous well-known companies, including Mazda, Amazon, and CVS. Alberto holds a Bachelor’s degree from Boston University.
This article has been viewed 36,315 times.
Adding crown molding to your wall is sure to give any room that upscale look. If you’re installing molding yourself, coping it is a great way to create smooth, tight inside corners without any gaps. Coping your crown molding isn’t tough, and it should only take you 5 to 10 minutes per board. Grab your coping saw and pencil to get started!
Steps
What’s the best way to cope crown molding?
-
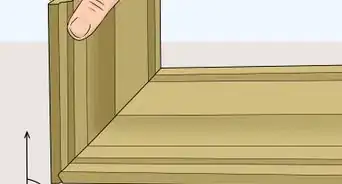
1Darken the edge of the miter cut with a pencil. Hold the piece of molding with the front facing you and grab a pencil. Gently rub the pencil on the very top edge of your miter cut to create a guideline.[4]
-
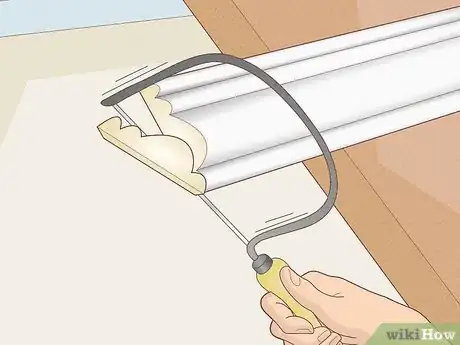
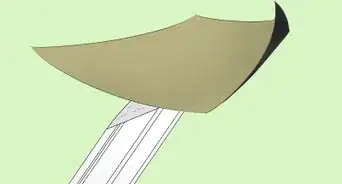
2Undercut the edge of the molding with a coping saw. Place the molding on a table or countertop and let the miter cut edge hang off the end. Hold the molding in one hand and grab your coping saw in the other. Carefully cut down the darkened edge at a 45-degree angle to the molding, scooping out the wood behind the edge that you drew on, but leaving the front part of the molding intact. Go slowly and carefully, and try to follow the curves of the molding as you go. Molding that has been coped looks completely normal from the front, but it has a 1 in (2.5 cm) wide section of wood missing from the back.[5]
-
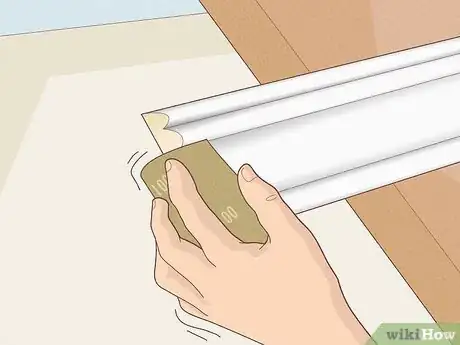
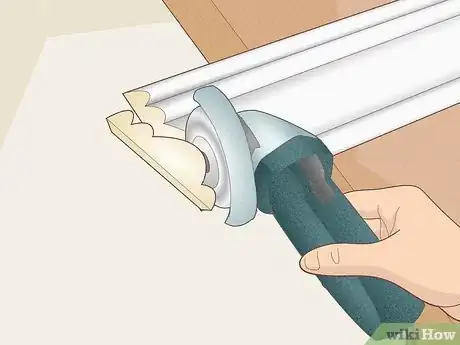
3Sand the edges of the cut before installing. Use 100-grit sandpaper to gently smooth down the edges of the cut you just made. This is an important step for the overall look of your molding, so don’t skip it![6]
- When you’re working with 2 corner pieces of molding, you only need to cope 1 of them.
How do you install coped crown molding?
-
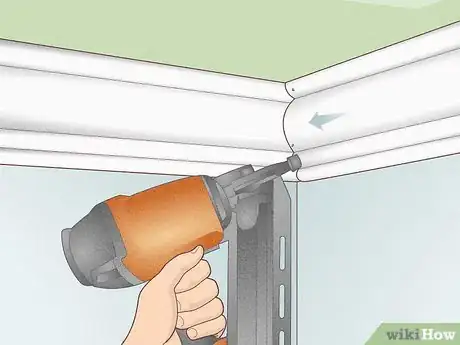
1Install the square cut or miter cut molding first. Whichever piece of molding you didn’t cope is the one you want to put up first. Use a nail gun to attach the molding to the wall, spacing your nails about 6 in (15 cm) apart. Then, double check that your coped piece fits snugly against the piece you just installed.[8]
-
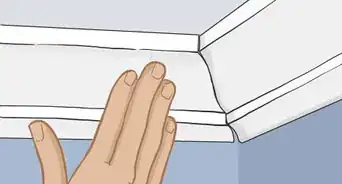
2Butt the coped molding up against the square-cut molding. Gently push the coped molding up against the square cut or miter cut you already installed. Use your nail gun again to attach the molding to the wall, spacing them about 6 in (15 cm) apart.[9]
References
- ↑ https://www.finehomebuilding.com/2008/03/05/the-secret-to-coping-crown-molding
- ↑ https://www.finehomebuilding.com/2008/03/05/the-secret-to-coping-crown-molding
- ↑ https://www.youtube.com/watch?t=32&v=9QpnWgGNtOk&feature=youtu.be
- ↑ https://www.thisoldhouse.com/molding-trim/21124389/how-to-cope-a-joint-for-crown-molding
- ↑ https://www.youtube.com/watch?t=158&v=9QpnWgGNtOk&feature=youtu.be
- ↑ https://www.thisoldhouse.com/molding-trim/21124389/how-to-cope-a-joint-for-crown-molding
- ↑ https://www.youtube.com/watch?t=260&v=OrVBbDYTm5U&feature=youtu.be
- ↑ https://www.thisoldhouse.com/molding-trim/21124389/how-to-cope-a-joint-for-crown-molding
- ↑ https://www.thisoldhouse.com/molding-trim/21124389/how-to-cope-a-joint-for-crown-molding


