This article was co-authored by Marrow Private Chefs. Marrow Private Chefs are based in Santa Rosa Beach, Florida. It is a chefs’ collaborative comprised of an ever-growing number of chefs and culinary professionals. Though regionally influenced primarily by coastal, traditional southern, cajun, and creole styles and flavors, the chefs at Marrow have a solid background in all types of cuisine with over 75 years of combined cooking experience.
This article has been viewed 316,388 times.
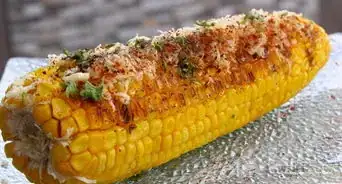
There are many different yet simple ways to cook corn. Corn on the cob can be boiled, microwaved, grilled, steamed, or baked, while loose kernel corn is usually boiled, steamed, or microwaved. Keep reading to learn more about your preferred cooking method.
Ingredients
Makes 4 servings
- 4 fresh ears of corn OR 2 cups (500 mL) frozen corn kernels
- Water
- Butter, salt, and pepper (as desired)
Steps
Boiling Corn on the Cob[1]
-
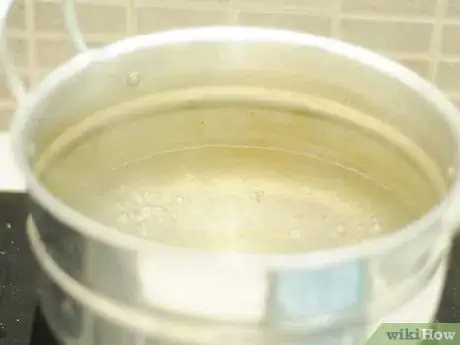
1Boil a large stockpot of water. Meanwhile, prepare the corn cobs by removing the husks and silks.
- The exact amount of water you need will vary depending on how large each ear of corn is. Make sure that you use enough water to completely cover the ears of corn once they are submerged.
- Note that you can add up to 1 tsp (5 mL) salt to the water if desired, but it is not needed.
- To remove the husks, snap off the stem of the corn with your hands. Pull the stem over the length of the corn to peel off the husks still attached to it. Remove the remaining husks by peeling them off with your fingers.
- Rinse the husk-free corn cobs under running water. Rub your hands over the corn to loose and free as many of the silky threads you spot clinging to the corn.
-
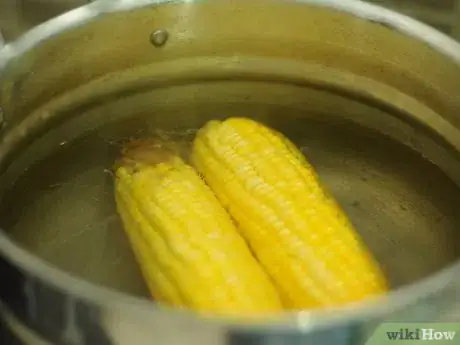
2Transfer the corn to the boiling water. Cover the pot and let it return to boiling.
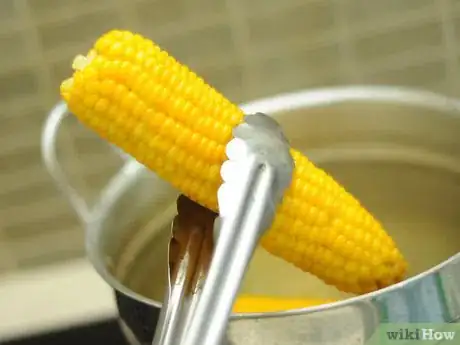
- Use tongs to dunk the corn into the water. Avoid using your hands to transfer the corn since doing so may result in burns.
- If the boiling slows or stops after you place the corn in the stockpot, allow the water to reach a boiling point again before timing the cooking process.
Advertisement -
3Cook for 3 to 8 minutes. The corn should be "tender-crisp" when done.
- "Tender-crisp" means that the corn is soft enough to press, but not mushy.
- The precise amount of cooking time will vary based on the type of corn and how mature it is. Fresh corn and sweet corn usually cook fastest.
-
4Remove and serve. Transfer the ears of corn to a layer of clean paper towels and let drain for 30 to 60 seconds before serving.
- The corn will be hot, so you may want to wait a few minutes before biting into it.
- Corn is usually served with a drizzle of butter.
Microwaving Corn on the Cob[2]
-
1Place an ear of corn in a microwave-safe dish. You will need to cook the corn one ear at a time, but the instructions are the same for each ear.
- Do not remove the husk. The corn will cook better in the microwave if left in the husk during the cooking process.
-
2Microwave the corn for 5 minutes. The microwave should be set on high power or full power.
- Let stand in the microwave for 1 to 2 minutes to avoid burning yourself with the steam.
-
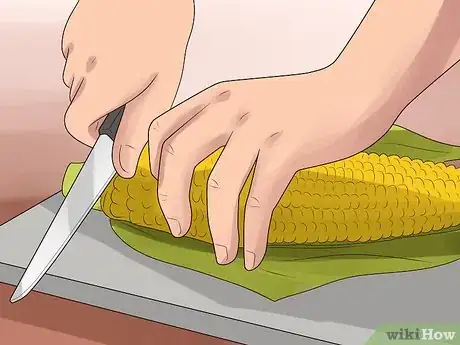
3Transfer the corn to a cutting board. Cut of the stem end using a sharp kitchen knife.
- Use oven mitts or a towel when removing the corn from the microwave.
- As you cut, you should also remove the first row of kernels. Make sure to cut through the husk completely.
-
4Slip the corn out of its husk and serve. Use oven mitts or a towel to grab hold of the corn from the uncut top end. Gently shake the ear, allowing the corn to slip free.
- The ear of corn should slip out of the husk easily. Usually, even the silks will remain left behind inside the husks.
- You can serve the corn with butter and salt, or however you prefer it.
Grilling Corn on the Cob
-
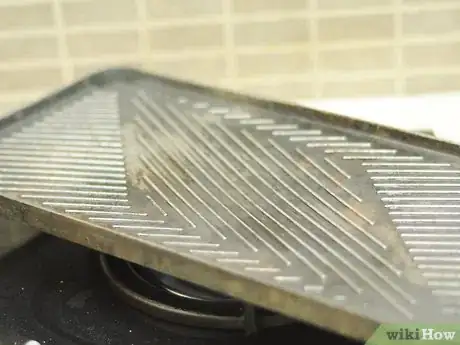
1Preheat your grill to medium-high heat. Meanwhile, remove the husks and silks from your ears of corn.
- If using a gas grill, set all the burners to medium-high heat and allow the grill to preheat for 5 to 10 minutes.
- If using a charcoal grill, allow a thick layer of coals to burn until white ash begins to form over the surface.
- Husk the corn by snapping off the stem and pulling it over the length of the corn, thereby removing the husk attached to the stem. Peel away the rest of the husk with your fingers.
- Rinse the ears under running water to remove most of the loose silks.
-
2Brush the corn with olive oil. Use a basting brush to apply a thin coat of olive oil to the surface of each ear of corn. Use no more than 1 Tbsp (15 mL) olive oil per ear.
- You could also use melted butter instead of olive oil.
-
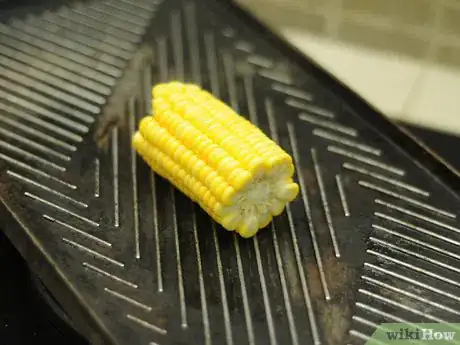
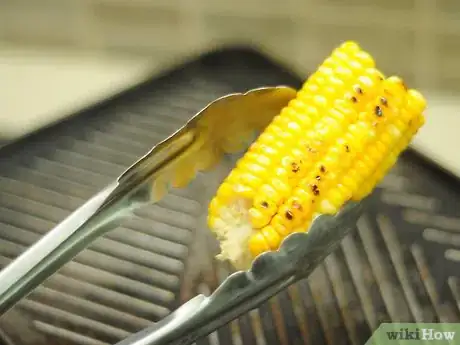
3Transfer the corn to the grill. Cook for 6 to 10 minutes.
- Turn the corn occasionally to ensure even cooking and prevent burning.
- The corn is done once the majority of the kernels begin to brown lightly. It will also be charred in some spots, especially near the smaller kernels.
-
4Serve as desired. Remove the corn from the grill and transfer each ear to a serving platter. Let cool until you can handle it comfortably with your bare hands.
- Butter and salt are frequently served with corn, but if you used butter on the corn before grilling it, you may find that you do not need to add more.
Steaming Corn on the Cob[3]
-
1Boil water in the bottom portion of a steamer. Husk and de-silk the ears of corn as you wait.
- If you do not have an actual steamer, you can use a large stockpot and perforated metal colander instead. Make sure that the metal colander can rest on the lip of the stockpot before attempting to use it, however. The basket portion of the colander should not dip below the halfway point of the stockpot.
- Snap off the stem of the corn and pull it over the length of the ear, removing the attached husk. Peel the rest of the husk away with your fingers.
- Rinse the corn under cool running water, scrubbing it gently with your hands. This should remove the majority of the silks.
-
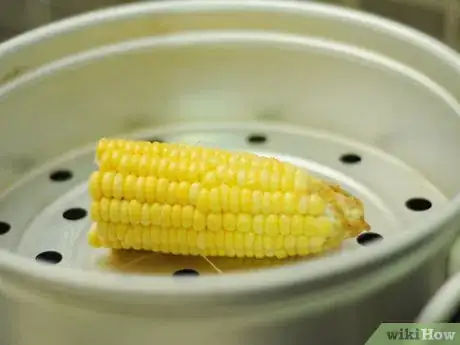
2Transfer the corn to the steaming basket. Cook for 8 to 12 minutes.
- Use tongs to transfer the corn into the steaming basket. Using your hands could result in burns.
- The exact cooking time will vary depending on how mature the corn is. Fresher corn cooks quicker than older corn.
- The corn is done once the kernels feel tender but not mushy.
-
3Serve warm. Remove the corn from the steamer with your tongs and let rest for a minute or two before enjoying.
- Season with butter and salt, if desired.
Baking Corn on the Cob[4]
-
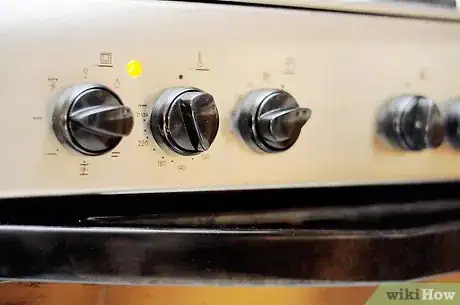
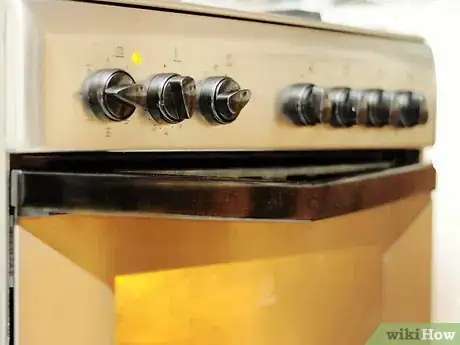
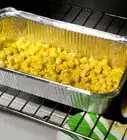
1Preheat the oven to 425 degrees Fahrenheit (220 degrees Celsius). Remove the husks and silks from each ear of corn as the oven preheats.
- To remove the husk from an ear of corn, snap off the stem using your hands. Pull the broken stem down over the ear, stripping away any husk attached to it. Peel the rest of the exposed husk away with your fingers.
- Rinse each corn cob under running water, scrubbing gently with your hands to remove any visible silks. Pat dry with paper towels.
-
2Season the ears with butter. You can also add a little salt and pepper, if desired.
- Use plenty of butter. Spread at least 1 to 2 Tbsp of melted butter over each ear.
-
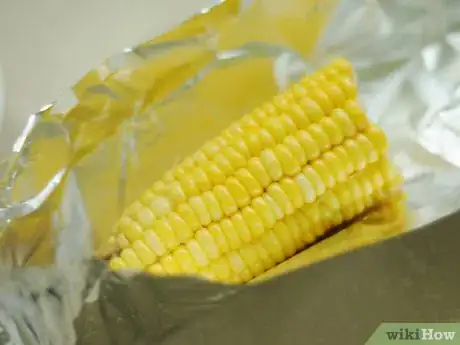
3Wrap each ear in aluminum foil. Each ear must be completely wrapped inside its own sheet of aluminum foil.
- If you are worried about butter leaking out from the aluminum foil, place a flat baking sheet or jelly-roll pan beneath the wrapped ears of corn to catch any dripping butter.
-
4Bake the corn for 20 to 30 minutes. Most ears of corn will only take 20 minutes to cook, but larger ears may need as many as 30 minutes.
- Place the corn on the middle rack of your oven to ensure the most even cooking.
-
5Remove and serve. Let the cooked ears of corn rest for 2 to 5 minutes before carefully removing the aluminum foil. Serve once they are cool enough to touch.
Boiling Corn Kernels
-
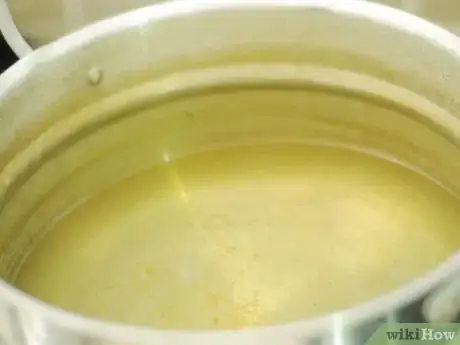
1Boil water in a medium saucepan. Meanwhile, measure out your frozen whole corn kernels.
- You can add up to 1 tsp (5 mL) of salt to the boiling water, if desired, but the salt is not necessary.
- The corn does not need to be thawed prior to use.
- You could also use canned corn kernels instead of frozen corn. Note that the amount of time needed to boil canned corn is significantly less than the amount of time needed to boil frozen corn. Additionally, canned corn should be drained before you add it to the boiling water.
-
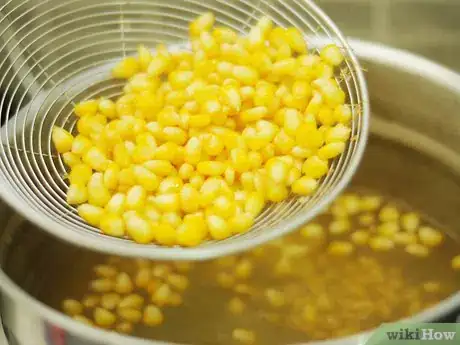
2Add the corn to the boiling water. If the boiling decreases or stops, let the water come up to a boil again. After it returns to a rolling boil, reduce the heat to medium-low.
-
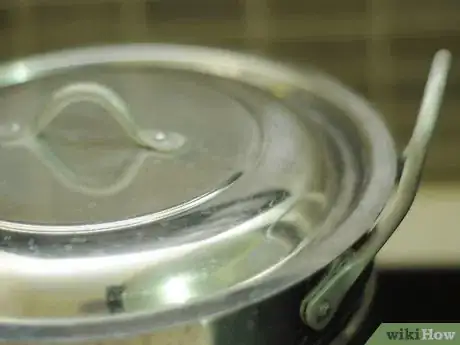
3Cover and cook. Frozen whole kernels of corn should simmer for 5 to 10 minutes. Drain once finished.
- Canned corn should only boil for 1 to 3 minutes.
- Once finished, the corn should be hot and tender but not mushy.
-
4Serve as desired. Do not refreeze corn kernels after cooking them.
- If desired, you can mix the cooked corn kernels with butter, salt, and black pepper. You can also use other seasonings, like parsley, according to your own tastes.
Steaming Corn Kernels
-
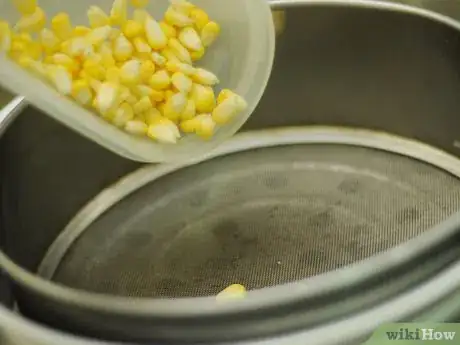
1Simmer water in a steamer. Fill the lower part of a steamer with water and heat, on the stove, over medium heat until the water steams and starts to simmer.
- Do not boil the water.
- Do not fill the steamer high enough for water to slip up through the holes of the steamer basket.
- If you do not have a steamer, you could use a stockpot and a metal colander with fine holes. Make sure that the colander fits over the lip of the stockpot without falling in.
-
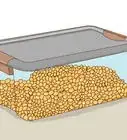
2Add frozen corn kernels into the steamer basket. Spread the kernels out into a single layer.
- Canned corn kernels can also be used, but they will finish cooking in a much shorter amount of time. They may also be soggier once finished.
- You do not need to thaw frozen corn kernels before use.
-
3Cook for 9 to 10 minutes. Allow the corn to steam for 9 to 10 minutes without covering it. Drain once finished.
- Canned kernels will only need to steam for 3 or 4 minutes.
-
4Serve. Steamed corn can be served with butter and salt as well as other seasonings.
Microwaving Corn Kernels
-
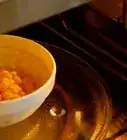
1Place corn kernels in a microwave-safe dish. Spread frozen corn kernels into an even layer in the dish.
- Canned corn kernels can also be used, but there are some differences in the cooking method and length.
- Frozen corn does not need to be thawed prior to cooking.
-
2Add 2 to 4 Tbsp (30 to 60 mL) of water. Stir the water into the corn to disperse it throughout.
- Note that this step is only needed if using frozen corn kernels. You do not need to add water if using canned corn, but you should not drain the canned corn before use.
-
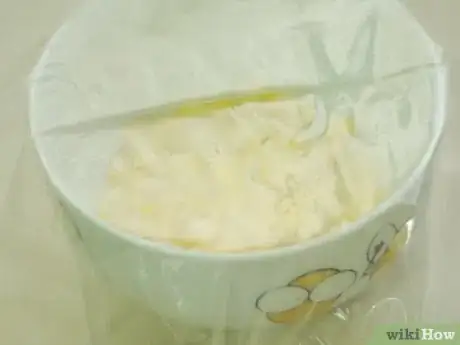
3Cover the dish with plastic wrap. Use a fork to poke a few holes into the plastic wrap, providing ventilation.
- Only use plastic wrap that is safe to use in the microwave.
- If the dish has a cover, you could use that instead of the plastic wrap. Make sure that the cover is placed on the dish loosely so that the corn is still ventilated.
-
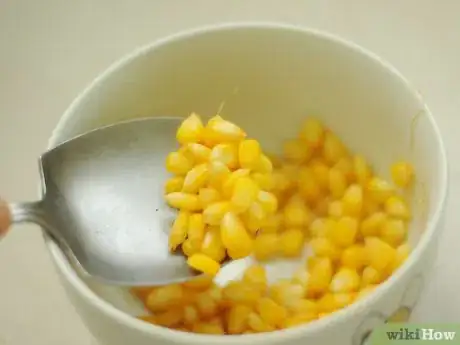
4Microwave for 4 to 5 minutes. If using canned corn, only microwave the dish for 1 to 2 minutes.[5]
- The exact length of time varies depending on how much wattage your microwave has. A lower-powered microwave will need longer time, while a higher-powered microwave will need less time.
- If you hear popping sounds as the corn cooks, stop the microwave early.
-
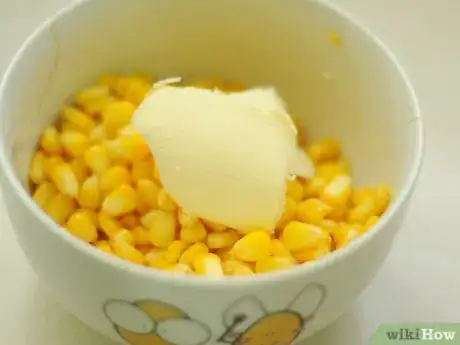
5Drain and serve. Drain the cooking liquid from the corn and season as desired with butter, salt, and pepper.
Charcoal Grilled Corn on the Cob
-
1Cut the tip of each ear of corn off. Soak the corn in the husks in a sink or a big pot in 4 to 6 inches (10.2 to 15.2 cm) of tap water for about an hour.
-
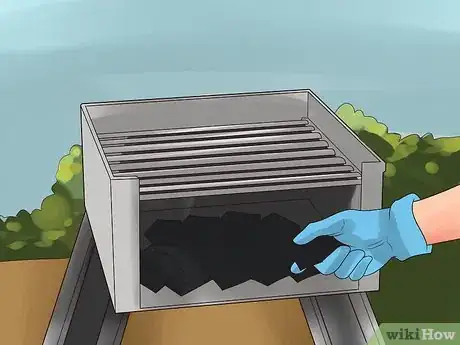
2While they're soaking, prepare your outdoor charcoal grill. Add enough coals for an hour of cooking.
-
3Place the corn still in the husks on the grill. Cook for about an hour, turning occasionally, allowing the husks to char.
-
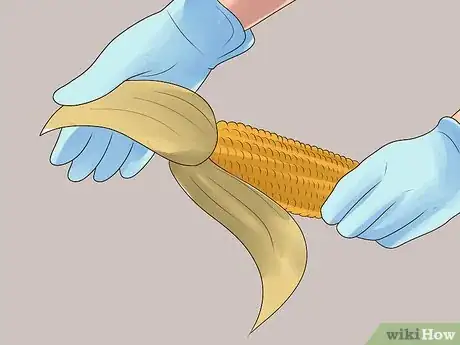
4Remove the husks.
-
5Add butter, salt and pepper to taste. Serve immediately.
Community Q&A
Did you know you can get answers researched by wikiHow Staff?
Unlock staff-researched answers by supporting wikiHow
-
QuestionCan I add corn to a stir-fry?
 wikiHow Staff EditorThis answer was written by one of our trained team of researchers who validated it for accuracy and comprehensiveness.
Staff Answer wikiHow Staff EditorStaff AnswerYes, corn is a great addition to stir-fry. The most commonly suggested way is to use baby corn (either canned, frozen or fresh), as this has a pleasant texture and is of a good size. However, you can also use corn kernels (fresh, canned or frozen) if you wish too. If using baby corn, stir fry for about 2-4 minutes.
 -
QuestionCan I microwave a whole corn cob?
 wikiHow Staff EditorThis answer was written by one of our trained team of researchers who validated it for accuracy and comprehensiveness.
Staff Answer wikiHow Staff EditorStaff Answer
 -
QuestionHow do you barbecue corn?
 wikiHow Staff EditorThis answer was written by one of our trained team of researchers who validated it for accuracy and comprehensiveness.
Staff Answer wikiHow Staff EditorStaff AnswerCorn cobs are best barbecued with the husk left around the corn, as this acts to keep the moisture in and prevents the corn from getting dirty. However, remove the corn silk first, (peel back the husk, remove silks, then peel the husk back over the corn kernels). To stop scorching, soak the whole corn and husk in water for 3 hours prior to barbecuing. Barbecue for about 15 minutes but test 5 minutes beforehand, to check how they are cooking. For more help, see the charcoal grill instructions above.
Things You'll Need
- Stove, oven, grill, or microwave
- Tongs
- Large stockpot
- Sharp kitchen knife
- Steamer
- Aluminum foil
- Baking sheet or jelly-roll pan
- Paper towels
- Microwave-safe dish
- Plastic wrap
- Fork
References
- ↑ http://www.tasteofhome.com/Recipes/How-To-Cook/How-to-Boil-Corn
- ↑ http://www.eatingwell.com/blogs/healthy_cooking_blog/the_fastest_way_to_cook_corn
- ↑ http://www.garden.org/foodguide/browse/veggie/corn_harvesting/796
- ↑ http://www.ochef.com/1196.htm
- ↑ http://www.noobcook.com/5-minute-microwaved-cup-corn/
About This Article
To cook corn in the microwave, place 1 ear of corn with the husk still on in a microwave-safe dish. Next, microwave the corn for 5 minutes on high power, then let it sit in the microwave for 2 minutes to avoid burning yourself with the steam. If you’d like to cook several cobs at a time, start by peeling off the husks and rinsing the cobs under running water to remove the silky threads. Afterwards, cook the cobs for 3 to 8 minutes in a large pot of boiling water until they’re soft enough to press, but not mushy. To learn more, including how to grill or steam corn on the cob, scroll down.
