This article was co-authored by wikiHow staff writer, Darlene Antonelli, MA. Darlene Antonelli is a Technology Writer and Editor for wikiHow. Darlene has experience teaching college courses, writing technology-related articles, and working hands-on in the technology field. She earned an MA in Writing from Rowan University in 2012 and wrote her thesis on online communities and the personalities curated in such communities.
This article has been viewed 56,296 times.
Learn more...
This wikiHow will teach you how to connect a Canon TS3150 printer to your wireless network. If you're using a phone or tablet, you can use the mobile app called Canon PRINT Inkjet/SELPHY. If you have a PC or Mac, you can download and install the desktop printer setup application from Canon's website.
Steps
Using the SELPHY Mobile App
-
1Turn on your printer. The light next to the power button should be illuminated if it is on. You'll find this power button on the front display of your printer on the left side.[1]
- You won't need access to your router to complete this method. Instead, the printer will access the information needed from your smartphone or smart device that's connected to the Wi-Fi network. If this method does not work for you, try the next method.
-
2Get the Canon app from the Google Play Store or App Store. This app is free and is called Canon PRINT Inkjet/SELPHY, offered by Canon Inc.
- You can search for "Canon PRINT" in the search bar at the top of the Google Play Store or in the search tab that's located at the bottom of the App Store.
Advertisement -
3Press and hold the Direct button on the printer. This has the icon of a mobile phone on it and is usually the 2nd button below the power button.
- Release the button when the Direct icon flashes on the display screen.
-
4Open the Canon app on your phone or tablet. This app icon looks like a printer on an orange and white background that you'll find on one of your Home screens, in the app drawer, or by searching.
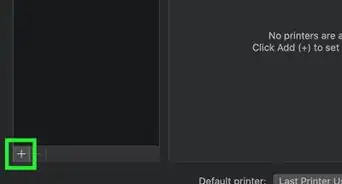
- When you open the app for the first time, it will notify you that no printers are connected and walk you through setting one up.
-
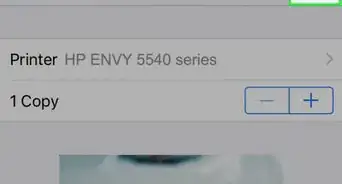
5Follow the on-screen prompts to set up your printer with your mobile app. This includes tapping your printer from the list of detected Canon printers, then allowing the printer to connect via your Wi-Fi router. If you have a Wi-Fi password enabled, you'll need to enter it before continuing.
-
6Follow the on-screen prompts to register your printer. When you're done following the on-screen prompts, the Wi-Fi light (Network icon) should be solid on the display screen.[2]


Using a Windows or Mac Computer
-
1Go to the Canon Start Up page. You can use any web browser to complete the setup process for your printer and computer.
-
2Click Set Up. You'll see this next to a red unboxing icon in the middle of the web page.
-
3Enter TS3150 and click Go. Capitalization does not matter.
- If a region or country selection screen appears, follow the on-screen instructions to continue.
-
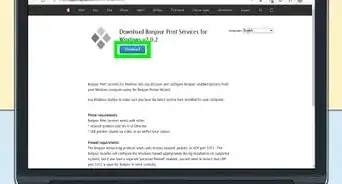
4Click Download. If you're using Windows 10 in S mode, this method will not work; the necessary drivers and software (Inkjet Print Utility) you'll need will automatically download to your computer when your printer is connected to the network.[3]
- Your OS should be detected automatically and you should see the appropriate downloads; however, you can change the OS in the drop-down menu that's located in the upper right corner of the page.
-
5Click the .exe (Windows) or .dmg (Mac) file. If you're using Windows, you might have to give the file permission to continue. On a Mac, click Next.
-
6Click Start Setup. You'll see this at the top of the new window.
-
7Click to select your region and country. The countries listed change as you select different regions, so if you don't see your country listed in one region, try another.
- Click Next to continue.
-
8Click Yes after you read the license agreement. Make sure you agree to the terms before clicking Yes to continue.
-
9Click Agree or Do not agree to install survey software. It doesn't matter if you agree to this additional software; you'll be able to use the printer either way.
-
10
-
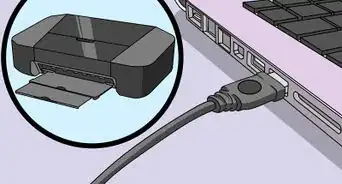
11Select the connection type (if the connection selection screen appears). You can choose to use a wireless connection or USB connection.[4]
- If your computer automatically detected the connection to your printer and didn't display this screen, you can skip this step.
-
12Click Yes (if you see the check connection method screen). You should see your printer's serial number displayed as well as any other pertinent information, like your wireless router's ID.
- If the information displayed on this screen is incorrect, click No to be able to reconnect to a different router or printer.
-
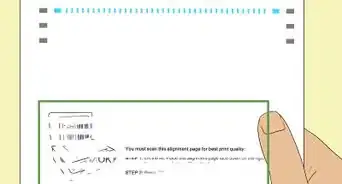
13Click Next. You'll see this after you've successfully connected your printer and computer.
- To complete the setup, continue following the on-screen instructions, including aligning the print head and performing a print test.
-
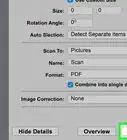
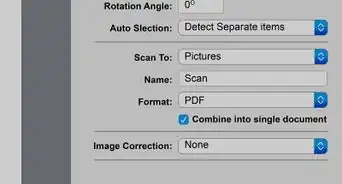
14Click Next to install the appropriate software. You'll be able to select parts of the software (like the Quick Menu) to install.
-
15Click Exit. When the printing software is downloaded and installed, you'll be able to close the setup tutorial.[5]


Using WPS
-
1Turn on your printer. The light next to the power button should be illuminated if it is on.[6] You'll find this power button on the front display of your printer on the left side.
- You'll need access to your router to complete this method.
-
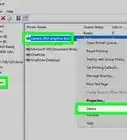
2Press and hold the Network button. This has the icon of a signal tower on it and it is usually the button below the power button.
- Release the button when the network icon flashes in the larger display panel.
-
3Press and hold the WPS button on the router. This usually looks like a small blue circular button that varies in location depending on the router's manufacturer. If you need more information on finding the WPS button on your router, refer to the router's manual.
- When the secure connection is successful, you'll see a three-line signal icon next to the network icon in the display on the left side of the printer.


References
- ↑ https://ugp01.c-ij.com/ij/webmanual/Manual/All/TS3100%20series/EN/UG/ug_o_02_01_05_c.html
- ↑ https://youtu.be/cPBOy1b9_oo?t=118
- ↑ https://ugp01.c-ij.com/ij/webmanual/WebPortal/PTL/ptl-setup_win10s.html?lng=en&type=setup&area=eu_grp&mdl=TS3150&os=w
- ↑ https://youtu.be/SN33ut8Pfz0?t=12
- ↑ https://www.canon.co.uk/support/consumer_products/products/fax__multifunctionals/inkjet/pixma_ts_series/pixma-ts3150.html?type=faq&search=1&searchurl=/support/consumer_products/content/faq/?itemid=tcm:14-1939075
- ↑ https://ugp01.c-ij.com/ij/webmanual/Tutorial/TS3100%20series/EN/TRL/trl-0003.html
About This Article

1. Turn on your printer.
2. Get the Canon app from the Google Play Store or App Store.
3. Press and hold the Direct button on the printer.
4. Open the Canon app on your phone or tablet.
5. Follow the on-screen prompts to set up your printer with your mobile app.
6. Follow the on-screen prompts to register your printer.