This article was co-authored by wikiHow staff writer, Travis Boylls. Travis Boylls is a Technology Writer and Editor for wikiHow. Travis has experience writing technology-related articles, providing software customer service, and in graphic design. He specializes in Windows, macOS, Android, iOS, and Linux platforms. He studied graphic design at Pikes Peak Community College.
The wikiHow Tech Team also followed the article's instructions and verified that they work.
This article has been viewed 933,537 times.
Learn more...
This wikiHow teaches you how to combine two or more Internet networks into one main network. Speedify is an app that allows you to combine two internet connections on all your devices, and acts as a VPN. A free Speedify account allows you to use up to 5GB of data per month. An unlimited account costs $8.99 per month, or $49.99 per year.
Steps
Using Speedify on Windows and Mac
-
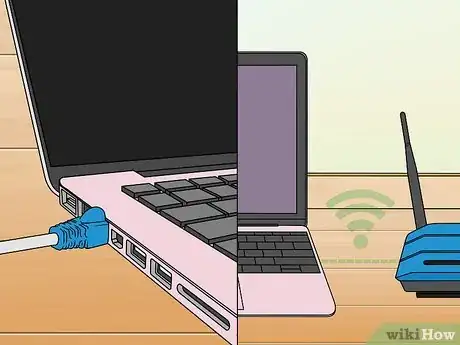
1Connect to your primary internet connection. If you are using a wired connection, connect an Ethernet cable from the Ethernet port on your computer to an open LAN port on your modem or router. If you are using a Wi-Fi connection, click the Wi-Fi icon (the icon with three arching lines) on the right side in the menu bar on Mac, or taskbar on Windows. Then select your Wi-Fi network and enter your wireless passkey.
-
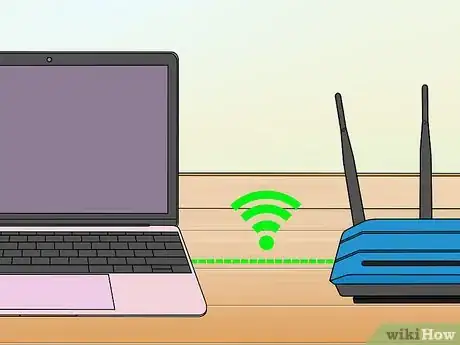
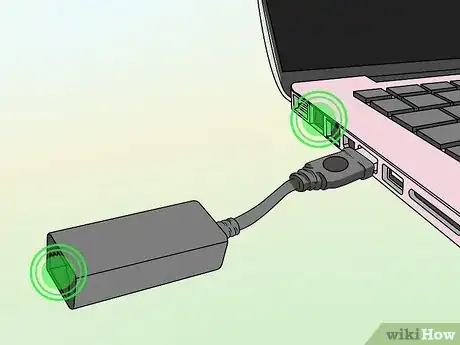
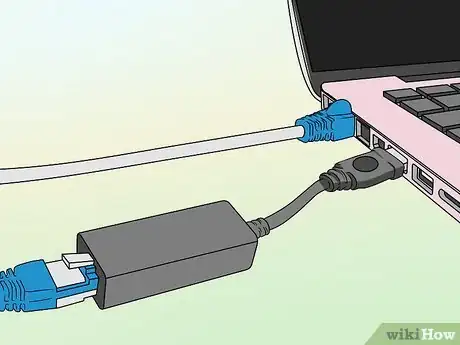
2Connect a secondary internet connection. If you are connecting a wired and wireless connection, you can easily do so by connecting to your Wi-Fi network and then connecting to your computer using an Ethernet port on your computer. However, if you are connecting two wired or two wireless connections, or your computer doesn't have an Ethernet port, you will likely need to purchase a USB Ethernet adapter to connect a second Ethernet cable or a wireless USB adapter to connect to a second Wi-Fi connection.Advertisement
-
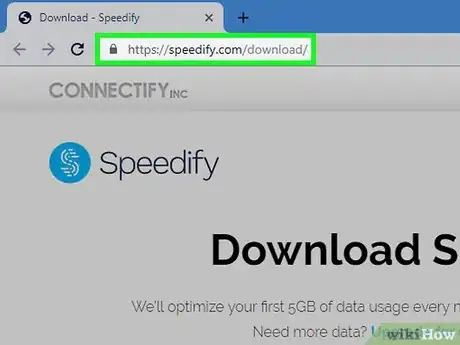
3Navigate to https://speedify.com/download in a web browser. You can use any web browser on PC or Mac.
-
4Click Windows or Mac. If you are a Windows user, click Windows to download the Windows version of Speedify. If you are a Mac user, click Mac to download the Mac version of Speedify.
- Speedify requires Windows 7 or later, or MacOS 10.10 or later.
-
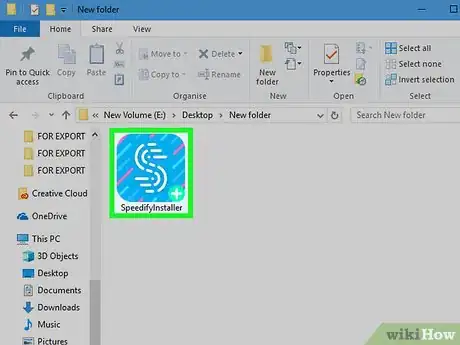
5Double-click the install file. After Speedify is done downloading, click "SpeedifyInstaller.exe" on Windows, or "SpeedifyInstaller.dmg" on Mac. By default, you can find your downloaded files in your "Downloads" folder, or within your web browser. This installs Speedify.
-
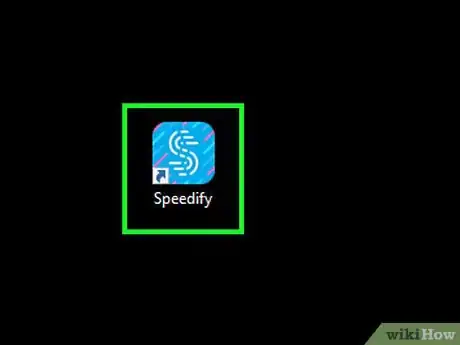
6Open Speedify. After you install Speedify, the app will open automatically. If you need to open Speedify, click the Windows Start menu in the lower-left corner on Windows, or the icon that resembles a magnifying glass in the upper-right corner on Mac. Type speedify, and then click the Speedify app. It has a blue icon with an "S".
-
7Click Continue. It's the green button at the bottom of the screen.
-
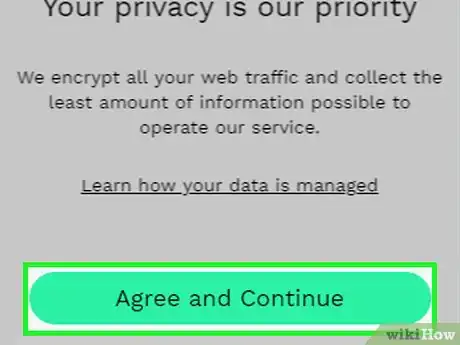
8Click Agree and Continue. It's the green button in the center of the page. This indicates that you agree to the privacy terms.
-
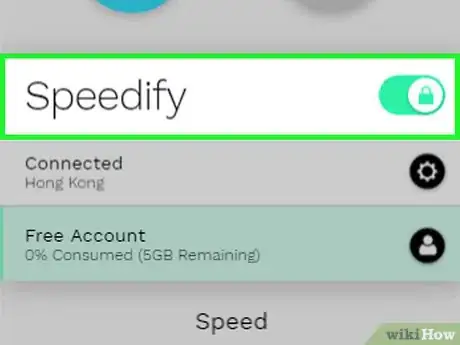
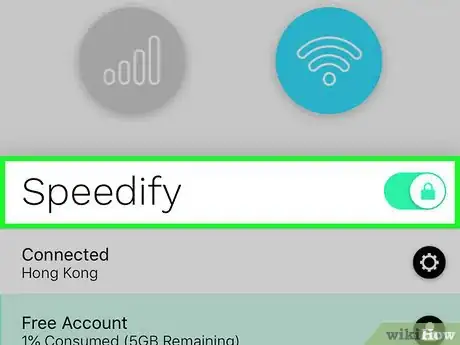
9Click the toggle switch next to Speedify. Once Speedify opens, both your connections will be listed at the top. If the toggle switch next to Speedify is green, both networks are bonding. A free Speedify account allows you to use up to 5GB of data per month. An unlimited plan costs $8.99 a month, or $49.99 a year.
Using Speedify on Mobile Devices
-
1
-
2Tap the Search tab (iPhone and iPad only). If you are using an iPhone or iPad, tap the search tab in the lower-right corner to display the search page.
-
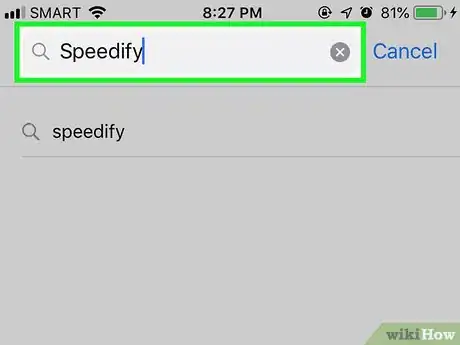
3Type Speedify in the search bar. On Android, the Search bar is at the top of the Google Play Store. On iPhone and iPad, it's under the Search tab. Tap the search bar and then use the on-screen keyboard to search "Speedify". This displays a list of search results.
-
4Tap Speedify in the search results. This displays the app info page in the Google Play Store or a list of similar apps in the App Store.
-
5Tap Install or GET. In the Google Play Store, tap Install to install Speedify. On iPhone and iPad, tap GET next to Speedify to install it. It has a blue icon that a white "S".
-
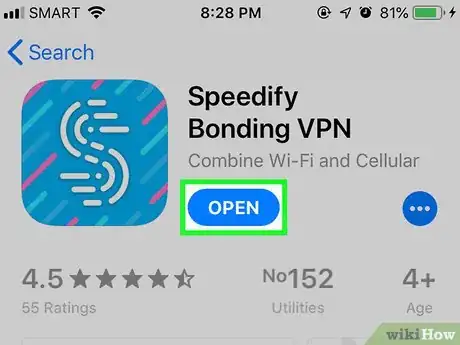
6Open Speedify. After Speedify is finished installing, you can tap the blue icon with a "S" on your home screen or apps menu to open Speedify, or tap Open next to it in the App Store or Google Play Store.
-
7Tap Continue. It's the green button at the bottom of the screen.
-
8Tap Agree and Continue. It's the green button in the center of the page. This indicates that you agree to the privacy policy.
-
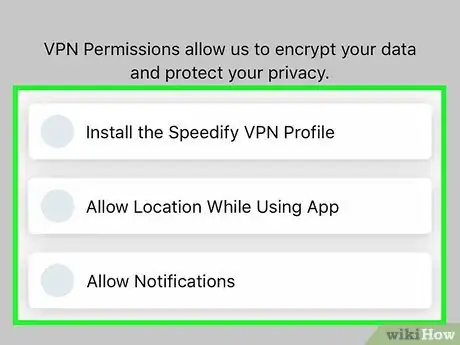
9Tap the white setup buttons and then tap Allow. There are a features Speedify needs access to on your phone. You will need to allow locations on both iPhone and Android devices. On Android, you will need to enable phone state permissions. On iPhone and iPad, you will need to install the Speedify VPN profile and allow notifications. Tap the buttons on the screen, and then tap Allow to enable these features.
-
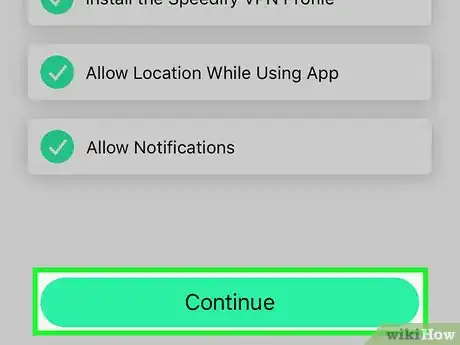
10Tap Continue. After you have enabled all the needed features, you can tap the green button at the bottom of the screen that says Continue.
-
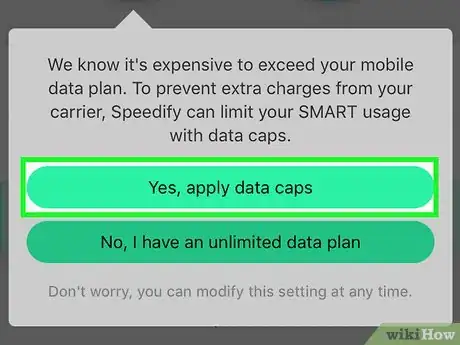
11Tap Yes, apply data caps, or No, I have an unlimited data plan. Speedify on mobile devices allows you to use both your mobile data and your wi-fi connection at the same time. If you do not have an unlimited data plan, tap Yes, apply data caps to apply a monthly 2 gb limit on your mobile data connection. Then tap Got it to continue. If you have an unlimited data plan, tap No, I have an unlimited data plan to allow unlimited data on your mobile connection.
-
12Tap the toggle switch next to "Speedify". This turns on internet bonding for both your wifi and mobile data connection. A free Speedify account allows you to use up to 5GB of data per month. An unlimited plan costs $8.99 a month, or $49.99 a year.
- If you have another VPN profile active on your device, you will need to go into the Settings menu and search VPN. Then disable your current VPN before turning on Speedify.
Using a Load-Balancing Router
-
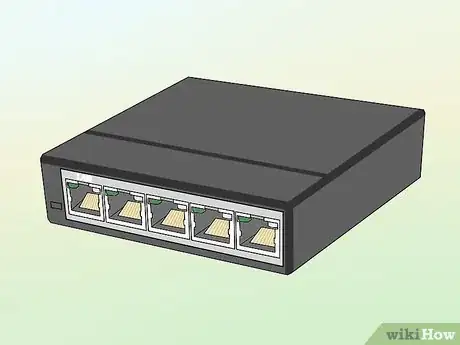
1Purchase a load-balancing router. A load-balancing router combines all of your Internet connections into one massive broadcast. You can connect multiple modems with different wireless networks to your load-balancing router in order to process all of the modems' connections.
- A two-connection load-balancing router will cost you between $40 and $90.
-
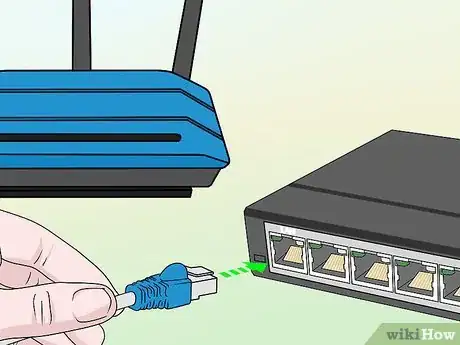
2Connect any modems to your router. If you have two or more wireless networks broadcasting from separate modems, you can connect them to your load-balancing router by attaching one end of an Ethernet cable to the square "Internet" port on your selected modem and then connecting the other end to a square port on the back of your router.
-
3Open the router's configuration page on your computer. You'll do this by entering the IP address for your usual network, which can be found in your connection settings.
- If connecting to the IP address in your computer's connection settings doesn't lead you to the router's configuration page, check the "Basic Setup" section of your router's manual for the proper address.
-
4Click Advanced. You'll usually find this tab on the left side of the router's page.
- Although most load-balancing routers have similar pages, you may see slightly different options in different locations depending on your load-balancing router's manufacturer.
-
5Click Load Balance. Again, you'll usually find this on the left side of the page.
-
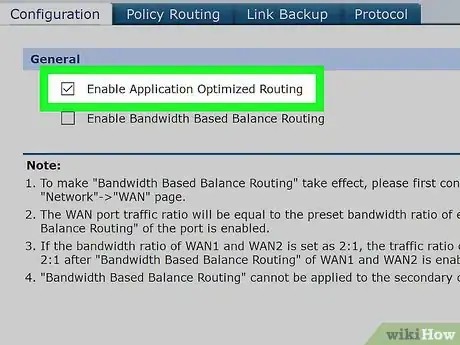
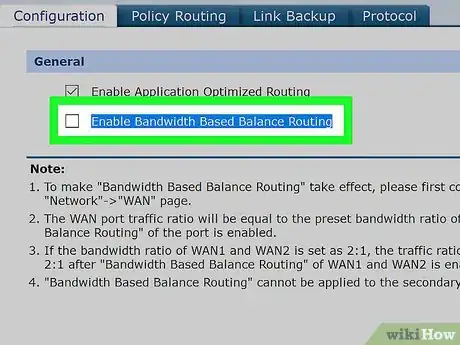
6Uncheck the "Enable Application Optimized Routing" box. You'll most likely find this box near the top of the page.
-
7Uncheck the "Enable Bandwidth Based Balance Routing" box. Unchecking this box and the one before it will allow your load-balancing router to distribute your connected Wi-Fi networks in one single connection.[3]
-
8Click OK or Save. Your settings will be saved.
-
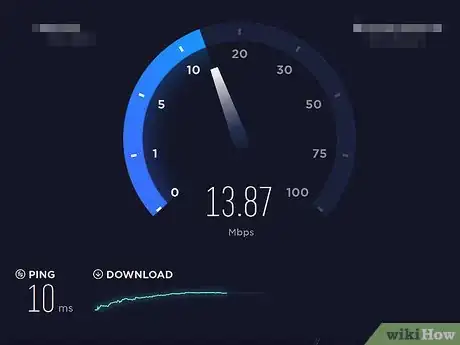
9Enjoy your combined connections' speed. If you've completed your load-balancing router setup and your computer is currently connected to the load-balancing router's name in your Wi-Fi menu, you should notice a difference in your browsing speed.
Creating an Aggregate Connection on Mac
-
1Ensure that you have two Ethernet ports. In order to combine two Internet connections on your Mac without using a special router, you'll need to use an Ethernet connection to each of the connections' routers. This means that your Mac must either have two Ethernet ports or the capability to house an Ethernet adapter:
- If you have one Ethernet port and at least one USB-C (Thunderbolt 3) port, you can buy an Apple USB-C Ethernet adapter to fill in as the second Ethernet port.
- If you have no Ethernet port and at least two USB-C (Thunderbolt 3) ports, you can buy two Apple USB-C Ethernet adapters to create the two Ethernet ports.
- If you have only one USB-C (Thunderbolt 3) port and no Ethernet port, you can't combine two Internet connections via Ethernet. Try using a load-balancing router instead.
- Since your Mac can only combine two connections which both use 802.3ad-compliant connections, you cannot use a USB 3.0 to Ethernet adapter.[4]
-
2Connect both routers to your Mac. Using an Ethernet cable for each of the two routers, plug one end of each cable into the "LAN" (or similar) port on the back of each router, then plug each of the cables into your Mac's Ethernet ports.
- You must first connect the Ethernet adapter(s) to your Mac if you don't have more than one Ethernet port.
-
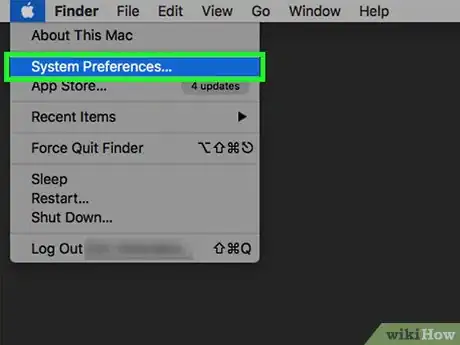
3
-
4Click System Preferences…. It's near the top of the drop-down menu. Doing so opens the System Preferences window.
-
5Click Network. You'll find this globe-shaped icon in the System Preferences window. Clicking it opens the Network window.
-
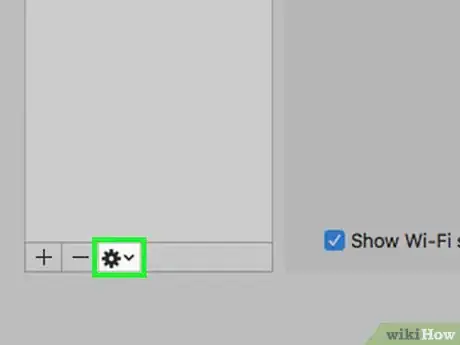
6Click the gear-shaped "Action" icon. It's in the lower-left side of the window. A pop-up menu will appear.
-
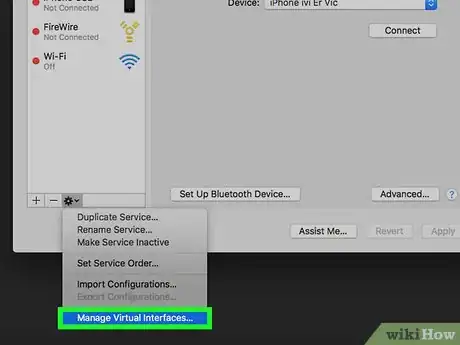
7Click Manage Virtual Interfaces…. This option is in the "Action" pop-up menu. A new window will open.
-
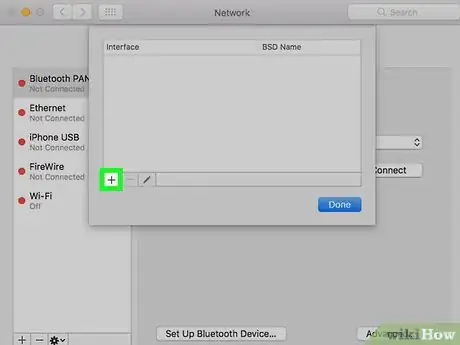
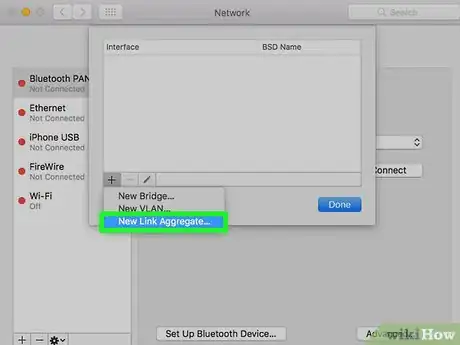
8Click +. It's in the lower-left side of the new window. Clicking it prompts a drop-down menu.
-
9Click New Link Aggregate…. This option is in the drop-down menu.
-
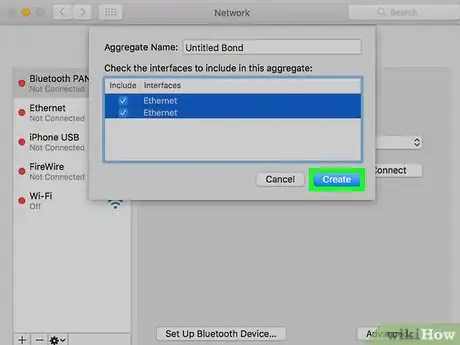
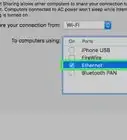
10Select your Ethernet ports. Click the checkbox to the left of each of the Ethernet connections.
-
11Enter a name. Type a name for your new connection into the text box at the top of the window.
-
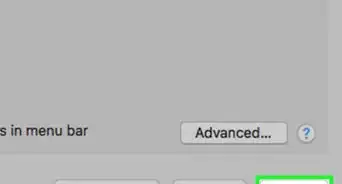
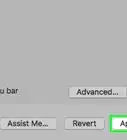
12Click Create, then click Apply. This will both create your combined Internet connection and connect to it. Your Mac should now automatically split things like download speed and streaming between the two connections.
Community Q&A
-
QuestionI followed method one. After restarting the PC, when I connect to a second network, it connected successfully, but after a while the first network disconnects. What do I do?
 Community AnswerThat's because this won't work like the author thinks it will. All this does is rank a preference if both are available. If they're equal, you may end up with some apps using one for a while and others using another, but eventually you may not have more than one application and the 2nd will drop off. I'm not sure if there is a way to actually do this, but I'm looking into it.
 -
QuestionIs it possible to load balance 1 x DSL with 1 x 3G/4G connection?
 Community AnswerDownload Speedify, which works perfectly. You can combine up to 10 different signals (LAN, WiFi, 3G/4G) into one. It's free until you use a gig of data a month, but Speedify itself is a VPN, so you get a VPN in addition to being able to connect multiple signals into one.
Warnings
- Combining separate Internet connections may go against your ISP's contract. Be sure to check the details of your current Internet contract before combining two or more Internet connections.⧼thumbs_response⧽
References
- ↑ https://www.youtube.com/watch?v=V1n74xulSaE
- ↑ https://forums.macrumors.com/threads/know-of-a-802-3ad-compliant-usb-3-gigabit-ethernet-adapter.1950403/
- ↑ http://techwelkin.com/combine-multiple-internet-connections
- ↑ https://forums.macrumors.com/threads/know-of-a-802-3ad-compliant-usb-3-gigabit-ethernet-adapter.1950403/
About This Article
1. Connect to your primary wired or wireless internet connection.
2. Connect to your secondary internet connection using a USB wireless or Ethernet adapter.
3. Navigate to https://speedify.com/download in a web browser.
4. Click Windows, or Mac or download Speedify from your mobile device app store.
5. Click the "SpeedifyInstaller" file to install Speedify.
6. Click or tap the Speedify icon to open Speedify.
7. Click or tap Continue.
8. Cick or tap Agree and Continue.
9. Tap the setup buttons on the screen, then tap Allow (mobile only).
10. Tap Yes, apply data caps, or No, I have an unlimited data plan (mobile only).
11. Click or tap the toggle switch next to Speedify.
