This article was co-authored by Michelle Driscoll, MPH. Michelle Driscoll is the Owner of Mulberry Maids, which is based in Fort Collins, Colorado. With five years of experience, her business specializes in cleaning homes and small offices. She holds a Masters in Public Health from the Colorado School of Public Health. Additionally, Mulberry Maids has an A+ rating from the Better Business Bureau.
There are 16 references cited in this article, which can be found at the bottom of the page.
This article has been viewed 58,603 times.
If the highlight of your morning is stepping into a hot, revitalizing shower, chances are you’ve put some thought into the best way to keep your bathroom sanctuary sanitized and sparkling. Luckily, newer showers and shower liners made from synthetics like acrylic are a breeze to clean. That being said, acrylic is a soft material that can easily be scratched or discolored, so it’s important to make sure you have the right tools for the job to avoid causing permanent damage. The key to cleaning acrylic safely and effectively is to use a mild acid-based solution, followed by a wipedown with a non-abrasive cloth.
Steps
Using Commercial Cleaning Products
-
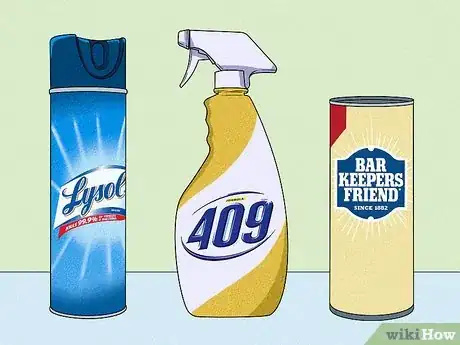
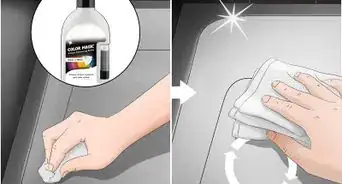
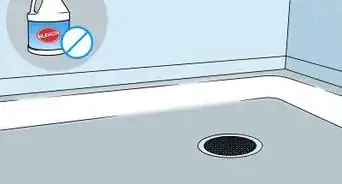
1Choose a non-abrasive cleaning solution. Acrylic is a soft, malleable finish, which means it can easily be scratched or marked up if you’re not careful. To prevent doing lasting damage to your shower, pick out a product that doesn’t contain any harsh chemicals or astringents. Your best bet is to use a mild acid-based solution like Lysol Power Bathroom Cleaner, Formula 409 All-Purpose cleaner or Bar Keeper’s Friend.[1]
- Stay away from any type of astringent cleanser, including Comet, Ajax and Scrubbing Bubbles, as well as solvents like acetone.
- Whenever possible, using natural derivatives to clean your bathroom will be your safest choice.[2]
-
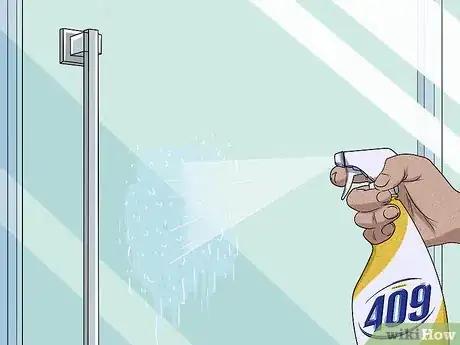
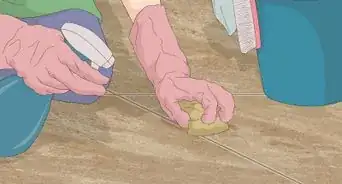
2Spray the product onto shower stains. Apply the cleaner liberally to areas where grime, soap scum and hard water stains have accumulated. Focus on spots that suffer from visible dirt or discoloration. You may need to use quite a bit of cleaner in order to penetrate multiple layers of dried-on residue.
- Be sure to remove all soaps, shampoos and other hygiene products from the shower before you get started so that you can clean underneath them.
- Pull back the shower curtain all the way and turn on the overhead fan to keep the bathroom properly ventilated while you clean.
Advertisement -
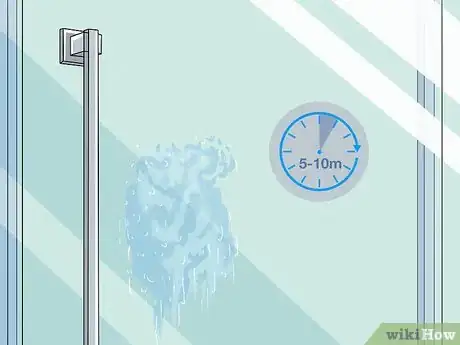
3Let the cleaner sit for 5-10 minutes. After a few minutes, the dingy messes that have built up on the surface of your acrylic shower will begin to dissolve. This will allow you to wipe them away with ease.[3]
- If you’re dealing with particularly heavy soap scum or stains, it may help to reapply the cleaner once or twice.
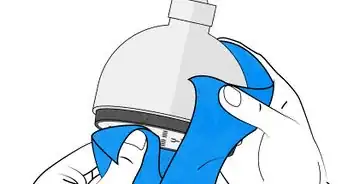
- Use this time to take care of any other cleaning tasks you need to complete, like detailing the faucet or shower head.
-
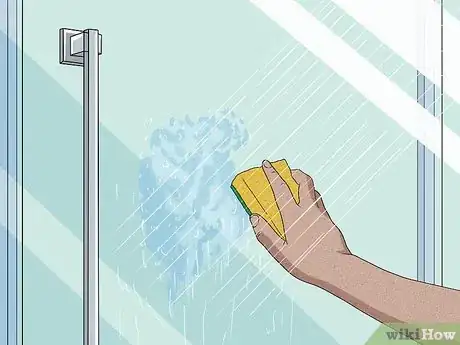
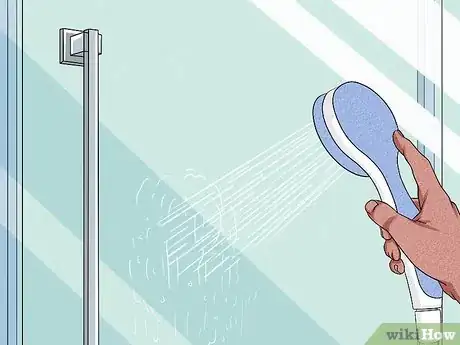
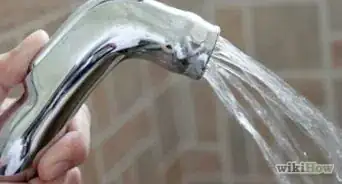
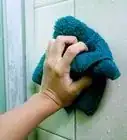
4Rinse and wipe out the shower. Turn on the shower head and direct the flow of water over the areas of the acrylic you just sprayed. Wash away as much liquefied grime and cleaning solution as you can. Once you’ve given the shower a preliminary rinse, go over the acrylic using a soft microfiber towel or sponge to remove any remaining residue. For stubborn residue, use an old toothbrush to scrub it away.[4]
- If you don't have a detachable shower head, the easiest way to rinse your shower walls is to use a cup or bucket to splash warm water onto the areas that need rinsing.
- Never use abrasive scrubbers, such as wire brushes or rough kitchen sponges, to clean an acrylic surface. These will leave behind tiny scratches in the finish that will then trap dirt in the future, making it much harder to remove.[5]
Using Vinegar and Water
-
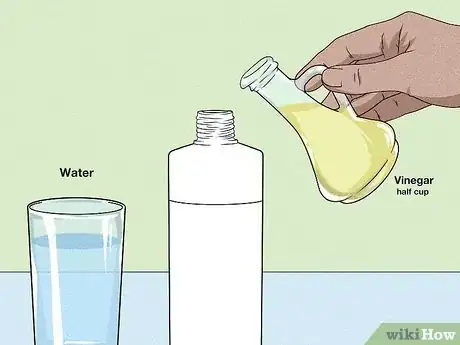
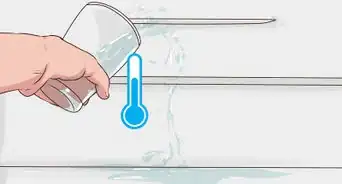
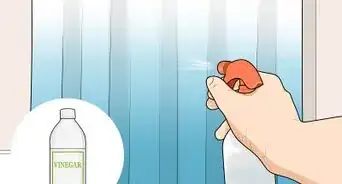
1Mix together vinegar and water. Ordinary vinegar makes a versatile cleaning solution that’s both safe and all-natural. Combine equal parts distilled white vinegar and warm water in a small spray bottle. Shake the bottle to make sure the two liquids are thoroughly blended.[6]
- The heat from the water will be even more helpful for releasing dried stains from the surface of the shower.
- For even better results, add a few drops of mild liquid dishwashing detergent. The soap will emulsify dirt and oil while the vinegar brightens and disinfects.[7]
-
2Treat problem areas with the vinegar solution. Mist the inside shower with the vinegar solution. Be sure to address spots with the worst buildup. This may include unexpected places like the shelving at the top of the shower or the area around the drain.[8]
- Don’t forget to get inside cracks and crevices and along recessed panels and soap dishes.
- Pure vinegar makes the perfect antidote to mold and mildew growth.[9]
-
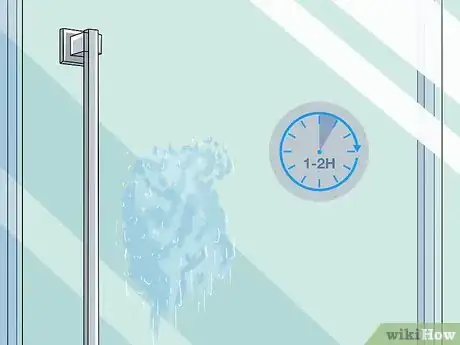
3Leave the vinegar to break down stains. Vinegar is an effective natural solvent, but it requires a little time to work effectively. For most light or moderate messes, the vinegar should sit for at least half an hour. To remove heavier buildup, you may even want to let it remain for 1-2 hours to ensure success.[10]
- If vinegar alone isn’t cutting it, sprinkle a little baking soda over the affected area before spraying it again. The foaming action produced by the two cleaners will eat away at stubborn gunk and grime.[11]
- A mixture of hydrogen peroxide and cream of tartar can make a convenient substitute for baking soda and vinegar.[12]
-
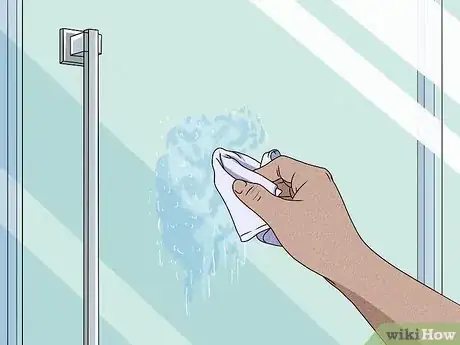
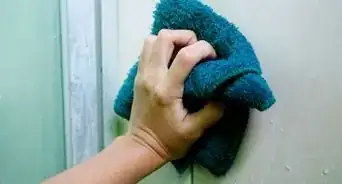
4Scrub the acrylic with a soft cloth. Use a clean, dry washcloth, microfiber towel or sponge to erase any last traces of loose residue. Wipe with gentle circular motions and apply pressure where needed to break up tough stains. Afterwards, rinse the interior of the shower with hot water.[13]
- Dig into hard-to-reach spots with your fingertips or the corner of a sponge.
Using a Lemon
-
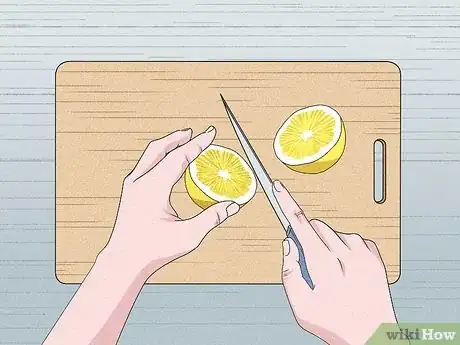
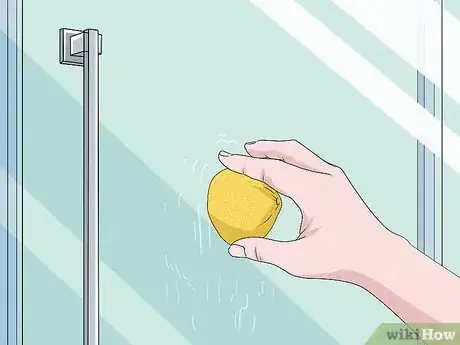
1Slice a large lemon in half. With a little creative application, a single lemon can serve as both cleaning solution and sponge. Cut the lemon down the middle widthwise. You can now grip it by the peel-side and use it as a handheld scrubber to treat yucky shower stains.[14]
- Pick out the seeds before you start scrubbing so they don’t end up at the bottom of your shower.
- The natural acids in lemon juice are safe enough for you to use them to clean your shower as often as you’d like without having to worry about wearing down the acrylic finish.
- You may also have success using another type of citrus, such as grapefruit.[15]
-
2Rub the lemon directly onto the surface of the shower. Work the exposed fruit over the acrylic surface. As you press the lemon into the acrylic, the juice will gradually squeeze out, breaking up hard water stains, mold and mineral deposits.[16]
- After you’ve worn the lemon down, simply grab the other half or cut a new one and keep going over the area until it’s spotless.
- Just as a precaution, avoid using lemon in conjunction with other green cleaning ingredients like sea salt. Even water-soluble abrasives may be enough to scratch up acrylic.
-
3Allow the lemon juice to sit for 10-20 minutes. Once you’ve given the shower a thorough scrubbing, give the lemon juice a little time to work its magic. Though mild, the acids that the juice contains will usually be enough to deal with the majority of commonplace stains. The longer you let the juice soak, the better the end result will be.[17]
- Lemon juice is especially useful for dissolving stains that result from exposure to hard water or chemicals.
- Citric acid will not only clean and disinfect, it will also help brighten up the acrylic and restore it to its original luster.[18]
-
4Rinse the shower clean. Flush every surface of the shower with warm water, taking care to get rid of any lingering juice or pulp from the lemon. If necessary, go back over the acrylic one more time with a soft towel or sponge. When you’re done, your shower should be pristine and have a fresh, clean scent![19]
Community Q&A
-
QuestionCan I use lemon juice from the bottle instead?
 ShilowCommunity AnswerYes, but squeezing the fresh lemon juice yourself would be better. Also, try adding 1 and a half ounces of club soda and bicarbonate of soda.
Warnings
- Harsh chemicals and solvents may cause warping, bubbling or discoloration when applied to acrylic. Once your shower’s finish has undergone this kind of damage, it’s virtually impossible to repair.⧼thumbs_response⧽
Things You'll Need
- Non-abrasive chemical cleaner
- Distilled white vinegar
- Half a lemon
- Warm water
- Soft cloth or sponge
- Spray bottle
- Baking soda (optional)
- Hydrogen peroxide (optional)
- Cream of tartar (optional)
References
- ↑ https://www.deltafaucet.com/design-innovation/inspiredliving/how-to-clean-acrylic-shower
- ↑ http://www.organicauthority.com/sanctuary/5-homemade-cleaners-chemical-free-bathroom.html
- ↑ http://www.home-ec101.com/how-to-clean-a-grimy-bathtub-and-surround/
- ↑ http://www.bhg.com/homekeeping/house-cleaning/tips/how-to-clean-a-shower-surround/
- ↑ https://www.angieslist.com/articles/how-clean-acrylic-bathtub-correctly.htm
- ↑ https://www.reference.com/article/can-clean-acrylic-bathtub-white-vinegar-baking-soda-363574e6c48e86a7?aq=can-clean-acrylic-bathtub-white-vinegar-baking-soda
- ↑ https://www.houzz.com/ideabooks/57509172/list/4-secrets-to-a-shiny-clean-bathtub
- ↑ https://www.bobvila.com/articles/cleaning-bathtub/#.WO5qaNIrLIU
- ↑ http://www.maids.com/blog/3-non-toxic-ways-to-clean-mold/
- ↑ http://www.stylemepretty.com/living/2010/07/23/removing-hard-water-stains/
- ↑ http://www.howtocleanthings.com/bedandbath/how-to-clean-a-bathtub/
- ↑ https://www.bobvila.com/articles/cleaning-bathtub/#.WO6Ll9IrLIU
- ↑ http://www.home-ec101.com/how-to-clean-a-grimy-bathtub-and-surround/
- ↑ https://www.angieslist.com/articles/how-clean-acrylic-bathtub-correctly.htm
- ↑ http://lifehacker.com/5545437/clean-your-bathtub-with-a-grapefruit-and-some-salt
- ↑ https://tiphero.com/bathroom-cleaning-tips
- ↑ http://www.mnn.com/your-home/at-home/blogs/fact-or-fiction-fresh-lemon-removes-hard-water-stains
- ↑ http://www.networx.com/article/24-things-you-can-clean-with-lemon
- ↑ https://www.angieslist.com/articles/how-clean-acrylic-bathtub-correctly.htm
About This Article
To clean an acrylic shower, use a non-abrasive product that doesn't contain any harsh chemicals or astringents. You can also use white vinegar. Just mix equal parts white vinegar and water, apply the mixture to any stains, and let it sit for 1-2 hours before wiping it off. Or, you can clean your acrylic shower with lemon. Simply cut a lemon in half, rub it over the surface of your shower, and let it sit for 10-20 minutes before rinsing it off. For more advice from our cleaning co-author, like how to avoid damaging your acrylic shower when you clean it, read on!
