wikiHow is a “wiki,” similar to Wikipedia, which means that many of our articles are co-written by multiple authors. To create this article, 10 people, some anonymous, worked to edit and improve it over time.
This article has been viewed 39,126 times.
Learn more...
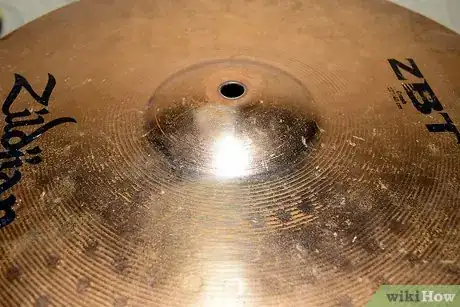
Are your cymbals starting to lose their shine? Or are they just plain dirty? And is the nearest music store too far away for you to go pick up some cymbal cleaner? Well, regardless if these cymbals are part of your drum kit, or a pair for your marching band, Brasso, a metal polish that can be found in your household, or your dad's tool cabinet, will make that cymbal shine. All it takes is a bottle of liquid Brasso, rags, and some elbow grease to get them to look brand new.
Steps
-
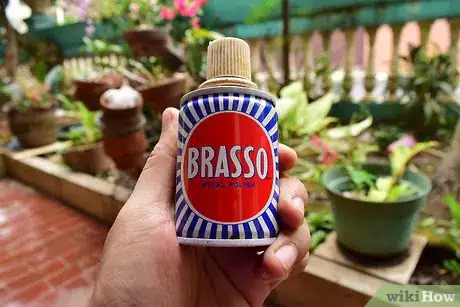
1Get a bottle of liquid Brasso (not the impregnated wadding), which should cost around $3-$5. You can find Brasso at your local hardware store. Get a few clean, fresh rags. You might need more depending on how dirty your cymbal is, as the rags will be pick up varying amounts of sludge from the cymbals, and the grooves. You should keep one or two rags for drying the cymbal(s), or you can simply use any dry spots on your wiping rag to do the trick.
-
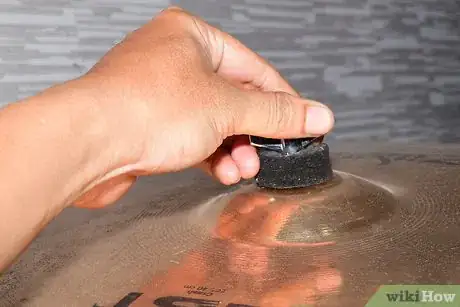
2Strip the cymbals of any hardware. This includes removing items such as straps if they are marching band cymbals, or the clutch off of a top Hi-hat, or sizzles if it is a Sizzle cymbal, so that they don't get in the way of the cleaning process.Advertisement
-
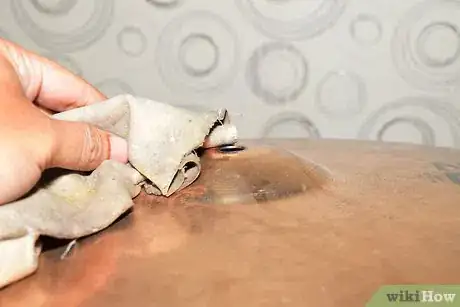
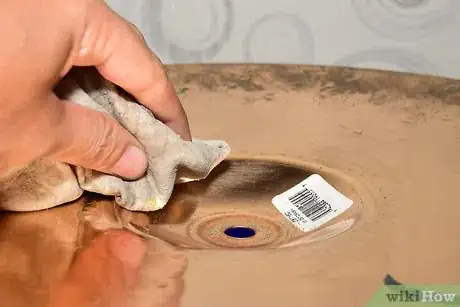
3Apply some Brasso in the shape of a ring starting at the bell of the cymbal, or near the edge of the cymbal, if you would prefer to start there. Buff with the rag in circular motions. You can continue to apply to the bow of the cymbal, and work your way to the edge, or work your way into the bell, depending on what area you started on. You will start to see a black/brown/green/dark blue sludge on the cymbals, and your rag, which means you are thoroughly cleaning the dirt out of the grooves, and the cymbal itself. Replace your rag if necessary.
-
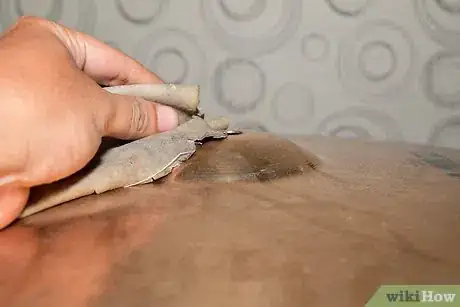
4Finish cleaning the cymbals. Then use a fresh rag to dry the cymbals, and wipe off any excess residue remaining. You will start to notice that your cymbals are starting to shine, and by the time you are done, there will be a noticeable difference.
-
5Repeat if necessary. Although the first coat will clean it, and make it shine, a second might be needed to achieve the full cleanliness.
-
6Repeat these steps on the underside of the cymbals.
Warnings
- Wipe any excess Brasso off before it dries, or you will be left with annoying white/blue residue on your cymbals. They tend to be cleaned off easily though, or worse if left for longer, it will harden, and possibly stuff up the grooves, definitely altering the sound of your cymbals.⧼thumbs_response⧽
- Although it will really make your cymbal shine, Brasso was not made for the specific cleansing of cymbals, so it will take the logos off of your cymbals. This can be avoided substituting Brasso with soap and water to clean areas of the cymbal with logos.⧼thumbs_response⧽
- In the UK, you might encounter a Brasso product called GadgetCare. This is not the same as normal Brasso and should not be used as instructed here.⧼thumbs_response⧽
- You may need to apply a couple of layers/coats to each cymbal, and then repeat on the other side, so you may end up using much of your Brasso on one cymbal. Be prepared to require more bottles of Brasso.⧼thumbs_response⧽
- Brasso may slightly alter the sound of your cymbals, as dirty cymbals tend to have a "warmer" sound, whereas cleaned cymbals tend to have a "lighter, crisper" sound, due to the grooves not being caked with dirt. If you prefer this sound, you may only want to slightly clean your cymbals, so the sound isn't totally changed.⧼thumbs_response⧽
Things You'll Need
- Bottle of liquid Brasso (found at any hardware store)
- A few rags (a few for buffing, a couple for drying)
