X
wikiHow is a “wiki,” similar to Wikipedia, which means that many of our articles are co-written by multiple authors. To create this article, volunteer authors worked to edit and improve it over time.
This article has been viewed 32,394 times.
Learn more...
Frequent use and the occasional cement scrape have worn down the blade of your edger. With the purchase of a new blade, and a few common household tools, you can fix it quickly.
Steps
Part 1
Part 1 of 2:
Removing the Old Blade
-
1Disconnect the edger from weed whacker and or power source. This step will ensure safety during this installation.
-
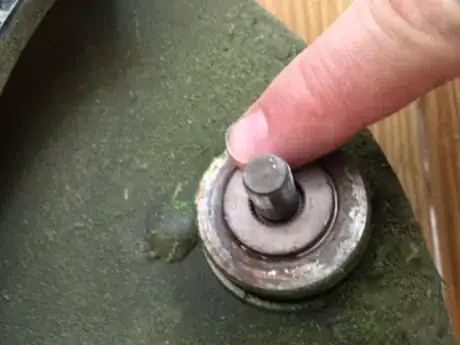
2Turn the edger on its side. The blade has a free rotation, and you must lock the spindle in order to remove the bolt. You can do this by locating the hole in the spindle which will lock the rotation.Advertisement
-
3Insert a screwdriver into the spindle hole. Check to make sure the spindle is locked and there is no rotation.
-
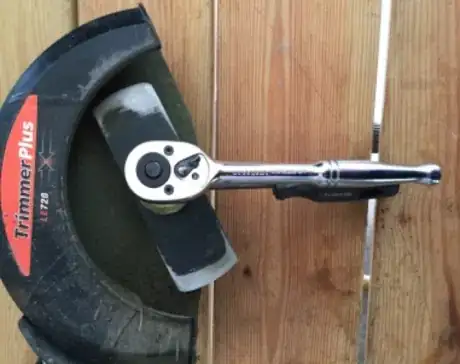
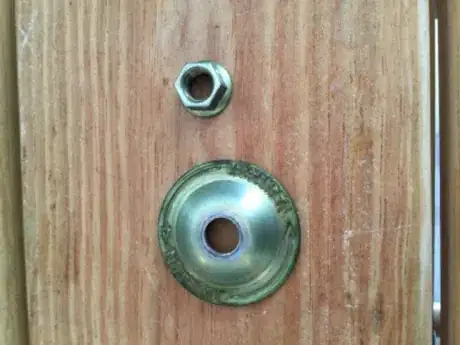
4Attach the ratchet with ½ socket onto the spindle nut. To determine the direction to loosen the spindle nut, the spindle washer, located underneath the nut, will indicate the tightening direction. In this case, the direction to tighten is counter clock wise, so to loosen we will go clockwise.
-
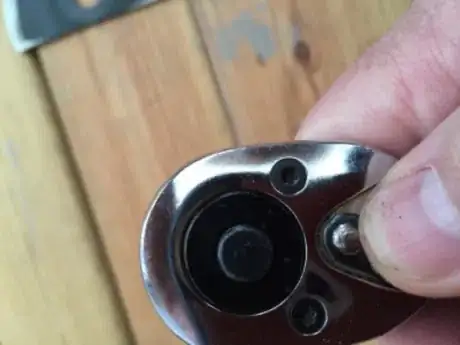
5Switch the direction of the ratchet if needed. This is done by the control lever on the head of the ratchet.
- Switch ratchet to opposite mode (counter clockwise) to tighten the nut.
-
6Remove the spindle nut and washer. Lift the old blade off the spindle. The blade is normally dull, but do not take any chances and proceed with caution. The blade can be thrown away or recycled. Save the spindle nut and washer and keep in a safe place as we will use these with the new blade.
Advertisement
Part 2
Part 2 of 2:
Installing the New Blade
-
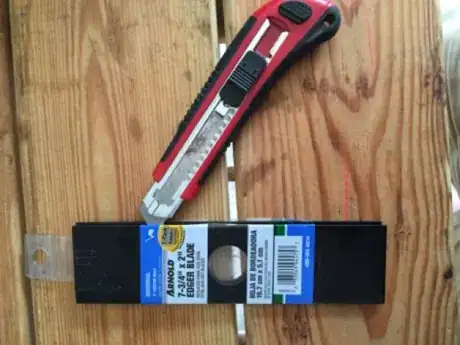
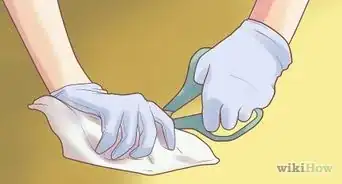
1Prepare the new blade for installation. The blades normally come in a pack of two. Use the box cutter to slice the packaging material. Carefully remove the blade you can save the label. This will help you identify for the blade next year.
-
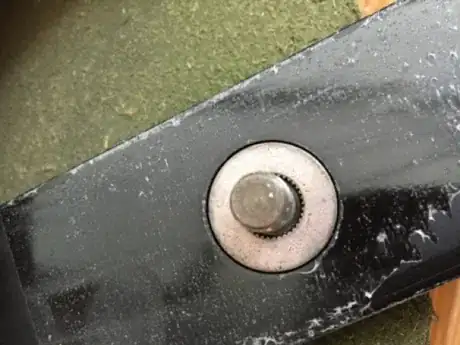
2Inspect the spindle surface. Make sure there is no dirt or other debris that will prevent the new blade from seating properly over the hub.
-
3Position the new blade over the spindle hub. Make sure the whole blade seats properly on spindle. As long as the blade is over the hub, and centered, it is properly placed.
-
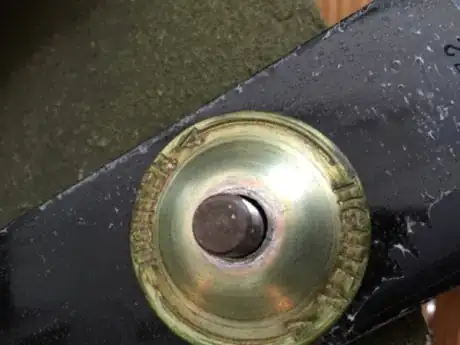
4Replace the spindle washer over the blade. Reminder: the direction to tighten spindle nut is on your spindle washer. Please note this direction for the next step.
-
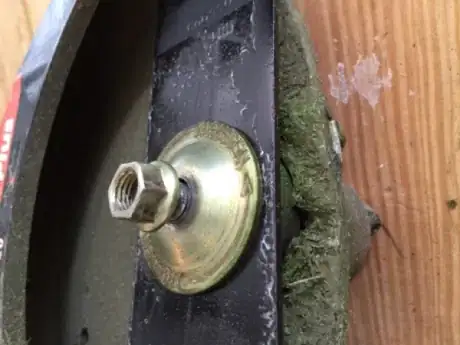
5Place the spindle nut on top of the washer. Hand tighten until the nut is set and accurately secured. Finish tightening nut with ratchet.
-
6Examine your edger blade and check that it is securely attached to the spindle. Test your edger in a safe area while wearing protective eye wear and closed toed shoes. After each use of your edger check the blade to ensure that the spindle nut is tight, and that there is no sever damage to your blade.
Advertisement
Things You'll Need
- Ratchet with ½ “ Socket
- Screw Driver
- Box Cutter
- New Blade
About This Article
Advertisement
