This article was co-authored by wikiHow Staff. Our trained team of editors and researchers validate articles for accuracy and comprehensiveness. wikiHow's Content Management Team carefully monitors the work from our editorial staff to ensure that each article is backed by trusted research and meets our high quality standards.
There are 7 references cited in this article, which can be found at the bottom of the page.
This article has been viewed 346,713 times.
Learn more...
The timing chain on your vehicle is the connection between the crankshaft and camshaft. The timing chain is a crucial piece of equipment that, when working properly, causes the valves to open and close at very specific intervals in relation to the position of your pistons for optimum operation of your engine. Timing chains wear with time, which can affect your engine's operation. You may find the need to replace your timing chain at some point; however with the right tools, a service manual and some mechanical know-how, you can do it yourself. Just be aware that this is a major job and can have serious consequences for your engine if done incorrectly.
Steps
Preparing for Engine Work
-
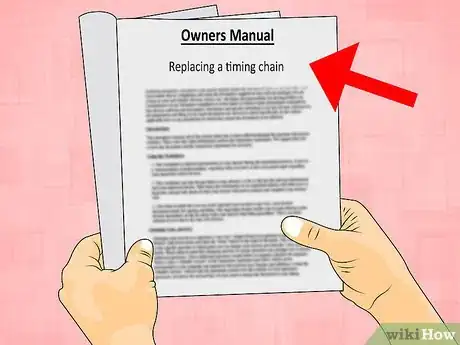
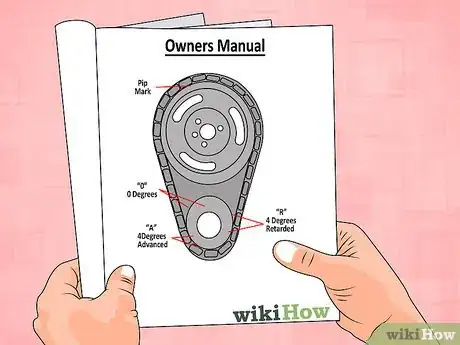
1Locate your owner's manual. You will most likely need it to disassemble and reassemble various parts. Also verify that your model is equipped with a timing chain and not a timing belt. These two parts perform the same task, but replacing them can be quite different. This procedure is only for replacing a timing chain.
-
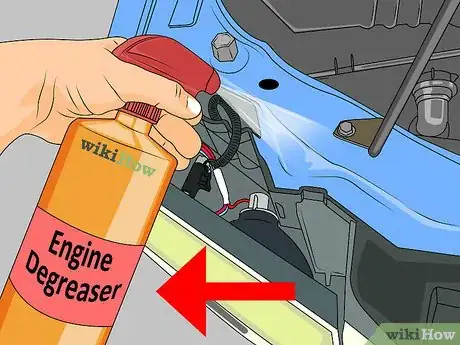
2Clean the engine with the proper degreaser thoroughly before beginning. Having your engine clean allows you to better locate any leaks or worn parts. It also makes the job less messy overall. Never clean or work on your engine while it is hot.
- Keep in mind that the degreaser and oils you are washing off of your engine can kill your grass and pose an environmental threat. This should be done somewhere that is properly set up to drain and filter the chemicals used.
Advertisement -
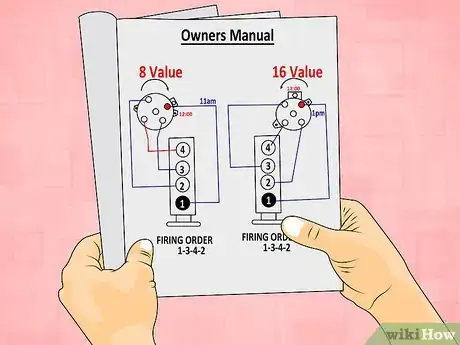
3Determine your car's firing order. This may be stamped directly on the engine (either on the cylinder head, valve covers, or intake manifold) and sometimes listed in the owner’s manual specifications. You can also use a service manual to determine firing order. This will be necessary to know because later you will need to check your number one cylinder (the one that fires first in the firing order).
-
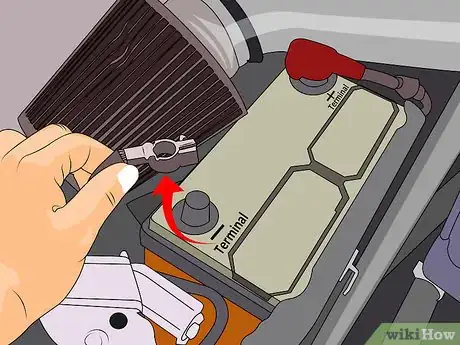
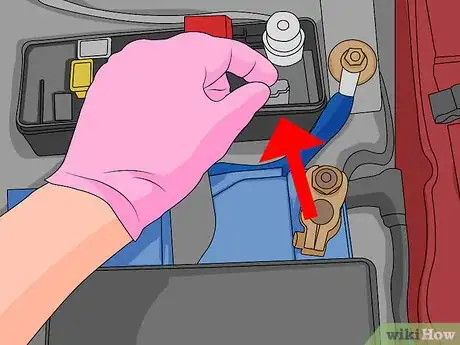
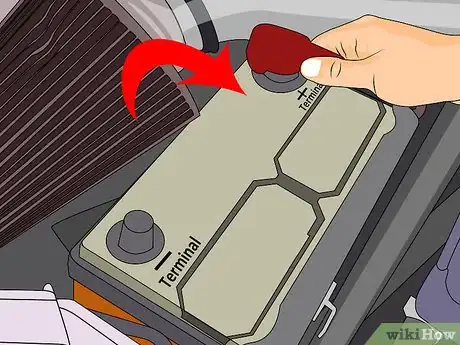
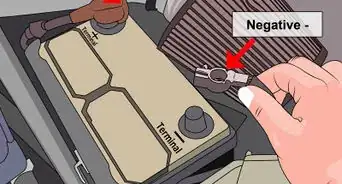
4Disconnect the battery cables. You should not work on your engine with the battery plugged in. First remove the ground cable (negative terminal) and then remove the positive terminal.
Disconnecting the Radiator
-
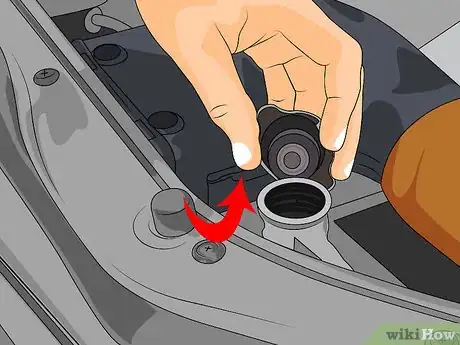
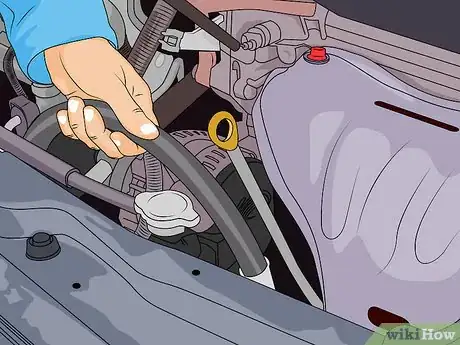
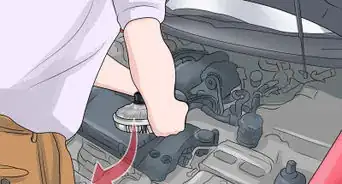
1Remove the radiator cap. This will allow the coolant to be drained from the system.
-
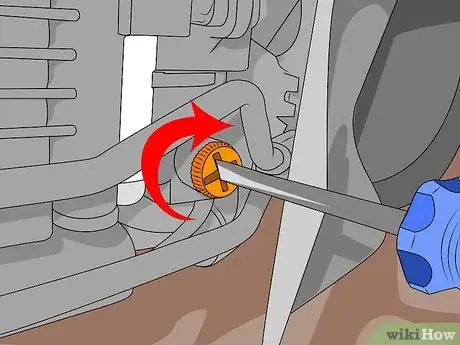
2Open the drain cock to drain coolant. The drain cock is located near the bottom of the radiator and is a plastic screw or pull cap that you can release. Engine coolant is a mix of water and antifreeze. It is very toxic and should be stored in a plastic container with a screw-on cap. An old antifreeze bottle is ideal.[1]
-
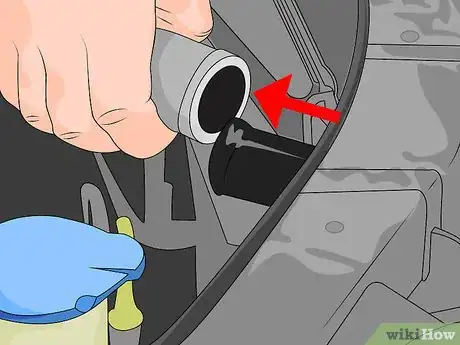
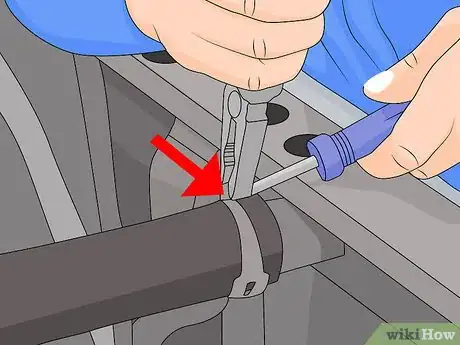
3Remove the radiator hoses. Trace the radiator hoses from the radiator back to the engine. Squeeze the hose clamps with pliers and slide them back onto the hose. Wiggle the hose to break it free and move it out of the way.
- There is no need to remove the radiator. The hoses need to be loosened and the coolant drained for the purpose of removing the water pump in a later step.
Removing the Drive Belt Components
-
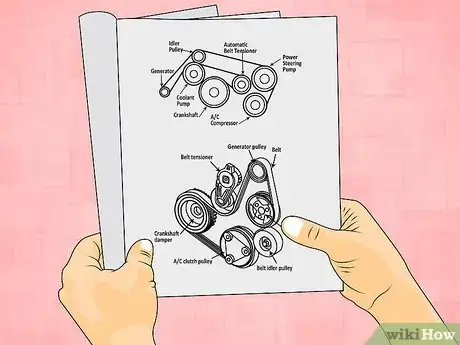
1Locate a routing diagram. This can usually be found posted underneath the hood of your car or in your service manual for serpentine belts (S-belts). If you drive a much older car, you may have a multi-belt design (V-belt). Either way, if you cannot find a routing diagram you should take a picture or draw one before removing the belt(s).
-
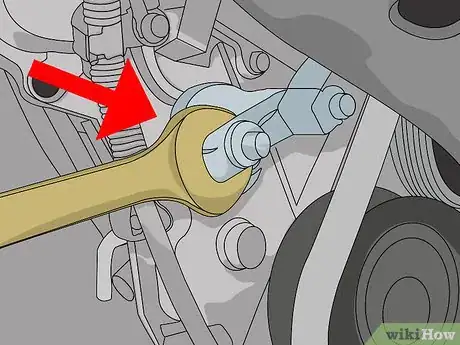
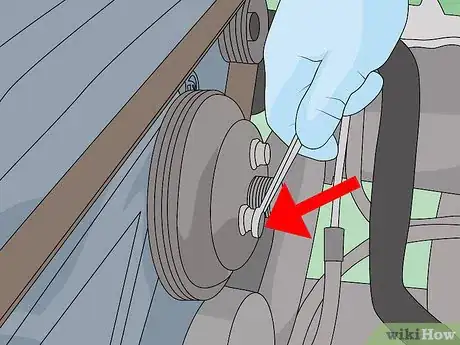
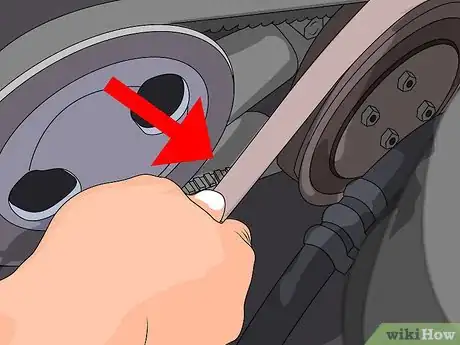
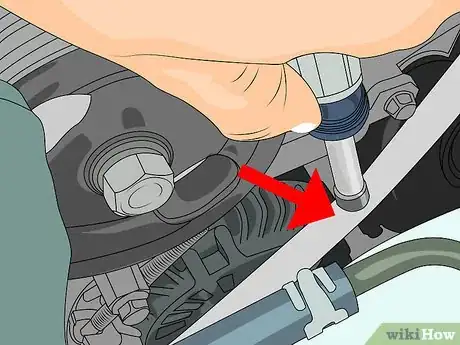
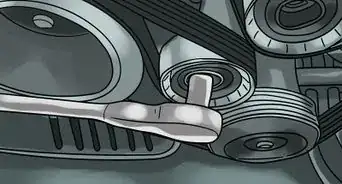
2Release the tension on the belt. For serpentine belts this is done by compressing the spring loaded tensioner. Some tensioners can be compressed with simple hand tools such as a wrench, and others may require a special tool. V-belts can be removed by adjusting the position of one of their pulleys to release tension.
-
3Remove the belt. Once tension is released, the belt should slide off of the other pulleys easily.
-
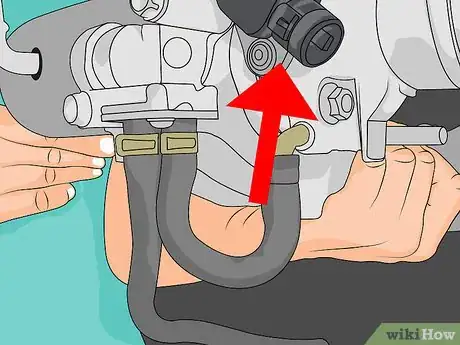
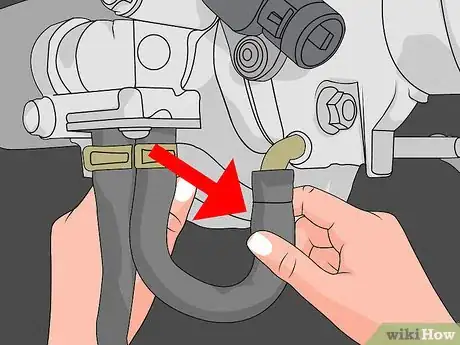
4Remove the heater hoses from the water pump. If your model has heater hoses attached to the water pump, loosen the hose clamps with a screwdriver and slide them back onto the hose.[2] Wiggle the hose and pull it off of the water pump.
-
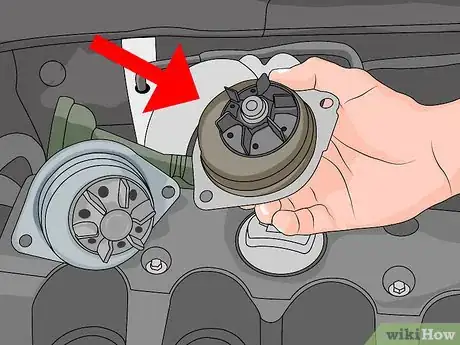
5Remove the water pump. Take out any bolts that hold the water pump to the engine. Usually there are three to five bolts to remove. Once the bolts are removed, you should be able to pull the pump off with your hands.[3]
-
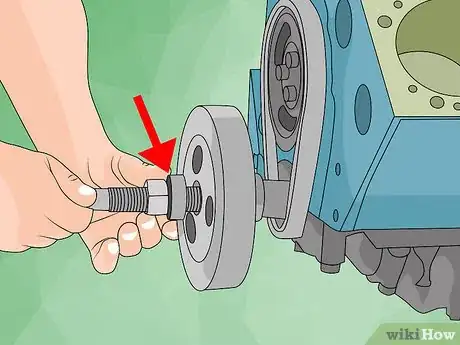
6Remove crankshaft pulley (harmonic balancer). Remove the bolt and washer in the center of the pulley. Put the bolt partially back in the bolt hole and use a harmonic balancer removal tool. The tool should not be a jaw type tool, but instead should apply all of the removal force to the center of the assembly. This protects the rubber ring in the harmonic balancer.[4]
Removing the Timing Chain
-
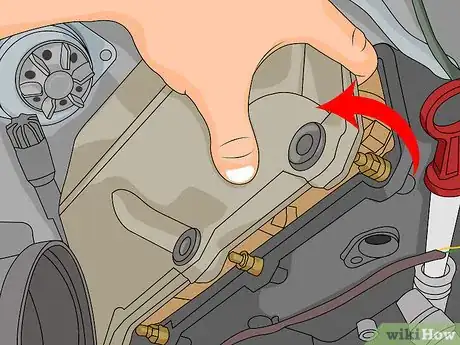
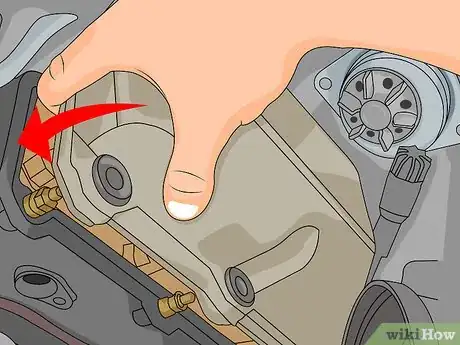
1Remove the timing chain cover. Unbolt the timing chain cover from the engine block. Note that the bolts are different lengths so have a system in place to remember which bolt goes where when you put the cover back on. One good method is to put them back into their proper holes in the timing chain cover and set it off to the side.
-
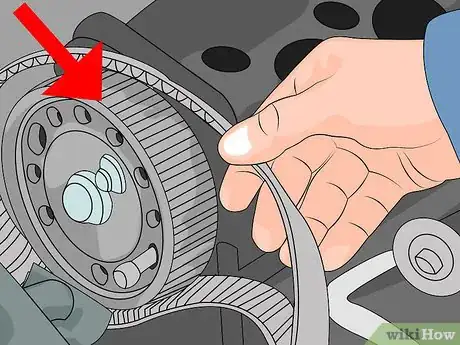
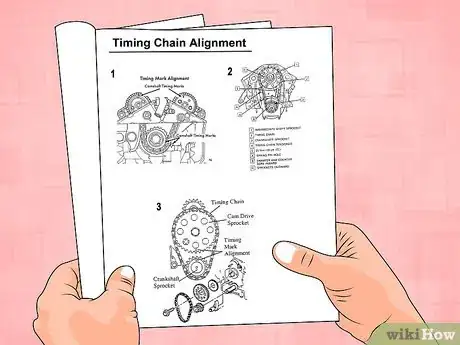
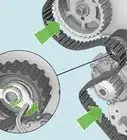
2Locate marks on your crankshaft and camshaft gears. These gears are connected by the timing chain so that the position of the piston (connected to the crankshaft) correlates directly to the opening of the fuel and exhaust valves (operated by the camshaft) to keep your engine running smoothly. These gears should each be marked to help you reference their relative position.
-
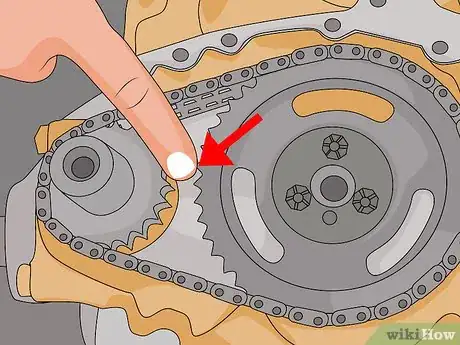
3Locate marks or “bright” links in your timing chain. These links are brighter than the other links and are used to align your engine.
-
4Set your engine to top dead center. To get your engine to top dead center, line the bright links on the timing chain up with the marks on your camshaft and crankshaft gears. Remember that the crankshaft can be set to top dead center both on the compression and exhaust strokes of the piston.[5] You want top dead center for the compression stroke, so you can insert
-
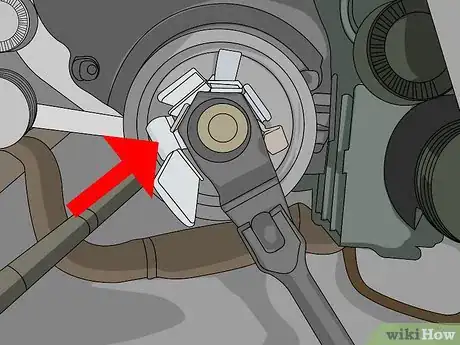
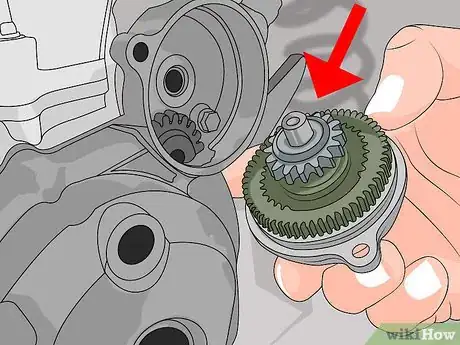
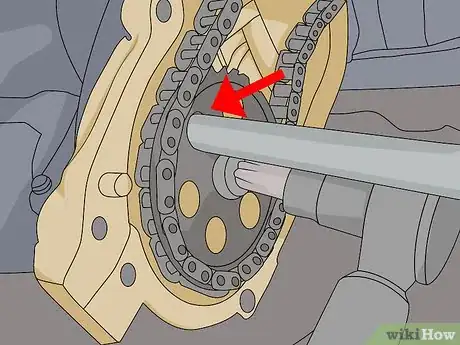
5Remove the timing chain. This can be done by loosening the tension gear with a wrench or ratchet. Next slide the chain off of the gears.
Installing the New Timing Chain
-
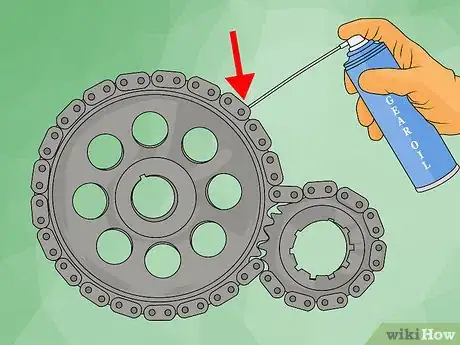
1Lube the gear before installing the new chain. Using a little gear oil now will help to ensure that your chain and gear perform optimally for as long as possible.
-
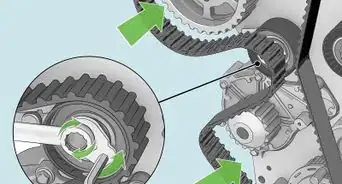
2Place the new chain onto the gears while aligning with the marks. You want the bright links on the new chain to line up exactly with the marks on the gears just like the old chain did. This will allow you to locate top dead center if you ever need to.
-
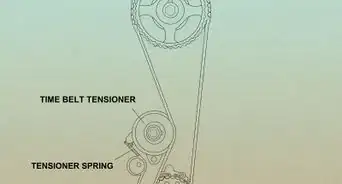
3Tighten the chain according to your car manual's specifications. Some chains are tensioned by adjusting either the crankshaft gear or the camshaft gear, while others have an automatic tensioner. This will vary by make and model of your car. The important thing is to make sure that your timing belt is as tight as it should be.
Replacing the Crankshaft Seal
-
1Drive out the crankshaft seal with a hammer and punch. This is the rubber seal around the crankshaft and the timing cover.
-
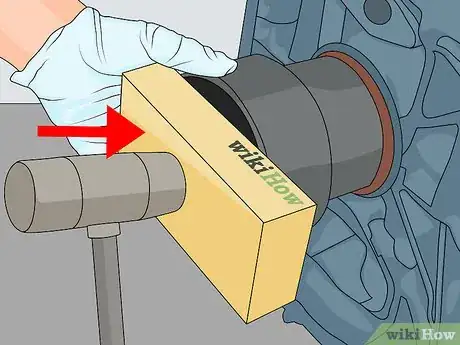
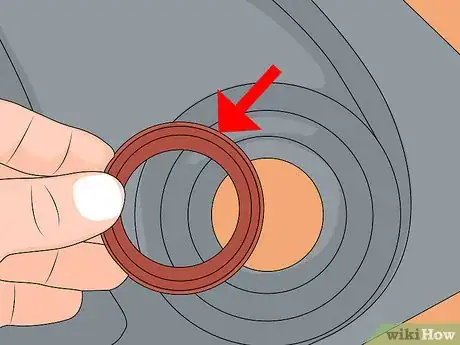
2Tap the new crankshaft seal into the timing cover. The seal should be seated into the correct place on the timing cover. It will seal when the cover is bolted onto the engine.
-
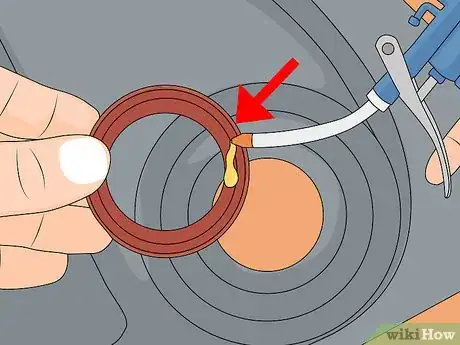
3Coat the seal with oil. It is necessary to coat the seal with oil to ensure proper functioning when the seal is compressed.[6]
-
4Reinstall the timing chain cover. The bolts are varying lengths. Remember the system you set up to keep track of which bolts went where and be sure to use the proper bolt in the proper location.
Reassembling the Drive Belt Components and Cooling System
-
1Bolt on the harmonic balancer. There is only the one bolt in the center that fastens the harmonic balancer into place. Check you owner’s manual or service guide for proper torque specifications.
-
2Reinstall the water pump. Replace the bolts that fasten the water pump to the engine block.
-
3Attach the heater hoses to the water pump. If you removed heater hoses from your water pump, you will need to slide them back onto the water pump. Once the hose is on the pump you can squeeze down the hose clamp with pliers and slide it up over where the hose and pump connect. If the clamp has a tightening screw, tighten it with a screwdriver. This will secure the hose to the pump.
-
4Replace the radiator hoses. If the lower radiator hose is still removed or if you removed the upper hose for any reason, put them back on the radiator now. Once the hose has been slid onto the radiator, use a pair of pliers to move the clamps up the hose to the place where the hose and the radiator meet. This will fasten the hose to the radiator.
-
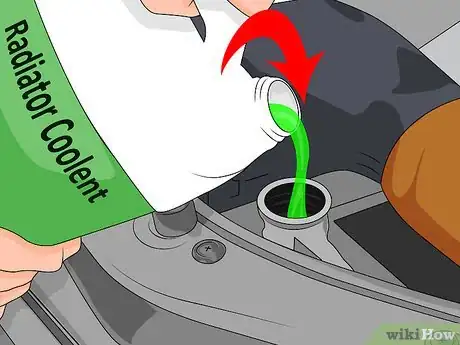
5Fill the radiator with coolant according to specifications. If your coolant looks dirty or if it has been more than a year since you last changed the coolant in your vehicle, use new coolant. Dilute the coolant as specified in your owner’s manual or service guide and fill to the mark that says “cool” or “cold” on the tank. If your coolant is clean and relatively new, you can pour the old coolant back into your radiator.
-
6Rerun the drive belt(s). You should use the routing diagram stamped on your hood or printed in your owner’s manual to make sure that the belt is run properly. Pulleys with grooves are intended to meet the grooved side of the belt, but some flat pulleys are meant to be driven by the flat backside of the belt.[7]
-
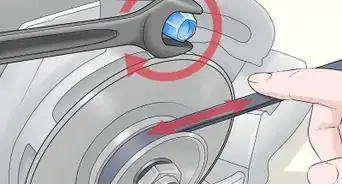
7Tighten the belt. This can be done by releasing the tensioner in a serpentine design. If you are working with a V-belt design then you will need to tension the belt manually. A good rule of thumb is that the belt should have a maximum of 1⁄2 inch (1.3 cm) of movement in the middle of the belt's longest run.[8] Check your vehicle manual for more information. If in doubt, consult a mechanic.
-
8Check one last time to make sure all belts and hoses are connected. You do not want to start your engine without all of the appropriate accessories hooked up. Take a second look over everything and make sure that all is well before moving on.
Wrapping Up the Job
-
1Reconnect your battery. Connect the positive cable first, and then connect the ground cable.
-
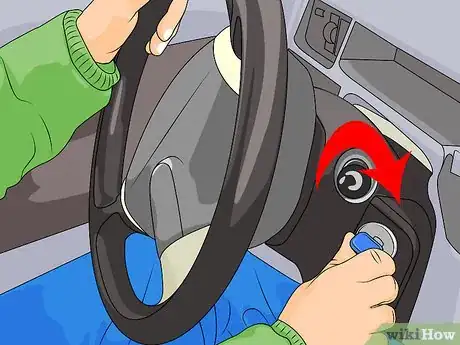
2Start the car's engine. Turn the key and start the engine.
-
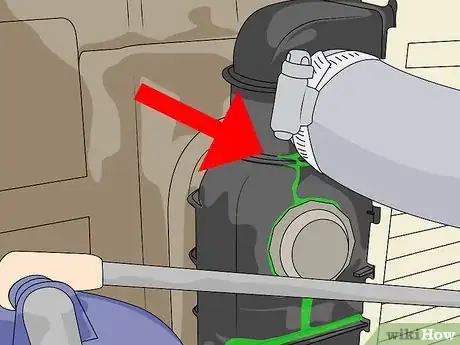
3Check for drips or leaks. Look under your hood and under your car to make sure that no fluid is dripping or leaking. If you are leaking coolant, check to make sure all hoses are connected properly to the radiator and water pump. If you are leaking oil you might have to replace the crankshaft seal again.
-
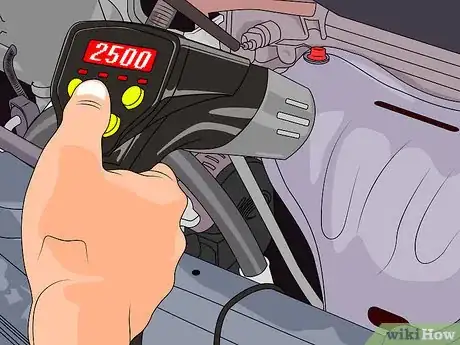
4Check the timing with a timing light. This ensures that all cylinders are firing at the correct time and that the valves are opening and closing properly in relation to the piston’s position.
Community Q&A
-
QuestionHow do I do a timing chain inspection?
 Community AnswerA simple way to check a timing belt or chain is to check the vehicles spark timing. If it is at the correct timing, the belt is working. To actually physically check the chain, one must remove quite a few covers and items to access the chain itself and check for sloppiness in the chain, or physical wear. It's quite a job for no purpose if the timing is correct, so try this last.
 -
QuestionHow can I know if it is on the left or right side?
 Community AnswerIt will be on the side of the drivebelt. The drivebelt is the side that has all of your pulleys. It is generally on the passenger side.
 -
QuestionWhat is a timing chain?
 Community AnswerA timing chain coordinates the camshaft with the crankshaft, so spark plugs can fire in the compression stroke and the engine will run.
Warnings
- Always be aware of hot parts of your engine or sharp or hazardous materials and take the necessary precautions.⧼thumbs_response⧽
- Do not attempt this repair if you are not mechanically knowledgeable. It is an extensive repair involving many of your vehicles vital components. Even a seemingly small mistake could result in a major repair bill and may even mean replacing the engine entirely.⧼thumbs_response⧽
- Always work on a level surface and support your vehicle with jack stands; never work on a surface that is not hard.⧼thumbs_response⧽
- Ensure that you have the proper tools to do the job to avoid injuries from improper tools slipping or breaking.⧼thumbs_response⧽
- Never leave radiator coolant in an open container that is unattended. Coolant is poisonous to animals. Contain and dispose of coolant properly. If you are unsure of the procedures, call your county refuse office for advice.⧼thumbs_response⧽
Things You'll Need
- Combination wrenches
- Socket set
- Torque wrench
- Harmonic balancer (crankshaft) puller
- Gear puller
- Screwdrivers
- Hammer and punch
- Gasket scraper
- Timing light
- Silicone sealer
- Lubricant/oil
- Engine degreaser
- Timing chain cover gasket set
- New timing chain and gears
- Drain pan
- Antifreeze
- Jack
- Jack stands
- Paper towels or rags
References
- ↑ http://www.familyhandyman.com/automotive/car-maintenance/how-to-change-coolant/view-all
- ↑ http://www.familyhandyman.com/automotive/how-to-repair-a-car-heater-hose/view-all
- ↑ http://www.popularmechanics.com/cars/how-to/a83/1272366/
- ↑ http://www.wisegeek.com/what-are-the-best-tips-for-crankshaft-pulley-removal.htm
- ↑ http://www.clarks-garage.com/shop-manual/eng-13.htm
- ↑ http://www.popularmechanics.com/cars/how-to/a83/1272366/
- ↑ http://www.popularmechanics.com/cars/how-to/a4121/4311197/
- ↑ http://www.dummies.com/how-to/content/how-to-check-a-vehicles-accessory-belts.html
About This Article
To change a timing chain, remove the radiator cap, drain the coolant out, and remove the radiator hoses. Next, remove the drive belt components before unbolting the timing chain cover. Then, line the bright links on the timing chain up with the marks on your camshaft and crankshaft gears to get your engine to top dead center. Finally, remove the timing chain, lube the gear, and place the new chain onto the gears while aligning it with the marks. For tips on tightening the new chain after installing it, read on!
