This article was co-authored by wikiHow staff writer, Darlene Antonelli, MA. Darlene Antonelli is a Technology Writer and Editor for wikiHow. Darlene has experience teaching college courses, writing technology-related articles, and working hands-on in the technology field. She earned an MA in Writing from Rowan University in 2012 and wrote her thesis on online communities and the personalities curated in such communities.
This article has been viewed 77,671 times.
Learn more...
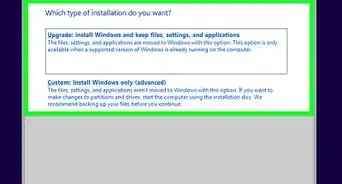
Windows 10 has a feature that can automatically shutdown your computer according to a schedule you set. But you might be working or gaming late and don't want your computer to automatically shut down. This wikiHow will teach you how to cancel auto-shutdown using the run command, the command prompt, or PowerShell. However, if you use power-saving settings to save your battery life when your laptop isn't plugged into a power source, you may also need to change those settings in Power Options.
Steps
Using Run, Command Prompt, or PowerShell
-
1Press Win+R (to open Run) or open Command Prompt or PowerShell. Pressing the Win + R key combination will open the Run window.
- You'll find Command Prompt or PowerShell in your Start menu. Since PowerShell is replacing Command Prompt for many modern Windows 10 computers, you can also select PowerShell in the menu that pops up when you press Win + X.[1]
-
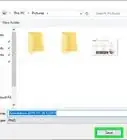
2Enter the following command: shutdown -a. This command will cancel the scheduled shutdown for one time. You'll have to repeat this process if you want to cancel other scheduled shutdowns.Advertisement
-
3Click OK (in the Run window) or ↵ Enter (in Command Prompt or PowerShell). It's below the place where you entered the code in the Run window and will prompt it to close.[2]


Using Power Options
-
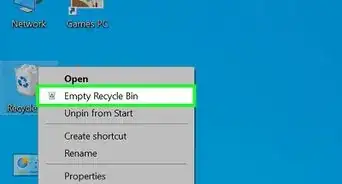
1Open Settings. You can press Win + I to open Settings, or you can find it in your Start menu next to a gear icon.
-
2Click System. It should be the first icon in the menu.
-
3Click Power and sleep. You should see this in the menu on the left side of the window.
-
4Click Additional power settings. This is towards the right side of the window.
-
5Click Change plan settings. You'll see this to the right of your current plan.
-
6Click Change advanced power settings. It's under the general settings.
-
7Double-click Sleep and Sleep After. Double-clicking these will expand their menus.
-
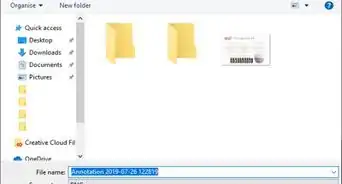
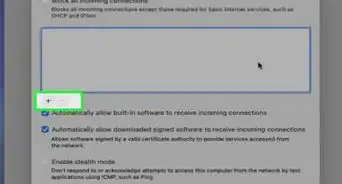
8Click On Battery or Plugged in, select the arrow and choose "Never" (laptop only). If you want to change the setting for both of these options, repeat the process for the one you didn't already change.
-
9Click Setting, select the arrow and choose "Never" (desktop only). You will not see this if you're on a laptop.
- Changing the "Sleep" settings to never will ensure that your computer never goes to sleep.
-
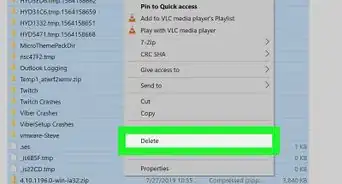
10Double-click Hibernate after. A menu will expand below the header.
-
11Click On Battery or Plugged in, click the arrow and choose "Never" (laptop only). If you want to change the setting for both of these options, repeat the process for the one you didn't already change.
-
12


-Step-17.webp)


References
- ↑ https://support.microsoft.com/en-us/windows/powershell-is-replacing-command-prompt-fdb690cf-876c-d866-2124-21b6fb29a45f
- ↑ https://www.c-sharpcorner.com/article/how-to-cancel-automatic-shutdown-in-windows-10/
- ↑ https://www.windowscentral.com/how-manage-custom-power-plans-windows-10
- ↑ https://answers.microsoft.com/en-us/windows/forum/all/win10-turn-off-autoshutdown/7dec09c2-3fc0-4e22-b451-b2a1422083d4
About This Article

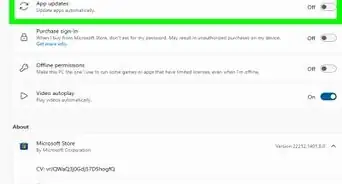
1. Press Win + R (to open Run) or open Command Prompt or PowerShell.
2. Enter the following command: "shutdown -a".
3. Click OK (in the Run window) or press Enter (in Command Prompt or PowerShell).


-Step-17.webp)