X
wikiHow is a “wiki,” similar to Wikipedia, which means that many of our articles are co-written by multiple authors. To create this article, 20 people, some anonymous, worked to edit and improve it over time.
This article has been viewed 99,960 times.
Learn more...
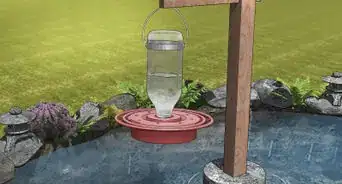
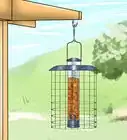
Attracting wildlife to your surroundings can be fun and educational. These instructions will teach you how to construct a beautiful, functional, and adjustable pole on which to hang bird feeders and bird houses.
Steps
-
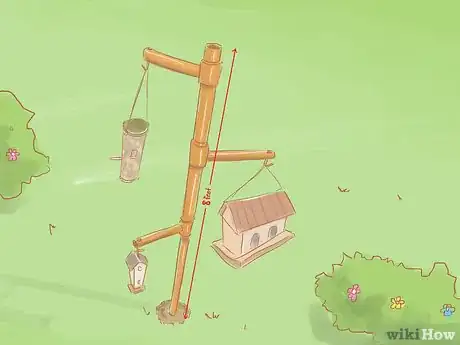
1Decide on the height. The starting point is deciding how tall you want the structure so you will know how much pipe is needed. A good size is a pole that is about 8 feet (2.4 m) tall so the feeders hang at between 5 and 7 feet from the ground.
-
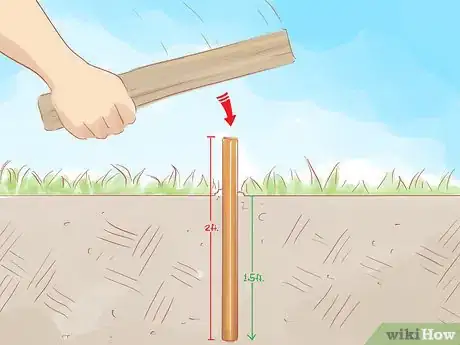
2In addition to the 8 feet (2.4 m) above ground, you will also need about 2 feet (0.6 m) of pipe to drive into the ground; this is the support for the structure and also allows the above ground section to be removed and modified, or swiveled if you like. Try using a hammer and block of wood to hammer the 2 foot (0.6 m) section into the ground about 1.5 feet (0.5 m) deep. The wood is used so you do not hit the pipe directly with the hammer which would bend the pipe.Advertisement
-
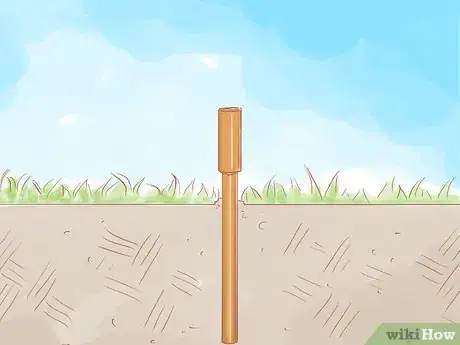
3Solder a simple coupler (sleeve) once the pipe is driven to an adequate depth, over the end of the pipe so the upper half of the structure can slide in and out of the coupler as needed and be supported by the pipe in the ground.
-
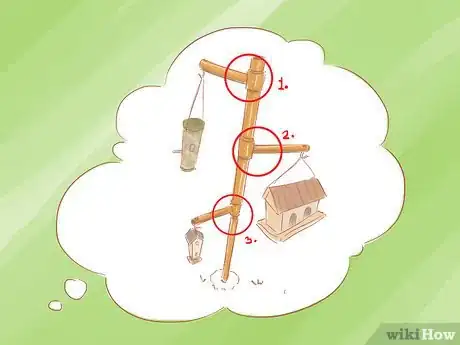
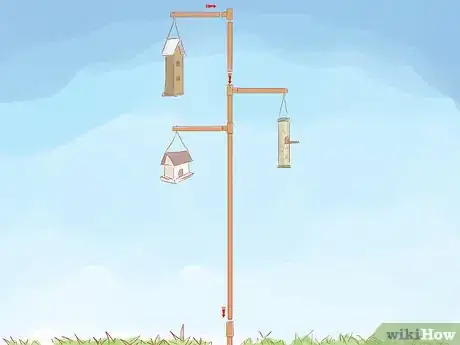
4Decide how many "limbs" you want. (Remember that the more limbs, the more breaks you need in the main pole which will create more movement at the top. You also want to try to equalize the weight distribution of the feeders to each side of the pole so it does not lean over time.) You can decide to have three limbs, two at about 7 feet (2.1 m) and then another off the very top. From this point, you simply cut the main pipe at the height you want the first limb and attach a "T" fitting so you have the ability to add another pipe perpendicular to the main pole. Then add another length of pipe into the "T" fitting that will extend the main pole to the height of the second limb and repeat as desired.
-
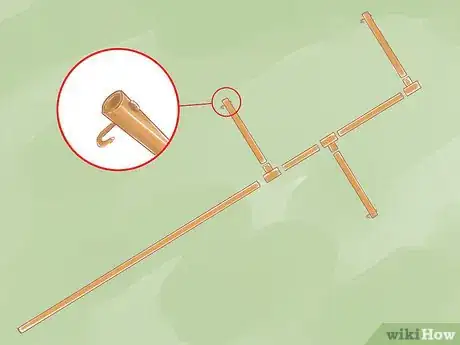
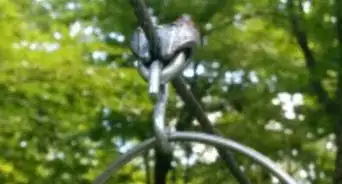
5Prepare and add the actual limbs that you will hang the feeders or houses on. The further out you want your feeders hung, the less weight the pipe will bear. This image shows somebody using 1" copper pipe which seems to be holding the weight well but it is a soft metal and will kink easily so it is not suggested making the limbs more than 12 or 18 inches (30.5 or 45.7 cm) long. A good idea is to find a way to secure the feeders in such a way that they could spin easily for a different look and could be removed for cleaning and filling. The easiest way some would think to do this was to drill a hole in the bottom of each arm about an inch from the end. A hole is drilled large enough for a deck nail shaft to fit but not the head. Taking a pair of vice grips, the nails are bent so the pointed end acts as a hook which can be fed through the inside of the hole drilled in the pipe so the nail hook is suspended by its head and can spin freely.
-
6Slide each arm into its respective "T" fitting, stand your pole with the limbs attached into the base coupler and you are ready to hang your feeders on the hooks.
Advertisement
Community Q&A
-
QuestionCan I use PVC pipe?
 Amy HarrisonTop AnswererAs long as you can connect the pipes to form the same structure, then yes. However, it will no longer be a copper bird feeder.
 -
QuestionWhat should I do if I don't want to climb a ladder to refill a bird feeder?
 Community AnswerUse a long-ended grabber handle that people give you to grab cans off a shelf and instead use it to grab and refill the bird feeder.
Advertisement
Warnings
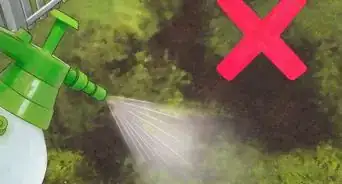
- If you do put anything on the pole to keep away squirrels, make sure it is not toxic.⧼thumbs_response⧽
Advertisement
Things You'll Need
- Copper pipes
- Measuring tape
- Nails suited for building
- Salt-water (optional)
- Any safety gear you may need
About This Article
Advertisement
