This article was co-authored by Ryaan Tuttle. Ryaan Tuttle is a Home Improvement Specialist and the CEO of Best Handyman, Inc. in Boston, Massachusetts. With over 17 years of experience, he specializes in building home service businesses, focusing on creating scalable and efficient brands. With the help of his global team, the companies have achieved over 10+ million in sales and received recognition through magazine features, and enjoy partnerships with wikiHow and Jobber field service software. Boston Magazine and LocalBest.com have named Best Handyman Boston the Best Handyman in Boston. Ryaan holds Construction Supervisor and Home Improvement Contractor Licenses.
This article has been viewed 280,557 times.
Building shelves can seem like a daunting DIY project, but with some determination and the right tools, you can build a simple unit for storing and displaying items in your space. Since shelves are so versatile and can be very basic and simple or extremely ornate and decorative, you'll have to decide what style you're going for. You'll also need to know the approximate size your shelves will need to be and how much weight they're going to have to hold. Once you have this information and make some decisions, you'll be well on your way to building and installing your shelves!
Steps
Beginning Your Shelves
-
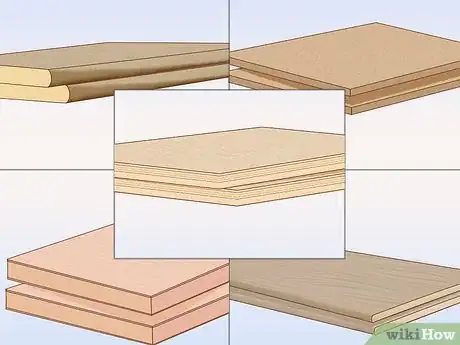
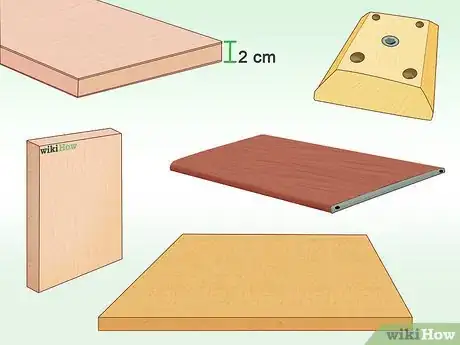
1Choose your shelving board. Select a shelving board according to personal preference, your budget and the way in which the shelving complements your décor. There are a wide variety of potential boards to use.
- Softwood boards: These are easy to have cut to the desired length and can hold many items, including heavy books.
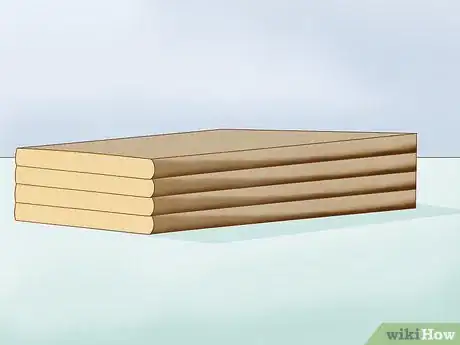
- Plywood boards: This is made up of layered flat boards. The surface is often made to imitate a wood finish or it can be laminated.
- Particleboard or chipboard shelves: Made from wood chips glued together under pressure, these are common shelving boards that are lightweight, affordable and easy to find. It is best to get these cut professionally, as the makeup of the boards can blunt cutting tools.[1]
- Blockboard shelves: These are stronger than chipboard and are suitable for heavy duty items, like tools and appliances kept in the garage.
- Pre-made and pre-sized shelving boards: These are traditionally part of a kit and will often be made for adjustable shelves. The instructions for putting these together should always be included; if not, call the retailer or manufacturer.
-
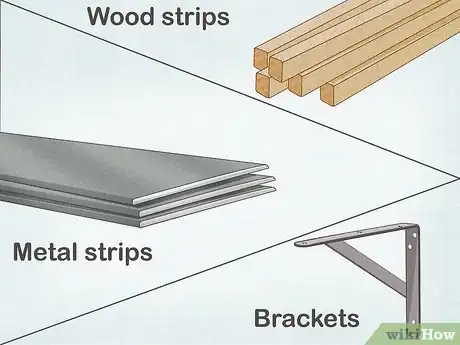
2Select the shelf support according to the style of shelf. In some cases supports are hidden but a shelf will always require a support of some type.
- Wood strips: Simple but effective, wood strips or blocks can be used to keep shelves in place. A strip of wood used at both ends of shelving is known as a cleat support. It can be neatened by nailing a piece of wood across the front shelf to hide the side cleats.
- Metal strips: Available from hardware stores, these can be used as shelf supports. They aren't that pretty, so they may be best for hardware storage in the garage or cupboards.
- Brackets: Typically L-shaped, these can be fancy or plain. They are simple to use and are usually good for a variety of shelves. Some brackets are so fancy that they can enhance your décor but they will usually cost a lot more than plainer versions.[2]
Very Basic Brick and Wood Floor Shelf
This is a simple shelf arrangement that can be put together by absolutely anybody. It's useful for people on a low income. Due to its unstable nature (nothing is holding it together), it must remain very low, in case it topples. It is not advisable to build this structure if you have children or pets.
-
1Find some bricks and shelf boards. The shelf boards should all be the same length; if not, cut them to the same length.[3]
- You can also use cinder blocks, in which case you'll only need one on each side rather than the two bricks.
-
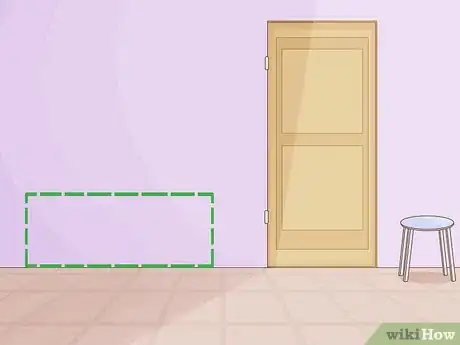
2Choose a suitable place for the shelf. Since the shelf has little support, it needs to be flush against a wall, or have some sort of similar flat backing.
-
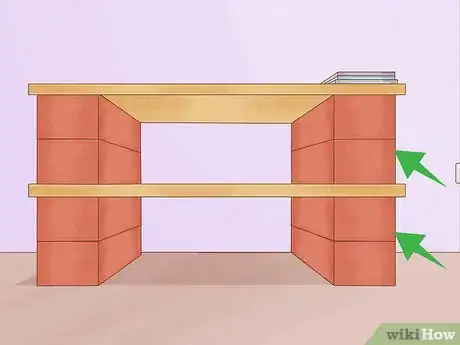
3Place two bricks together on the floor space selected. Place another two bricks together on the opposite side to form the base of the shelving. The distance between the bricks should be determined by the plank length, with a small amount of plank overhanging at each side (about a 2 inches).
- There should be two bricks on each side of the shelf to support it.
-
4Create the shelving. You'll place the first shelf board onto the base bricks. Then place two bricks side by side on the shelf in the same position as the base bricks.
- This time, add two sets more bricks on top to make a pillar.
- Do the same for the other side.
-
5Add the next shelf board. The shelf has been made. It's simple but it's adequate for keeping things like books, DVDs and CDs in order.
- If you want to strengthen this structure, add a cross-brace to the back of the shelf unit, screwing it into the shelf boards.
Wall Shelf
If you don't mind drilling into the wall, this standard style of shelf can be placed in most areas of the house and provide a handy storage or display area.
-
1Select a pair of brackets. Choose plain or fancy, as required.
-
2Choose a shelf board. Cut it to the length required if it's not already done.
-
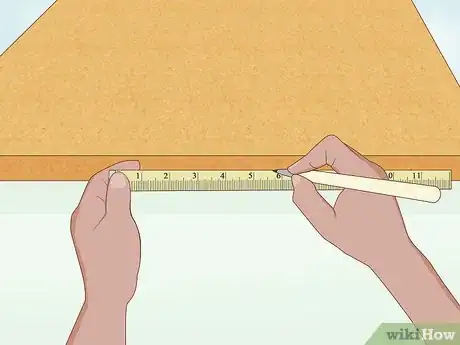
3Hold a bracket against the wall where you want the shelf to sit. Mark the position with a pencil. Use a tape measure to mark the position of the other bracket at the opposite side.
-
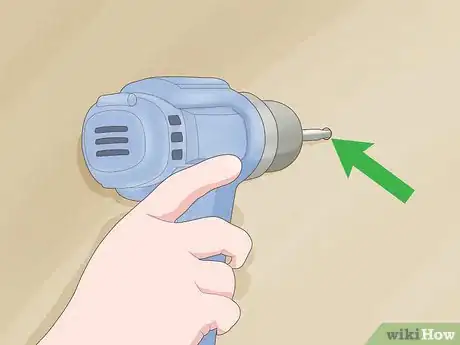
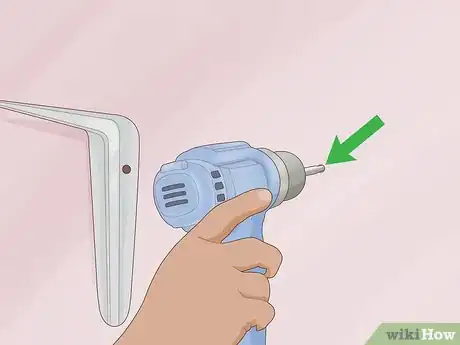
4Drill the first bracket's hole (or holes) into the wall over the marks you've made. Always check for electrical wiring or plumbing before drilling. It's also wise to place a drop sheet on the floor to make it easier to collect the drill dust.
- Use a masonry drill bit.
- Drill to the depth that the screw requires to penetrate the wall sufficiently.
- Insert a wall plug.
-
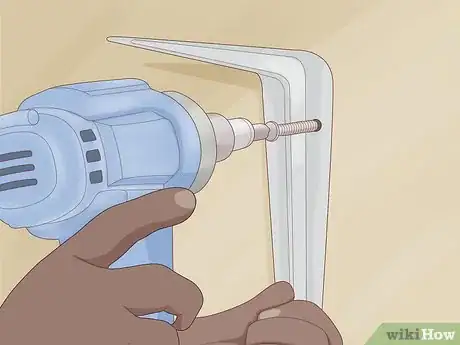
5Hold the bracket in place. Attach the screw (or screws) by screwing them in as far as they will go.
-
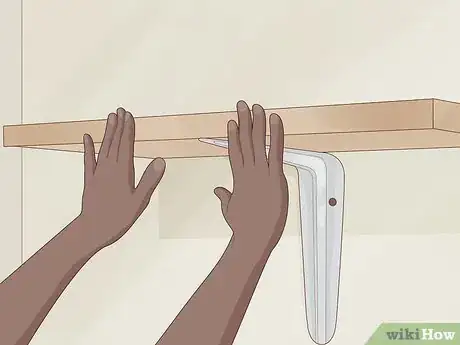
6Place the shelf board onto the brackets. Hold the board in place with one hand. Then, using a spirit level, hold the board across to the other mark you made earlier to check that the board will be sitting evenly. If the mark appears accurate, it's ready, if not, make adjustments as required.
-
7Drill the second bracket hole (or holes). Follow the directions given for the first bracket.
-
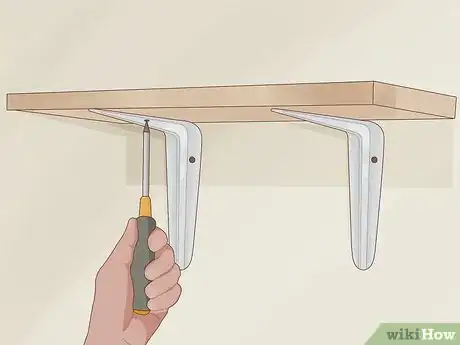
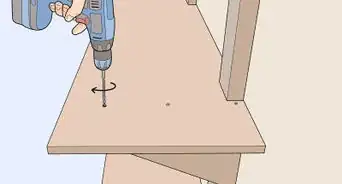
8Attach the shelf board to the brackets. Lay the board across the brackets and screw it to them from the underside. Be sure to use screws that will not penetrate through to the other side of the board; they must remain wholly inside the shelf board.
-
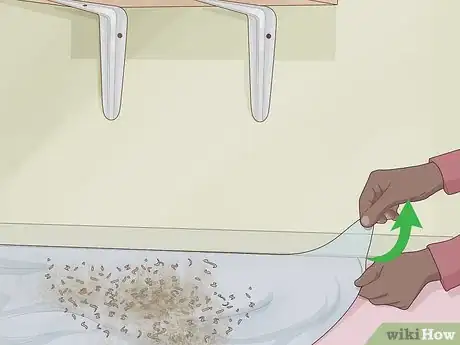
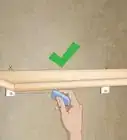
9Pick up the drop sheet and discard the drilling dust. Gently press on the shelf to check that it is firmly attached to the wall.
-
10Add your ornaments, books or other display objects to the new shelf. Make sure that your shelf can bear the weight of heavier objects and don't put something valuable on your home-made shelf until you know that it's secure.
Freestanding Shelves
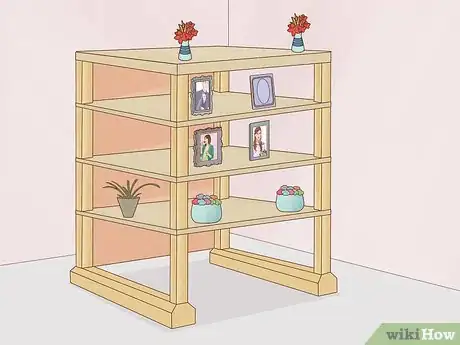
This shelf arrangement is, as the title says, Freestanding. Such a unit can be packed up and moved to another room or area with ease. This method can also be used to assemble shelves inside a pre-existing structure, such as a cupboard––the side panels are the cupboard walls and there is no need for a top.
-
1Select the required shelf items. You'll need:
- Shelf boards. The shelf boards should be at least 2cm 3/4" thick.
- Supports for the shelf boards. Cleats (strips of wood) are easy and ideal for this unit.
- Two vertical support panels. These form the sides of the shelf unit.
- A top piece. This needs to be slightly wider than the shelf boards, so that it can be hammered or glued on top of the unit.
- A piece of hardboard for the back of the shelf unit. (Ask the timber merchant to cut to size if you can't do this yourself.)
-
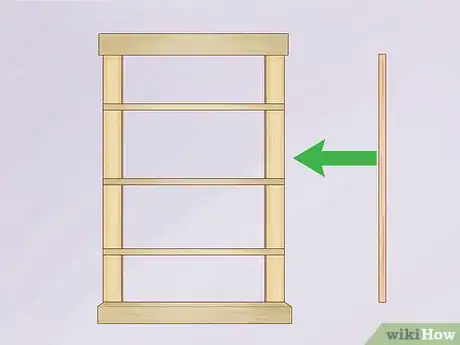
2Measure the desired height and width of the shelving unit.
- When you're decided on this, cut the shelf boards to this width, if they're not already at the right width.
- Cut the vertical support panels to the right height, if they're not already done.
-
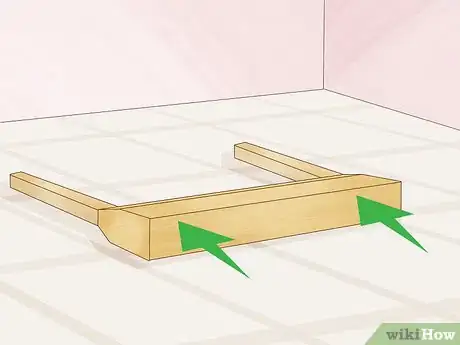
3Nail or glue a cleat to the first vertical support at the base. The cleat should be placed on the side of the support that you want to face inwards.
- Repeat for the second vertical piece.
- This forms the first shelf support.
-
4Lay the vertical support panels on the ground, aligned evenly but a shelf board's width apart.
- Decide where you want the rest of the shelf boards to be place all the way up the first support.
- For each level, use a shelf board to help you measure the exact positioning of the cleat across to the opposite vertical support panel (this helps to ensure it is level), and mark it.
- Repeat the measuring and marking for each shelf level being added.
-
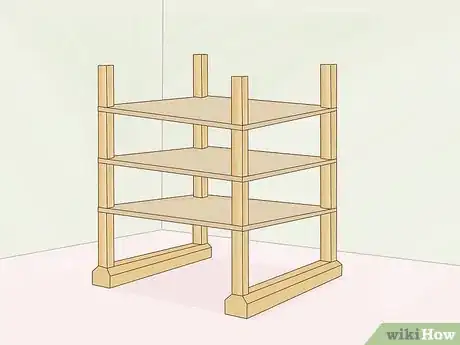
5Nail or glue the next cleat into place on the first vertical support panel. Check that the opposite side will be level by placing the shelf board on the now attached cleat and bringing over to the mark on the opposite vertical support panel. Use a spirit level to check for evenness, then nail or glue the opposite side's cleat in place.[4]
- If nailing or screwing into position, be sure to use nails or glues that don't penetrate through the vertical support panels––they must remain wholly within the panels.
-
6Repeat for each level.
-
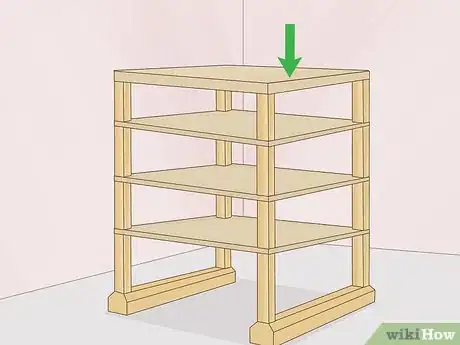
7Add the top shelf. This level doesn't require a cleat. Instead, it needs to be slightly wider than the shelf boards, so that it can be nailed, screwed in or glued to the top of the two vertical support panels.
- If you need to be able to dismantle the shelf, do not glue the top piece in place. Instead, use screws that can be easily undone and re-fixed after each dismantling and reassembly.
-
8Add the hardboard back. The shelf risks falling over or leaning sideways if this is not added. Nail or glue to the back of the shelf unit.
- Another solution is to use a cross-brace instead of one piece of board. Use whatever fits your needs best.
-
9Add books and other bits and pieces to the shelf unit. The unit can be placed anywhere against a flat surface and can be dismantled for ease of carrying and storage (the cleats stay intact with the vertical side panels).
Creative Shelves
If you're after shelves that look a little out of the ordinary or make the most of awkward spots, here are a few suggestions.
-
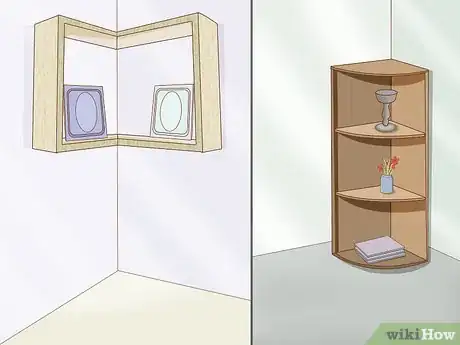
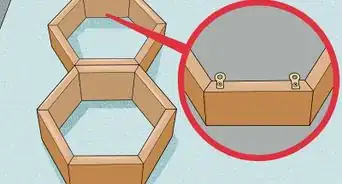
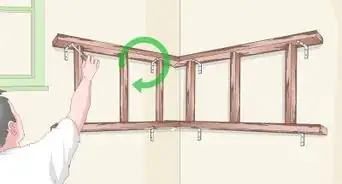
1Choose a corner shelf solution for corner spaces.[5] In some cases, the only space left might be a corner. It is still possible to use it! See, for example, How to create corner shelves for a garden shed.
- See also How to install a shower corner shelf if you're looking for a bathroom shelf solution.
-
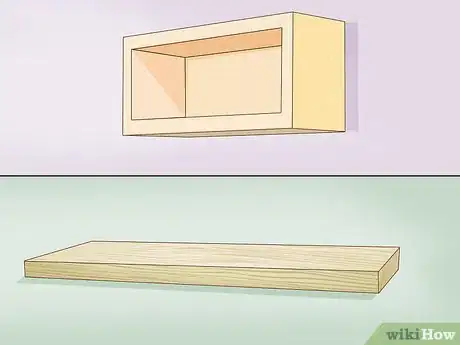
2Build floating shelves. This type of shelf has the appearance of coming straight out of the wall without supports. Of course, it is supported but there are a few simple tricks to it.
-
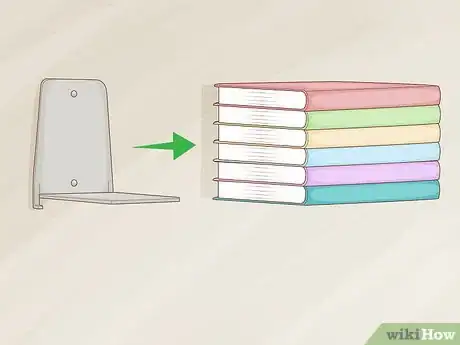
3Build invisible shelves. This shelf looks as if the books are simply hanging in the air. It's a bit of fun rather than a really useful shelf.
-
4Turn a skateboard into a shelf. This is a great way to salvage a beloved skateboard that is past its prime but that still carries many memories.
-
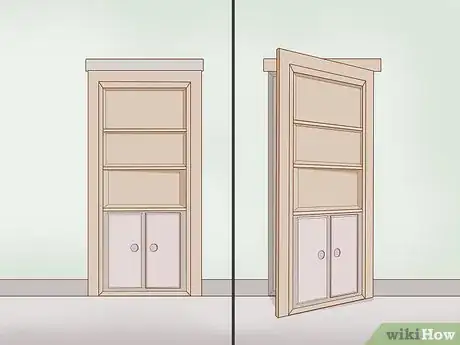
5Build a hidden door bookshelf. Use shelves to hide your valuables! Or, if you're more into books than clothes, you could always turn your walk-in closet into library shelves.
-
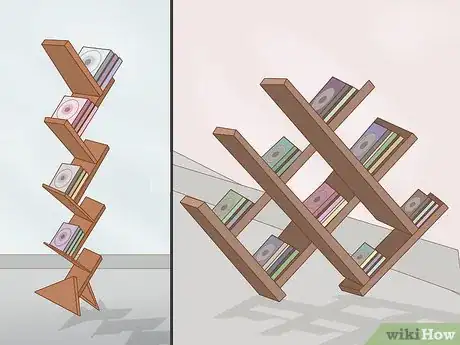
6Make a CD rack from wood. The principles of this grid-like shelf arrangement can be used to make other grid shelving in varying sizes too, such as spice cabinets, ornament display shelves and storage units.
-
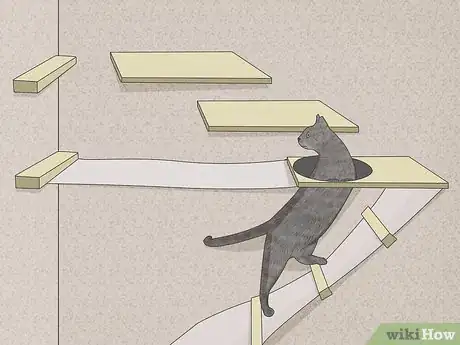
7Build a shelf for your cat! This windowsill cat shelf will keep your cat entertained all day long and out from under your feet!
Expert Q&A
-
QuestionHow can I hang shelves without nails?
 Ryaan TuttleRyaan Tuttle is a Home Improvement Specialist and the CEO of Best Handyman, Inc. in Boston, Massachusetts. With over 17 years of experience, he specializes in building home service businesses, focusing on creating scalable and efficient brands. With the help of his global team, the companies have achieved over 10+ million in sales and received recognition through magazine features, and enjoy partnerships with wikiHow and Jobber field service software. Boston Magazine and LocalBest.com have named Best Handyman Boston the Best Handyman in Boston. Ryaan holds Construction Supervisor and Home Improvement Contractor Licenses.
Home Improvement Specialist You never want to hang a shelf with nails. Nails are just for hanging pictures. Any shelf should be installed with a screw and a proper-sized wall anchor that is rated for the weight of the shelf. That's if you can't find studs—if you can find wall studs, then that shelf should be screwed directly into the wall stud with 3-inch screws.
 -
QuestionWhy would I build a curved shelf?
 Community AnswerCurved shelves are great for putting a TV or decorations in a corner.
 -
QuestionHow do I slide this shelf? Can this shelf fall if someone bumps into it?
 Lavender_babylonCommunity AnswerIt could fall if it is unsecured, so it's probably best to screw it to the wall. This means that you can't slide it.
Warnings
- Make sure you measure your boards and the space you're putting the shelf in before you make the shelf. it is extremely frustrating to make something and have it not fit!⧼thumbs_response⧽
Things You'll Need
- Wood or shelving boards
- Cutting tools (or ask your timber merchant to cut wood to size)
- Nails, screws, etc.
- Wall plugs
- Spirit level or digital equivalent
- Backing wood (where relevant)
- Cross braces (where relevant)
- Bricks (where relevant)
- Bolts (where relevant)
References
- ↑ https://www.displays2go.com/Guide/Comparing-Building-Materials-Particle-Board-MDF-Plywood-17
- ↑ https://www.homedit.com/a-closer-look-at-shelf-brackets/
- ↑ https://www.wisebread.com/18-cheap-and-attractive-ideas-for-bookshelves
- ↑ https://living.thebump.com/make-freestanding-shelves-10704.html
- ↑ https://www.homedit.com/style-your-corner-shelving-systems/
About This Article
To build a basic shelf, place 2 bricks at each end of a softwood or plywood board on the floor. Then, place the board on top of the base bricks. If you'd rather attach your shelving to the wall, position a bracket on the wall where you want the shelf to go, mark it with a pencil, and drill holes in the wall. Next, screw in the bracket at one end, then make sure the shelf will sit level by putting your board on top of the bracket and holding it in a straight line. Finally, attach the second bracket to the wall at the other end before screwing your shelf onto both brackets. For tips on how to make freestanding shelves, keep reading!
