This article was co-authored by wikiHow Staff. Our trained team of editors and researchers validate articles for accuracy and comprehensiveness. wikiHow's Content Management Team carefully monitors the work from our editorial staff to ensure that each article is backed by trusted research and meets our high quality standards.
wikiHow marks an article as reader-approved once it receives enough positive feedback. In this case, 88% of readers who voted found the article helpful, earning it our reader-approved status.
This article has been viewed 325,386 times.
Learn more...
Zebra danios (Brachydanio rerio) are the most popular and most common of all danios used in aquariums. Danios are from places like India and Pakistan and can be found in every type of water environment you can imagine (such as fast-moving streams, stagnant ponds, and so on). In addition to being a popular aquarium fish, zebra danios are also very popular for breeding. The only downside to breeding danios is that the adults like to eat their eggs and babies, so you have to use some tricks to protect the eggs so they’ll grow into adults![1]
Steps
Creating the Perfect Breeding Environment for Your Danios
-
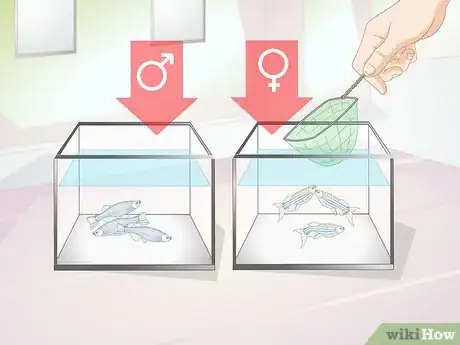
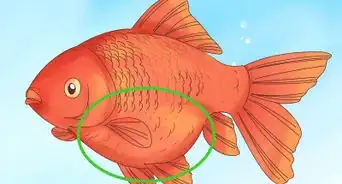
1Separate male and female danios. Start the breeding process by making sure you can tell the difference between your male and female danios. Male danios are normally skinnier than their female counterparts, and their colours are usually more vibrant. If the females have started to produce roe (eggs), they’ll look chubbier.[2]
- Once you’ve sexed your danios, place the males and females into separate tanks to prepare them for breeding.
- If you’re having a hard time sexing your danios before they’ve been conditioned, you may need to feed them premium live food for a couple of days before you’ll be able to tell them apart. Once you can tell them apart, separate the males from the females.
-
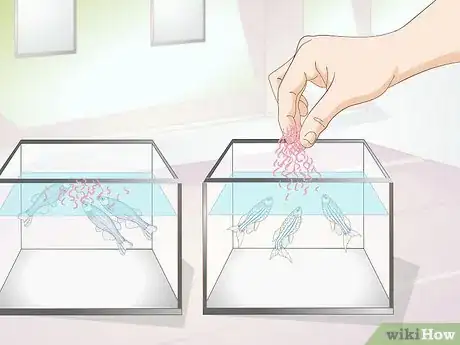
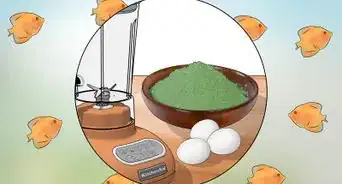
2Feed your danios high-quality live food. While your male and female danios are in their own tanks, feed them high-quality live food. Live foods for danios include daphnia, bloodworm, and mosquito larvae. You should be able to find live food at most aquarium stores. Continue this process for 1 to 2 weeks before attempting to breed your danios.[3]
- If you are unable to obtain live food, you can use frozen food as an alternative.[4]
- You should notice the female danios grow rounder as they’re being conditioned! This is a great indication that they’re developing a lot of roe and are ready to breed.
Advertisement -
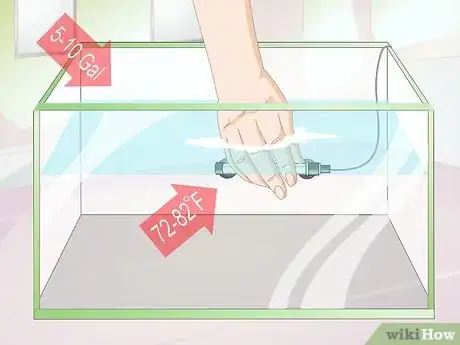
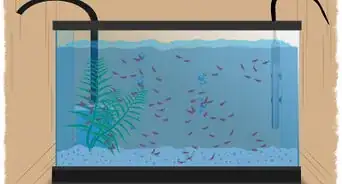
3Set up a breeding tank while you wait. After 1 to 2 weeks of conditioning, your adult danios will be ready to breed. In order to be prepared, set up your breeding tank during the first week of conditioning. Your breeding tank can be between 5 and 10 gallons and should contain a filter with an airstone (to help prevent the eggs from being sucked into the filter). If you use tap water for the tank, make sure to add a water dechlorinator to the water. Add a heater to the tank and keep the temperature between 72F and 82F.[5]
- Choose between the marble method, the breeder net method, or the spawning mop method for the configuration of your breeding tank.
- Once you know what configuration method you want to use, you’ll know how much water needs to be put in the tank.
-
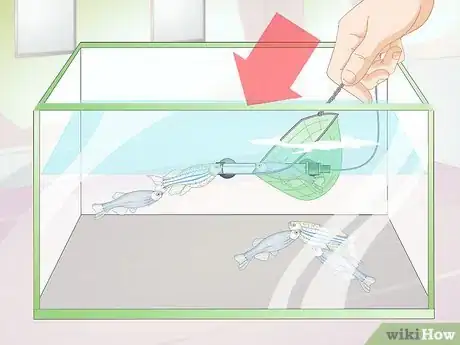
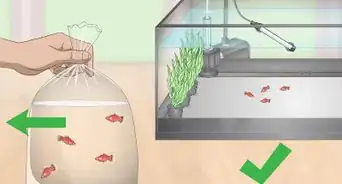
4Move your danios to the breeding tank. Once 1 to 2 weeks have passed, move your danios to the breeding tank you’ve set up. It is best to partner 2 males for every 1 female you move over. Normally danios will breed within 24 hours of being placed in the breeding tank. If they do not, leave them for another 24 hours. If 48 hours pass with no spawning, put your danios back in their separate conditioning tanks for a little longer, and continue to feed them live food. Try breeding the danios again in another week or so. [6]
- Spawning simply means the female danios have laid eggs and the male danios have fertilized the eggs. Since you can’t tell if the eggs are fertilized, the best thing to do is watch for eggs at the bottom of the tank. Once you see eggs, you know your danios have spawned and you can move the adults back to their regular tanks.
-
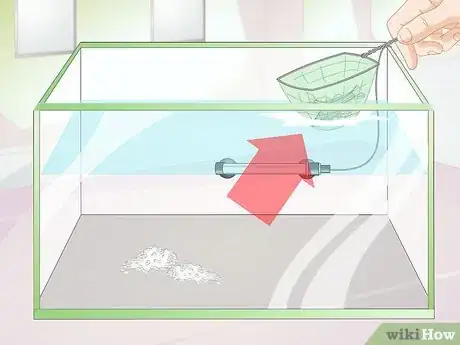
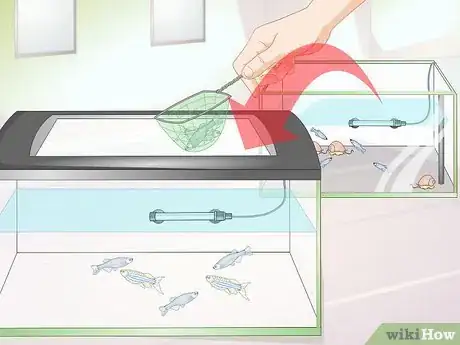
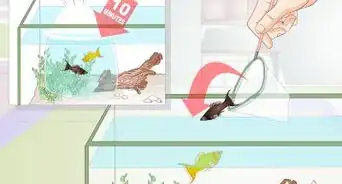
5Remove the adult danios once they’ve spawned. Once you see danio eggs in the breeding tank, remove the adult danios and put them back in their regular tanks. If you used a breeder net, removal will be very easy. If you used the marble or mop methods, you’ll need to use a fish net to capture the danios in order to move them.
- Since adult danios will always try to eat the eggs of their young, it is always a good idea to remove the adults from the tank with the eggs. The baby danios aren’t really safe from the adults until they’re all about the same size.
- Once your baby danios have reached adult size, you can put the “sons” with the “fathers” and the “daughters” with the “mothers”. Although, for genetic purposes, you may want to keep track of the different generations if you are planning to breed them again.
Protecting the Eggs in the Breeding Tank
-
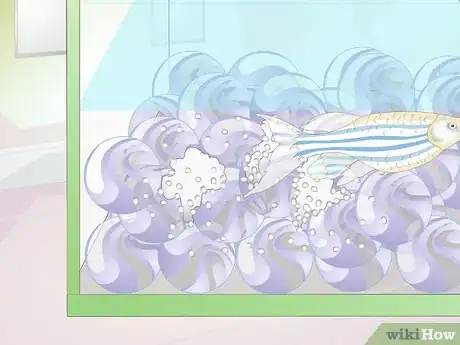
1Use marbles to create a safe place for the eggs. One method that will help protect danio eggs is to place a 2-inch layer of glass marbles at the bottom of a 5 to 10 gallon aquarium. Then fill the aquarium with water until it reaches about 1 inch above the marbles. This provides enough room for the adults to swim around, and a very short fall for the eggs to take to their safe place in the marbles.
- The eggs will then fall in between the marbles, where they’ll be safe from the adults.
- These are not special marbles, just regular marbles you’d buy in a dollar store or toy store. Or, you can use glass “rocks” from a decorating store or Ikea that are normally used in flower arrangements or candle holders.
- The upside to this arrangement is that it’s really easy to implement, as glass marbles are easy to find. The downside to this arrangement is that glass marbles have become expensive in recent years and this method may be more expensive then other methods. Another downside is that you have to “catch” the adults once they’ve bred, as they’re not contained in one area.
-
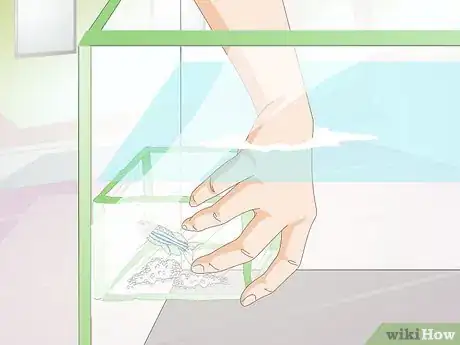
2Hang a breeder net to protect the eggs. Another method to help protect danio eggs and babies is to place a breeder net inside the breeding tank. A breeder net is basically a basket that can be attached to the rim of the tank. The mesh of the basket allows the eggs to fall through, into the main part of the tank, but the mesh keeps the adults from being able to get to the eggs. Once the breeder net is placed in the tank, fill the tank with water until the bottom 1 inch of the breeder net is under water.
- When looking for a breeder net, make sure it’s big enough to allow the danio eggs to fall through.
- You can buy a breeder net in most pet stores and aquarium shops.
- The upside to using a breeder net is that it’s really easy to put the adults in the net and take them out of the net. You won’t need to catch any of the adults in the main tank. The downside is that you have the find the right net for danios so the adults can’t get through the mesh, but the eggs can. You can easily overcome this downside by asking someone at the aquarium store for assistance.
-
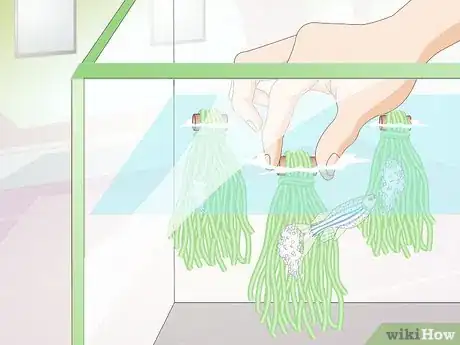
3Make a spawning mop out of yarn. A spawning mop is a bunch of acrylic yarn knotted together to form a mop-like contraption. For a 10-gallon tank, you’ll need about 10 to 20 spawning mops. Place the spawning mops at the bottom of the tank and fill the tank with water that goes no further than a couple of inches above the top of the mops. The yarn will partially float in the water creating a protective area for the eggs, similar to seaweed.[7]
- You can easily make your own spawning mops using the following instructions:
- Cut pieces of acrylic yarn to ~2 feet in length.
- Lay 2 dozen of these yarn pieces beside each other and fold the bunch in half, right in the middle.
- You should now have ~48 strands of yarn hanging down. Put a knot in the top of the bunch, where you’ve folded it in half, to hold all the pieces together.
- An upside to this method is that the spawning mops are homemade, usually with old materials you (or a friend or family member) has anyway, so you don’t have to spend money on anything new items. The downside is that you have to physically make each mop. Another downside is that you’ll eventually have to catch the adult danios when it’s time to move them out of the breeding tank.
- You can easily make your own spawning mops using the following instructions:
Taking Care of Newborn Danios
-
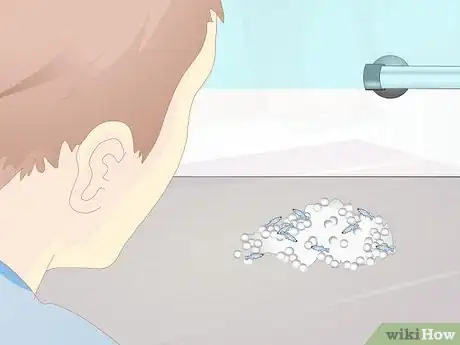
1Watch the eggs hatch after 1 to 2 days. Adults will normally spawn within a day of being placed in the breeding tank. Depending on what method you use, you should be able to see the actual eggs so you know they’re done. Once the eggs have been fertilized, it normally takes about 1.5 to 2 days for the eggs to hatch.
-
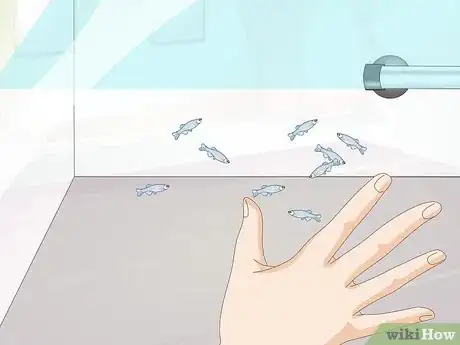
2Observe the fry become free-swimming. Even though the eggs hatch within 1.5 to 2 days after being fertilized, the fry that are born won’t start swimming around for another couple of days. Until they start to swim around, there’s no need to feed them. Putting food in the water before they’re all swimming around will only end up making your tank dirty.
- Danio fry are extremely small and transparent, making it very hard to see them. You’ll need to carefully observe the tank to make sure you see them swimming around.
- Danio fry who are not free swimming usually attach themselves to the side of the tank to keep themselves in one place. They may be easier to see when they do this.
-
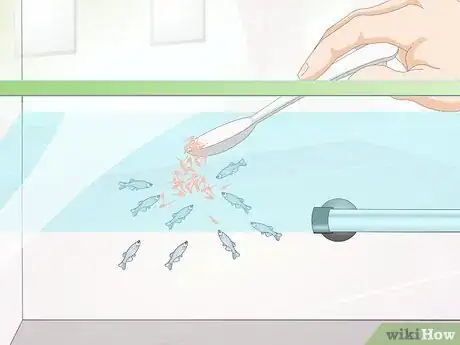
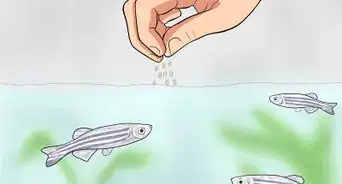
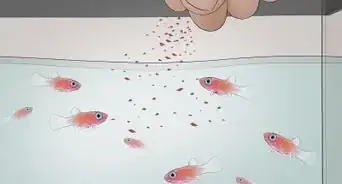
3Start feeding the fry once they’re swimming around. Once the fry have started to move around the tank on their own, it’s time to start feeding them. Danios normally eat things like baby brine shrimp, but that food will be too big for fry. Instead, you can feed them a specialized powdered egglayer fish food or infusoria. Start by feeding the fry lightly several times a day.
- You can find this special fish food at some pet stores and any aquarium store. Ask the salesperson if you are unable to locate it on your own.
-
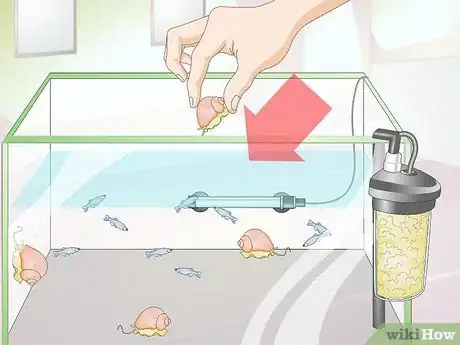
4Add a sponge filter and some snails to the breeding tank. Once your baby danios have started to eat on their own, it’s a good idea to add a bio sponge filter to the tank and a few snails. The snails especially are great for cleaning up any uneaten food and keeping the tank clean.[8]
-
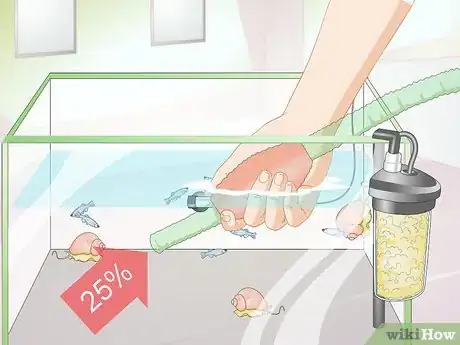
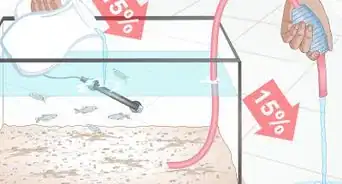
5Change 10% to 25% of the water daily. In order to encourage your baby danios to grow quickly, change between 10% and 25% of the water in the tank every day. You’ll want to remove water from the bottom of the tank and replace it with clean water at the same temperature.[9]
- In order to have fresh water at the proper temperature available, you may need to set up a separate tank with a heater that is simply used as a reservoir for your breeding tank.
- If you use tap water in your reservoir tank, be sure to add dechlorinator to the water before putting the water into the breeding tank.
-
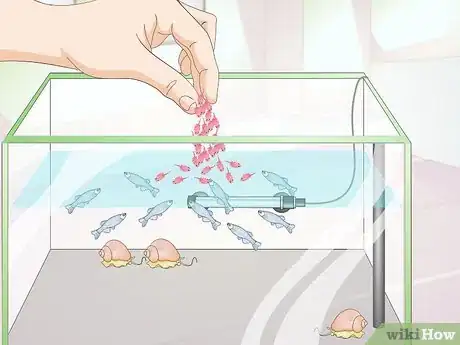
6Start feeding your baby danios brine shrimp. As the baby danios grow, you can start to introduce freshly hatched brine shrimp to their diet. They’ll normally start to eat the shrimp around a week to 10 days after being hatched. Start by giving them some brine shrimp once a day, but keep feeding them the powdered egglayer fish food twice a day.[10]
- You can continue to introduce new foods to your baby danios as they grow. Some options for other foods to try are: frozen cyclops, chopped tubifex worms, and live daphnia.
-
7Move your baby danios to a larger tank. When your baby danios are able half an inch long, it’s time to move them to a bigger tank. The size of the “bigger” tank may depend on how many babies you have in the breeding tank. It is not unusual for 2 to 3 female danios to produce several hundred babies.[11]
- Depending on how many females you put in the breeding tank, you may want to prepare this larger tank based on an estimate of the number of babies you’re expecting.
- It normally takes danios 6 weeks to reach a size of 1 inch long.
Community Q&A
-
QuestionDo you think my baby danios can still hatch even if I don't use a filter? Can plain tap water work?
 Community AnswerYou can use tap water as long as you add a dechlorinator. A dechlorinator will remove the chlorine and other additives put in regular tap water. You may be able to skip this step if your tap water comes from a well and not a city water system. It is recommended that the breeding tank have a filter in order to provide the healthiest environment for the eggs and baby danios. You can certainly try breeding your danios without a filter in the breeding tank, but it may not be successful.
 -
QuestionHow will I know when my females are ready to breed or if they are full of eggs?
 Community AnswerThe males will chase the female more often, and the females will become more round.
 -
QuestionHow many eggs do female danios lay at a time? And what happens if you don't have another tank?
 Community AnswerOne female danio can lay around 100 eggs during one breeding session. Therefore, if you put 2-3 female danios in a breeding tank, you can expect several hundred eggs. Danios need to be separated before breeding and a separate tank needs to be used for the actual breeding process and an eventual nursery. This means you'll need at least 3 tanks to successfully breed danios.
References
- ↑ http://aquariumtidings.com/zebra-danio-care/
- ↑ http://www.danios.info/articles/breeding.aspx
- ↑ http://www.danios.info/articles/breeding.aspx
- ↑ http://aquariumtidings.com/zebra-danio-care/
- ↑ http://aquariumtidings.com/zebra-danio-care/
- ↑ http://www.danios.info/articles/breeding.aspx
- ↑ http://www.petfish.net/kb/entry/815/
- ↑ http://www.danios.info/articles/breeding.aspx
- ↑ http://www.danios.info/articles/breeding.aspx
About This Article
To breed danios, start by separating the females from the males, who are typically skinnier with more vibrant colors. Next, feed your danios high-quality live food, such as daphnia, bloodworm, and mosquito larvae. In 1-2 weeks, you should notice your females growing rounder, which indicates they’re developing a lot of roe and are ready to breed. Set up your breeding tank, which should be 5-10 gallons, have a filter with an airstone, and be 72-82 degrees Fahrenheit. Then, move your danios into the breeding tank, and typically your danios will breed in the first 24 hours. To learn how to protect the eggs in the breeding tank, keep reading!
