This article was co-authored by Margareth Pierre-Louis, MD. Dr. Margareth Pierre-Louis is a board certified Dermatologist and Dermatopathologist, Physician Entrepreneur, and the Founder of Twin Cities Dermatology Center and Equation Skin Care in Minneapolis, Minnesota. Twin Cities Dermatology Center is a comprehensive dermatology clinic treating patients of all ages through clinical dermatology, cosmetic dermatology, and telemedicine. Equation Skin Care was created to provide the best in evidence-based, natural skin care products. Dr. Pierre-Louis earned a BS in Biology and an MBA from Duke University, an MD from the University of North Carolina at Chapel Hill, completed a residency in dermatology at the University of Minnesota, and completed a dermatopathology fellowship at Washington University in St Louis. Dr. Pierre-Louis is board certified in dermatology, cutaneous surgery, and dermatopathology by the American Boards of Dermatology and Pathology.
This article has been viewed 294,045 times.
A chemical peel can exfoliate your skin, removing dead dry skin cells on the surface and leaving a softer, smoother complexion underneath. While many chemical peels are performed in a doctor's office, there are also home versions that use less potent chemicals. When you learn the proper way to prepare for and apply these products, you will see the best chemical peel results. However, chemical peels are more effective and safer when done by a professional – so proceed with caution.
Steps
Selecting Your Chemical Peel
-
1Buy from a reputable company with good reviews. If possible, get a chemical peel kit from a spa or dermatologist’s office. If you shop online, be sure to check user reviews to see what customers are saying. Only buy a chemical peel from a reputable company with excellent user reviews.
- Choose a product made in an FDA-regulated lab that is certified to be 99% pure or better.[1]
- Make sure the product contains a phone number for customer service. You should be able to call and ask questions if you need to.
-
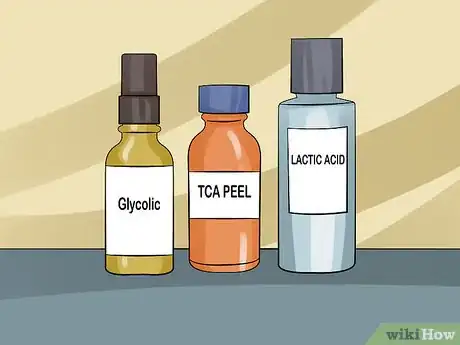
2Select the type of peel based on your needs. Different chemical peels are better for different needs and skin types. Choose the right peel for you:[2]
- Glycolic acid peels: improve acne, blackheads, and dark spots; can decrease the appearance of fine lines and make skin smoother; are a light peel with little or no down time, but are harsher than lactic acid
- Lactic acid peels: the best choice for hyperpigmentation, and good for first time users because it’s the gentlest option; fades dark marks and smoothes skin; can be used on all skin types, and better than glycolic acid for dry skin
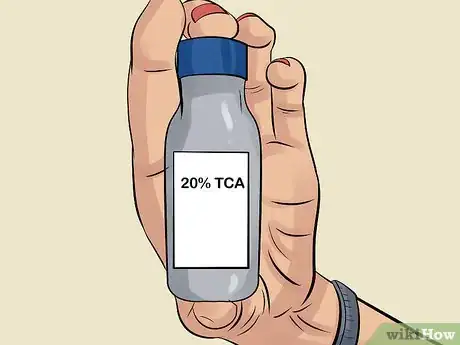
- TCA (trichloroacetic acid) peels: stronger and more painful, will cause peeling, and requires 7-10 days of recovery; can improve shallow acne scars, stretch marks, skin tags, sun damage, fine lines and wrinkles
Advertisement -
3Choose the lowest concentration for your first time. If this is your first time using a chemical peel, use the lowest concentration of chemical possible. Gradually increase the strength as your skin gets used to it, if you want to. Choose a formula that contains this low percent of the active ingredient:[3]
- 30% lactic acid
- 30% glycolic acid
- 8% TCA
Preparing for Your Peel
-
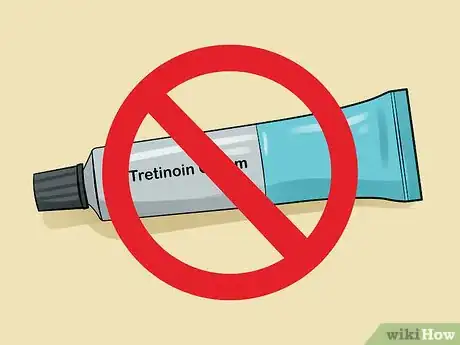
1Stop using tretinoin-based products for a week. Stop using any products that contain tretinoin, like Retin-A or Differin, at least a week before your chemical peel. These products can irritate your skin, which could impact the outcome of your peel.[4]
- For glycolic acid and lactic acid peels, discontinue there products for 3-4 days before and after your peel.
- For TCA peels, stop using them for 5 days before and 10 days after your peel.
-
2Gently exfoliate your face the day before your peel. Perform a mild exfoliation treatment 24 hours prior to your treatment, using a gentle facial scrub. After washing your skin, apply a pH solution to prepare your skin for the peel.
-
3Do a spot test before applying your peel. Apply a dab of the chemical peel to your forearm or to the area of skin below your ear at the hairline. Leave the solution on for at least a minute before washing it off. Check the patch test after 24 hours to make sure your skin doesn’t react negatively to the peel.[5]
- If your skin looks normal around the test area, proceed with your chemical peel. If your skin is irritated, red, or tender, lower the concentration of the active ingredient (glycolic, lactic or trichloroacetic acid) in the peel solution and try another test. If you get to the lowest concentration of chemicals and still see a reaction, do not do the chemical peel.
- If you have any signs of an allergic reaction, like itching or hives, do not use the chemical peel.
- Apply the peel with a Q-tip – using your fingers may make your fingers peel.
Using the Chemical Peel Appropriately
-
1Cleanse your face before applying the chemical peel solution. Use water and a soap-free cleanser to wash your face.[6] Finish with an application of a mild astringent such as witch hazel, or the prep solution that came with your chemical peel kit. Let the prep solution dry before you apply your peel.
-
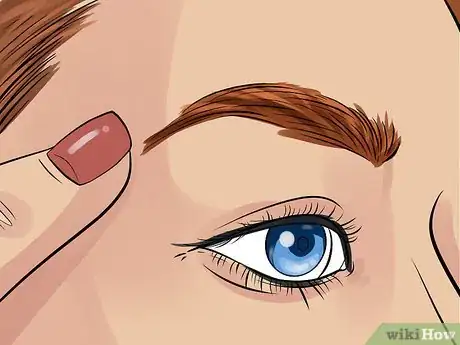
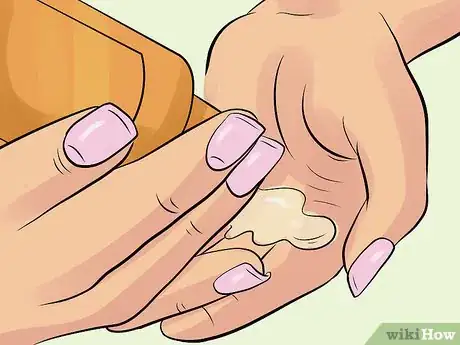
2Protect sensitive areas with petroleum jelly. Avoid applying the peel to sensitive areas of your skin such as around your eyes, your nostrils, and the corners of your lips. Before applying your peel, dab some petroleum jelly onto these areas to help protect them from the acid.[7]
-
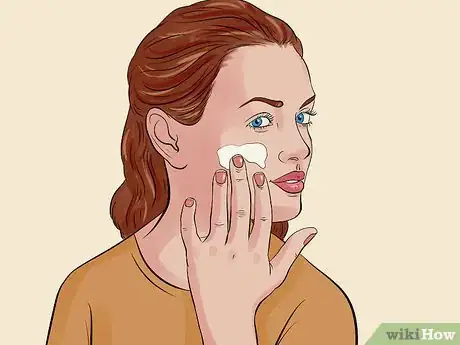
3Apply an even coat of the chemical peel solution to your skin. Use a cotton ball, cotton swab, small brush or Q-tip for the application process. Start with the less sensitive areas of skin around the forehead, chin and cheeks. Continue to apply the chemical peel to the lower eyelids, nose and neck area.
- Make sure the solution is applied evenly, or your chemical peel results will be inconsistent.
-
4Leave the peel on for the recommended amount of time or less. Most chemical peel kits recommend no more than 1 to 2 minutes, depending on the type of peel and the concentration of chemicals in the solution. Read the label before applying your peel so you know how long to wait. If your skin starts turning pink, wash the peel off.[8]
- Watch your skin for signs of irritation. While some burning is normal, if your skin begins to sting intensely, remove the peel solution right away.
- Use the spot test to determine how long to leave your peel on your face. If your spot test burns after two minutes, only apply it to your face for one minute.
-
5Remove the peel and apply a neutralizing solution. Many kits come with a neutralizing solution that stops the work of the chemicals so they do not continue to burn your skin. If your kit does not come with a neutralizer, that means your peel is designed to stop working as soon as it is washed off, and an additional solution is not needed.[9]
- Read the instructions in your chemical peel kit to confirm if a neutralizer is needed.
- To be safe, you can prepare your own mixture of water and baking soda to use as a neutralizer, in case the peel becomes too irritating. Mix this into a paste and apply it to your skin after you wash off your peel, if needed.
-
6Use a stronger peel only once you’re used to it. If your peel goes well and you want to use a stronger peel in the future, you have some options. Always do a spot test before applying your full peel. Try one of these options to strengthen your peel:[10]
- Use a formula with a higher percentage of the active ingredient
- Layer your peels – apply a layer, wait 5 minutes, and apply another layer
Performing After-Care
-
1Apply moisturizer to your face right after your peel. Liberally apply some facial moisturizer to your skin after you remove your chemical peel. Use your normal face moisturizer, or get a thoroughly hydrating solution for this purpose. Re-apply this 10-20 times throughout the day – don’t let your skin dry out.
- If you peel, don’t pick at it! Let your skin heal naturally or you might damage it. Dab Vaseline or Aquaphor over areas that are very dry.
-
2Ease redness with cooling products. It’s normal for your skin to be red and to sting after your peel. This may only last a few hours, or the whole day. Soothe redness by wrapping a cold wet towel over your face. You can also try aloe vera gel, a cooling mask, ice packs, or putting a cool mist humidifier in your room.[11]
-
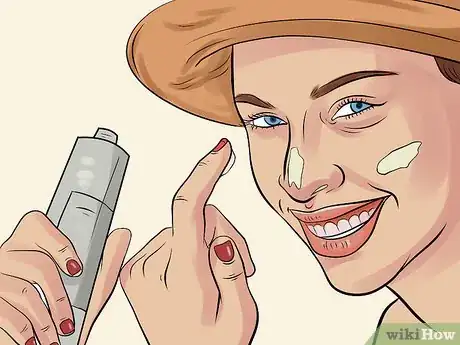
3Protect your face from the sun. Your skin will be sensitive and tender after your chemical peel. Stay out of the sun until this subsides. If you do go in the sun, wear sunscreen on your face.[12]
-
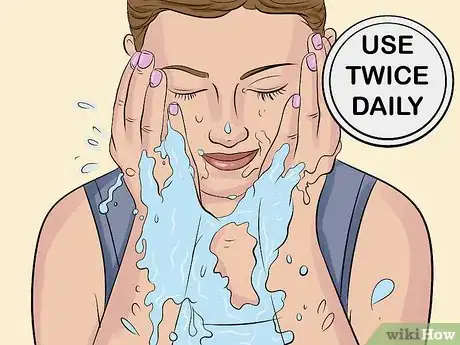
4Wash your face gently twice a day. Rinse your face twice a day with soap-less cleanser or water, for 10-30 seconds. Rinse your face with lukewarm water by splashing water onto your face over the sink. Pat your skin dry with a clean towel. Do NOT rub your skin.
-
5Sleep on your back. Avoid pressing your face into anything or rubbing your face until the skin heals. Sleep on your back so you don’t rub your cheek or forehead on the pillow.
-
6See your doctor if your skin crusts or oozes. See your doctor right away if you have signs of an infection. This can be an area of skin that looks especially crusty and tender, yellow, or that oozes fluid.
Expert Q&A
Did you know you can get expert answers for this article?
Unlock expert answers by supporting wikiHow
-
QuestionShould I be concerned if my face looks worse right after a chemical peel?
 Margareth Pierre-Louis, MDDr. Margareth Pierre-Louis is a board certified Dermatologist and Dermatopathologist, Physician Entrepreneur, and the Founder of Twin Cities Dermatology Center and Equation Skin Care in Minneapolis, Minnesota. Twin Cities Dermatology Center is a comprehensive dermatology clinic treating patients of all ages through clinical dermatology, cosmetic dermatology, and telemedicine. Equation Skin Care was created to provide the best in evidence-based, natural skin care products. Dr. Pierre-Louis earned a BS in Biology and an MBA from Duke University, an MD from the University of North Carolina at Chapel Hill, completed a residency in dermatology at the University of Minnesota, and completed a dermatopathology fellowship at Washington University in St Louis. Dr. Pierre-Louis is board certified in dermatology, cutaneous surgery, and dermatopathology by the American Boards of Dermatology and Pathology.
Board Certified Dermatologist
Warnings
- Do not leave a chemical peel on your face for too long, or skin damage and burning can result. Watch your skin and the clock to ensure you get the full benefits of your peel without any negative side effects.⧼thumbs_response⧽
- Chemical peels work best for people with light skin. They may cause darkening or lightening of the skin in darker-skinned individuals.⧼thumbs_response⧽
- This is a potentially dangerous procedure that you should get done professionally, if possible. Keep it away from children.⧼thumbs_response⧽
- Do NOT get the chemical peel in your eyes.⧼thumbs_response⧽
- Do a gentle peel like 30% glycolic acid or lactic acid every 2-3 weeks at the MOST. Only do a deeper peel like TCA once a month at the most.[15]⧼thumbs_response⧽
References
- ↑ http://www.everydayhealth.com/skin-and-beauty/glycolic-acid-peels.aspx
- ↑ Margareth Pierre-Louis, MD. Board Certified Dermatologist. Expert Interview. 15 May 2020.
- ↑ http://www.skinacea.com/how-to/use-chemical-peels.html#.WTlXZDYumLs
- ↑ http://www.skinacea.com/how-to/use-chemical-peels.html#.WTlXZDYumLs
- ↑ http://www.skinacea.com/how-to/use-chemical-peels.html#.WTlXZDYumLs
- ↑ http://www.skinacea.com/how-to/use-chemical-peels.html#.WTlXZDYumLs
- ↑ http://www.skinacea.com/how-to/use-chemical-peels.html#.WTlXZDYumLs
- ↑ http://www.everydayhealth.com/skin-and-beauty/glycolic-acid-peels.aspx
- ↑ http://www.skinacea.com/how-to/use-chemical-peels.html#.WTlXZDYumLs
- ↑ http://www.skinacea.com/how-to/use-chemical-peels.html#.WTlXZDYumLs
- ↑ http://www.skinacea.com/how-to/use-chemical-peels.html#.WTlXZDYumLs
- ↑ http://www.skinacea.com/how-to/use-chemical-peels.html#.WTlXZDYumLs
- ↑ http://www.skinacea.com/how-to/use-chemical-peels.html#.WTlXZDYumLs
- ↑ http://www.skinacea.com/how-to/use-chemical-peels.html#.WTlXZDYumLs
- ↑ http://www.skinacea.com/how-to/use-chemical-peels.html#.WTlXZDYumLs

