X
wikiHow is a “wiki,” similar to Wikipedia, which means that many of our articles are co-written by multiple authors. To create this article, 34 people, some anonymous, worked to edit and improve it over time.
This article has been viewed 384,491 times.
Learn more...
Do you admire the minimalistic yet fresh and bright look of the makeup of the 1960s? Are your beauty idols Twiggy or Pattie Boyd? Follow this step-by-step tutorial to get the look of the Swinging Sixties.
Steps
Method 1
Method 1 of 4:
Face
-
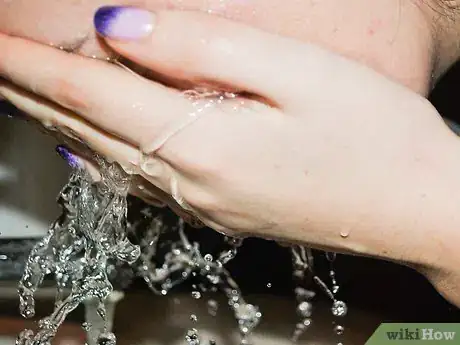
1Make sure your face is clean first. Also, if there is any dry skin on the area you will apply on, moisturize it with a thin non-oil based moisturizer. Makeup looks unpolished on top of flakes. If you choose to use foundation, use a light and thin one. Before you start this, you should also have no makeup on as well. This includes face makeup and mascara, before you start the makeup fun![1]
-
2Dust on just a bit of a pink blusher on the apples of your cheeks. Not very much, you only want just a bit of color. Sixties makeup is all about the eyes, so use face makeup sparingly. Be sure to pick the right shade. Smile as you apply this. Start out by dabbing, and once you apply the desired amount while smiling, smear in with the clean brush or your fingers/hand. Make sure both the cheeks have an even amount.[2]
Advertisement
Method 2
Method 2 of 4:
Eyes
-
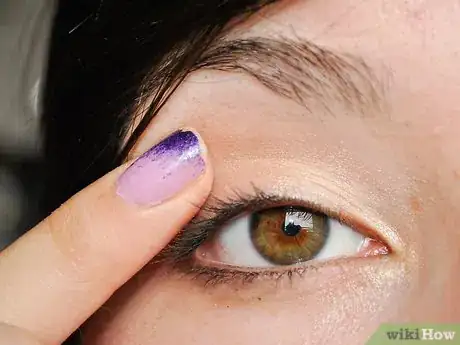
1Lightly dust your eyelids with face powder.[3]
-
2Use a light, neutral colored eyeshadow, and sweep this across your eyelid.
-
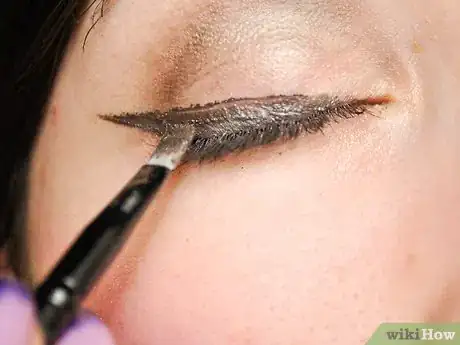
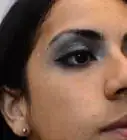
3Trace your natural crease shape with a darker matte brown color. Use a small and stiff brush to trace, an eyeliner brush will do. This will define your eyes more. Blend it well with a small fluffier brush, but keep it dark.[4]
- If you're going for a more theatrical Twiggy-like look, don't blend at all! Use a black gel liner, or liquid, trace your crease shape, let it set, and that's it. You can go back and refine the crease a bit, but keep it very sharp and neat looking.
-
4With eyeliner, (liquid or gel if you have a steady hand, pencil if you haven't) slowly, with small movements, brush along your lash line. This is also known as 'feathering'.[5]
-
5As you go outwards, steadily make the line much thicker, and create a sharp wing. Make it look neat. (Before the next step, if you want, you may apply false lashes)
-
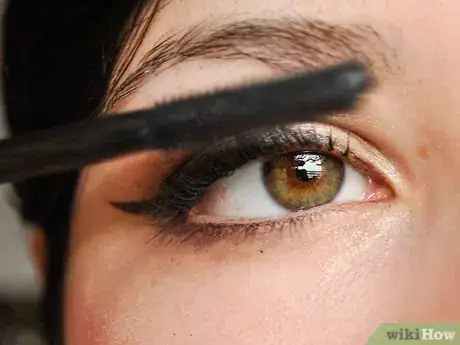
6Apply a black colored mascara. If you want, you can use an eyelash curler(preferably one that has been designed to give volume and lengthen lashes).
-
7Move the mascara wand in a zigzag pattern through your lashes from the base to the tip and wait at least 10 seconds between applying coats. This makes your lashes look thicker and longer. Do not try to put on too many layers of mascara as this may make your eyelashes clump together and look "spidery". If you are planning on drawing on your bottom eyelashes like Twiggy's, don't put on much mascara on your bottom lashes.[6]
-
8Check the overall effect in the mirror, and redo the eyeliner if you think it's necessary, but it shouldn't, if you do the eyeliner after the eyeshadow.
-
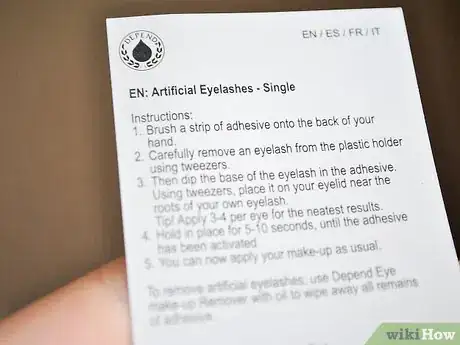
9You can also use false eyelashes, depending on whose look you're emulating. But generally, you should use eyelashes that are long and thick but still look somewhat natural. Use the appropriate eyelash glue. Some pairs of false eyelashes come with pre-packed glue but it is better if you buy a separate eyelash glue tube - the applicator is often 10 times more precise.
-
10Follow the package instructions on applying the lashes. This can be very tricky unless you have experience. If possible, try having someone with a steady hand apply the lashes for you.
Advertisement
Method 3
Method 3 of 4:
Optional For Eyes:
-
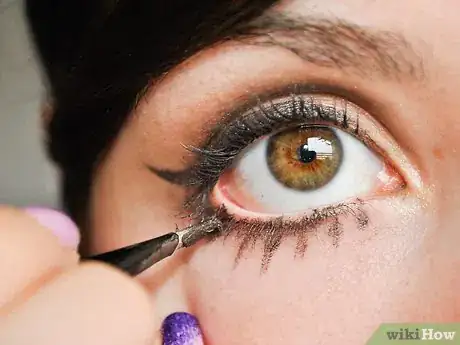
1With a steady hand, using a black (or grey, a subtler look) liquid or gel eyeliner, you can draw on your bottom eyelashes. Use short strokes. They should be spaced apart, shaped like upside down triangles, and they should be straight, not leaning in any particular direction. The last eyelash or two on your outer corner can go in that natural direction, though.[7]
-
2For a less dramatic alternative, you can draw on smaller, closer together eyelashes that all go in the direction of your outer eye corner.
Advertisement
Community Q&A
-
QuestionWhat makeup brands did they use back in the '60s?
 GibbycassieCommunity AnswerPopular brands in the 1960s were Max Factor, Covergirl, Maybelline, Elizabeth Arden, and Revlon, among others. As of 2018, all the brands are still sold in the United States except for Max Factor, which is sold overseas.
 -
QuestionHow do I create a clean eyebrow?
 Community AnswerTake a bit of Vaseline and swipe it over the brow so that the hairs stick to your skin. Next, take an eyebrow brush and brush the brows so that they are going in the desired direction. It helps if you brush everything upward and outward first, then brush down the longer strays and the arch.
 -
QuestionWhat color/shade of matte lipstick is ideal or perfect for a 1960's look?
 Cecilia FloresTop AnswererThere weren't really any matte lipsticks in the 60's. There were four popular shades: bright blue-red, your-lips-but-better pink, red-orange, and peach-orange. Keep in mind that red is a timeless classic, so if you don't know what color to put with a historical look, go with red.
Advertisement
Warnings
- If you must use an eyelash curler, be careful, or you will lose lashes.⧼thumbs_response⧽
- Do not use baby oil to remove eye makeup; the fragrance and other chemicals can damage your eyes. Pure vegetable oil (soybean, olive, corn, etc.) is fine, as long as you are not allergic to the main ingredient.⧼thumbs_response⧽
- Be careful when applying the eyeshadow and try to prevent fallout.⧼thumbs_response⧽
- Don't overdo the eyeliner. It should just keep simple.⧼thumbs_response⧽
- To put liner on the bottom, put it JUST below the lash line, then "fill out" the outer corner of your eye. Do NOT put it on the inside rim.⧼thumbs_response⧽
Advertisement
Things You'll Need
- Moisturizer
- Brown or black mascara that both lengthens and thickens your eyelashes
- Brown or black liquid or cream eyeliner (You could also use a pencil)
- Two shades of eyeshadow, one lighter and one darker
- Powder
- Eye makeup remover for afterwards
- Eyelash curler (optional)
- False lashes (also optional)
- Matte lipstick. Preferably a pink, or a red if you're going for more dramatic.
- Just a bit of a pink blusher. Not a lot.
References
- ↑ https://www.youtube.com/watch?v=DswDBjf4XmA
- ↑ https://metro.co.uk/2016/08/01/5-steps-to-follow-for-a-60s-makeup-look-5996551/
- ↑ https://glamourdaze.com/history-of-makeup/1960s
- ↑ https://glamourdaze.com/history-of-makeup/1960s
- ↑ https://glamourdaze.com/history-of-makeup/1960s
- ↑ https://glamourdaze.com/history-of-makeup/1960s
- ↑ https://www.youtube.com/watch?v=F9THHOJ7Y0w
- ↑ https://www.youtube.com/watch?v=F9THHOJ7Y0w
About This Article
Advertisement
