This article was co-authored by wikiHow Staff. Our trained team of editors and researchers validate articles for accuracy and comprehensiveness. wikiHow's Content Management Team carefully monitors the work from our editorial staff to ensure that each article is backed by trusted research and meets our high quality standards.
There are 8 references cited in this article, which can be found at the bottom of the page.
This article has been viewed 34,037 times.
Learn more...
A truss rod is a steel bar that runs through the neck of a bass guitar and helps to stabilize it. Over time, the wooden neck of your bass will bend or straighten slightly because of factors like the constant pull of the strings and changes in temperature and humidity. Fortunately, you can easily adjust the truss rod with an Allen wrench to move the neck back in line so your bass can continue to produce quality sound.
Steps
Measuring the Space
-
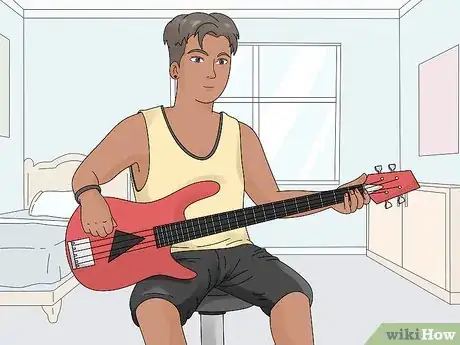
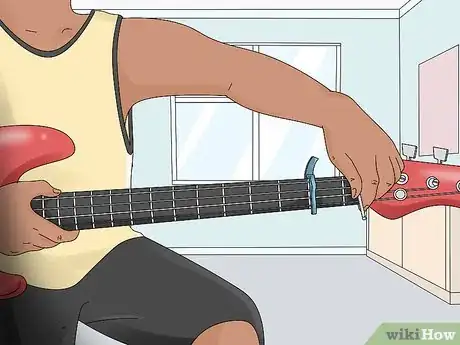
1Hold the bass in playing position in your lap. Rest the bass guitar in your lap as though you were going to play it. Balance the body of the bass on your lap so you can use both of your hands to adjust the truss rod.[1]
- Laying the bass flat puts tension on the neck, which will affect the accuracy of your measurements and adjustments.
-
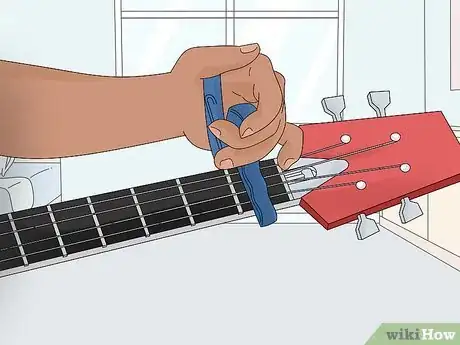
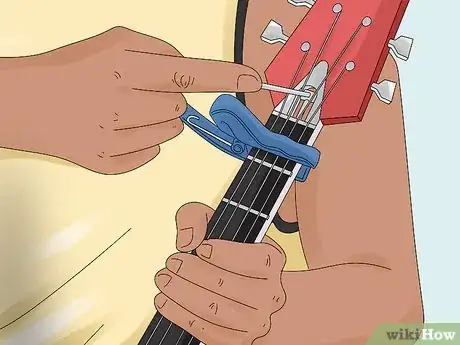
2Clamp a capo across the first fret at the top of the fretboard. Take a capo and squeeze the handle to open it. Place it over the 1st fret at the very top of the neck of the bass and clamp it into place so all of the strings are depressed over the fret.[2]
- A capo is a device that attaches to the neck of the bass to hold down the strings across a specific fret, which are the small metal lines along the neck. You can find capos at music supply stores and online.
Advertisement -
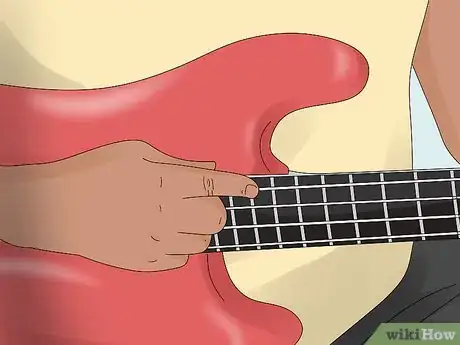
3Press the E string down on the fret where the body and neck meet. The E string is the largest string and is the first string from the top when you’re holding the bass in playing position. With the capo in place across 1st fret, locate the fret where the body of the bass connects with the neck. Use your finger to press down on the string and hold it so it stays depressed.[3]
-
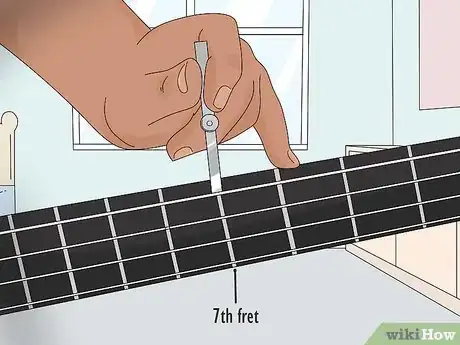
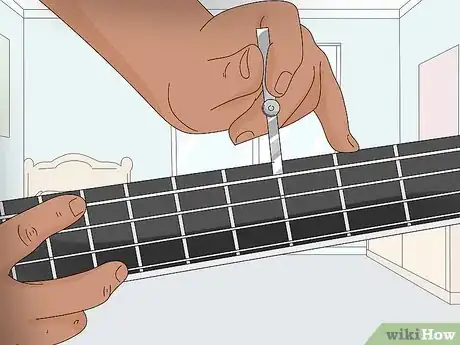
4Slide a 0.015 in (0.38 mm) feeler gauge beneath the string on the 7th fret. A feeler gauge is a thin blade that’s used to measure small gaps. Take a feeler gauge and check to see if there is space between the E string and the metal of the 7th fret. If there’s space, then the truss rod needs to be tightened. If the feeler gauge lifts the string when you slide it over the fret, then the truss rod needs to be loosened.[4]
- You can find feeler gauges at hardware stores, department stores, and online.
Truss Rod Tip: The ideal measurement is for the E string to be perfectly even with the fret so the feeler gauge slides beneath it without any extra space.
Turning the Truss Rod
-
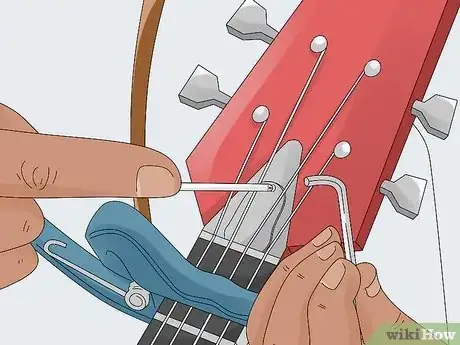
1Unscrew the truss rod cover if your bass has one. At the top of the neck of your bass, look just below the strings for a small slot. If there’s a small screw covering it, use a Phillips screwdriver to take off the covering to expose the truss rod. Set the cover aside so you can replace it later.[5]
- The truss rod look like a slot that fits an Allen wrench.
- Not all bass guitars will have a cover over the truss rod.
-
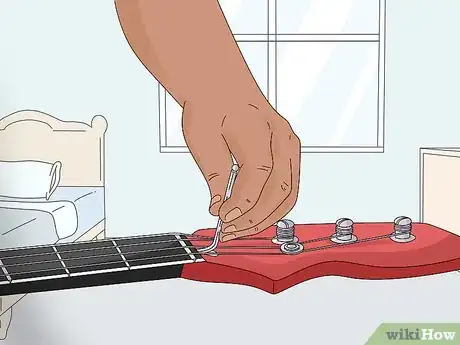
2Insert an Allen wrench into the truss rod adjustment at the top of the neck. Take an Allen wrench that fits the slot for the truss rod adjustment. Insert it so the wrench is sticking straight up so you can turn it left or right. Keep the wrench in place.[6]
- Different bass guitars may have differently sized truss rod adjustment slots, so you’ll need to use an Allen wrench that fits it.
Truss Rod Tip: Some bass guitars will have specific tools designed to adjust the truss rod. If the slot on your bass won’t fit an Allen wrench, you’ll need to get a tool designed for your bass, which you can find at music supply stores and online.
-
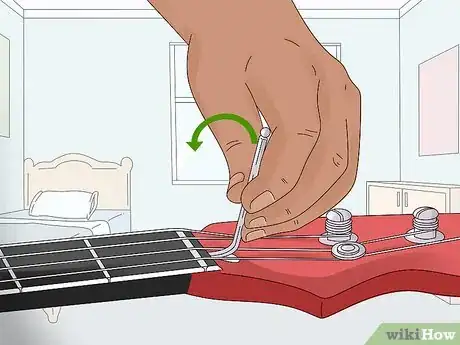
3Turn the wrench to the left if the feeler gauge lifted the E string. If the feeler gauge raised the first string whenever you slid it beneath it on the 7th fret, then the truss rod is too tight and needs to be loosened to ease tension on the neck of the instrument. Rotate the Allen wrench counterclockwise, or to the left, about 1 inch (2.5 cm).[7]
- Use a gentle rotation so you don’t put too much stress on the truss rod at once.
-
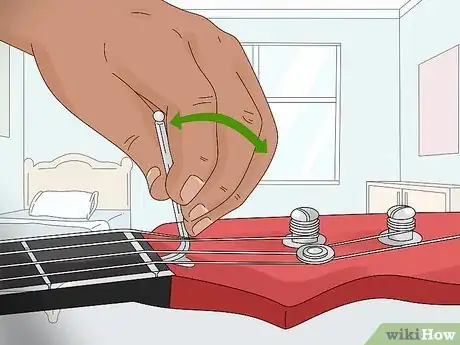
4Rotate the wrench to the right to tighten the truss rod. If there was extra space around the feeler gauge whenever you checked the E string, then the truss rod is too loose and needs to be tightened to counteract the pull of the strings on the neck. Give the Allen wrench about a 1 inch (2.5 cm) turn to the right, or clockwise to tighten it.[8]
- Use small movements to adjust the truss rod so you don’t bend or warp anything.
-
5Recheck the space between the E string and 7th fret with your feeler gauge. Once you make an adjustment, leave the wrench in the adjustment slot and take another measurement. Press the E string down on the fret where the body and neck meet with your fingers and use your feeler gauge to check the space between the string and the 7th fret.[9]
- Check the space anytime you make an adjustment.
-
6Make adjustments until the E string is even with the fret. As you turn the Allen wrench to tighten or loosen the truss rod, take measurements with your feeler gauge. When the E string is even with the 7th fret and you’re able to slide your feeler gauge beneath the string without raising it or without any extra space around it, the truss rod is properly adjusted.[10]
- You may need to make several micro-adjustments to get the truss rod back in line.
-
7Remove the Allen wrench and replace the truss rod cover. When you’re finished adjusting the truss rod, take out the Allen wrench and remove the capo from the neck. If your bass has a truss rod cover, use your screwdriver to screw it back into place.[11]
- Don’t overtighten the screw on the truss rod cover or you could potentially crack the wood.
Things You’ll Need
- Capo
- 0.015 in (0.38 mm) feeler gauge
- Allen wrench
- Phillips screwdriver (if the bass has a truss rod cover)
References
- ↑ https://youtu.be/cgmoRHr2cD8?t=20
- ↑ https://youtu.be/cgmoRHr2cD8?t=232
- ↑ https://youtu.be/te44eWXd9pc?t=166
- ↑ https://youtu.be/te44eWXd9pc?t=171
- ↑ https://youtu.be/cgmoRHr2cD8?t=98
- ↑ https://youtu.be/te44eWXd9pc?t=134
- ↑ https://support.fender.com/hc/en-us/articles/214343843-How-do-I-set-up-my-bass-guitar-properly-
- ↑ https://support.fender.com/hc/en-us/articles/214343843-How-do-I-set-up-my-bass-guitar-properly-
- ↑ https://youtu.be/te44eWXd9pc?t=207
