This article was co-authored by Filip Boksa and by wikiHow staff writer, Rain Kengly. Filip Boksa is the CEO and Founder of King of Maids, a U.S. based home cleaning service that helps clients with cleaning and organization.
This article has been viewed 133,215 times.
At some point in the life of your PC or laptop keyboard, you may find that you need to remove a key to clean underneath it or replace it. Whether you spilled something on your keyboard, or a key stopped working suddenly, it’s important to know how to remove keys properly to avoid damaging the keyboard. This can be accomplished with a special tool called a keycap puller. You can also use a household item such as a flathead screwdriver or paperclip instead. This wikiHow will show you how to remove keyboard keys with and without a keycap puller tool.
Things You Should Know
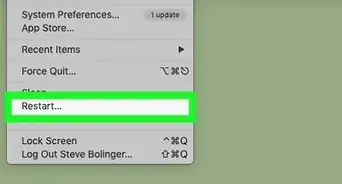
- Always turn off your computer or laptop before working on your keyboard. Unplug the keyboard if you're able.
- If you don't have a keycap puller, you can use a flathead screwdriver, butter knife, or a bent paperclip.
- Slide the tool underneath the key and use light force to pry it off. Wash only the keys and wipe the keyboard frame clean.
Steps
Using Household Tools
-
1Improvise a homemade keycap puller with a paperclip. As an alternative to a knife or flathead screwdriver, you can shape a paperclip to work just like a keycap puller. Unbend the paperclip completely, then reshape it into a “U”, and then bend the ends inwards so that they can hook under a key in the same way a keycap puller works.
-
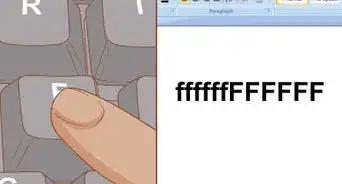
2Slide your chosen keycap puller alternative underneath a key and pry it off. Gently apply upward pressure with your chosen tool until the key starts to lift off. In some cases the key may not come off entirely with the tool, so finish pulling it off with your fingers.
- Work slowly as you pry up the keys so that you don’t end up launching them into the air, never to be found again!
Advertisement -
3Use a flathead screwdriver or butter knife as an alternative to a keycap puller. Make sure that the screwdriver or knife blade will fit underneath the keys on your keyboard. Remember to be careful if you are using a knife so you don’t cut yourself!
- A screwdriver or knife can easily scratch your keys and keyboard, so keep this in mind if you are worried about some small superficial damage your keyboard.
- It's always best to use a keycap puller to remove keys. If you're able, ask a friend to borrow one or visit an electronics store to purchase it. Otherwise, be careful when using makeshift tools.


Using a Keycap Puller
-
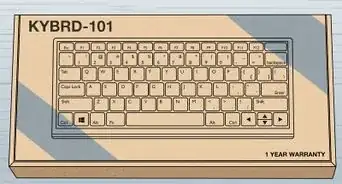
1Acquire a keycap puller tool from an electronics repair shop or online. These small accessories are designed to wrap around keys to remove them without causing any damage to them or the switches they sit on top of. Call around to local electronics repair shops to see if they sell these tools.
- Keycap pullers come in plastic and wire types. The wire variety is considered better than the plastic kind because they are more durable and less likely to scratch the keys. Both varieties will work just fine to remove keys. However, if you are concerned about scratches you should use the wire kind.
-
2Slide the prongs of your keycap puller underneath the edges of a key. If you are using a plastic keycap puller, you should hear a click when it has snapped onto the key. With a wire keycap puller, you will need to twist the handle once the prongs are underneath the key to hook the wire loops underneath two corners of the key.
-
3Pull up on the keycap puller to remove the key. The key will slide right off of the switch below that it is attached to. If you need to remove multiple keys, take the key you just took off out of the keycap puller and repeat the process.
- With wire keycap pullers, you can remove 3 or 4 keys in succession before you need to take them out of the puller.


Cleaning and Replacing Keys
-
1Clean underneath the keys you removed. Moisten a cotton swab with water or rubbing alcohol to clean underneath the key. Wipe away any dirt or sticky spots in those hard-to-reach places under the key.[1]
- If it looks like anything is damaged underneath the key, you should take your keyboard to a computer repair shop for inspection. You can also try to fix it yourself, but be very careful.
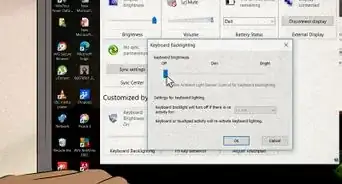
- Take this time to clean the keyboard frame. Use compressed air to blow out any major dust and debris.
-
2Clean the keys you removed with soap and water. Use a mild dish detergent and warm water to thoroughly clean any keys that you removed and are planning on putting back on the keyboard. If you are washing keys, make sure to dry them off completely before attaching them back onto the keyboard.
- If you are replacing the keys with new ones, you can just throw away the old keys.
- Be sure not to wash your keyboard directly! Only wash the keyboard caps.
- Once cleaned, you can lubricate the switches for a smoother sound.
-
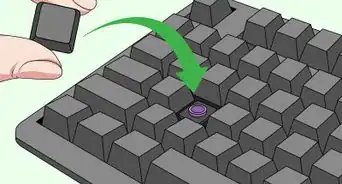
3Snap cleaned keys or replacement keys back onto the keyboard. Orient the key you want to attach to the keyboard by aligning any holes in the bottom of the key with the plastic pieces that hold them in place on the keyboard. Press down evenly on all sides of the key to snap it back into place.
- You will hear a click and feel the key pressing down normally when it is reattached properly.


About This Article