This article was co-authored by wikiHow staff writer, Travis Boylls. Travis Boylls is a Technology Writer and Editor for wikiHow. Travis has experience writing technology-related articles, providing software customer service, and in graphic design. He specializes in Windows, macOS, Android, iOS, and Linux platforms. He studied graphic design at Pikes Peak Community College.
This article has been viewed 2,362 times.
Learn more...
Do you want to apply a sketch to the surface of another object in Solidworks 3D CAD design software? You can easily do so using the Wrap tool. With the Wrap tool, you can use a sketch to add an emboss (raised), deboss (indented), or just create an imprint of the sketch on the surface. This wikiHow article teaches you how to apply a sketch to another object in Solidworks.
Steps
-
1Open Solidworks. Solidworks has an icon that resembles a red cube with the letters "S" and "W" written on the side. Click the Solidworks icon on your desktop or Windows Start menu to open Solidworks.
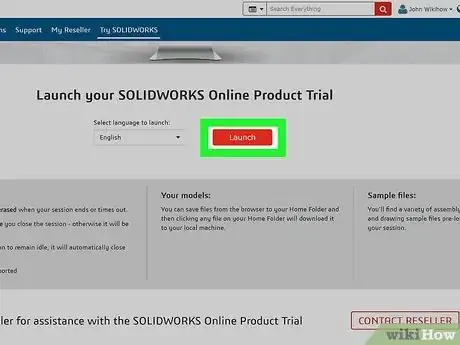
- If you have not downloaded Solidworks, you can sign up for a free trial and launch the trial version of Solidworks from within a web browser.
-
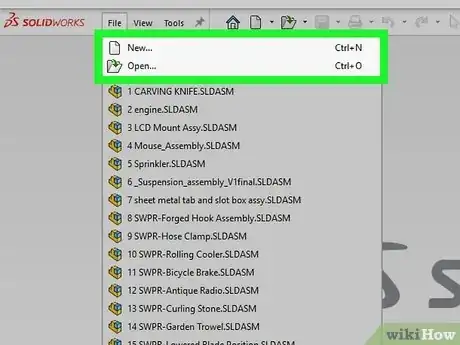
2Open or create a new project in Solidworks. When you open Solidworks, you can click any recent projects you have been working on below "Recent Documents". You can also click Open and select a Solidworks project. If you want to create a new project, select the option to create a new part under "New."Advertisement
-
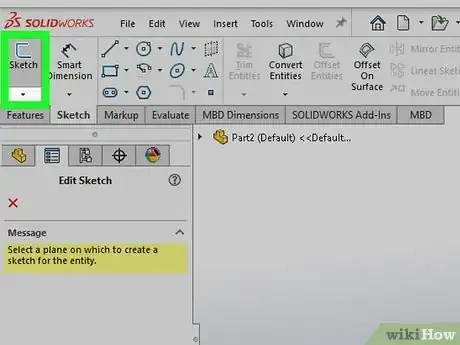
3Create a sketch. If you haven't already done so, use the following steps to create a sketch:
- Select a plane in the menu panel to the left.
- Click the Sketch tab above the menu panel to the left.
- Click Sketch in the upper-left corner to create a new sketch.
- Use the drawing tools in the menu bar at the top to create a sketch.
- Click Exit Sketch in the upper-left corner when you are finished.
-
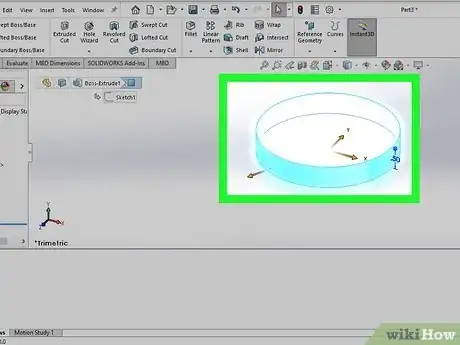
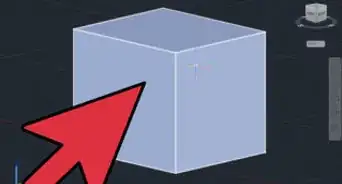
4Create a 3D object. If you haven't already done so, create a 3D object to wrap your sketch around. You can create basic 3D shapes like a cube, cylinder, or 3D polygon by creating a sketch of a circle, rectangle, or polygon and then extruding it. Use the following steps to do so:
- Create a sketch of a shape with a closed path.
- Click the sketch to select it.
- Click the Features tab.
- Click Extrude boss/base in the upper-left corner.
- Enter how many units you want to extrude the sketch next to the icon that says "D1" in the menu panel to the left.
- Click the checkmark icon at the top of the menu panel to the left to extrude the object.
-
5Select the sketch you want to wrap around an object. Simply click the sketch in the 3D view or the panel to the left to select it.
-
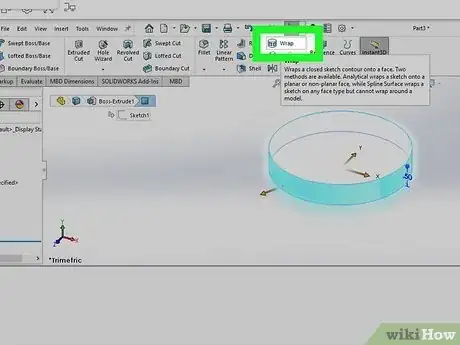
6Click Wrap. It's in the menu panel at the top under the "Features" tab. It's next to an icon that resembles a couple of shapes carved into a cylinder.
- If you don't see the "Wrap" button, click the "Features" tab.
-
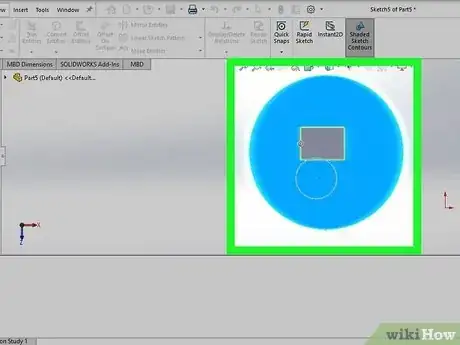
7Select the face you want to apply the wrap too. Click whichever side of a 3D object you want to apply the sketch too.
-
8Select a wrap type. Click one of the icons below "Wrap type" in the menu panel to the left to select wrap type. The options are as follows:[1]
- Emboss: This raises the sketch from the face of the 3D object.
- Deboss: This indents the sketch into the face of the 3D object.
- Scribe: This creates an imprint of the sketch on the face of the 3D object.
-
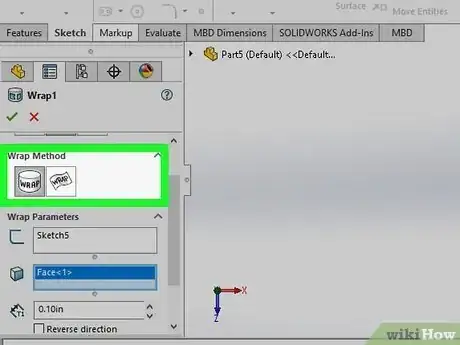
9Select a wrap method. Click one of the icons below "Wrap Method" to select which wrap method you want to use. Your options are as follows:
- Analytical: This wraps the sketch into any planar or non-planar surface.
- Spline Surface: This method wraps the sketch unto any surface, but it cannot wrap a sketch into a model.
-
10Enter the thickness of the emboss or deboss. Enter how thick you want the emboss or deboss in whatever units your project is using in the box at the bottom of the "Wrap Parameters" heading. It's next to an icon that says "T1".
- If you want to reverse the direction of the emboss or deboss, click the checkbox that says "Reverse Direction" below the box where you enter the thickness of the emboss or deboss.
-
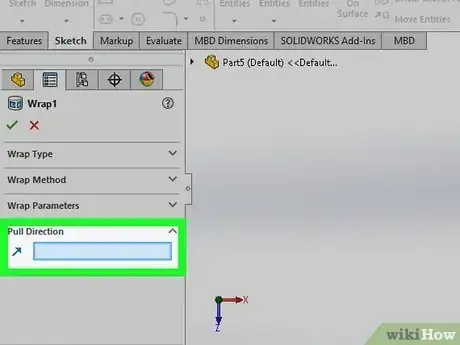
11Select a pull direction (optional). If you want, you can specify a direction the emboss or deboss will go. To do so, click the box below "Pull Direction" and then select a plane, linear edge, or line to specify a pull direction for the emboss or deboss.[2]
-
12Click the checkmark icon. When you are satisfied with how the sketch looks on the surface of your object, click the checkmark icon at the top of the menu on the left to apply the wrap.
