X
This article was co-authored by wikiHow staff writer, Nicole Levine, MFA. Nicole Levine is a Technology Writer and Editor for wikiHow. She has more than 20 years of experience creating technical documentation and leading support teams at major web hosting and software companies. Nicole also holds an MFA in Creative Writing from Portland State University and teaches composition, fiction-writing, and zine-making at various institutions.
This article has been viewed 173,731 times.
Learn more...
This wikiHow teaches you how to print one large image on multiple sheets of paper (also known as a tiled or rasterbated poster) from your PC or Mac.
Things You Should Know
- The Rasterbator is a free website that makes it easy to create large, poster-style wall art from any picture.
- You can print your large image with a dotted halftone effect or no effects at all.
- Once you upload the image to The Rasterbator, you can download a ready-to-print PDF that's easy to send to any printer.
Steps
Part 1
Part 1 of 2:
Using Rasterbator to Enlarge the Image
-
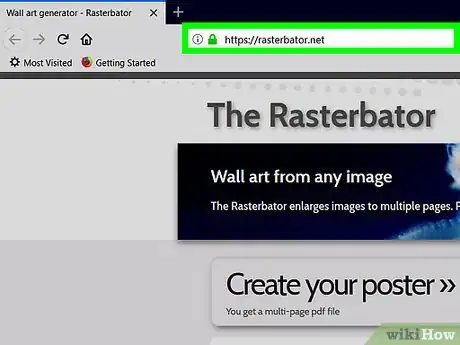
1Go to https://rasterbator.net/ in a web browser. The Rasterbator is a popular website known for creating poster-sized wall art. This site works for both Windows and macOS.
-
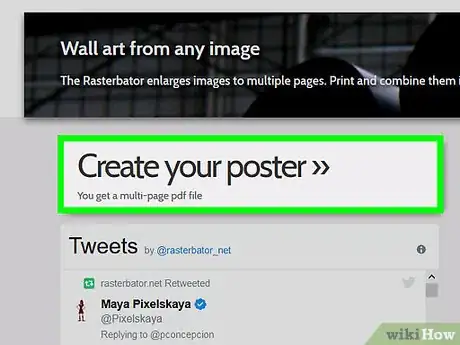
2Click Create your poster.Advertisement
-
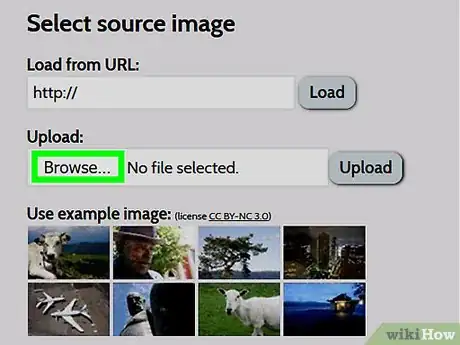
3Select a source image. There are three ways to do this:
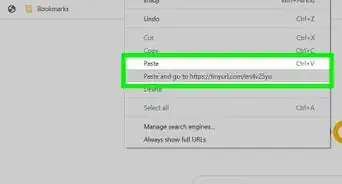
- If the image is online, type or paste its direct URL into the “Load from URL” blank, then click Load.
- If the image is on your computer, click Browse… to open your computer’s file browser, select the image, click Open, and then click Upload.
- Another way to upload an image from your computer is to drag it from a folder to the the “Drag image file here” box.
-
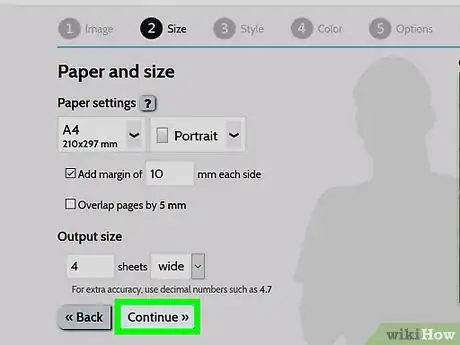
4Select your paper settings. Under “Paper settings,” choose your desired options:[1]
- Choose the size and format of the paper you’re printing on, such as A5 (5.8” x 8.3) or US Letter (8.5” x 11”), from the first drop-down menu.
- Select either the Portrait (tall) or Landscape (wide) format.
- The default margin size is 10 mm, which should work for most home printers. Margins are necessary because most printers don’t print all the way to the edge of the paper. If the margins are too small, some of the image will be cut off—if it’s too big, you can always just trim off the edges.
- Overlap makes it easy to join the images together when you cut off the margins because the image will slightly overlap onto the adjoining sheets. Check the box “Overlap pages by 5 mm” box for best results.
-
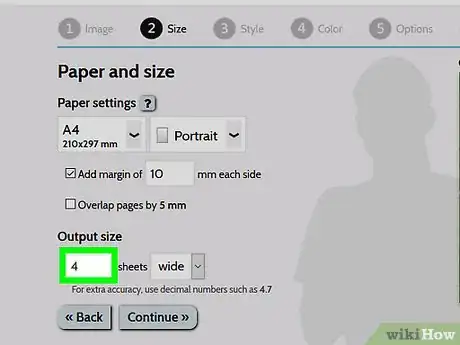
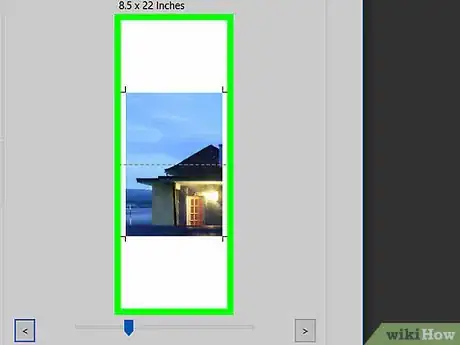
5Choose the size of your poster. The “Output size” section determines the size of your poster based on the number of sheets making up the image. The higher the number of sheets, the larger the size of the poster.
- Enter the number of sheets into the first box.
- In the drop-down menu, select wide or high.
- For example, if you type 6 into the “sheets” box and select wide, the image will be the size of 6 sheets of paper across (wide). Rasterbator will figure out how many sheets tall the poster must be to fit the image.
- If you select tall, the example image would be 6 sheets tall, and Rasterbator would determine the width based on the image size.
- The grid lines on the preview show how many sheets of paper you’ll be using.
-
6Click Continue.
-
7Select a style. Rasterbator lets you choose from an assortment of styles to add an artistic effect to your poster. Click a style (a preview will appear on the image), or select No effects to skip this step.
- Rasterbation and Black and white rasterbation are popular choices that print in a halftone style, comprised of many dots.
-
8Click Continue.
-
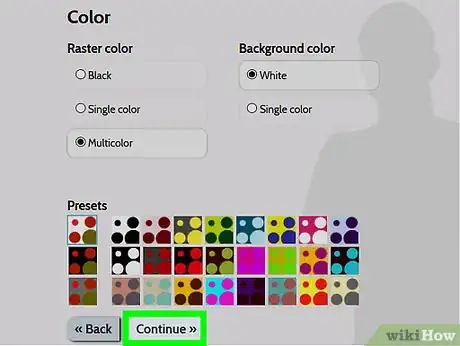
9Select your color preferences. If you selected a style, you’ll be able to choose additional options for the final product.
- If you chose No effects, none of these menu options will affect your poster.
-
10Click Continue.
-
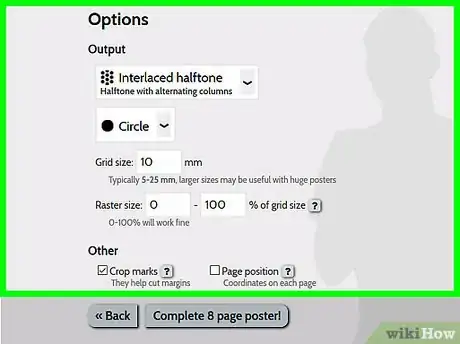
11Select your final style options. These options will vary depending on the style you selected.
- If you did not select a style, you can still browse through the drop-down menu at the top of the screen to add some effects to your final product. If you decide not to use any, select Enlarge from the menu.
- To make it easy to trim off the margins, check the box next to “Crop marks.” This is optional, and is not necessary if you added the 5mm overlap.
-
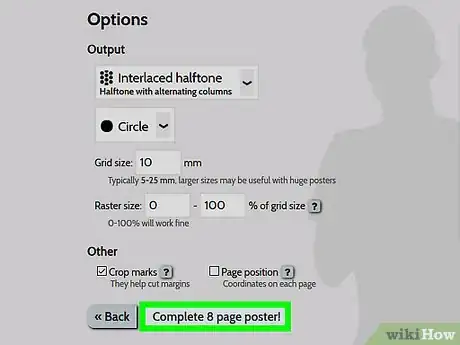
12Click Complete X page poster!. The “X” represents the number of pages you’re printing. The site will now build your image.
-
13Download the PDF. Click OK or Save (the options vary by computer and browser) to download the finished image that’s ready to print.
Advertisement
Part 2
Part 2 of 2:
Printing the Image
-
1Open the PDF. Double-click the file you downloaded from Rasterbator to open it in your computer’s default PDF reader.
- Rasterbator recommends using Adobe X Reader, but any reader is fine.[2]
-
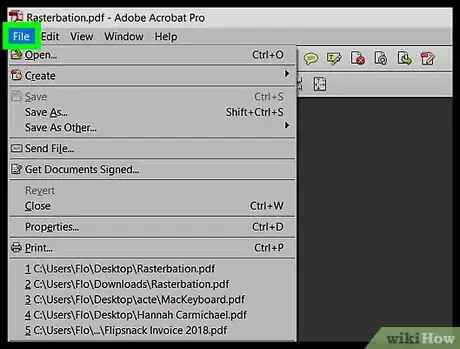
2Click the File menu. If you’re using Windows, it’s in the menu bar at the top of the PDF reader. If you’re using a Mac, it’s in the menu bar at the top of the screen.
-
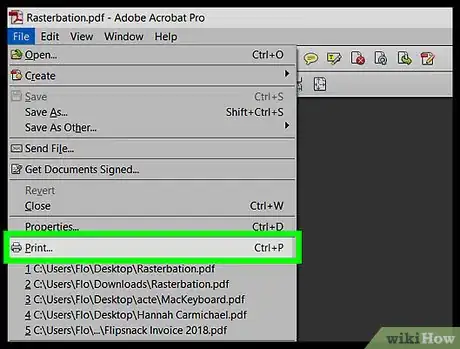
3Click Print. This opens your computer’s printing options.
-
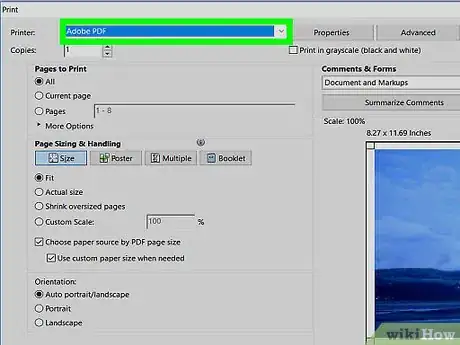
4Select your printer. If the printer you want to use does not appear in the “Printer” drop-down, click the drop-down to select it now.
-
5Select a paper size. Click Size or Paper Size, then select the size you selected in Rastorbator.
-
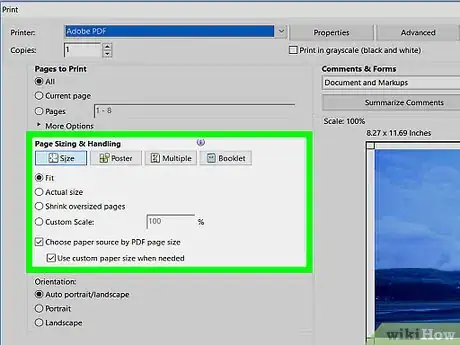
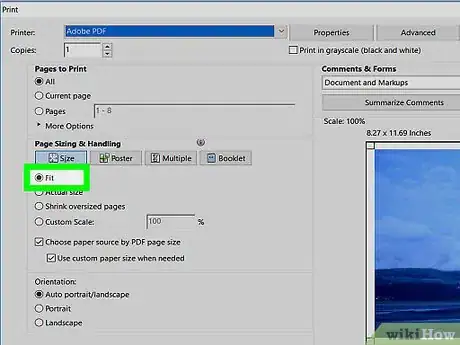
6Select the “Scale to fit” option. If you’re using a Mac, you may have to click Show Details to see your printer options.[3]
- In macOS, select Scale to Fit.
- If you’re using Adobe Reader for Windows, check “Fit” under “Paper size & handling.”
-
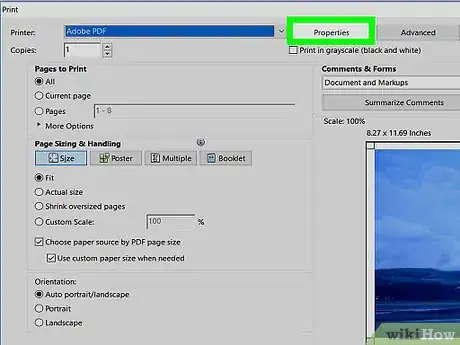
7Make sure your printer is not set up to print on both sides of the paper. For the poster to print properly, each page must print on its own sheet.
- If you’re using Windows, make sure “Print on both sides of the paper” is NOT checked.
- If you’re using macOS, select Layout from the drop-down menu at the center of the printer screen, then make sure “Two-sided” is set to None.
-
8Click Print. This sends your poster to the printer.
-
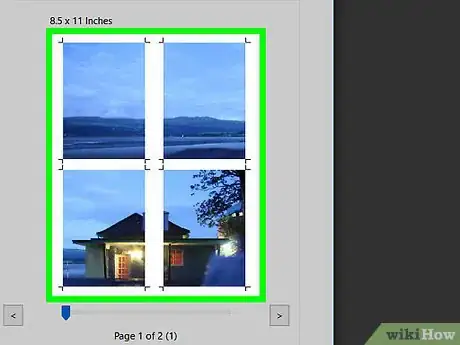
9Arrange the pages in order. It’s best to use a large surface for this. If you printed the image across a lot of sheets, it may be difficult to figure out which sheet goes where. Fortunately there’s a marker at the bottom-right corner of each page that tells you how to connect the sheets.[4]
-
10Trim the margins. Use the crop marks on the outside of the image as a guide for cutting. It’s best to use a utility knife and a ruler to get a clean line.
-
11Join your pages together to form one large image. You can use any method you wish, such as tape, gluing it to a board, or pinning each sheet to your wall.
- It may be helpful to use a small piece of tape on the edge of each adjoining sheet when the poster is face-up on the ground so you can easily move it.
Advertisement
References
About This Article
Advertisement
