wikiHow is a “wiki,” similar to Wikipedia, which means that many of our articles are co-written by multiple authors. To create this article, 45 people, some anonymous, worked to edit and improve it over time.
There are 11 references cited in this article, which can be found at the bottom of the page.
The wikiHow Tech Team also followed the article's instructions and verified that they work.
This article has been viewed 544,761 times.
Learn more...
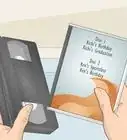
This wikiHow will teach you how to make your own cover for a DVD. If you're aspiring for something more official-looking than a hand-drawn cover on a cut-out piece of paper, don't worry—we've got you covered. We'll walk you through the whole design process, from brainstorming interesting cover ideas to designing your cover on the computer and printing it out to size. Check out the steps below to get started!
Steps
Deciding What You Want on Your Cover
-
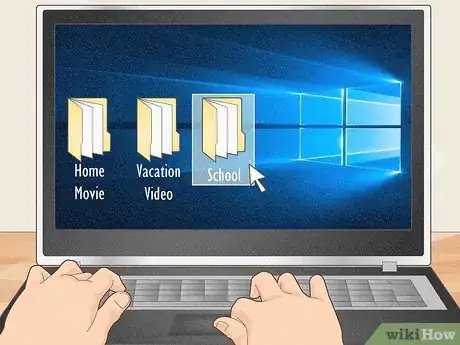
1Determine what your movie is. Before you make your DVD cover know what kind of movie you’re making.
- Is it a collection of home movies? A vacation video? Or maybe it’s a short film you made for school or fun.
-
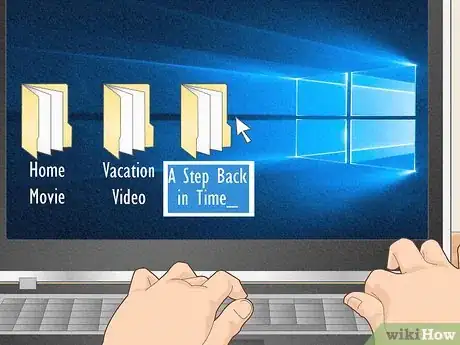
2Pick a name for your movie. Try to make the title interesting and appealing, rather than just descriptive.
- Instead of just titling it “Family Vacation” you can come up with a creative title to make your DVD cover look more appealing.
- Say where you went on vacation, or use what you did as part of the title.
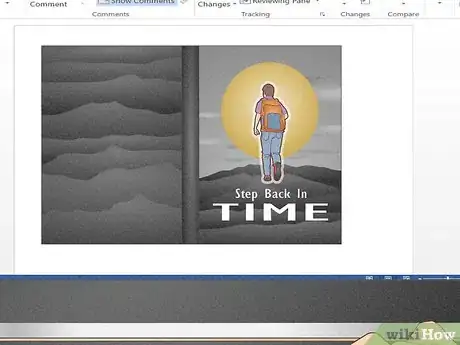
- For example, if it is a class project for history, call it something like "A Step Back In Time" rather than "History Class Project".
Advertisement -
3Find an image. Look at any movie, and you’ll see that there’s a central image or theme on the cover, usually including some of the people in the movie.
- You can always use a still image from some of the video you shot, or a picture you took.
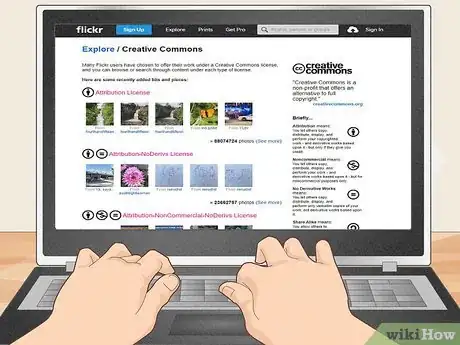
- Alternatively, you can find a photo online that you like and think will work well. But you should be careful if you’re distributing your DVD to others as you have to obey copyright law for photos.[1]
- You can find free to use, Creative Commons photos by searching the Creative Commons website or through the Creative Commons section on Flicker.[2] [3]
-
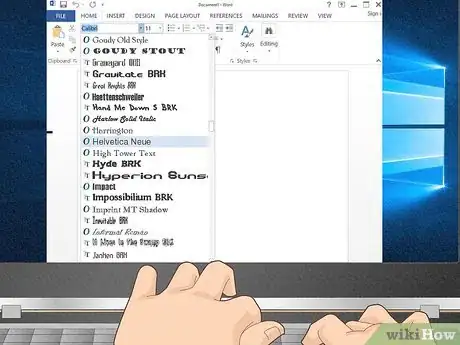
4Pick one or two fonts that you want to use. Keeping your text in one or two fonts will ensure that you have a clean cover and make it easy to read.
- If you want your DVD cover to have a modern look you can use a font like Helvetica, Folio, or Standard CT.[4]
- Maybe you went on a trip to Asia and want a font that embodies your trip. You can use something like Papyrus, or Bonzai. Or maybe you want a fun, funky font, try something like Distillery, or True North.[5]
-
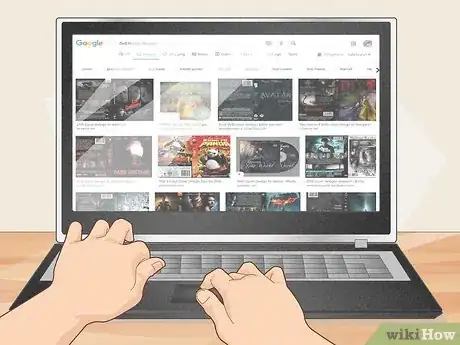
5Look at your favorite DVDs for inspiration. Do you have a favorite movie or movie poster? Take a look at DVDs and take note of you do and don’t like.
- Maybe you like a DVD cover with a collage of images or one with a funky font on it. Taking inspiration from what you like is a great way to envision what your own DVD cover will look like.
Designing your DVD Cover
-
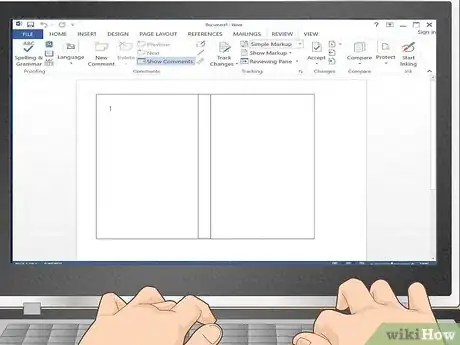
1Use a word or design program. You can make your own DVD cover using any number of programs from Microsoft Word to Photoshop.
- You can use a template in Microsoft Word or manually set up your document. In OpenOffice.org Writer or Microsoft Word, click Format then Columns then choose 3. Set the width of column 1 to 129mm (5"), column 2 to 15mm (0.6") and column 3 to 129mm (5"). Click in line between.
- If you’re familiar with Photoshop you can also make your own DVD cover in that application.[6]
-
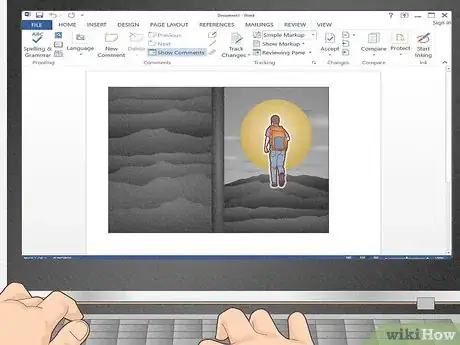
2Place your images in your document file. If you’ve set up your file so that you can print one page to be folded over, you can begin to insert your images into both the front and back of your DVD cover.
- A standard DVD cover measures 184mm (7.25") by 273mm (10.75"). Depending on your printer and paper size, it is possible to fit an entire DVD cover onto a single sheet of paper (A4, which is the standard size of paper, is more than large enough).[7] You may need to reduce page margins to zero.
- If your paper size does not accommodate printing on a single sheet, then the front and back panels should both be 7.25" by 5.15". The title strip, also known as the spine, should be 7.25" by 0.5". This will leave a little overlap for connecting the pieces.
-
3Insert your text. With your images in place, now it’s time to include the text you want into your document.
- If you are using a word application, you can use the “Insert Text” function. Or, if you are in Photoshop, click the “T” button on your panel and then draw the text box over your photo.[8] You should see a blinking cursor which indicates that you can begin typing.
-
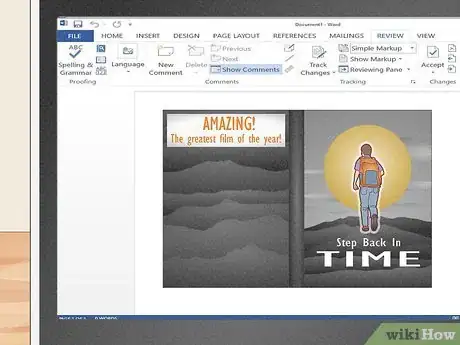
4Get creative. In addition to using photos, you can include some real, or even fake, comments such as: '"Amazing. The greatest film of the year." - John Smith from Some Magazine'. Or if it’s more of a home movie, you can add a quote from your footage or your trip that sums up the content of your film.
Printing and Placing Your DVD Cover
-
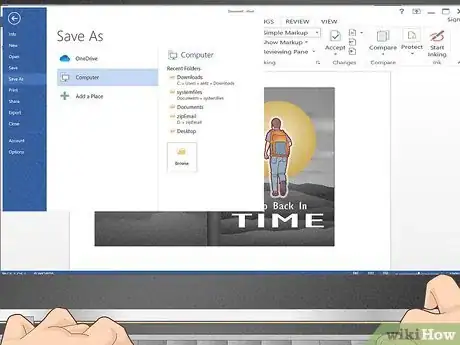
1Save your file. Before you do anything, it’s always a good idea to save your files so that if anything goes wrong, or when you print your cover you can easily go back and make changes if you don’t like how it looks.
-
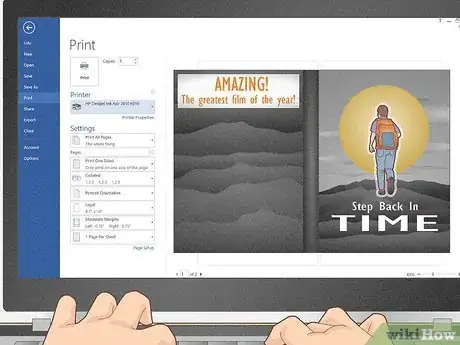
2Do a print preview. Before you print, you should do a print preview to make sure that everything looks good and is on your page.
- If you are running Windows, then you can find the print preview button under the “Menu” tab.[11]
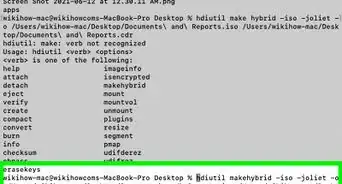
- If you are running Mac OSX then you can find the print preview button under the “File” tab at the top.
- Clicking the “Print” button in Photoshop will also bring up a printing preview for you.
-
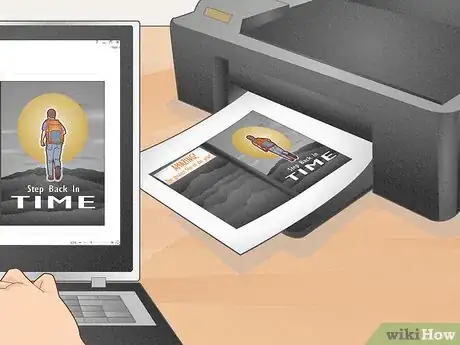
3Print a test page. If you are printing multiple pages, then you should print a single test page first to ensure that your homemade DVD cover is to your liking. This way if there are any issues you won’t have wasted a lot of ink and paper.
-
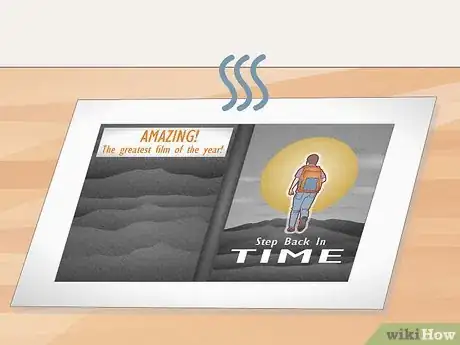
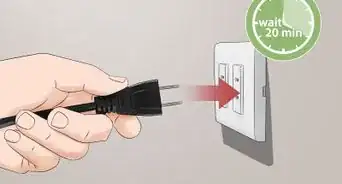
4Let the ink on the paper dry. Before you insert your DVD cover, you should lay the paper flat for around 20 to 30 minutes to make sure the ink has dried so you don’t get any smudges when you insert it into your DVD case.
- If you are using photo paper that’s glossy, you may have to let it dry for a bit longer.
-
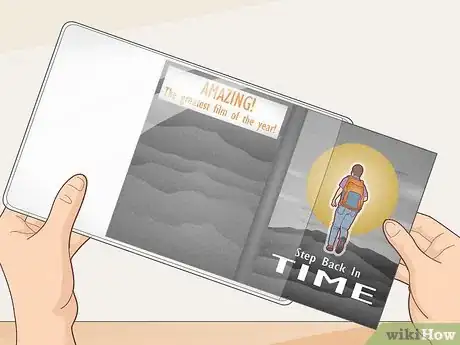
5Insert your paper into your DVD cover. Once the paper is dry, open up your DVD cover and lay it flat. Simply slide the paper into your cover and adjust it so it’s even. And voila! You’ve made your own DVD cover!
- If you have a DVD-disk with a white top and a DVD burner that allows you to burn images onto the disk, use it! It will really add realism to your DVD. If not, you can always place a label on it. You can find all sorts of press-on labels at office or computer supplies stores.
-
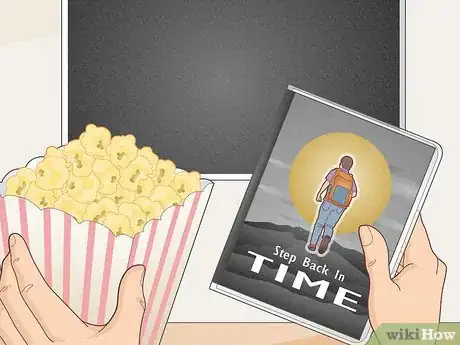
6Get the Popcorn! Enjoy your film! Present the film as a real DVD. It will really wow your audience.
Community Q&A
-
QuestionWhat is the best size paper to print a DVD cover on?
 Community AnswerMost DVD covers are printed on paper that is around the size of A4 paper, so that would be the best option.
 -
QuestionHow long does it take?
 Aditya TelangCommunity AnswerThough the time varies from person to person, an average user with some graphical know-how can do it in 30 to 45 mins.
Things You'll Need
- Computer with a word or design program.
- Printer
- Paper
- DVD case(s)
References
- ↑ http://guides.library.harvard.edu/c.php?g=310751&p=2072816
- ↑ https://search.creativecommons.org
- ↑ https://www.flickr.com/creativecommons/
- ↑ http://www.typewolf.com/top-10-helvetica-alternatives
- ↑ http://www.typewolf.com/top-10-hipster-fonts
- ↑ http://www.macprovideo.com/hub/photoshop/making-a-dvd-cover-template-in-photoshop
- ↑ http://www.all-size-paper.com/A4/a4-paper-size.php
- ↑ https://helpx.adobe.com/photoshop-elements/using/add-text.html#add_text
- ↑ http://www.mpaa.org/film-ratings/
