This article was co-authored by wikiHow Staff. Our trained team of editors and researchers validate articles for accuracy and comprehensiveness. wikiHow's Content Management Team carefully monitors the work from our editorial staff to ensure that each article is backed by trusted research and meets our high quality standards.
There are 27 references cited in this article, which can be found at the bottom of the page.
This article has been viewed 29,258 times.
Learn more...
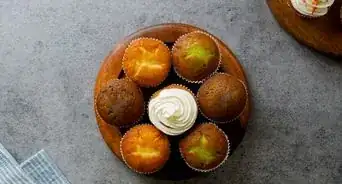
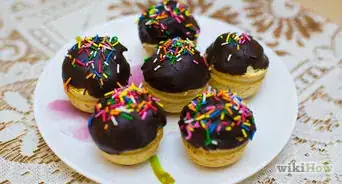
If you’re looking to get creative with your baking, a cupcake cake is a great way to start! Cupcake cakes look great, but only require a regular cake recipe, some gluing with frosting, and a creative mind. You can carve a giant cake into cupcake shape or arrange lots of small cupcakes into a unique shape or pattern for any occasion. No matter what kind of cupcake cake you choose, your taste testers will love the shape and flavor of this delicious dessert.
Ingredients
Makes 20-25 standard-size cupcakes.
- 2 cups (470 mL) flour
- 1⁄2 teaspoon (2.5 mL) salt
- 2 teaspoons (9.9 mL) baking powder
- 1⁄2 cup (120 mL) softened butter
- 3⁄4 to 1 cup (180 to 240 mL) sugar (add more if you want sweeter cupcakes)
- 2 eggs
- 1 cup (240 mL) milk
- 1 teaspoon (4.9 mL) vanilla (optional)
Makes 1 giant cupcake cake.
- 2 15 to 16 oz (430 to 450 g) cake mixes
- 2 3 to 4 oz (85 to 113 g) instant pudding mixes
- 8 eggs
- 2 cups (470 mL) water
- 2⁄3 cup (160 mL) of vegetable oil
Makes one medium-sized cupcake cake. For a larger cake, double the measurements.
- 1 cup (240 mL) white sugar
- 1⁄2 cup (120 mL) butter
- 2 eggs
- 2 teaspoons (9.9 mL) vanilla extract
- 1 1⁄2 cups (350 mL) flour
- 1 3⁄4 teaspoons (8.6 mL) baking powder
- 1⁄2 cup (120 mL) milk
Icing
Makes 10-12 servings.
- 2 cups (470 mL) butter
- 6 cups (1,400 mL) powdered sugar
- 2 tablespoons (30 mL) whipping cream
- 2 teaspoons (9.9 mL) vanilla or almond extract
- A few drops of food coloring (optional)
Steps
Baking a Pull-Apart Cupcake Cake
-
1Decide on a pattern. This will depend on what occasion the cake is for! If you’re celebrating a child’s birthday party, think about doing a simple rendition of their favorite animal, like a turtle; cartoon character; or activity, like an airplane. For a holiday, go with a simple symbol, like a Christmas tree or a dreidel.[1]
-
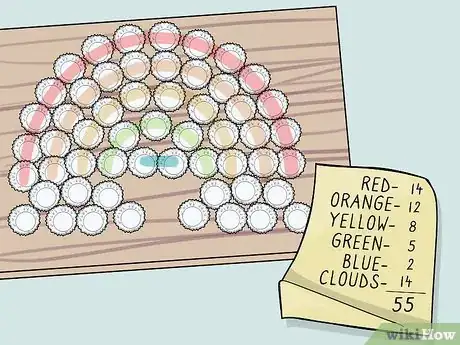
2Calculate the number of cupcakes you’ll need. Lay out cupcake liners in your chosen pattern on the large plate or piece of clean cardboard you plan to arrange your cupcakes on. Make sure they can all fit snugly, adding or subtracting cups as needed. Your final number of cups will be the number of cupcakes you’ll make.
- This recipe makes 20-25 standard-sized cupcakes. If you need more or less than that, adjust the measurements accordingly.
- For example, if you want to make 40 cupcakes, use 4 cups (950 mL) of flour, 1 teaspoon (4.9 mL) of salt, 4 teaspoons (20 mL) of baking powder, etc.
- You could also use mini cupcakes. A recipe that makes 20 standard cupcakes can be used to make about 60 mini cupcakes.
Advertisement -
3
-
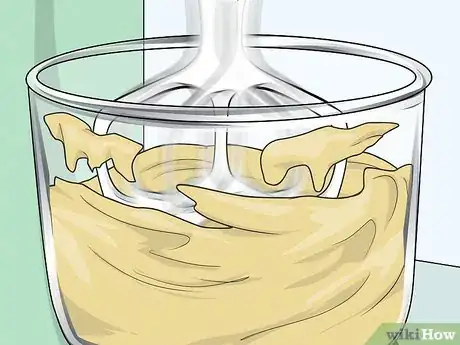
4Mix your batter. Stir your butter and sugar with a wooden spoon or a mixer on medium speed until it’s light and fluffy. If you’re using a mixer, this should take 2-3 minutes.[4] Stir in one egg at a time, then add the flour, baking powder and salt. Pour in your milk and stir well, then add your vanilla (optional). Stir until smooth.[5]
- Soften the butter by leaving it out for a few hours before you start mixing your batter.
- Use a mixer if possible, as the batter will be much harder to stir with a wooden spoon.
- Vanilla will add a sweeter flavor, which is a great way to sweeten up your typical boxed cake mix.[6]
-
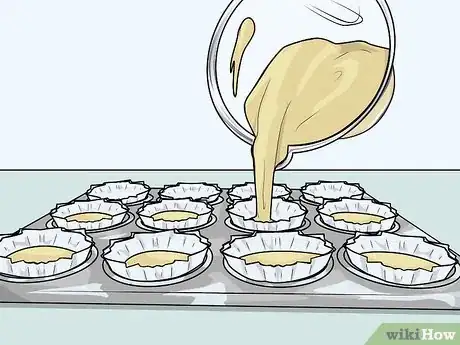
5Pour the batter into the tray. You can use a large measuring glass with a pointy lip to get a neater pour. Fill each cup about halfway, making sure to divide the batter equally so you get an even bake.[7]
-
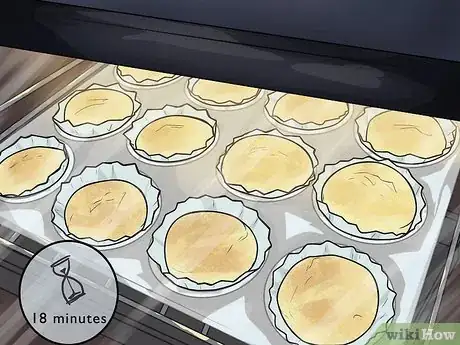
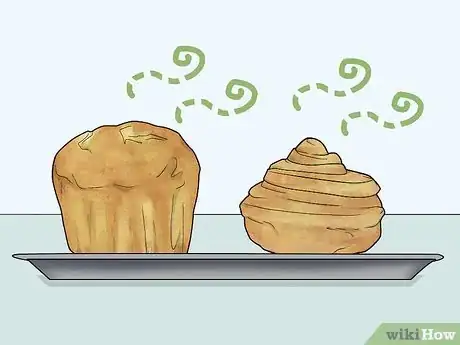
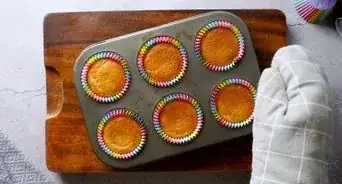
6Bake the cupcakes for 18 minutes. Check on your cupcakes after about 10 minutes to make sure they’re rising but not burning. They shouldn’t be darker on top by the time you pull them out. Then, let them cool in their pans for about 10 minutes.[8]
- You can check if your cupcakes are done by sticking a toothpick into the center of one cupcake. Pull it back out and check to see if there is wet batter on it. If so, your cupcakes need some more time. Put them in for 5 more minutes, then check on them again. When the toothpick comes back dry, your cupcakes are ready to go.
- If you’re making mini cupcakes, bake for 10-15 minutes.[9]
-
7Make your icing. Microwave your butter for 10-30 seconds or leave it out for a few hours, until it’s slightly soft but not melted. Mix it with sugar in a large bowl, using a mixer on medium setting or a wooden spoon, until light and fluffy. Mix in the whipping cream, vanilla, and any food coloring you want and stir until the frosting is thick but spreadable.[10]
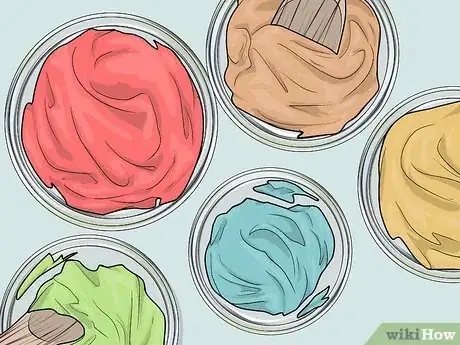
- If you want to use different colors in your pattern, separate the frosting evenly into different bowls, then add your desired food coloring to each bowl.
-
8“Glue” your cupcakes to your plate with a swirl of frosting. Transfer your frosting to a piping bag, or make your own by poking a small hole in the bottom corner of a resealable plastic bag. Squirt a circle of frosting onto the bottom of each cupcake, directly onto the paper liner. Place each cupcake firmly back onto the plate or cardboard.[11]
- Make this squirt of frosting roughly circular and slightly smaller than the bottom of the cupcake, but don’t fill it in.
-
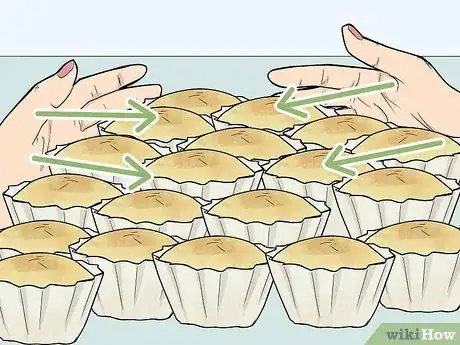
9Push your cupcakes together for a tighter fit. Gently press the cupcakes together with your hands so that each one is pushed flush against its neighbors. This will prevent too much icing from slipping into the cracks between cupcakes.[12]
-
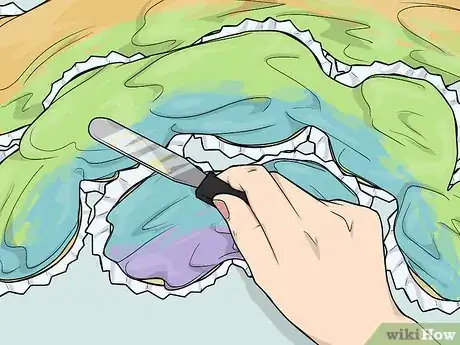
10Ice the cupcakes smoothly for a cake-like look. Use your piping bag to put a small dollop in any remaining diamond-shaped holes between cupcakes. Outline the outside edge of your pattern with frosting, then fill in the rest. Smooth it over with an icing scraper or a flat plastic spatula. Decorate with other colors of frosting or sprinkles.[13]
-
11Ice the cupcakes individually to make different frosting patterns. You could do rose-style icing or simple swirls with your piping bag. The cupcakes may feel like less of a cohesive cake, but this method could be best for some patterns. If you’re making a large flower out of cupcakes, for example, you may want to frost the cupcakes individually to make them look like individual petals. You also might wish to create a certain illusion of texture, for cakes in the shape of animals or birds.[14]
Making a Giant Cupcake Cake with a Mold
-
1Get a large silicon cupcake cake pan. The easiest way to make a giant cupcake is to use a specialized, two-part silicone pan. One side of the pan will be the bottom of the cake, with accordion folds along the sides to make it look like a paper cupcake liner. The top will be dome-like with a point, mimicking the shape of a regular cupcake.
- You can find a cupcake cake pan online or at a specialty baking store.
-
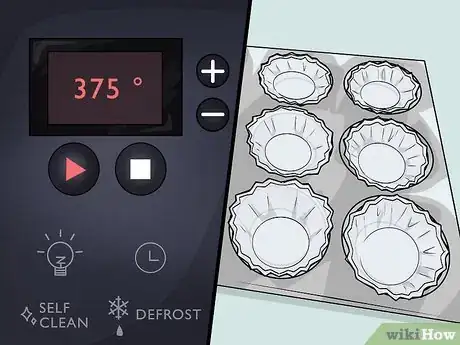
2Preheat your oven to 325 °F (163 °C). Let it warm up as you prepare you batter.
-
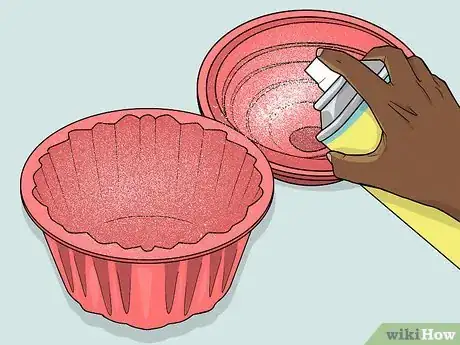
3Coat your cupcake pan with non-stick spray. Spray the pan carefully, making sure to completely cover the accordion folds in the pan. You can also brush on a liquid non-stick product, which might give you fuller coverage.[15]
-
4Mix all batter ingredients in a separate bowl. Pour your cake mixes, pudding mixes, eggs, water and oil to a bowl. Use a mixer on a medium setting or a wooden spoon to mix until the batter is thick but pourable.[16]
- You can also make your cake from scratch using your favorite Pound cake recipe. Make sure you make enough to fill up your mold. If you’re not sure how much your recipe will fill, double the recipe just to be safe.
-
5Measure your batter and pour it into the pans. Pour 2.5 cups (590 mL) into the top, dome-like part of the cupcake, and 3.5 cups (830 mL) for the bottom. The pans shouldn’t be totally filled; your cake will rise to fill the rest of the space.[17]
-
6Bake your cakes at 325 °F (163 °C) for 1 hour. After half an hour, remove the cakes and put a loose tent of aluminum foil over the top part of the cupcake, then place them back in the oven for the remaining half hour. This will prevent it from cooking faster than the bottom part and becoming dry.[18]
- When the hour is up, stick a toothpick into the cake. If it comes back wet, stick the cake back in at 5 minute intervals, continuing to use the toothpick to see if it’s done. When the toothpick comes back dry, your cake is ready to go!
-
7Let your cakes cool in the pan for ten minutes. Then, remove the cakes from the pans and place them on a baking sheet. Let them finish cooling for about 10-15 minutes.[19]
-
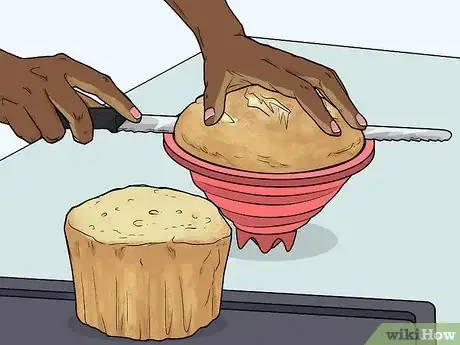
8Cut off the tops of your cakes to make them straight and level. To make sure you cut at the right height, place the cakes back in the cooled pan. Cut both the dome and the base cakes so that they’re the same height as the cake pans.[20]
- Use a long, flat, serrated knife for the most even cut.
-
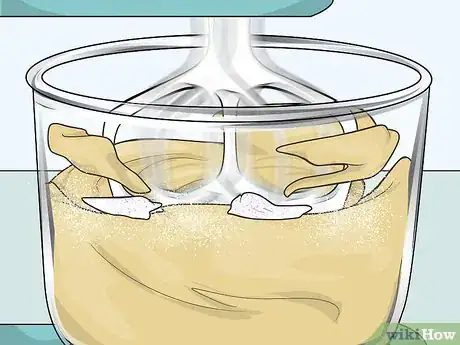
9Mix up your icing. Microwave your butter for 10-30 seconds until it’s slightly soft but not melted. Use a mixer on a medium setting or a wooden spoon to mix it with sugar in a large bowl until light and fluffy. Stir in the whipping cream, vanilla, and any food coloring you want. Keep stirring until the frosting is thick but spreadable.[21]
- If you want to use different colors in your pattern, separate the frosting evenly into different bowls, then add your desired food coloring to each bowl.
-
10Frost the top of the bottom cake and place the other cake on the icing. Spread a layer of medium thickness onto the bottom portion of the cake, then set the top portion firmly on top. The frosting should “glue” it into place.[22]
-
11Ice the rest of the cake and add sprinkles. You can ice the full cake, or just do the top portion to make it look more like a cupcake. Use a piping bag to spread the frosting in rosette patterns to add texture, or do a simple swirl. Add some sprinkles on top to complete your delicious cupcake cake![23]
Making a Cupcake Cake without a Mold
-
1Preheat your oven to 350 °F (177 °C). Let it warm up as you begin to make your batter.[24]
-
2Make your cake batter. Let the butter soften for a few hours, then use a mixer on a medium setting or a wooden spoon to combine it with the sugar until fluffy. Stir in the eggs one at a time, then add the vanilla. In a separate bowl, combine the flour and baking powder, then add it to the mixture and stir. Mix in the milk until the batter is smooth.[25]
-
3Pour your cake batter into five shallow mixing bowls. To make a giant cupcake cake without a special mold, you’ll need to bake five different cakes and stack them. The four base cakes will be smaller and flatter, about 9 inches (23 cm) across and 3 to 4 inches (7.6 to 10.2 cm) high, while the dome cake will be taller and more round. Divide your batter equally into four shallow bowls to make the base cakes. Use a layer of parchment paper to keep the batter from sticking. For the dome cake, simply fill the bowl a bit more.[26]
- You can use round baking pans or stainless steel bowls to bake your cakes.
- If you don’t have four bowls of the same size, simply pour the batter into the same bowl one cake at a time.
-
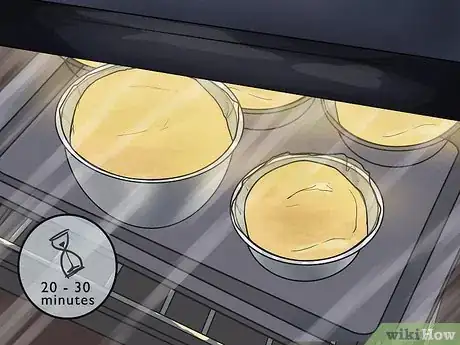
4Bake your cakes at 350 °F (177 °C) for 20-30 minutes. Check on your cakes every 7 minutes or so, adjusting the time as needed. They should get golden brown on top, but shouldn’t look burnt, and should feel springy to the touch.
- You can check if your cake is done by sticking a toothpick into the center. Pull it back out and check to see if there is wet batter on it. If so, put your cake back in for 5 minute intervals, checking the toothpick each time. When it comes back dry, your cake is ready to go.
-
5Remove the cakes from the oven and let cool. Let the cakes sit in the bowl for 10 minutes, then remove them and let them cool completely, for another 15-20 minutes, on a baking sheet.
-
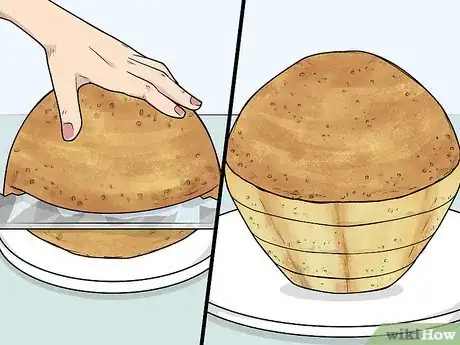
6Taper the edges of your first three layers. Stack your four flat cakes on top each other. Use a long knife to cut about 1⁄2 inch (1.3 cm) from the second layer and 1⁄4 inch (0.64 cm) from the bottom layer, leaving the top third and fourth layers intact. You’ll be cutting at a slant all around the circular cakes to achieve a cupcake-like base.[27]
-
7Cut off the rounded top of the top cake. The dome-like cake that will serve as the top of your cupcake should only be rounded on one side. Use a knife to carefully level off the top of the cake, leaving the bottom, the part molded from the bowl, intact. Lay it flat side down on top of the other four cakes, using a knife to trim the sides and give it a slanted look.[28]
- Put some cake scraps on the very top of the dome if you need to round it off.
-
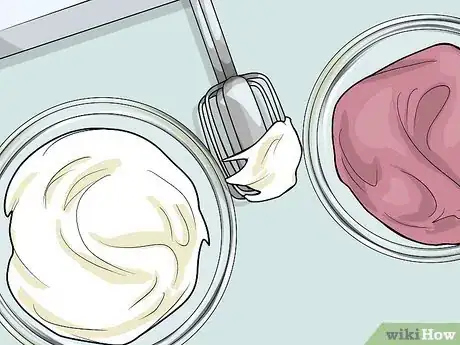
8Make your icing. Microwave the butter for 10-30 seconds until it’s slightly soft but not melted. Use a mixer on a medium setting or a wooden spoon to mix it with sugar in a large bowl until light and fluffy. Stir in the whipping cream, vanilla, and any food coloring you want. Keep stirring until the frosting is thick but spreadable.[29]
-
9Frost the top of each cake. Use the same icing recipe as above. Take down your stack of cakes and smooth a layer of frosting on top of each one, starting with your bottom cake. Stop when you get to the dome cake on top.[30]
- Level off any rounded tops to keep the cake stable. Trim away any pointy sides as well.
-
10Frost the whole cake and let it set in the refrigerator. Use a large, flat knife to frost your cake completely. Put it in the refrigerator for at least 30 minutes to let the frosting harden.[31]
-
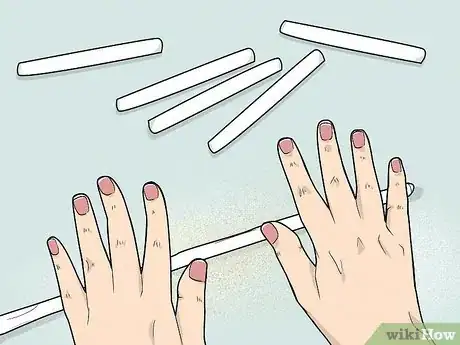
11Roll out tubes of white fondant. The tubes should be about 1⁄2 inch (1.3 cm) thick and 4 inches (10 cm) long. Use your fingers to roll them and a knife to cut them to the right length.[32]
- You can buy fondant online or at baking stores, or make your own at home.
-
12Place your fondant rolls vertically along the bottom of the cake. Leave about 1⁄2 to 1 inch (1.3 to 2.5 cm) of space between them and push them lightly into the surface of the cake. These will be the ripples at the bottom of your cupcake, which will look like the folds of a paper cupcake cup.[33]
-
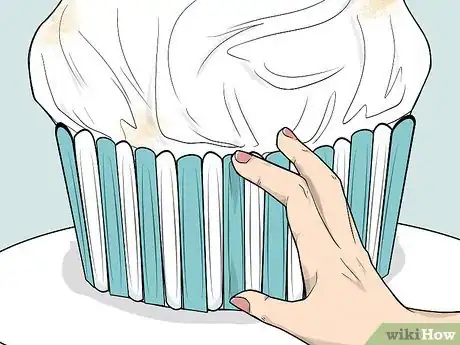
13Stick a roll of colored fondant over the tubes. Roll it out flat with a rolling pin and cut the sheet in half. Press one half onto the cake at a time, using the heat of your hands to help stick it to the cake’s surface. The fondant may be a bit difficult to work with, so be patient and gently rub it into place. The fondant should only cover the bottom part of the cake, so trim away any extra with a knife.[34]
- For a cleaner look, use a spoon to indent the fondant around the tubes at the very bottom of the cake.
-
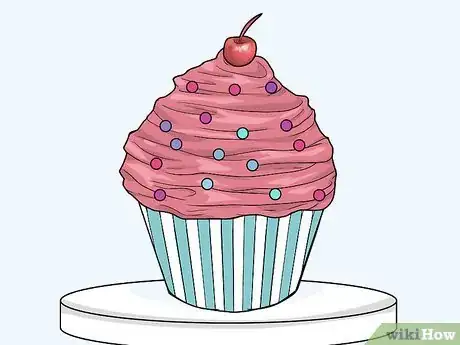
14Frost the top of the cake. Use a piping bag and decorate the top of the cake however you want. You could use a rosette tip to cover the top in rose patterns, or spiral the frosting around the top. Decorate with sprinkles and enjoy![35]
Things You’ll Need
Baking a Pull-Apart Cake
- Cupcake liners
- Cupcake or muffin pan
- Large plate or piece of cardboard
- Mixing bowl
- Mixer or wooden spoon
- Large measuring glass
- Toothpick
- Piping bag or ziplock bag
- Icing scraper or flat plastic spatula
Making a Giant Cupcake Cake with a Mold
- Silicon cupcake cake pan
- Non-stick spray
- Large mixing bowl
- Mixer or wooden spoon
- Large measuring glass
- Aluminum foil
- Baking sheet
- Knife
- Piping bag
- Sprinkles
Making a Giant Cupcake without a Mold
- 1-5 shallow, stainless steel mixing bowls or pans
- Parchment paper
- Large mixing bowl
- Mixer or wooden spoon
- Large measuring glass
- Toothpick
- Baking sheet
- Knife
- Fondant, white and colored
- Rolling pin
- Spoon
- Sprinkles
References
- ↑ https://www.livinglocurto.com/birthday-cupcake-cakes/
- ↑ http://www.geniuskitchen.com/recipe/simple-vanilla-cupcakes-178370
- ↑ http://www.bhg.com/recipes/how-to/bake/how-to-make-cupcakes/
- ↑ http://blog.kingarthurflour.com/2015/04/27/creaming-butter-sugar/
- ↑ http://www.geniuskitchen.com/recipe/simple-vanilla-cupcakes-178370
- ↑ https://www.rachaelrayshow.com/food/18513_cake_over_how_to_make_boxed_cake_mix_better/
- ↑ http://www.geniuskitchen.com/recipe/simple-vanilla-cupcakes-178370
- ↑ http://www.geniuskitchen.com/recipe/simple-vanilla-cupcakes-178370
- ↑ http://www.bhg.com/recipes/how-to/bake/how-to-make-cupcakes/
- ↑ http://www.foodnetwork.com/recipes/quick-vanilla-buttercream-frosting-recipe-1942194
- ↑ https://www.youtube.com/watch?v=NjuG05B04E0&feature=youtu.be&t=40s
- ↑ https://www.youtube.com/watch?v=NjuG05B04E0&feature=youtu.be&t=1m22s
- ↑ https://www.youtube.com/watch?v=NjuG05B04E0&feature=youtu.be&t=2m15s
- ↑ https://www.livinglocurto.com/birthday-cupcake-cakes/
- ↑ https://www.youtube.com/watch?v=VN5NUAHjoHc&feature=youtu.be&t=48s
- ↑ https://www.youtube.com/watch?v=VN5NUAHjoHc&feature=youtu.be&t=53s
- ↑ https://www.youtube.com/watch?v=VN5NUAHjoHc&feature=youtu.be&t=1m35s
- ↑ https://www.youtube.com/watch?v=VN5NUAHjoHc&feature=youtu.be&t=1m51s
- ↑ https://www.youtube.com/watch?v=VN5NUAHjoHc&feature=youtu.be&t=2m4s
- ↑ https://www.youtube.com/watch?v=VN5NUAHjoHc&feature=youtu.be&t=2m17s
- ↑ http://www.foodnetwork.com/recipes/quick-vanilla-buttercream-frosting-recipe-1942194
- ↑ https://www.youtube.com/watch?v=VN5NUAHjoHc&feature=youtu.be&t=2m29s
- ↑ https://www.youtube.com/watch?v=VN5NUAHjoHc&feature=youtu.be&t=2m42s
- ↑ http://allrecipes.com/recipe/17481/simple-white-cake/
- ↑ http://allrecipes.com/recipe/17481/simple-white-cake/
- ↑ https://www.youtube.com/watch?v=-Sf-ULDhX4g&feature=youtu.be&t=12s
- ↑ https://www.youtube.com/watch?v=-Sf-ULDhX4g&feature=youtu.be&t=19s
- ↑ https://www.youtube.com/watch?v=-Sf-ULDhX4g&feature=youtu.be&t=41s
- ↑ http://www.foodnetwork.com/recipes/quick-vanilla-buttercream-frosting-recipe-1942194
- ↑ https://www.youtube.com/watch?v=-Sf-ULDhX4g&feature=youtu.be&t=1m35s
- ↑ https://www.youtube.com/watch?v=-Sf-ULDhX4g&feature=youtu.be&t=2m16s
- ↑ https://www.youtube.com/watch?v=-Sf-ULDhX4g&feature=youtu.be&t=2m36s
- ↑ https://www.youtube.com/watch?v=-Sf-ULDhX4g&feature=youtu.be&t=2m48s
- ↑ https://www.youtube.com/watch?v=-Sf-ULDhX4g&feature=youtu.be&t=3m7s
- ↑ https://www.youtube.com/watch?v=-Sf-ULDhX4g&feature=youtu.be&t=4m4s
About This Article
To make a pull-apart cupcake cake, start by choosing a pattern, like an animal or cartoon character. Next, lay out cupcake liners in the shape of your pattern to calculate how many cupcakes you’ll need. Once you’ve prepared your cupcakes, arrange them on a plate or clean piece of cardboard. Then, squirt a circle of frosting onto the bottom of each cupcake with a frosting pipe. Place the cupcake firmly back onto the surface to “glue” it in place, and finish by icing the tops of your cupcakes. For more tips, including how to make a giant cupcake cake with a mold, scroll down.

