wikiHow is a “wiki,” similar to Wikipedia, which means that many of our articles are co-written by multiple authors. To create this article, 18 people, some anonymous, worked to edit and improve it over time.
This article has been viewed 63,900 times.
Learn more...
Making crayons at home is a fun project to do with your kids. All you need to make crayons is a source of wax, and some kind of pigment. You can use beeswax, tallow, or carnauba wax to make a base for your crayons. Color your crayons with rich earth pigments purchased online, or use liquid food dye. You can even color your crayons with powdered spices right from your pantry! Different recipes yield different types of crayons, so play around with your mixtures and find what suits you.
Steps
Making Crayons with Carnauba Wax
-
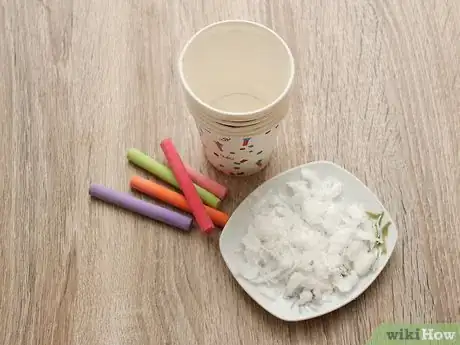
1Gather your supplies. Making crayons with carnauba wax will yield a smooth, hard crayon. You can add a little beeswax to get a more traditional crayon.[1]
- Carnauba wax is also known as palm wax and can be purchased online. You will need about 8-10 grams per crayon.[2]
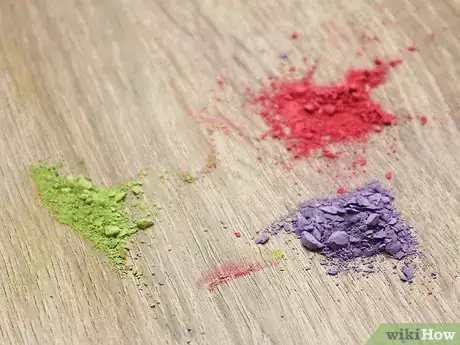
- In addition to the wax, you will also need a colorant of some kind. You can use earth pigments, chalk, or cosmetics to color your crayons. Earth pigments and cosmetic pigments can be purchased online. If you are using chalk, simply choose your colors and grind the chalk into a fine powder.[3]
- Make sure you have an old saucepan to melt the wax in. Find a mold for your crayons, such as a silicone ice stick tray. Your mold should make a crayon about .5 inches (1.3 cm) in diameter. If your crayon is too thin, it may break.[4]
- Get 2-3 disposable cups per color of crayon, and have a few extra set aside. Keep some disposable stirring sticks next to the cups. Make sure you have as many sticks as you do cups.[5]
-
2Measure out your colorants. Decide how many colors you plan on making, and measure out 2-3 grams of each pigment. Put the pigment into disposable cups before you melt the wax to make the mixing process easier. Use one pigment per disposable cup. The only limit to the number of colors you can make is the amount of pigment and wax you have. The amount of pigment you use will determine how vibrant the crayon color is.[6]
- Make sure you measure out all colors of pigment before you start. Carnauba wax will harden quickly once it is removed from the heat, so prepare as much as you can ahead of time.[7]
Advertisement -
3Melt the wax. Place all the carnauba wax into a saucepan and melt it over low heat. Once the wax is completely melted, reduce the heat to the lowest possible setting.[8]
- If you decide to add any beeswax to your crayons, wait until the carnauba is completely melted. Grating the beeswax before adding it will aid in the melting process. For a more traditional crayon, aim for a ratio of 90% carnauba and 10% beeswax.[9]
-
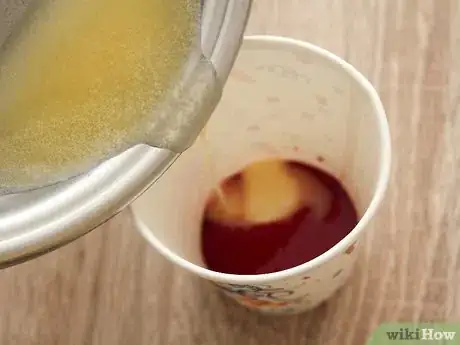
4Pour the wax. Add a few tablespoons of wax into one of the cups and place the saucepan back onto the heat. Working quickly, stir the wax in the cup to mix the colorant.[10]
- It does not take long for carnauba wax to harden, so it may help to have two people for this project. Have one person pour the wax, and one person immediately mix the pigment and the wax together.
- For a fun addition, try adding a few drops of essential oils to your wax as you mix the pigment in. Find scents that match the colors. For example, use orange oil for an orange crayon, or rose oil in pink or red.[11]
-
5
-
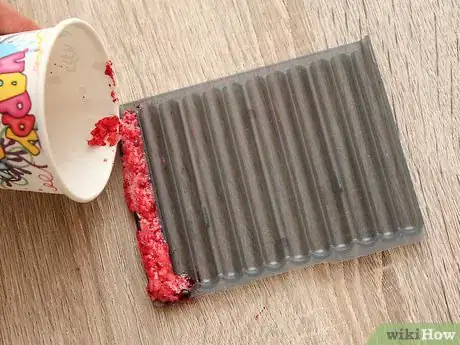
6Repeat the process. Work through each color by pouring a few tablespoons of melted wax into the cups one at a time. Quickly mix the wax and the colors together and pour it into your molds.[14]
- If you have any difficulty with the wax hardening before you can get it set in a mold, flake the wax off and set it aside. Carnauba wax is easy to remelt. Try mixing some of your colored waxes together to create interesting new colors.[15]
Making Crayons with Soap and Beeswax
-
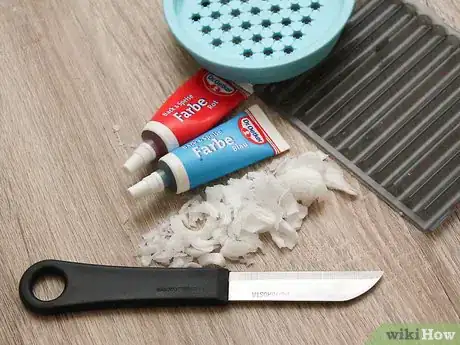
1Gather your supplies. You can buy beeswax online or at craft stores, usually in 1 lb blocks. Use a plain white bar of soap for this project. You will need equal amounts of beeswax and soap. To make your crayons you will need the following:[16]
- 1 part beeswax
- 1 part soap
- Liquid food dye
- A microwave safe container, or double boiler
- A cheese grater
- A knife
- A mold, such as a silicone ice stick tray or muffin pan
- Non-stick spray or shortening
-
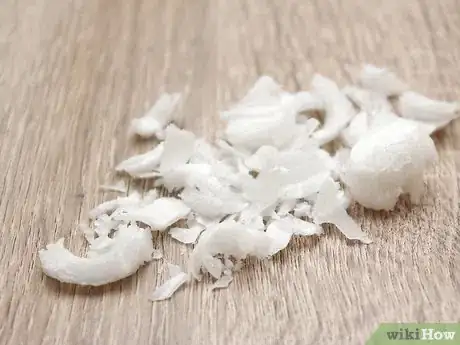
2Prepare the soap and the beeswax. Chop the beeswax into manageable pieces to help it melt faster. Use a cheese grater to grate the soap.[17]
-
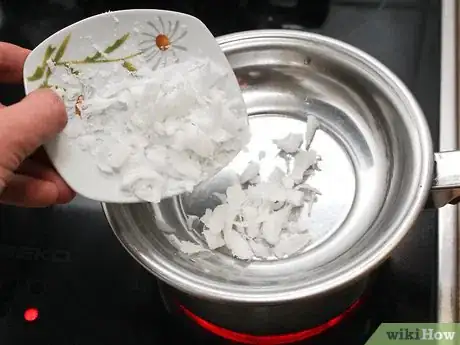
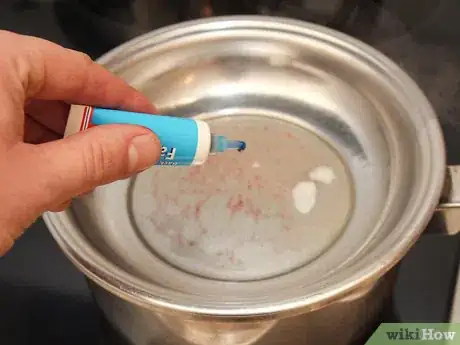
3Melt the soap and beeswax together. Place the chopped beeswax and the grated soap into a microwave safe container. Put the container in the microwave and melt the soap and wax together. Heat the mixture in one minute intervals and watch it closely. Make sure the mixture doesn't foam. Foam will add air bubbles to your crayons.[18]
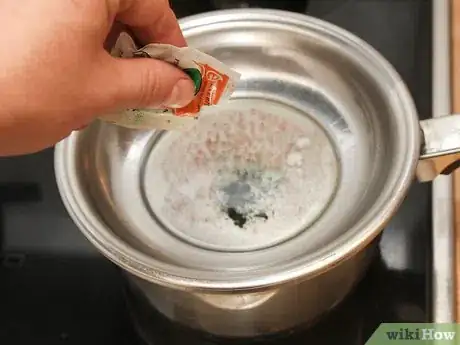
- You can also melt the soap and wax in a double boiler. Get a medium sized stock pot and fill it with water. Put the pot onto a burner over high heat and bring the water to a boil. Put the soap and beeswax into a smaller saucepan and place it on top of the pot of boiling water. Stir constantly and make sure the mixture does not foam over.[19]
- If you do get air bubbles, let the mixture sit for a few minutes. Gently stir to remove any bubbles.[20]
-
4
-
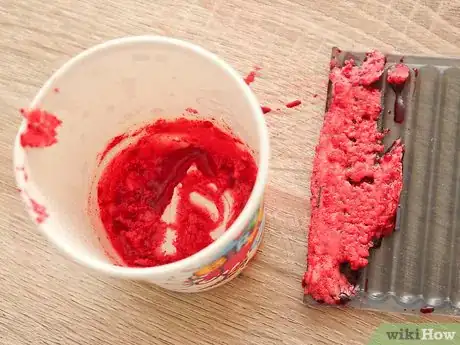
5Mold your crayons. Spray your molds with non-stick spray or grease them lightly with shortening. You can use silicone trays, muffin pans, or even make your own molds out of foil paper or clay.[23]
- Pour the wax mixture into your molds and let them harden. It could take a few days for the crayons to set completely.[24]
Making Crayons with Food Grade Ingredients
-
1Gather your supplies. If you have concerns that your children may try to eat crayons, try making them from food grade ingredients. These crayons use a blend of carnauba wax and tallow for the base.[25]
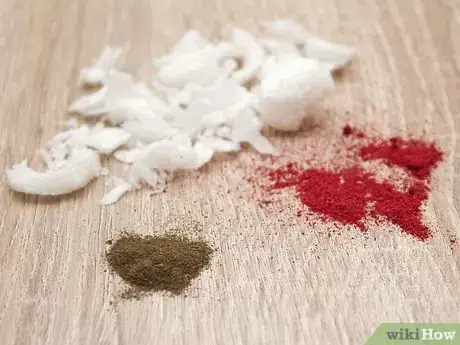
- Use powdered herbs and veggies, and spices to make your colors. Use turmeric for yellow, beetroot powder for pink, and chlorella for green. Once you get the hang of making the crayons, experiment with different combinations to make new colors.[26]
- You can buy tallow online or in the grocery store, or you can make your own. If you can't find tallow, you can substitute cacao butter, just make sure it is food grade.[27]
-
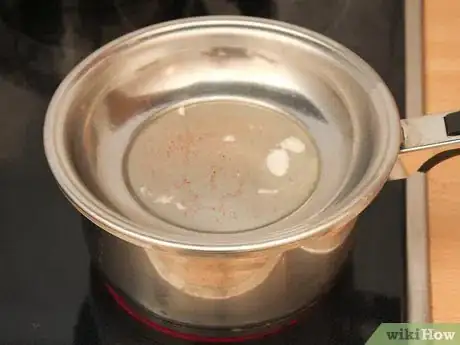
2Melt the wax and tallow. Add 1 oz of carnauba wax and 1.5 oz of tallow to a double boiler and melt. If you don't have a double boiler, you can melt the waxes together in a stainless steel bowl over a pot of boiling water.[28]
-
3Mix in your pigments. When the wax and tallow are melted completely, add in your pigments. Keep the mixture on a low heat as you whisk in your colors.[29]
-
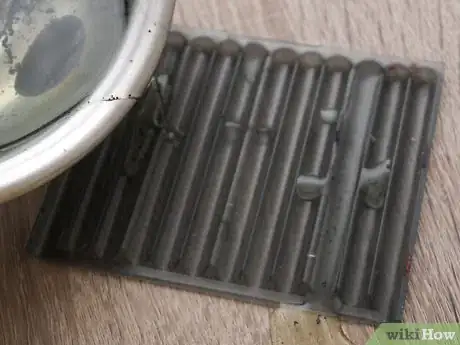
4Pour the colored wax into a mold. Use a silicone ice stick mold to form your crayons. You can also use a mold with fun shapes, such as stars or gingerbread men.[34]
- You may find that some of the mixtures leave a small amount of sludge at the bottom of the pan. This is the result of the powders settling. Discard this part of the mixture. Adding it to your crayon will make the crayons gritty and uneven.[35]
- Let the crayons set completely before using them. Carnauba wax hardens quickly, so the crayons should only take a few hours to set.[36]
Community Q&A
-
QuestionCan I use candle wax instead of beeswax?
 Community AnswerYou can, but it won't work as well. You can microwave the candle wax until it melts so you can re-shape it into a crayon.
 -
QuestionCan I make a crayon with any type of wax?
 Community AnswerYou can, it just won't be as effective compared to beeswax or carnauba wax.
 -
QuestionCan I use candle wax for making crayons?
 Be happy SriyaaCommunity AnswerYes, you can. Just note, however, that it won't be as effective when compared to beeswax or carnauba wax.
References
- ↑ http://nourishingjoy.com/how-to-make-crayons/
- ↑ http://nourishingjoy.com/how-to-make-crayons/
- ↑ http://nourishingjoy.com/how-to-make-crayons/
- ↑ http://nourishingjoy.com/how-to-make-crayons/
- ↑ http://nourishingjoy.com/how-to-make-crayons/
- ↑ http://nourishingjoy.com/how-to-make-crayons/
- ↑ http://nourishingjoy.com/how-to-make-crayons/
- ↑ http://nourishingjoy.com/how-to-make-crayons/
- ↑ http://nourishingjoy.com/how-to-make-crayons/
- ↑ http://nourishingjoy.com/how-to-make-crayons/
- ↑ http://nourishingjoy.com/how-to-make-crayons/
- ↑ http://nourishingjoy.com/how-to-make-crayons/
- ↑ http://nourishingjoy.com/how-to-make-crayons/
- ↑ http://nourishingjoy.com/how-to-make-crayons/
- ↑ http://nourishingjoy.com/how-to-make-crayons/
- ↑ http://weefolkart.com/beeswax-crayons/
- ↑ http://weefolkart.com/beeswax-crayons/
- ↑ http://weefolkart.com/beeswax-crayons/
- ↑ http://weefolkart.com/beeswax-crayons/
- ↑ http://weefolkart.com/beeswax-crayons/
- ↑ http://weefolkart.com/beeswax-crayons/
- ↑ http://weefolkart.com/beeswax-crayons/
- ↑ http://weefolkart.com/beeswax-crayons/
- ↑ http://becomingsarah.com/index.php?/becoming_sarah/comments/1152/
- ↑ http://www.mommypotamus.com/how-to-make-crayons/
- ↑ http://www.mommypotamus.com/how-to-make-crayons/
- ↑ http://www.mommypotamus.com/how-to-make-crayons/
- ↑ http://www.mommypotamus.com/how-to-make-crayons/
- ↑ http://www.mommypotamus.com/how-to-make-crayons/
- ↑ http://www.mommypotamus.com/how-to-make-crayons/
- ↑ http://www.mommypotamus.com/how-to-make-crayons/
- ↑ http://www.mommypotamus.com/how-to-make-crayons/
- ↑ http://www.mommypotamus.com/how-to-make-crayons/
- ↑ http://www.mommypotamus.com/how-to-make-crayons/
- ↑ http://www.mommypotamus.com/how-to-make-crayons/
- ↑ http://www.mommypotamus.com/how-to-make-crayons/
About This Article
You can make crayons by chopping equal parts beeswax and soap into fine pieces that will melt quickly. Then, place the soap and beeswax into a microwave safe container, and microwave the contents until they’re completely melted, stirring every minute to ensure that it doesn’t foam. Once the mixture is melted, add a few drops of liquid food coloring to create your personalized colors. Make sure you spray your molds with non-stick spray before you pour the wax into the mold. Let the the wax harden for 2 days before removing them from the mold! If you want to learn how to use carnauba wax or food-grade ingredients for your crayons, keep reading!
