X
wikiHow is a “wiki,” similar to Wikipedia, which means that many of our articles are co-written by multiple authors. To create this article, volunteer authors worked to edit and improve it over time.
This article has been viewed 49,846 times.
Learn more...
Vinyl lettering is an alternative to painted signs. Vinyl lettering can be applied to glass, wood, metal, drywall, and any other smooth surface. Vinyl lettering lasts up to eight years, depending on the quality. This article explains how to install vinyl lettering, or how to install any cut vinyl decal, which differs from a flat decal.
Steps
-
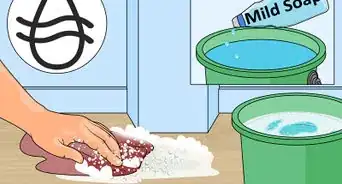
1Clean the surface. Remove the old vinyl lettering, if present, and then clean the surface with appropriate cleaner. Take precaution to avoid lint being left on the surface.
- For plastic or glass, a simple surface cleaner like windex is appropriate.
- For exterior painted or metal surfaces, you can use a solvent cleaner.
- For interior painted surfaces, you can use generic household cleaner.
-
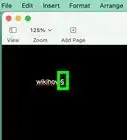
2Make a hinge for the sign you want to apply. Apply masking tape to the top of the sign. Lift the sign upwards.Advertisement
-
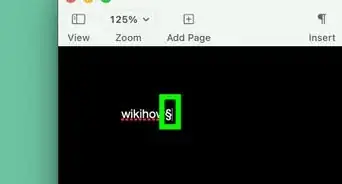
3Remove the backing. Pull the adhesive backing upwards.
-
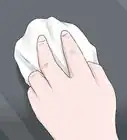
4Apply the sign. Carefully place the sign on the surface and then use the squeegee to transfer the vinyl to the surface.
-
5Remove the tape. Carefully pull upwards to remove the tape.


Advertisement
Community Q&A
-
QuestionHow do I affix single letters (from an alphabet sheet) into words so they are properly aligned and spaced?
 Community AnswerArrange the separate letters on a bench with a straight edge, then tape the whole word together with a backing contact.
Advertisement
Things You'll Need
- A smooth surface (glass, wood, metal, drywall, etc.)


About This Article
Advertisement