X
wikiHow is a “wiki,” similar to Wikipedia, which means that many of our articles are co-written by multiple authors. To create this article, volunteer authors worked to edit and improve it over time.
This article has been viewed 216,483 times.
Learn more...
Line breaks end a current line and lets you continue the text on another line. These are useful for separating paragraphs from each other, without the space registering as an empty line that can have characters on it. Manually putting in line breaks is useful for address blocks as well as poems because they omit the extra space between lines. To learn how to add a line break in MS Word, begin with step 1.
Steps
-
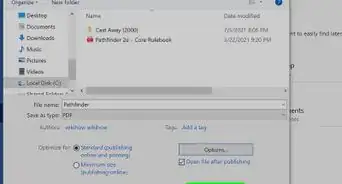
1Find a Word document. Using your computer’s file browser, find a document with the extension .doc or .docx.
-
2Open the document. Once you’ve found it, double-click the file and it will open in Microsoft Word.Advertisement
-
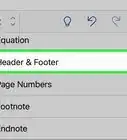
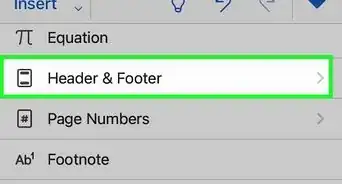
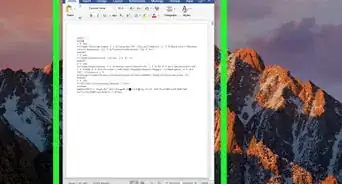
3Locate and click on the area where you want to insert a line break. Scroll through the document until you locate where you want to insert a line break, and click the area. This will place the cursor in that area.
-
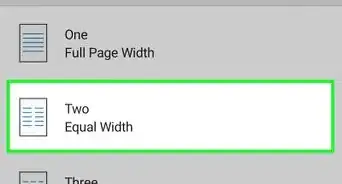
4Insert the line break. Hit the key combination Shift + Enter to create a line break. You will now be able to add content in the line right after the break.
- Notice that the cursor will not situate itself in the blank space where the break is when you click on the space. This is the line break.


Advertisement
Community Q&A
-
QuestionWhat is the difference between a line break and a paragraph break
 Community AnswerThe line break, which is done by hitting shift and enter, is a smaller break to just hop in a new line. A paragraph break, however, makes a bigger space and looks more like a new section.
Advertisement


About This Article
Advertisement