This article was co-authored by wikiHow staff writer, Kyle Smith. Kyle Smith is a wikiHow Technology Writer, learning and sharing information about the latest technology. He has presented his research at multiple engineering conferences and is the writer and editor of hundreds of online electronics repair guides. Kyle received a BS in Industrial Engineering from Cal Poly, San Luis Obispo.
There are 7 references cited in this article, which can be found at the bottom of the page.
This article has been viewed 2,993 times.
Learn more...
There are plenty of easy ways to get more Poké Balls in Pokémon GO. The game offers free and paid options to obtain them. Some methods, like the daily free box, rely on chance, while others, such as walking rewards, are guaranteed. This wikiHow article will show you 7 methods on how to get more Poké Balls in Pokémon GO.
Things You Should Know
- There are two ways to obtain Poké Balls in the Shop. The Daily Free Box can give out Poké Balls, or you can buy a Poké Ball pack using PokéCoins.
- Spin PokéStop and Gym Photo Discs to get items. Poké Balls have a chance of dropping. Don’t forget to tap them to add the Poké Balls to your Bag.
- Complete Research Tasks and Adventure Sync Walking milestones to get more Poké Balls.
Steps
Daily Free Box
-
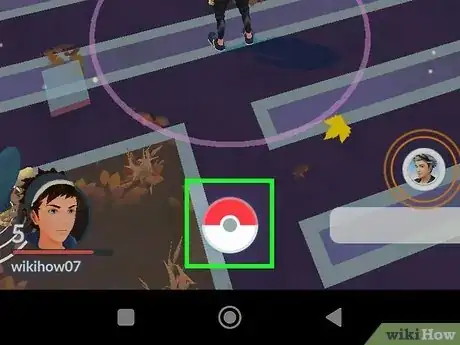
1Tap the Main Menu button. This is the Poké Ball icon at the bottom of the Map View.[1] The daily free box allows you to get random items for free once a day!
- This is a great way to get more Poké Balls, especially if you’ve just started your Pokémon GO adventure or you’re recently getting into Pokémon.
-
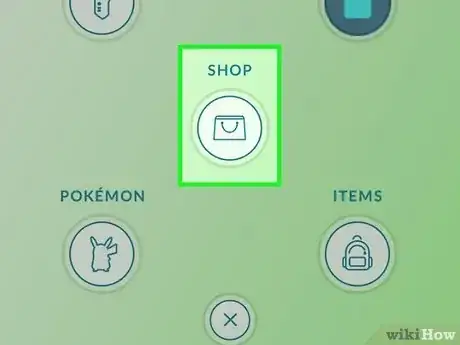
2Tap Shop. This will take you to the shop menu.Advertisement
-
3Tap DAILY FREE BOX. It’s a yellow and blue box with a ribbon on top.
- The contents of the box will be displayed when you tap on the box.
-
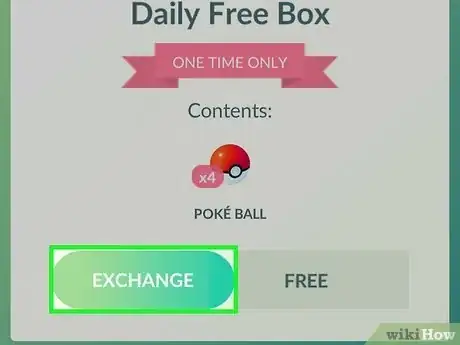
4Tap Exchange. This will put the contents of the daily free box in your bag. Hopefully it was a good amount of Poké Balls!
- Access your bag by clicking ITEMS in the main menu.
Purchase in the Shop
-
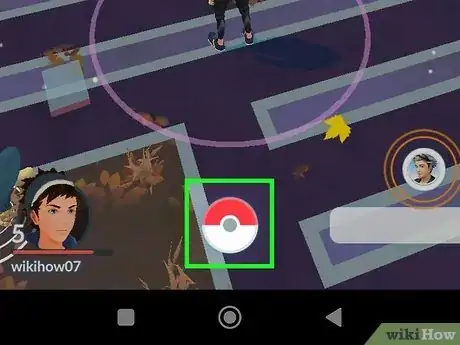
1Tap the Main Menu button. This is the Poké Ball icon at the bottom of the Map View. You can buy additional Poké Balls using PokéCoins, the in-game currency of Pokémon GO.
- If you need more, you can use real money to get more PokéCoins.
-
2Tap Shop. This will take you to the shop menu.
-
3Tap a Poké Ball pack. There are a few different options at different price points:
- Pay 100 PokéCoins for 20 Poké Balls (5 PokéCoins per 1 Poké Ball)
- Pay 460 PokéCoins for 100 Poké Balls (4.6 PokéCoins per 1 Poké Ball)
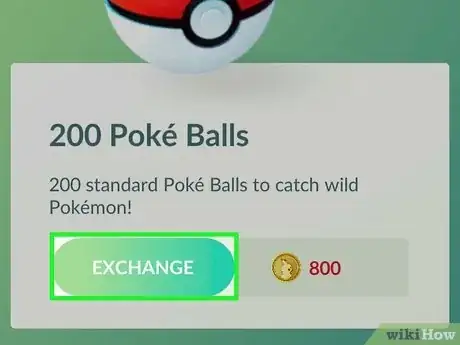
- Pay 800 PokéCoins for 200 Poké Balls (4 PokéCoins per 1 Poké Ball)
-
4Tap Exchange. This will add the number of Poké Balls you bought to your bag.
- There might be a delay before they show up in your bag.
Spin PokéStops and Gyms
-
1Walk and approach a PokéStop or Gym. PokéStops look like blue spinning cubes. Gyms appear as spherical arenas with a Pokémon and light beam on top of it.
-
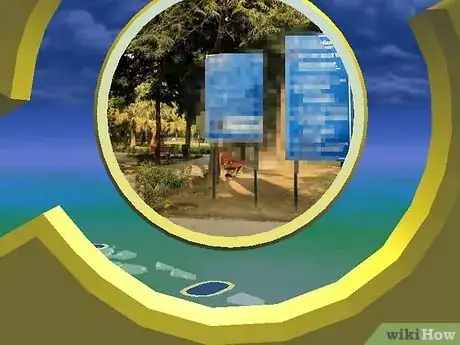
2Tap the PokéStop or Gym. This will open the Photo Disc menu.
-
3Swipe the Photo Disc left or right. This will make random items appear. Keep spinning until you find some Poké Balls.
- There’s a Daily Bonus of 500 XP and extra items for spinning your first Photo Disc each day.[2]
- If you complete a 7-day streak of daily spins, you’ll get 2500 XP and extra items!
- Note that you won’t get Great Balls until level 12 and Ultra Balls until 20.
-
4Tap the Poké Balls to put them in your bag. Your new Poké Balls will be added to your current stack.
-
5Wait for the PokéStop to refresh. Alternatively, look for another PokéStop in your area to collect more items right away.
- After collecting items, a PokéStop will turn purple. You won’t be able to collect items again for around 5 minutes. You’ll know when it’s ready again when the Stop turns back to blue.[3]
- PokéStops will typically drop 3 to 4 items.
- Before reaching level 5, PokéStops will only give out Poké Balls and Eggs. After getting to level 5, PokéStops drops will increase and give up to 6 Poké Balls. But it will also reward you with Revives and Potions.
-
6Wait for the Gym to refresh.
- Gyms are more likely to drop battle-oriented items like Potions and Revives.[4]
- You can get bonus items if you visit a Gym controlled by your team. Additional items will be available if you have a badge for the Gym as well.
Research Tasks
-
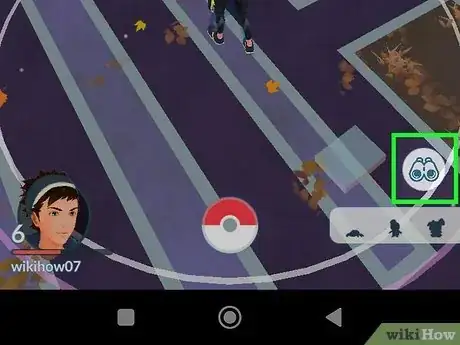
1Tap the Research Tasks icon. This is the pair of binoculars icon in the bottom right of the Map View. Research Tasks can reward you with various items (including Poké Balls) for completing in-game tasks.
-
2Navigate to the FIELD tab. The Research Menu will start in this tab by default.
-
3Check your field tasks. Look for any tasks that have Poké Balls as a reward.
- For example, you may have a task to make 5 nice throws. This task will reward you with 5 Poké Balls when complete.
- Complete the task to claim the reward.
- Get more tasks by visiting PokéStops.
-
4Navigate to the SPECIAL tab. This tab provides more quest-based, long-term tasks.
-
5Check your special tasks. Find tasks that reward you with Poké Balls.
- For example, there’s a task for evolving 15 Pokémon that rewards you with 30 Poké Balls.
- Complete all the tasks to get the rewards!
- Special tasks may have subtasks that have their own rewards.
Raids Battles
-
1Tap the Nearby button on the Map View. It looks like a rectangle with silhouettes of Pokémon inside. Join nearby Raid Battles for the chance to earn Poké Balls![6]
-
2Tap RAID to go to the Raid tab. Here you can see Raids happening in your area.
-
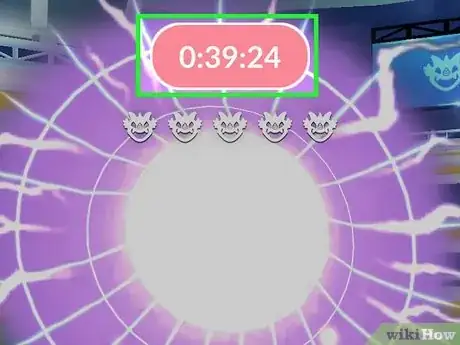
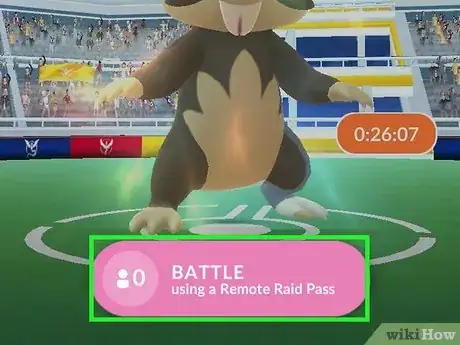
3Tap a Raid to join. Raid Battles start when the countdown ends. Don’t worry if you miss a Raid, they happen frequently.
-
4Complete the Raid and get rewards. If you and the other Trainers in the Raid Battle are successful, you’ll receive items (potentially including Poké Balls).
Gifts
-
1Tap the Trainer Profile icon. This is the picture of your character in the bottom left corner of the Map View. Gifts from your friend may contain Poké Balls.
-
2Tap FRIENDS at the top. This will take you to the Friends tab.
-
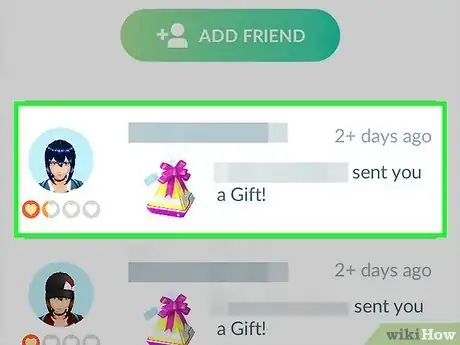
3Check for Gifts. When a friend has sent you a Gift, a Gift icon will show up next to their Trainer picture.
-
4Tap a Trainer with a Gift. This will take you to a Gift-opening menu.
-
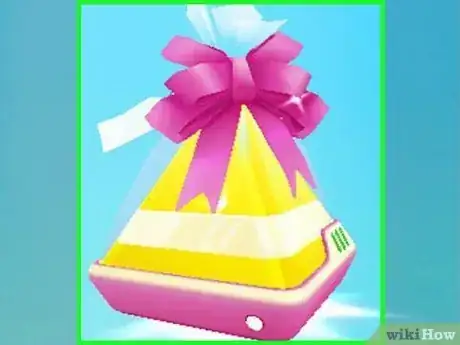
5Tap the Gift. This will open the Gift’s Postcard with information about where it was obtained.
-
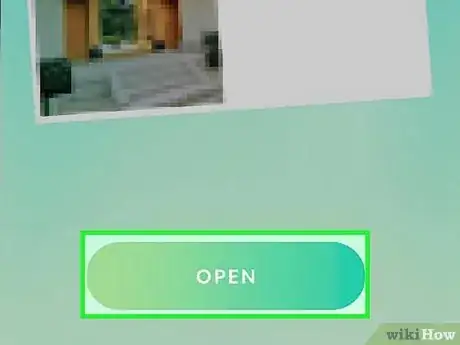
6Tap Open. This will open the Gift and give you the items that were inside.
Use a Pokémon GO Plus
-
1Purchase a Pokémon GO Plus. This is an official accessory for Pokémon GO that uses Bluetooth to connect to your smartphone. Then, it can notify you of nearby Pokémon and PokéStops with an indicator light.[7]
- You can also use Poké Ball Plus, a Poké Ball-shaped device with the same functionality. This method applies to both devices.
-
2Open Pokémon GO. Start the app on your smartphone to begin the Bluetooth pairing process.
-
3Tap the main menu button. This is the Poké Ball icon at the bottom of the map view.
-
4Tap Settings. It’s the gear icon in the top right of the main menu.
-
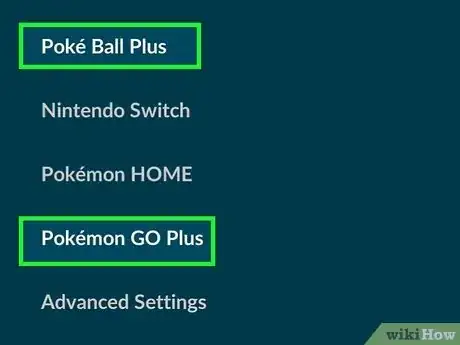
5Tap Pokémon GO Plus. Or, tap Poké Ball Plus if you’re using that device.
-
6Press the button on the device. When you press the button on the Pokémon GO Plus, the accessory will become discoverable on Bluetooth.
-
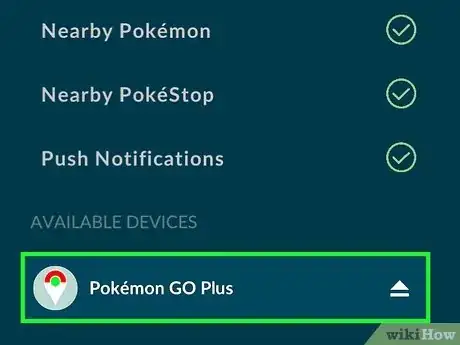
7Tap the Pokémon GO Plus. This will appear on your smartphone’s Available Devices list. The Pokémon GO Plus will vibrate when it connects successfully. You’re all set up!
-
8Walk around with your Pokémon GO Plus. To spin PokéStops, follow these instructions:
- Wait for a blue flash and vibration. This indicates you’re near a PokéStop.
- Press the button on the PokéStop. You’ll automatically spin the Stop.
- The device light will flash multiple colors. This means you got items!
References
- ↑ https://niantic.helpshift.com/hc/en/6-pokemon-go/faq/94-using-pokecoins-to-make-purchases-in-the-shop-1582065532/?p=web&l=en
- ↑ https://niantic.helpshift.com/hc/en/6-pokemon-go/faq/105-daily-bonuses/
- ↑ https://www.ign.com/wikis/pokemon-go/PokeStops
- ↑ https://niantic.helpshift.com/hc/en/6-pokemon-go/faq/117-visiting-pokestops-and-gyms/
- ↑ https://www.eurogamer.net/pokemon-go-adventure-sync-5392
- ↑ https://niantic.helpshift.com/hc/en/6-pokemon-go/faq/2187-what-are-raid-battles/
- ↑ https://niantic.helpshift.com/hc/en/6-pokemon-go/faq/77-pokemon-go-plus-poke-ball-plus/?p=web&l=en













-Step-13.webp)
