X
This article was co-authored by wikiHow Staff. Our trained team of editors and researchers validate articles for accuracy and comprehensiveness. wikiHow's Content Management Team carefully monitors the work from our editorial staff to ensure that each article is backed by trusted research and meets our high quality standards.
This article has been viewed 25,270 times.
Learn more...
This wikiHow teaches you how to turn on the spell checker feature on your computer, and highlight misspelled words as you type.
Steps
Method 1
Method 1 of 5:
Using Windows 10
-
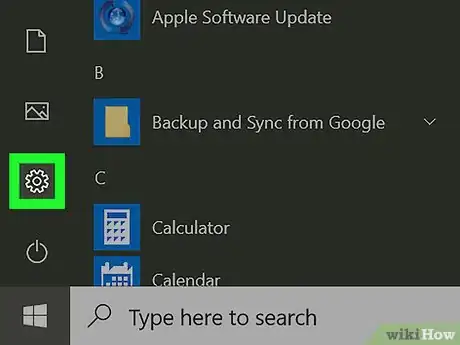
1Open your Windows Settings. You can open Settings from the Start menu, or press the ⊞ Win+I keys on your keyboard.
-
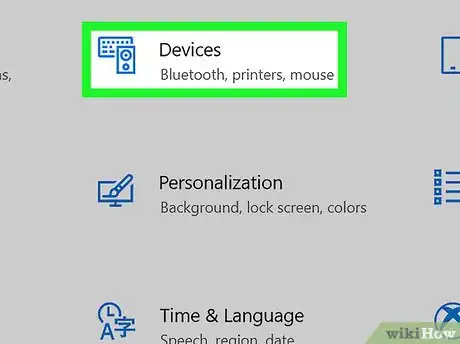
2Click Devices in Settings.Advertisement
-
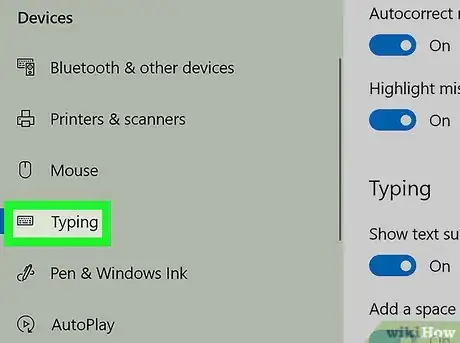
3Click Typing on the left panel. This will open your keyboard settings on the right-hand side.
-
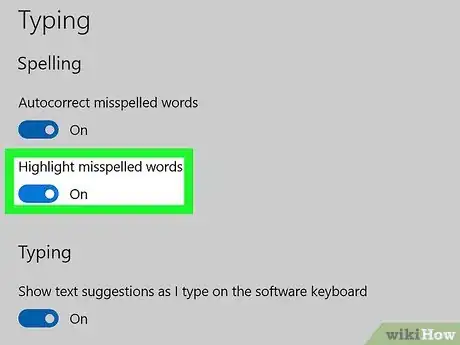
4Slide the Highlight misspelled words switch to the On position. When this option is enabled, Windows will check your spelling as you type, and highlight your spelling errors.
- The switch will turn blue when it's on.
- Optionally, you can also turn on Autocorrect Misspelled Words here. This way, Windows will automatically correct your spelling mistakes as you type.
Advertisement
Method 2
Method 2 of 5:
Using Word on Windows
-
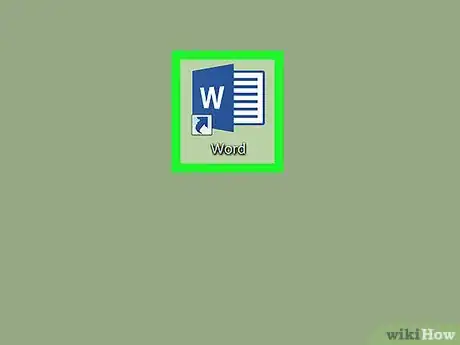
1Open Microsoft Word on your computer. The Word app looks like a blue-and-white document icon. You can find it on your Start menu.
- You can open a recent document, or a new, blank sheet.
-
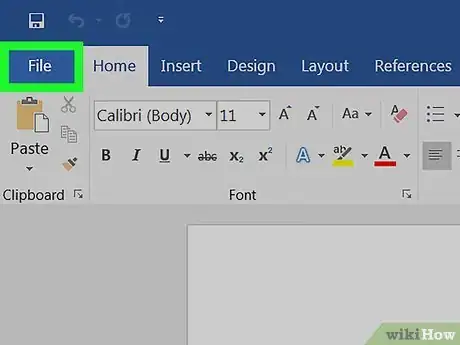
2Click the File tab. This button is in the upper-left corner of Word. It will open your file menu.
-
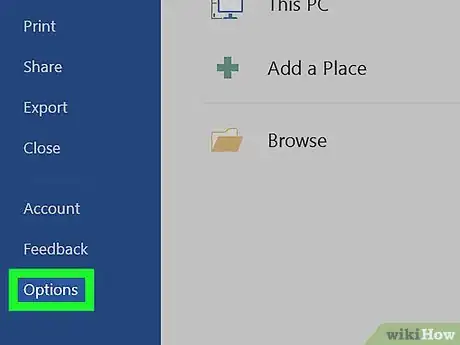
3Select Options from the file menu. You can find it at the bottom of the left sidebar. It will open a new window.
-
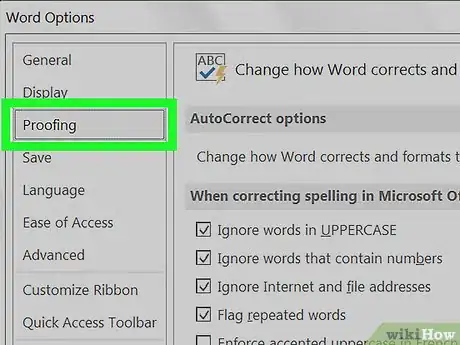
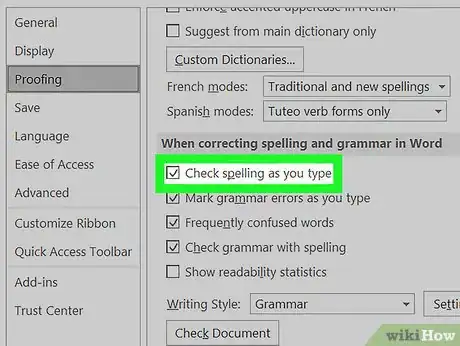
4Click the Proofing tab in Options. You can find it near the top of the left sidebar in the Options window.
-
5Check the Check spelling as you type option. You can find it in the "When correcting spelling and grammar in Word" section in Proofing.
- When this option is enabled, Word will underline misspelled words as you type.
- Optionally, you can also check some of the other boxes in this section, and enable other correction tools for grammar errors.
Advertisement
Method 3
Method 3 of 5:
Using MacOS
-
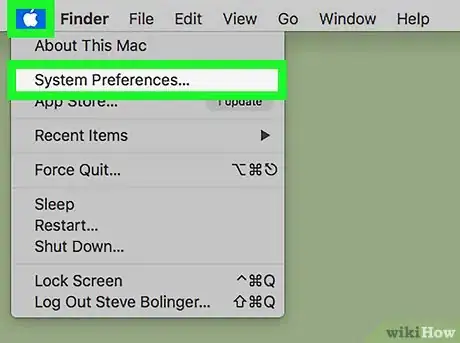
1Open your Mac's System Preferences. Find and click the gray gear icon in your Applications folder, or click the Apple icon on the top-left and select System Preferences on the menu.
-
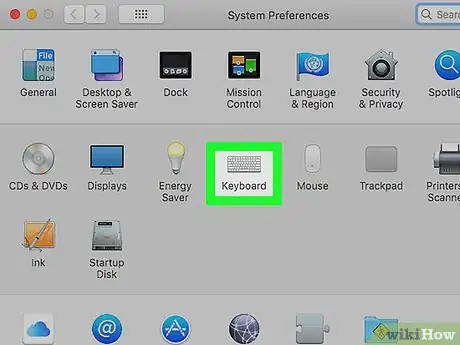
2Click Keyboard in System Preferences. This option looks like a tiny keyboard icon on the second row of options. It will open your keyboard and typing settings.
-
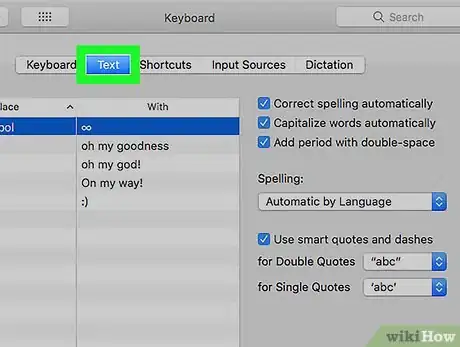
3Click the Text tab. It's located between Keyboard and Shortcuts at the top.
-
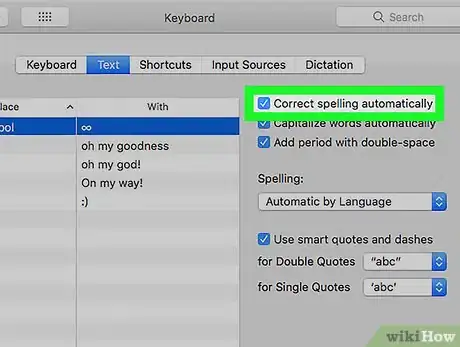
4Check the Correct spelling automatically box. You can find this option in the upper-right corner of the Text menu. When it's enabled, your Mac will check your spelling as you type, and automatically correct misspelled words.
Advertisement
Method 4
Method 4 of 5:
Using Word for Mac
-
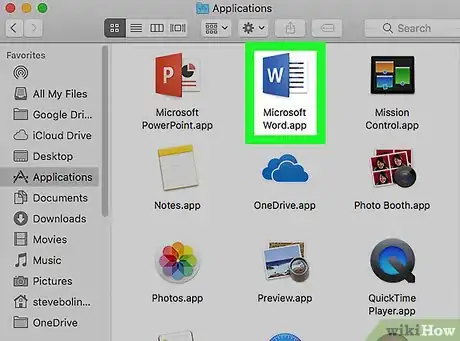
1Open Microsoft Word on your computer. The Word app looks like a blue-and-white document icon. You can find it in your Applications folder.
- You can open a saved document, or a new, blank sheet.
-
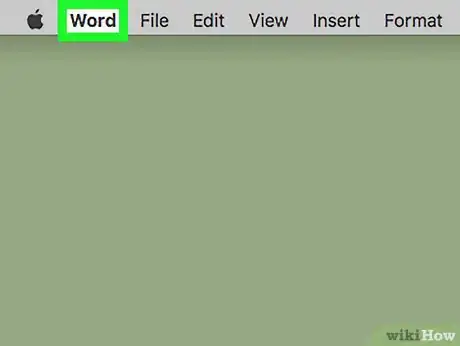
2Click the Word tab on your menu bar. This button is in the upper-left corner of your screen. It will open a drop-down menu.
-
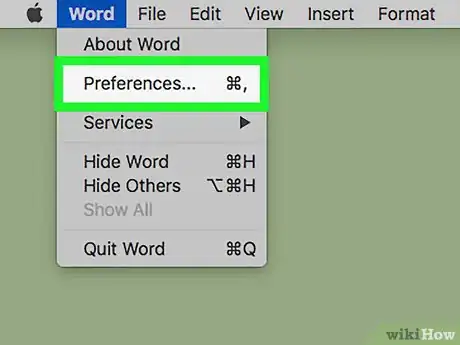
3Click Preferences on the Word menu. This will open your app settings in a new window.
-
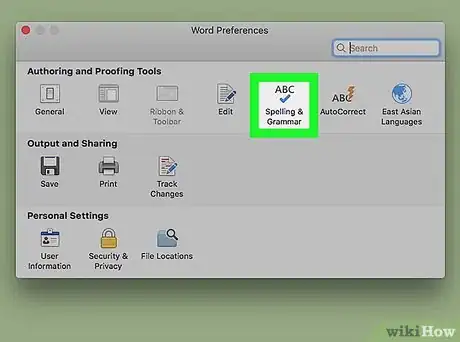
4Click Spelling & Grammar in Preferences. It's under "Authoring and Proofing Tools" on the top row.
-
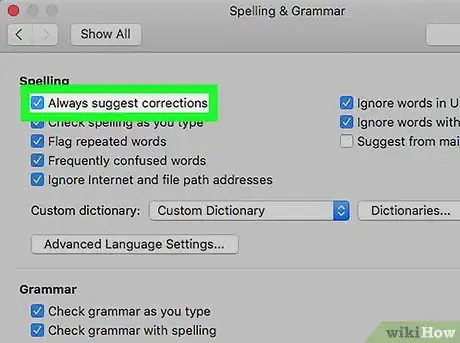
5Check the Always suggest corrections box. It's the first option under "Spelling." When it's enabled, you can right-click on a misspelled word, and see a list of suggestions.
-
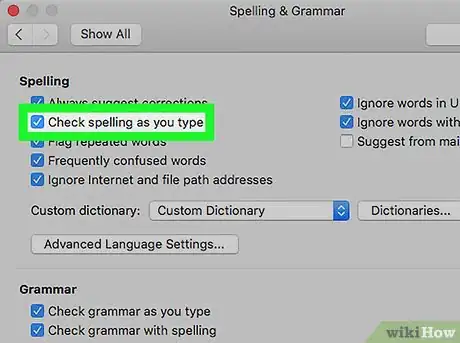
6Check the Check Spelling as you type box. When this option is enabled, Word will automatically underline misspelled words in your document as you type.
-
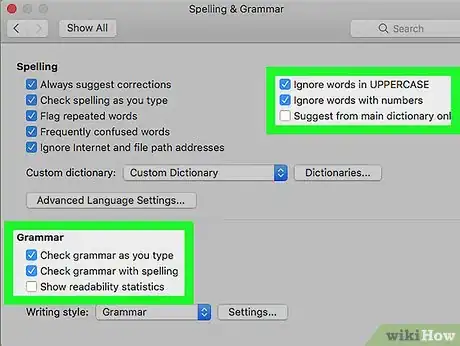
7Select any additional spelling and grammar options you want to enable. Click and check the box next to any of the options under the "Spelling" and "Grammar" sections.
-
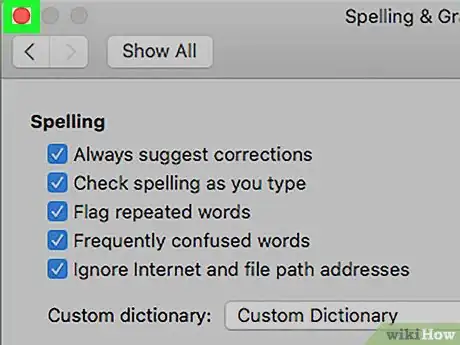
8Close the Spelling & Grammar window. Click the red button in the top-left corner to close your Settings.
- Changes to your settings are saved automatically.
Advertisement
Method 5
Method 5 of 5:
Using Most Mac Apps
-
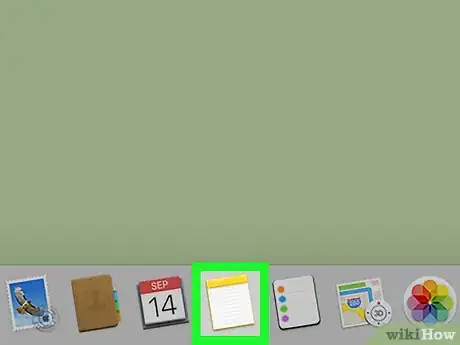
1Open an app that lets you type on your Mac. You can open a word processor like TextEdit or Notes, a messaging app like Messages or Mail, an internet browser, or any other app that lets you type text.
-
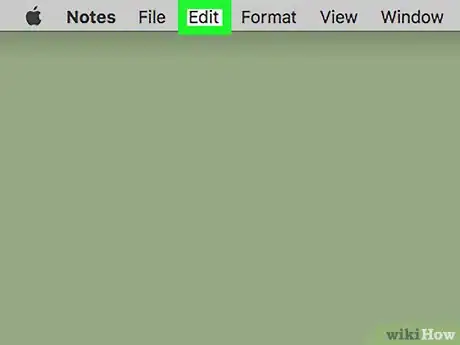
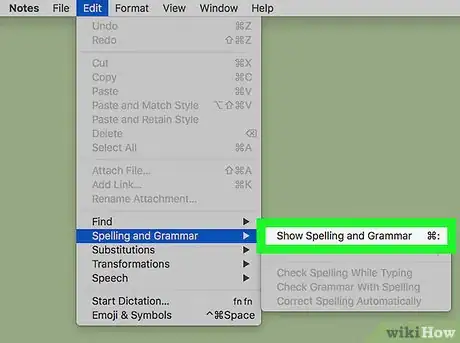
2Click the Edit tab on the menu bar. You can find this button in the upper-left corner of your screen. It will open a drop-down menu.
-
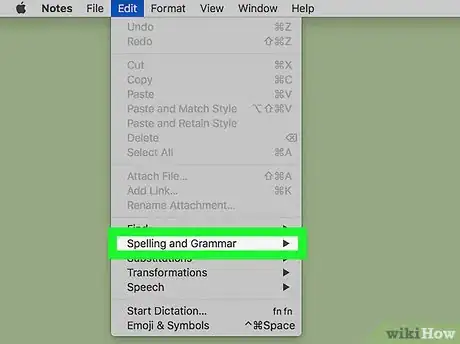
3Hover the mouse over Spelling and Grammar. It should be near the bottom of the Edit menu.
-
4Click Check Spelling While Typing on the menu. When this option is enabled, your Mac automatically checks your spelling as you type in this app, and highlights misspelled words.
- When it's enabled, you'll see a checkmark next to this option on the menu.
- In some apps, you can also enable Check Spelling While Typing and Correct Spelling Automatically here.
Advertisement
About This Article
Advertisement
