X
This article was co-authored by Christopher Batchelor, a trusted member of wikiHow's volunteer community. Christopher Batchelor is a wikiHow community member and technology enthusiast. He has experience using a range of different platforms and software, and likes to keep up with updates and new features.
This article has been viewed 135,521 times.
Learn more...
Everybody on Facebook is expected to fill in their profile data. But the task can seem daunting, especially considering how much data you need to input. Never fear! In this article, you'll quickly learn how you can fill in this information easily and smartly; just follow the instructions here.
Steps
-
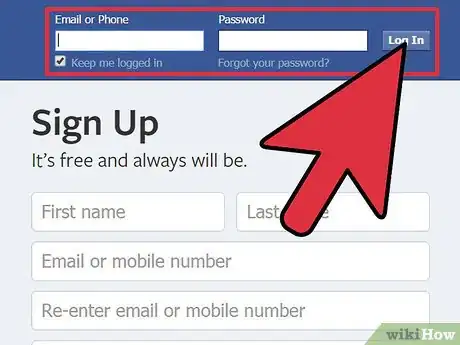
1Visit the Facebook website and log in to your Facebook account. Upon opening, you'll be taken to your news feed, no matter which version of profile you use.
-
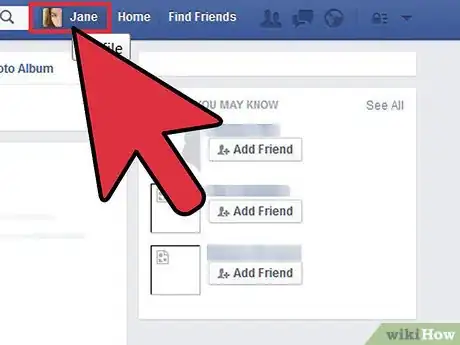
2Click on your name, from the upper right-hand corner of the Facebook web page.Advertisement
-
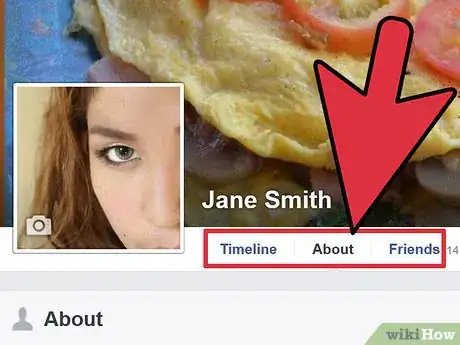
3Locate the link underneath your name on your Timeline profile that says “About”.
-
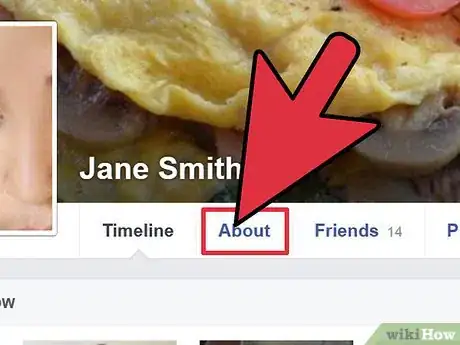
4Click the “About” link. This should take you to the page that contains all your displayable account information.
-
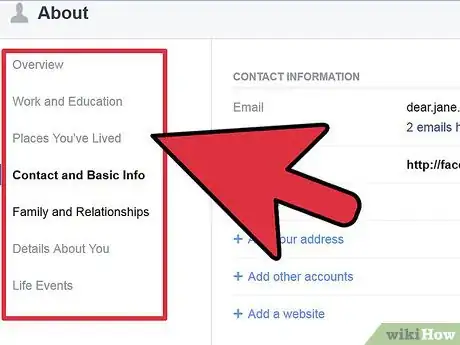
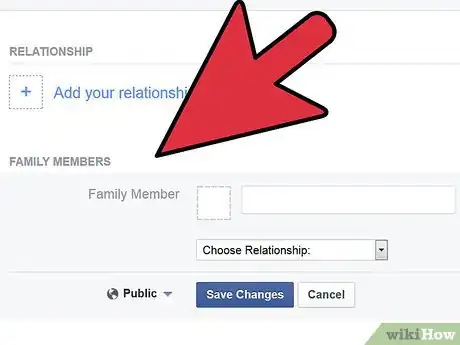
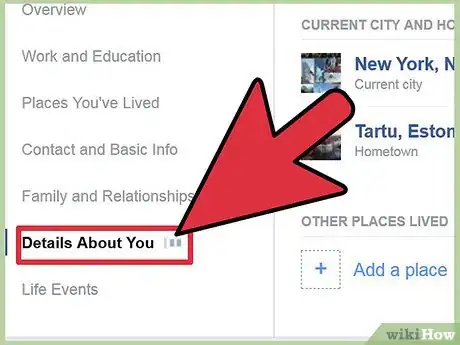
5Locate the section and type of account information you’d like to adjust. You can select from many options, which include Work and Education, Living (hometown, current city), Basic information (birthdate, address, religious views, political views, etc.), an About Me section (favorite quote, or something to identify what makes you, you), a separate Contact Information section (containing contact information and alternate website contact data) and a box known as Favorite Quote. There’s even a place to fill in how you know other relatives who exist on Facebook from this page.
-
6Follow the steps to adjust your settings in the section below (entitled “Adjusting Your Settings”).
Advertisement
Part 1
Part 1 of 7:
Adjusting Your Work Settings
-
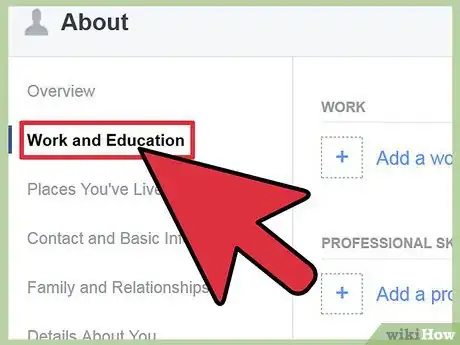
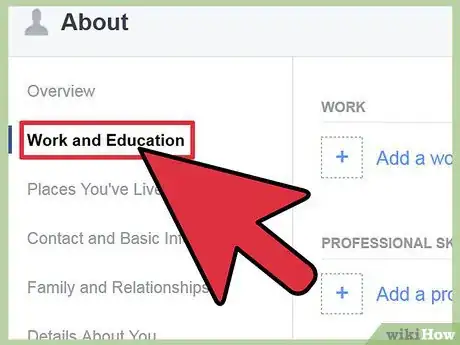
1Locate the box that’s labeled “Work and Education”.
-
2Click the “Edit” button at the top right of this box.
-
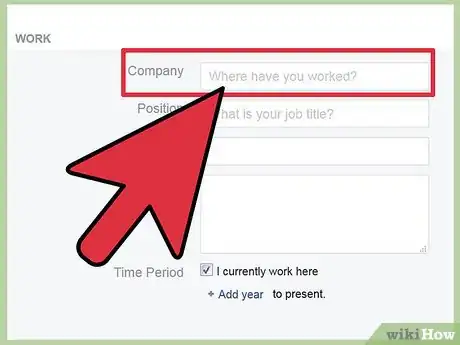
3Click the box that’s initially labeled by “Where have you worked?”.
-
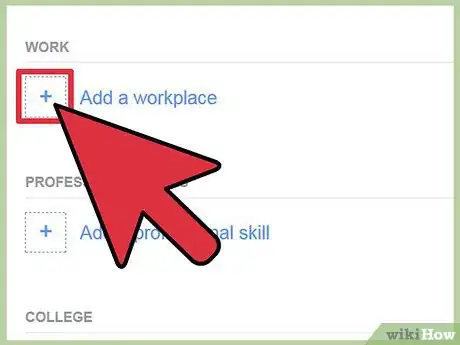
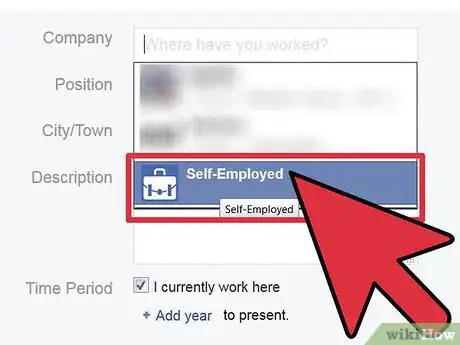
4Type the name of the business where you have worked. Don’t add the city/state info. The name is good enough. It will display a list of filtered results as you type.
- Sometimes, when there is no business such as what was typed completely, you’ll see a line called “Add (Business name)”.
- Click the correct business.
-
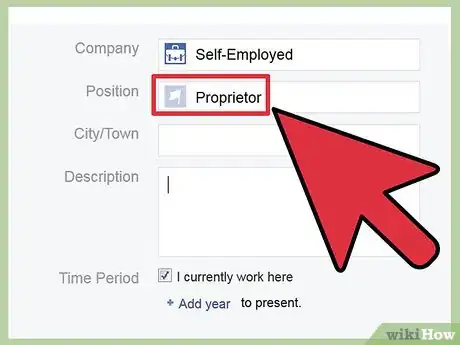
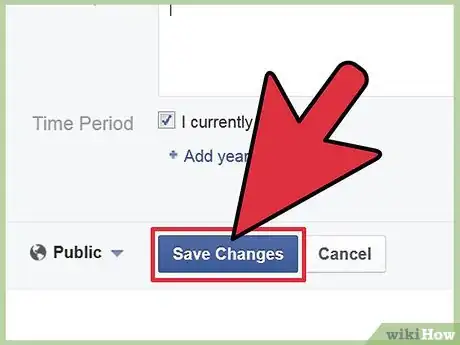
5Click the “Edit” link to more clearly acknowledge the proper years you’ve worked at the business and define what you did, what awards you earned, etc. Then, click "Add Job" when you finish.
-
6Click the “Done Editing” box at the top right hand corner of the Work and Education box as was originally labeled.
Advertisement
Part 2
Part 2 of 7:
Adjusting Your Education Settings
-
1Locate the box labeled “Work and Education”.
-
2Click the “Edit” button at the top right of this box.
-
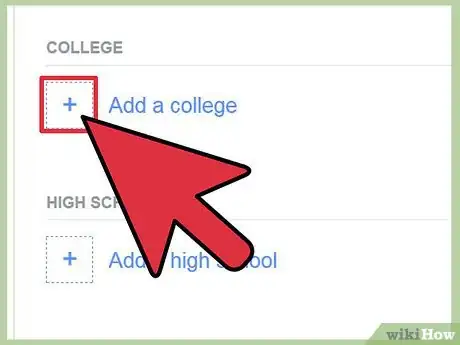
3Click the box underneath your work-history that should be clearly labeled by the initial title “Where did you go to college/university?”.
-
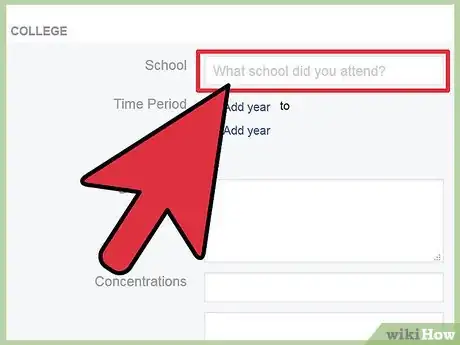
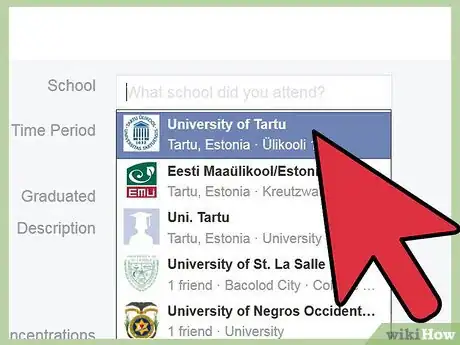
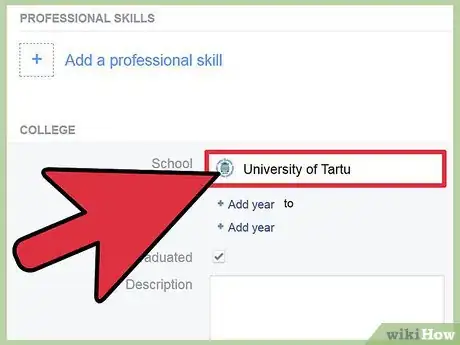
4Begin typing the name of your college. Don’t add the city/state info. The name is good enough. It will display a list of filtered results as you type.
- Although most business’ have listings, some don’t so you’ll need to clear these misconceptions up.
- Also, there’s another edit box underneath that initially displays “Where did you go to high-school” that you can add your high-school”
-
5Click the correct business.
-
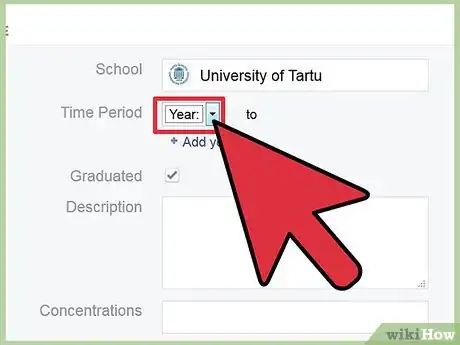
6Click the “Edit” link to more clearly acknowledge the proper years you’ve attended the school/college/university, what courses you excelled in/majored in/etc. as well as many other major accomplishments in your education.
-
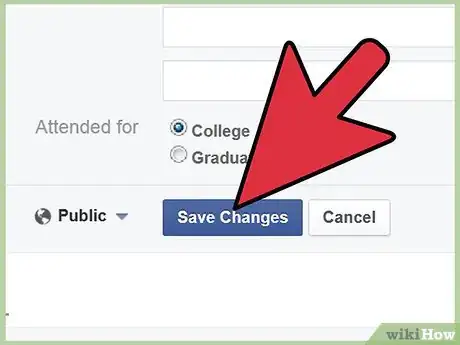
7Click the “Add school” button when you are finished with the business and complete all other listings you’ve added.
-
8Click the “Done Editing” box at the top right hand corner of the Work and Education box as was originally labeled.
Advertisement
Part 3
Part 3 of 7:
Adjusting Your Living Settings
-
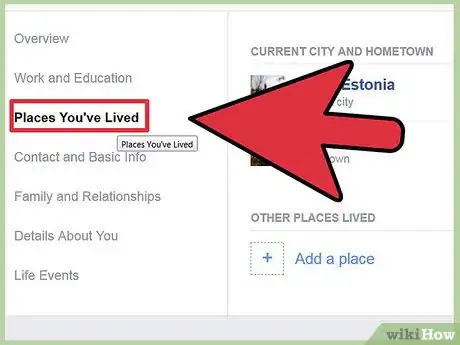
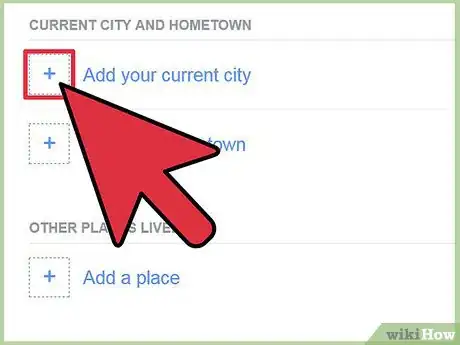
1Locate the box that’s labeled “Living”. You might have to scroll down a bit, to find it. Click the “Edit” button at the top right of this box.
-
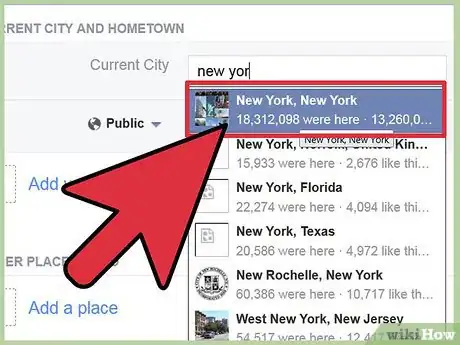
2Click the empty box labeled “Current City”. Type into the box your current city, and if it doesn’t come up by the end, your state. Only use map-cities. In Facebook’s mindset, there isn’t a state of “Confusion” (if your city is Brilliant, and your state is Confusion, don’t type Brilliant Confusion, because neither will be found and you will later have added an incorrect unverifiable place.
- It will accept almost any city/state that is located globally too, but it may take a bit more typing, with the provinces and such. So be forewarned.
-
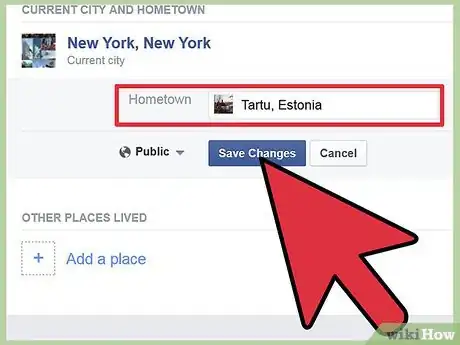
3Click into the “Hometown” box. Type the location, like as you initially did for “Current City” above filling in the proper information here too.
-
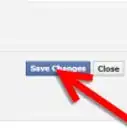
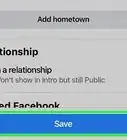
4Click the “Save” button at the bottom right hand corner of the box, when you have completed both boxes.
Advertisement
Part 4
Part 4 of 7:
Changing the About Me Box
-
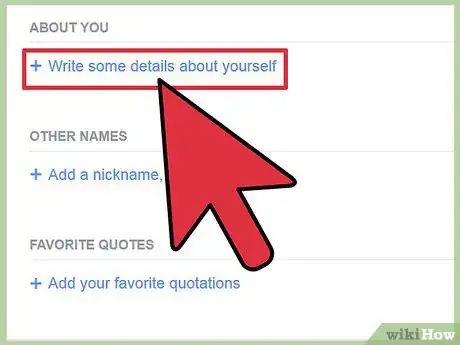
1Locate the box that’s labeled “About You”. You may have to scroll down a bit, to locate the box.
-
2Click the “Edit” button at the top-right hand corner of this box.
-
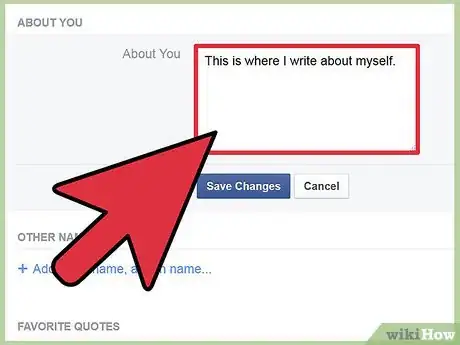
3Click into the big box initially labeled “Edit”. Add some text that defines who you are in real life.
-
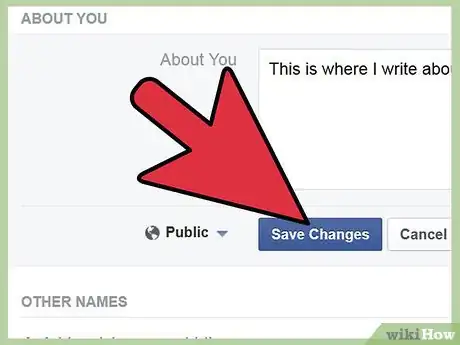
4Click the “Save” button.
Advertisement
Part 5
Part 5 of 7:
Updating Basic Info
-
1Locate the box that’s labeled “Basic Info”. You may have to scroll down a bit on the page, to locate the box.
-
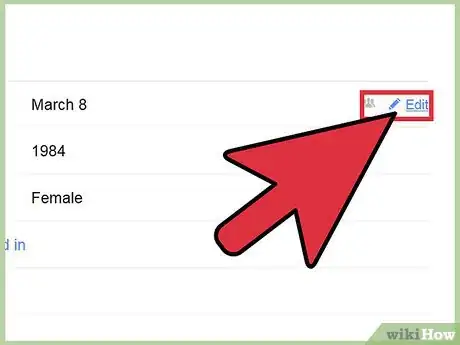
2Click the “Edit” button at the top right-hand corner of this box.
-
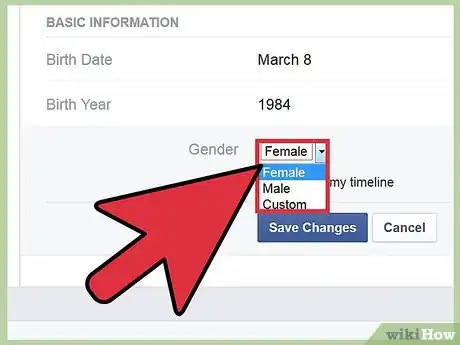
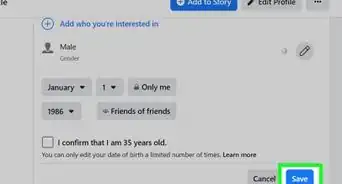
3Click into the first field. Type or select the appropriate responses to the "I am (gender)" box, Birthday (individual drop-down boxes), Relationship status (single, married, etc.), any and all languages you may be able to proficiently speak (in the box labeled “Languages”), Religion type, and Political Party (if any).
- Even though Facebook wasn't designed to promote a person’s romances, there’s another box that can help you find a “soul-mate”. You can click the appropriate response to “Interested in”, if you’d like.
-
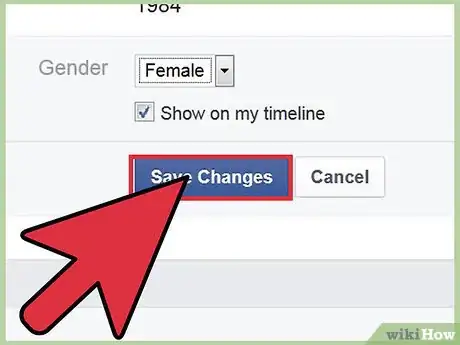
4Click the “Save” button at the bottom right hand corner of the box, when you have completed all boxes.
Advertisement
Part 6
Part 6 of 7:
Updating Your Contact Info
-
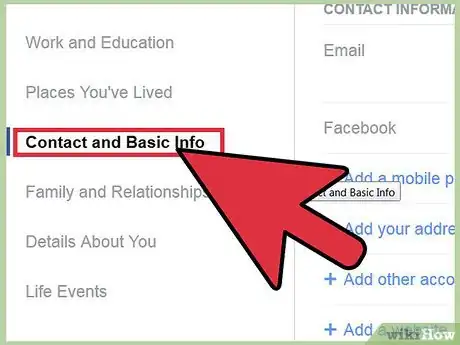
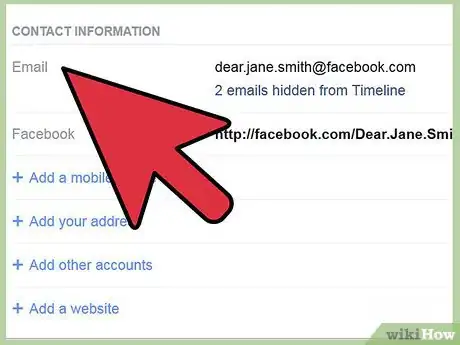
1Locate the box that’s labeled “Contact Info”. You may have to scroll down a bit on the page, to locate the box.
-
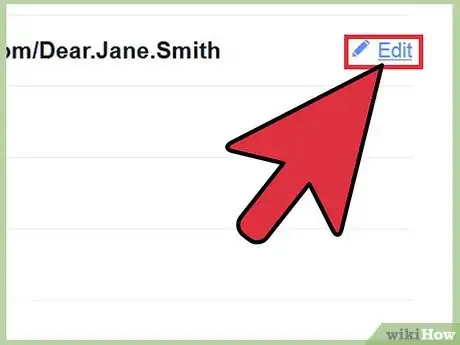
2Click the “Edit” button at the top right-hand corner of this box.
-
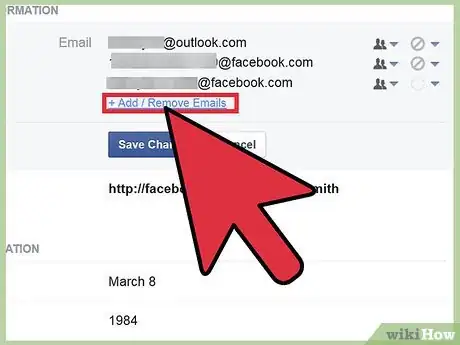
3Click the “Add / Remove Emails” button and fill out this box, if you have other email addresses you’d like correspondence to be written to, if your other email address doesn't work for your friends.
-
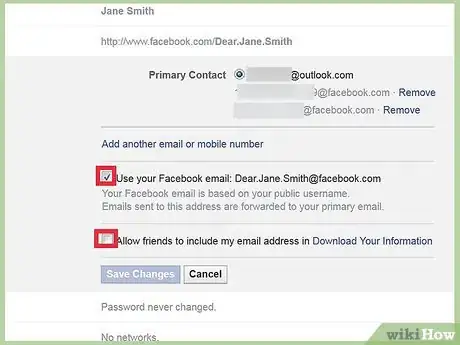
4Click the button’s inside your Account Info box to add your information.
-
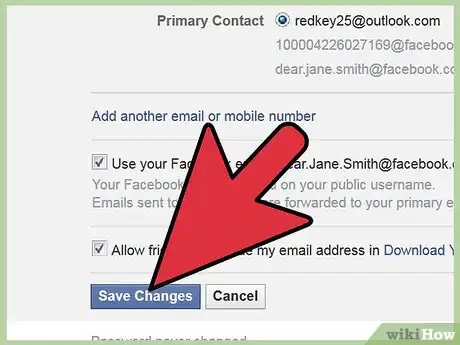
5Click the “Save” button to your Account Info window.
-
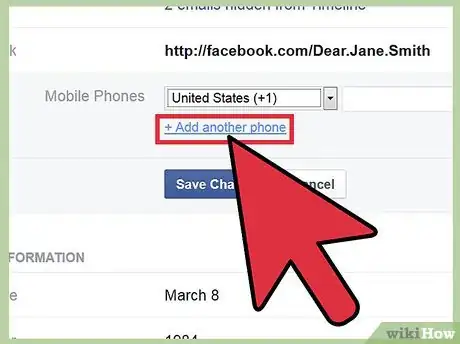
6Fill out the mobile phone box, using the link “Add a phone”.
-
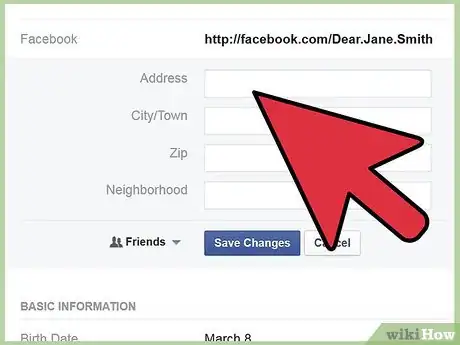
7Type or select the appropriate responses for any other phone numbers (including what type of line the number is for), any other IM screen names for any other services, full contact info (full address lines), and a personal website.
- There’s even a Networks feature that can be selected here, that can help you join back up with your college networks (as Facebook originally had when Facebook originated).
-
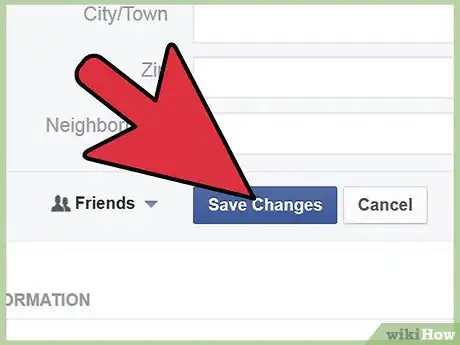
8Click the “Save” button at the bottom right hand corner of the box, when you have completed all boxes completely.
Advertisement
Part 7
Part 7 of 7:
Changing Your Favorite Quotations
-
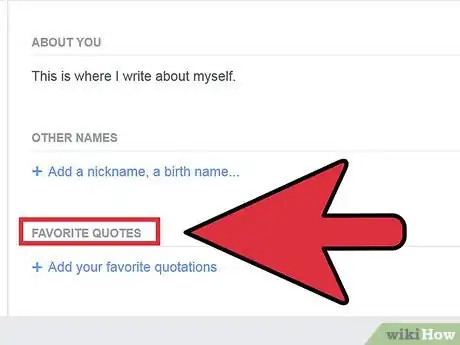
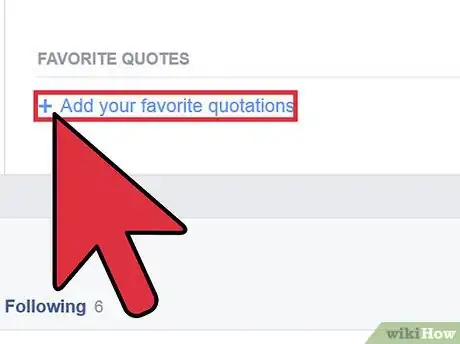
1Locate the box that’s labeled “Favorite Quotations”. You may have to scroll down a bit, to locate the box.
-
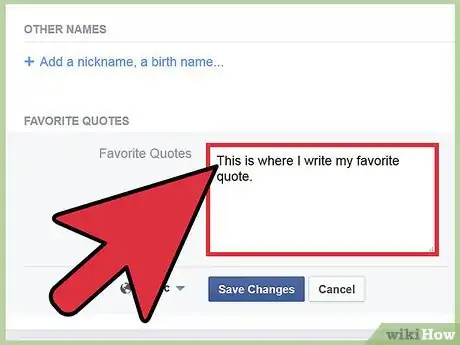
2Click the “Edit” button at the top-right hand corner of this box.
-
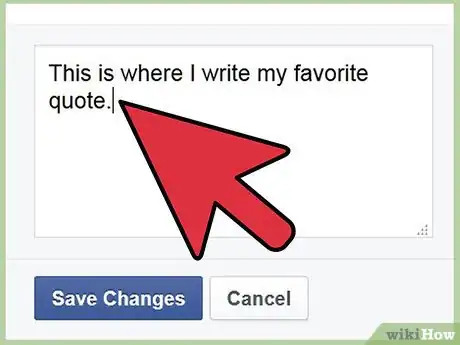
3Type some text from exact quotations that you generally use, that may define who you are.
-
4Allow only one quote per line to be added. If a quote runs over two lines, don’t press ↵ Enter. Only allow these lines/quotes to run on until they finish.
-
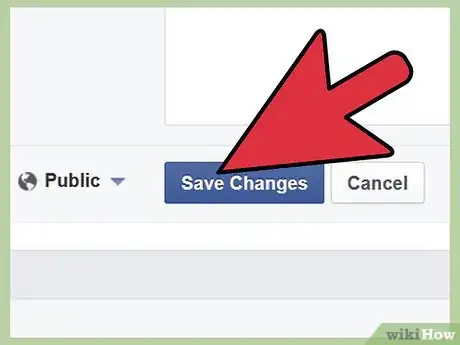
5Click the “Save” button.
Advertisement
Community Q&A
-
QuestionHow do I add a Facebook photo to my camera roll?
 Community AnswerOpen the photo on mobile or desktop. On mobile, press and hold the photo and select "Save photo," or press the three dot options menu on the photo and select "Save photo." On desktop, open the photo, right click, and select "Save image as."
Advertisement
Warnings
- Since passwords and your Facebook username are two secure pieces of data, Facebook doesn’t allow anyone to edit this personal information here. Nor does it allow you to edit your mobile phone number or other secure personal data here. You’ll need to edit this information from the “Account Settings” link, located under the link in the top right corner of any Facebook page located under the drop-down link initially known as “Home”.⧼thumbs_response⧽
Advertisement
Things You'll Need
- Internet access
- Facebook account
- web browser
About This Article
Advertisement
