X
wikiHow is a “wiki,” similar to Wikipedia, which means that many of our articles are co-written by multiple authors. To create this article, volunteer authors worked to edit and improve it over time.
Learn more...
Customizing a book cover in Adobe In Design could either be one of the first things you do, or one of the last. Regardless of which one it is for you, it's an important stuff nonetheless. If you want to learn how to do some simple things that can result in a more stylized cover, this wikiHow guide has your back.
Steps
-
1Select a large letter as a Design Element. Choose a large letter that you’ll be customizing to your liking.
-
2Advertisement
-
3Format the large letter. Select the letter’s frame by using the Selection Tool, accessed by pressing esc.
-
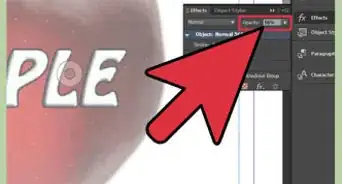
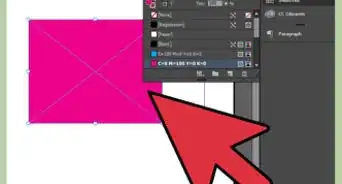
4Access the Appearance task pane on the bottom right. Work your artistic magic to alter your large letter.
-
5Resize your letter. To do this, go to the Character task pane and choose Font Size.
-
6Altar the letter’s color. Select the frame. Then, use the Fill Color in the Properties panel and ensure that the Text option is chosen from the Apply To menu.
-
7Choose a new font for your letter. Return to the Character Task pane and select the drop-down box (it will probably read as Minion Pro). You have a multitude of adobe fonts available to you; don’t be afraid to experiment!
-
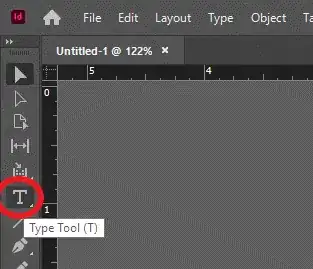
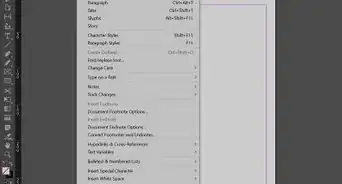
8Wrap text around the large letter shapes. Select the Type Tool and create a text frame. Navigate to Type → Fill with Placeholder Text located at the top. Select it.
-
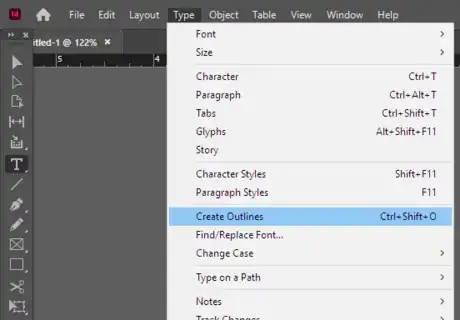
9Select the design element/large letter’s frame using the Selection Tool. Choose Type > Create Outlines. You should see the frame shrink to fit the letter.
-
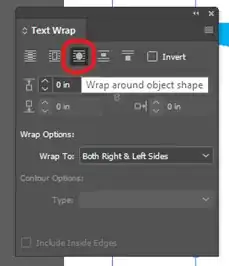
10Know how to apply text to the frame. To apply text wrap to the frame, choose Window > Text Wrap to open the Text Wrap panel.
-
11Click the Wrap Around Object Shape option.
-
12Know how to push test away. To push the text away from the large letters, increase the Offset value in the Text Wrap panel.
-
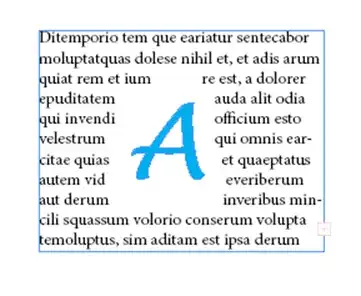
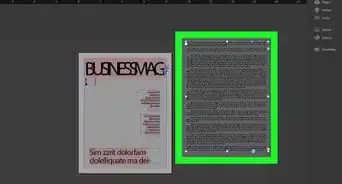
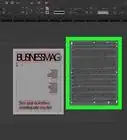
13Compare your result with the image below. If everything was done correctly, your letter should look similar to the image:
- If it does, congratulations! You should now be able to customize your book cover and make it more, well, stylized!
- If it doesn’t, don’t worry; go back and read the instructions again. Take it nice and slow, and try again. It may take some practicing.
Advertisement
About This Article
Advertisement
