This article was co-authored by wikiHow staff writer, Jack Lloyd. Jack Lloyd is a Technology Writer and Editor for wikiHow. He has over two years of experience writing and editing technology-related articles. He is technology enthusiast and an English teacher.
The wikiHow Tech Team also followed the article's instructions and verified that they work.
This article has been viewed 273,989 times.
Learn more...
This wikiHow teaches you how to create a macro in a Microsoft Office 365 program such as Word or Excel. You can record your actions to automatically create a macro in some programs, or you can use Visual Basic coding to create a macro from scratch in any Office 365 program.
Steps
Enabling Developer Options
-
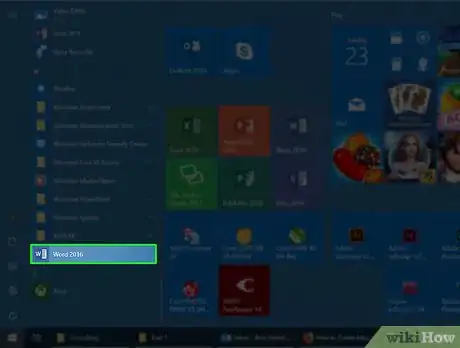
1Open a Microsoft Office program. Macros can be created for most Office 365 programs, so open the program in which you want to create a macro.
- If you want to record a macro, open Word or Excel.
- If you want to program a macro using VBA, open Word, Excel, PowerPoint, Outlook (Windows only), or Publisher (Windows only).
- You cannot add macros to Access or OneNote.
-
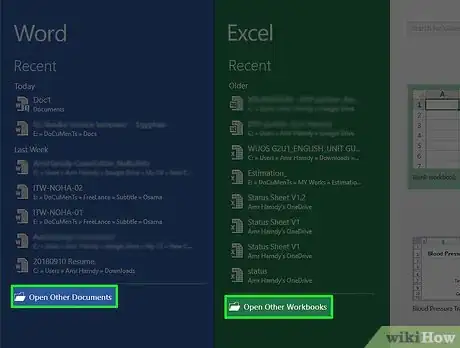
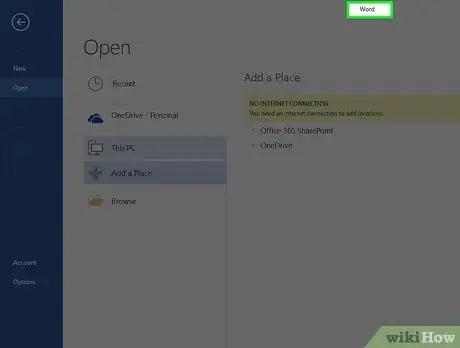
2Click Open other documents. It's a link in the lower-left side of the program's window. This will open a list of options on the left side of the window.
- On a Mac, click the name of your program in the upper-left corner of the screen to prompt a drop-down menu.
Advertisement -
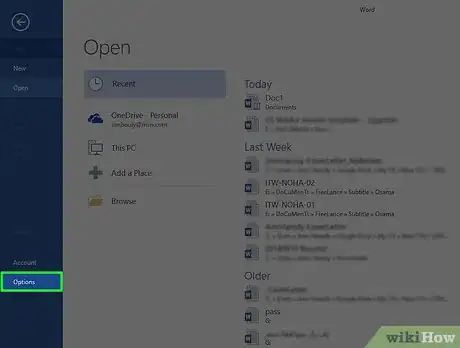
3Click Options. You'll find this on the left side of the window.
- On a Mac, you'll click Preferences... in the drop-down menu.
-
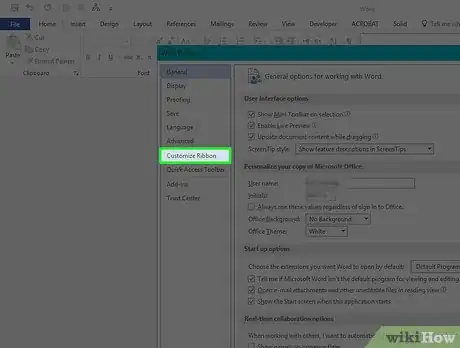
4Click Customize Ribbon. It's on the left side of the Options window.[1]
- On a Mac, click Ribbon & Toolbar in the Preferences window.
-
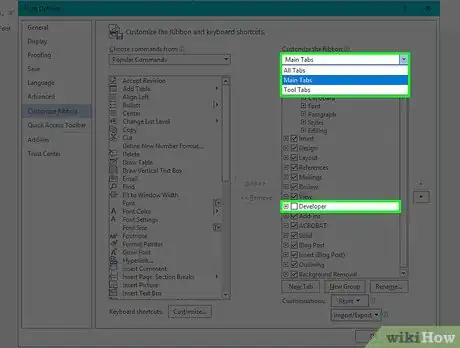
5Check the "Developer" box. This box is near the bottom of the "Main Tabs" list of options.
- Depending on your selected program, you may first have to place your cursor in the "Main Tabs" pane and then scroll down to find the "Developer" box.
-
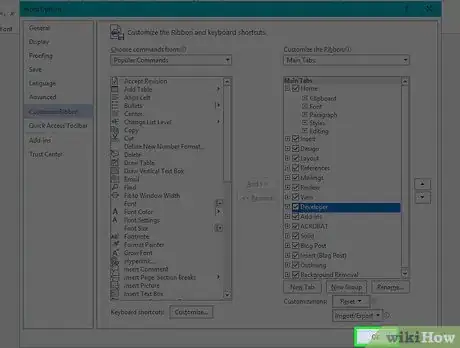
6Click OK. It's at the bottom of the window. This will add the Developer tab to your selected program.
- On a Mac, you'll click Save here instead.
Recording a Macro
-
1Make sure you have Word or Excel open. Microsoft Word and Excel are the only two Office 365 programs in which you can create macros by recording steps.
-
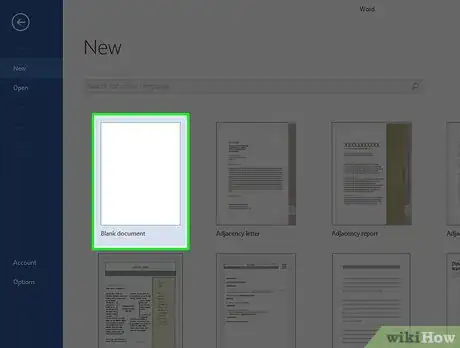
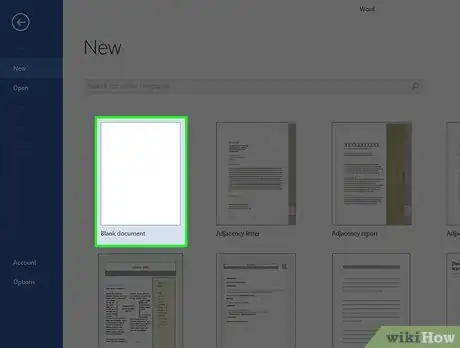
2Open a document. Click the Blank option in the upper-left side of the window to create a new, blank document, or select a document from your computer.
- You can also double-click a document to open it in its respective program (e.g., double-clicking a Word document will open it in Word).
-
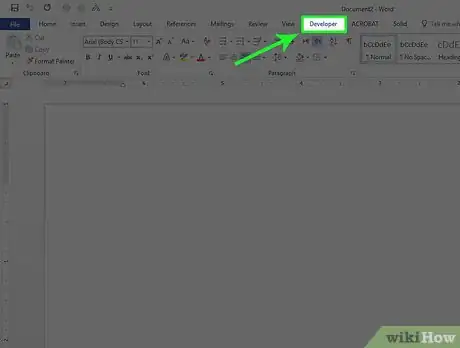
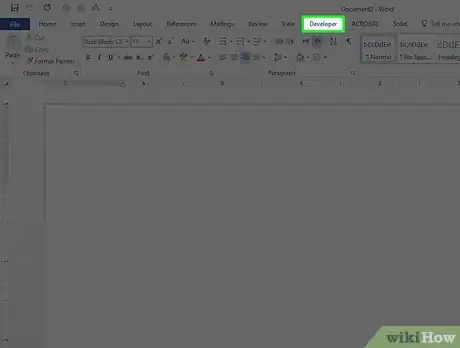
3Click Developer. As long as you enabled it in the last part, this tab should be at the top of the window.
-
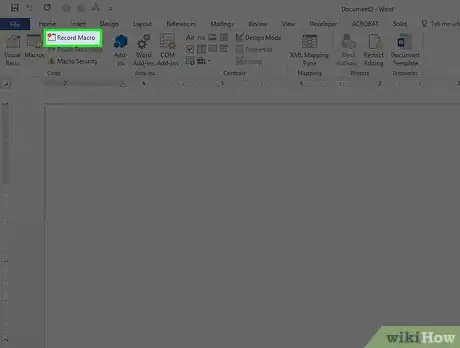
4Click Record Macro. It's in the top-left side of the window in the Developer toolbar.
-
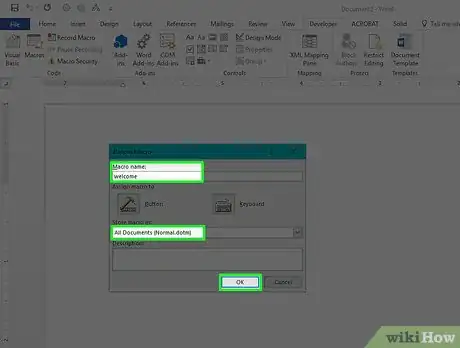
5Enter your macro's information. This process will vary slightly depending on your selected program:
- Word — Enter a name for the macro, select All documents as the "Store macro in" value, and click OK.
- Excel — Enter a name for the macro, add a keyboard shortcut if you like, select This Workbook as the "Store macro in" value, and click OK.
-
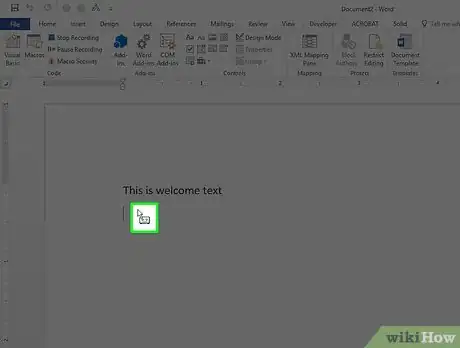
6Record your macro. Once you click OK, any steps you take (e.g., clicks, typed text, etc.) will be added to your macro.
-
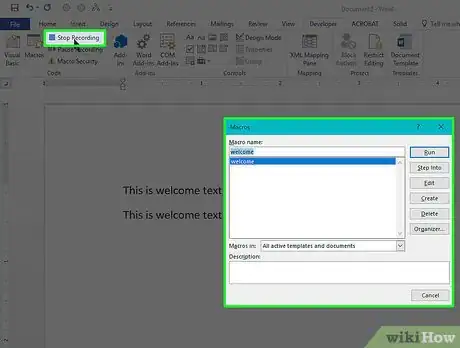
7Click Stop Recording. It's in the Developer toolbar. This will save your macro and add it to your document's macro list.
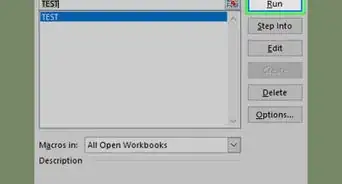
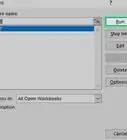
- You can implement the macro by clicking Macros, selecting your macro's name, and clicking Run.
Writing a Macro
-
1Make sure you know how to code in VBA. Visual Basic for Applications (VBA) is a programming language used by Microsoft Office 365 programs to run macros.
- If you don't have a solid grasp on VBA, you may be able to find the code for an existing macro. If so, you can copy the macro's code and paste it into the VBA window later in this part.
-
2Open a Microsoft Office 365 file. Double-click the file for which you want to create a macro. This will open the file in its respective program.
- You can also open the program you want to use and click the Blank option in the upper-left side of the window to create a new file.
- You cannot use Access or OneNote to create macros.
-
3Click Developer. This tab is at the top of the program's window.
-
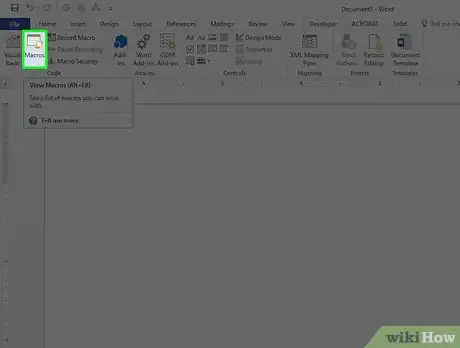
4Click Macros. It's in the upper-left side of the window. Doing so opens a pop-up window.
-
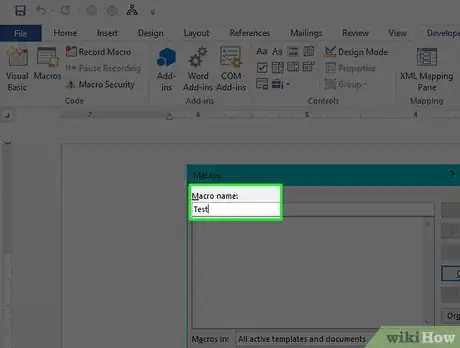
5Enter a macro name. Click the "Macro name" text box at the top of the window, then type in the name that you want to use for your macro.
-
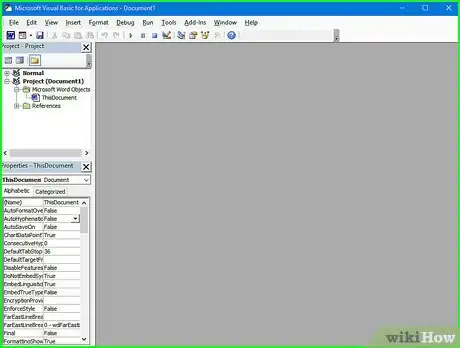
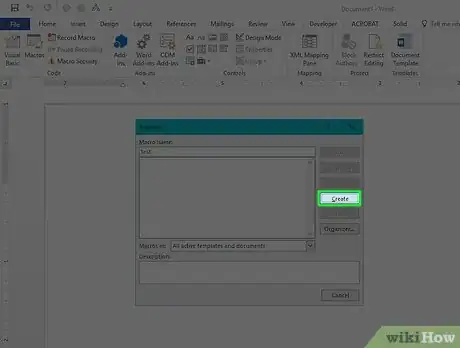
6Click Create. It's on the right side of the window. Doing so prompts the VBA window to open.
-
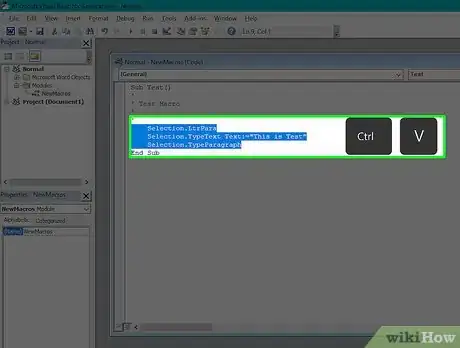
7Enter your macro's code. Once the VBA window opens, type in the code for your macro.[2]
- If you copied a macro's code, paste it into the VBA window.
-
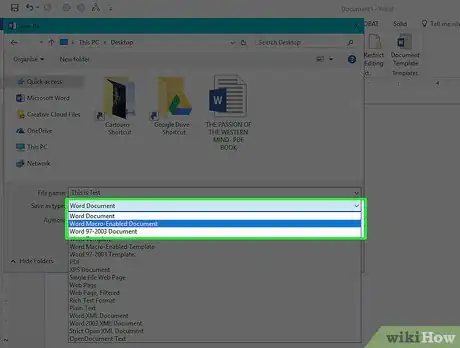
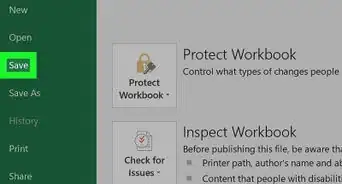
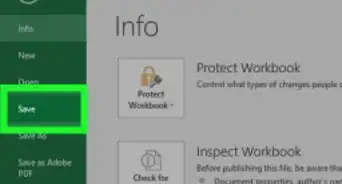
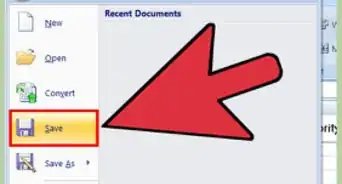
8Save your file as a macro-enabled format. Press either Ctrl+S (Windows) or ⌘ Command+S (Mac), then enter a file name, click the "Save as type" (Windows) or "Format" (Mac) drop-down box, and click the Macro-Enabled option in the resulting drop-down menu. You can then click Save to save the file with the macro enabled.
- You can implement the macro by clicking Macros, selecting your macro's name, and clicking Run.
Community Q&A
-
QuestionWhich tab is "Macro" located in?
 Community AnswerDepending on the MS Office Application, it will either be under the "View" Tab or the "Developer" Tab.
 -
QuestionWhat is macros?
 Tapas MohantaCommunity AnswerMacro is a short form of a word macroinstruction. You can use macros anywhere you type -- it could be word processing software like MS Word or Pages, any notepad or any IDE. You just have to find the macro option in that software or text editor and define one.
 -
QuestionHow can I use the tool bars in Microsoft Word?
 Community AnswerThree of the commonly known toolbars in Microsoft Word are the Formatting, Standard, and Drawing toolbars. The Formatting toolbar contains commands for changing the appearance of text, such as bold and italics. The Standard toolbar is used to perform commonly used commands while typing, such as printing, saving, copying, and pasting. The Drawing toolbar is used to insert and edit pictures, drawings, and other graphics.
Warnings
- If you create a macro that has the same name as an existing function in your software, the macro will replace that function. The software may not notify you that you are about to assign the same name to a macro that already exists.⧼thumbs_response⧽
References
About This Article
1. Enable Developer Mode in Word or Excel.
2. Open Word or Excel.
3. Click the Developer tab.
4. Click Record Macro.
5. Enter your macro's info and click OK.
6. Record your actions.
7. Click Stop Recording.
