X
wikiHow is a “wiki,” similar to Wikipedia, which means that many of our articles are co-written by multiple authors. To create this article, 26 people, some anonymous, worked to edit and improve it over time.
This article has been viewed 261,728 times.
Learn more...
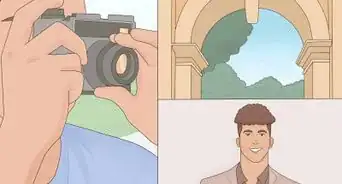
Many people who have moved to digital photography will have a number of treasured pictures in the old print or slide format. Fortunately it is relatively easy to get these older pictures into the digital domain. There are two principal ways in which this can be done: with a scanner, or with a digital camera. This how-to will cover scanning.
Steps
-
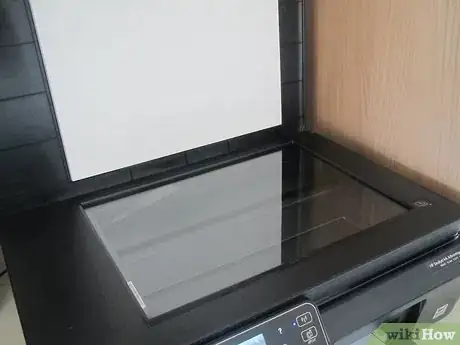
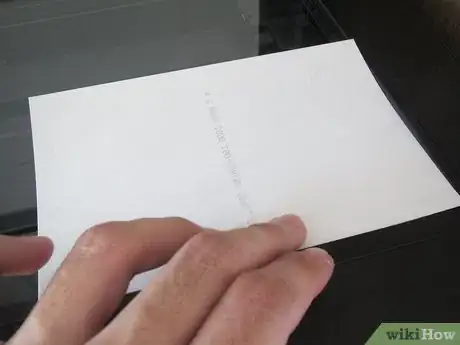
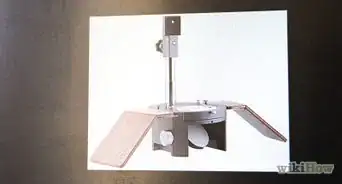
1Decide which method is best for you. Flatbed scanners are very cheap (you can purchase a good one for under $100) and most will have the ability to scan photos and slides. If you are primarily interested in scanning slides, look for one with a slide scanning attachment.
-
2Make sure that the scanner will work with your PC. If you are using a Mac, ensure that the scanner is Mac compatible; likewise with a PC running Microsoft Windows, or Linux.Advertisement
-
3If the scanner comes with software, then you should be able to start scanning straight away, otherwise you will need to obtain scanning software. One of the best, and reasonably priced, is VueScan. This works with both Mac and Windows.
-
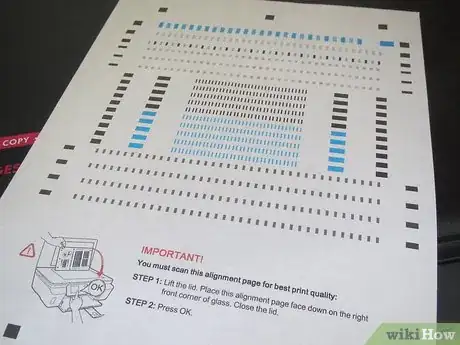
4Before you start scanning take the time to calibrate the scanner. Some scanners come with a calibration sheet, if not these can be purchased for a reasonable price. Although they are not absolutely essential, calibrating your screen and scanner will make for a much more accurate end product. Especially if the originals get lost or damaged.
-
5Do some practice scans. Test the scanner with various control images. Use black and white pictures to ensure that you are getting the full range, and that the blacks are black, not grey, and that the whites are truly white, and not off white, or worse, tinted with a colour.
-
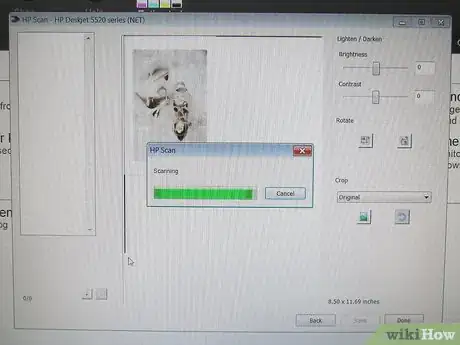
6Now the moment you have been waiting for. The actual scanning. Organisation is the most important part here. Create a directory tree structure where you are going to place the scanned data. By thinking this through before you start you will be able to ensure that your scans will be easier to locate at some later date. How you organise them is up to you, but pick a scheme that makes sense to you. You could organise them by Year, then by subject or you could choose to organise them by subject, then year. However you do it it will be better than just dumping them into one big directory.
-
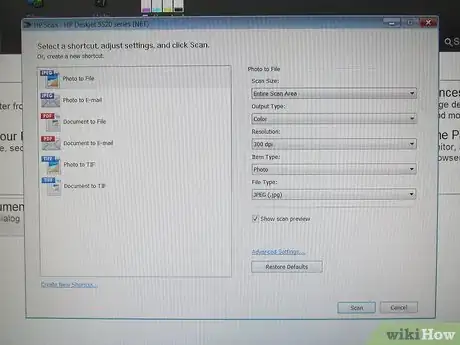
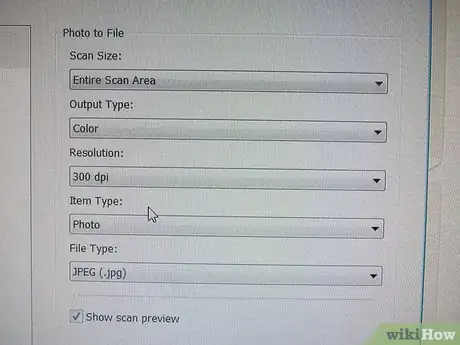
7When you come to scan the image you will need to set some basic parameters up to tell the scanning software what type of image you are scanning. The most important of these will be whether colour or black/white, and what resolution you want to scan at. Colour or B/W is fairly obvious. You are not going to get any benefit from scanning a B/W image in colour. It will work, but it usually results in a much bigger file size for no benefit. Best to pick a Greyscale scan. With a colour picture the options are often more complicated and revolve around the amount of colour detail you are looking to conserve. Many scanners will be capable of scanning from 256 colours to several million. In practice the eye has a hard time differentiating more than a few thousand levels of colour, but as a general rule the more the better. What is the down side of using more colours? It's file size. The more colours, the bigger the file. However with modern computers coming with hard disks of hundreds of Gigabytes this is really a no brainer.
-
8After you have scanned the image in you then need to save it to the hard disk. This is where another decision must be made, since there are a number of different formats in which the image can be stored on the disk. The two main type are lossless and lossy. Lossless is what it implies. The picture data is stored exactly as it was scanned, nothing is altered or lost. If you reload the image from the disk it will be exactly as it was scanned. The other method, the lossy method, will store the image but if you reload it it will not be exactly as it was when scanned. Why would you do this? Well the answer is to save disk space. By compressing the image it is possible to trade a little (or a lot) of the detail of the picture for a smaller file size. This means that you can get more images on a given disk when compressed than when uncompressed. The most common form of compression is JPEG (or JPG) which achieves phenomenal amounts of compression while losing only a small amount of detail.
Advertisement
Community Q&A
-
QuestionHow can I scan from a printer to computer with Windows 10?
 Community AnswerIf you have a printer disk, it will definitely have a printing software. Otherwise install the driver of your printer (use an online search engine if you need further help), and use Windows Fax and Scan to scan.
 -
QuestionCan I make my slides bigger when I scan them?
 Community AnswerYes. It depends on what software you are using, but, in most cases, you can adjust the size.
 -
QuestionI have a lot of old slides from the 1960s, and they are dusty. What is the best way to clean them before scanning into my computer?
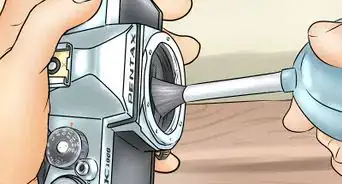
 Seth FriesenCommunity AnswerUse a can of compressed air and blow it over the slides at an angle.
Advertisement
About This Article
Advertisement
