This article was co-authored by Michele Dolan. Michele Dolan is a BCRPA certified Personal Trainer in British Columbia. She has been a personal trainer and fitness instructor since 2002.
There are 16 references cited in this article, which can be found at the bottom of the page.
This article has been viewed 36,535 times.
If you’re heading out for a run, bike ride, or mountain climb, you’re going to get thirsty. Hydration packs are a great way to quench your thirst without having to deal with cumbersome water bottles or floppy water bladders stuffed in a backpack. Hydration packs are designed specifically to hold a water bladder stable while you engage in the athletic activity of your choice. Think about how much you’re willing to spend on a hydration pack, and find one that fits you comfortably and will serve your purposes. Take into account factors like how much water you drink, how easy the bladder will be to clean, and how durable the pack is. Finally, enjoy using your hydration pack and clean it as needed.
Steps
Thinking About Your Needs
-
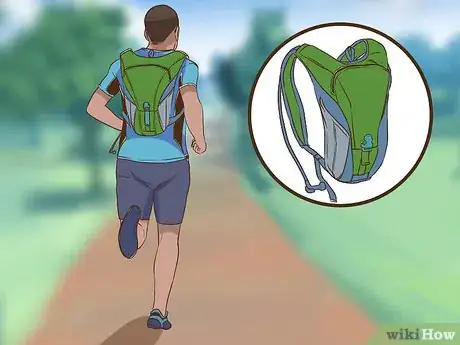
1Consider the activity you’re engaged in. Hydration packs are best for activities where you can’t stop or don’t want to stop frequently, if at all. If you’re running or biking, for instance, you probably won’t want to slow down each time you get thirsty. Plus, hydration packs offer pack stability that regular backpacks coupled with a bottle or water bladder cannot. If, on the other hand, you’re going on long hikes or canoe trips where you’ll have time to stop and reach for your water bottle, you might not need a hydration pack.[1]
- Longer trips – multi-day hikes, mountain climbs, and so on – may also require more storage capacity than the average hydration pack affords.
- Some hydration packs are designed for specific activities. For instance, the CamelBak Race Baku is intended for bikers.
-
2Decide on your water needs. Do you sweat a lot when engaged in physical activity? If so, you might need a large reservoir of water. If you don’t sweat much, or don’t plan on getting too thirsty during your workout, you might be okay with a smaller reservoir of water.[2]
- Most packs are available in one liter (or 1.5 liter), two liter, and three liter varieties.[3]
Advertisement -
3Account for the weather. If you intend to use your pack during the winter, you might want an insulated pack. Insulated packs also keep your water cooler than a regular pack during the hot summer months. However, the extra insulation will add to the cost of the pack.
-
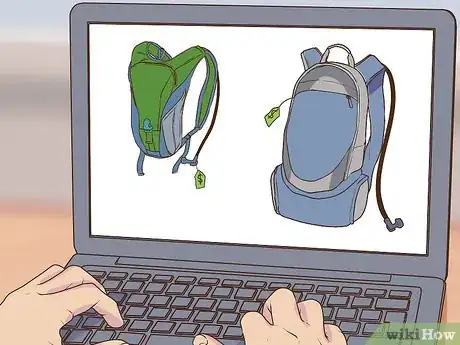
4Check the price. Hydration packs are available in a range of prices. Larger packs are typically more expensive than smaller packs. Assuming two packs have the same size but different costs, the expensive pack will generally be of higher quality than the less-expensive pack. Decide what your budget is before buying a hydration pack.[4]
- Look for deals when shopping for a hydration pack. Outdoor equipment retailers often have sales during the holidays. Compare prices online, too.
- Be prepared to spend $50 to $150 (US) on a hydration pack.
Evaluating the Design
-
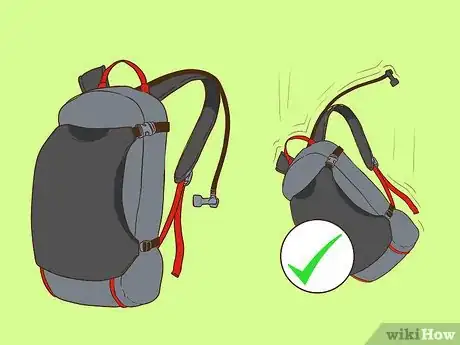
1Find a pack that has a sturdy construction. You’ll want a pack that can take abuse, even if you don’t plan on being rough with it. Packs tend to take falls, knocks, and other damage that you might not intend. Look for a pack manufactured with ripstop fabrics – a class of woven nylon resistant to tearing and ripping.[5]
-
2Take into account the ease of cleaning. The water bladder included with your hydration pack will probably have an opening that screws open and closed so that you can fill it with water. But some hydration packs feature bladders that slide shut or need to be clipped closed.[6]
- With screw-topped bladders, cleaning can be difficult, especially when compared to the ease of cleaning a water bottle or even a standalone water bladder.
- The average opening of a screw-top water bladder in most hydration packs is only about three inches (about six centimeters) in diameter.
- With bladders that clip or slide closed, you can often turn them completely inside out to easily clean them.[7]
- If you use electrolyte/sugar mixes in your water, the tube and pack will need to be cleaned more frequently than one where you use only pure water. But eventually, every hydration pack will need to be emptied and cleaned completely.
-
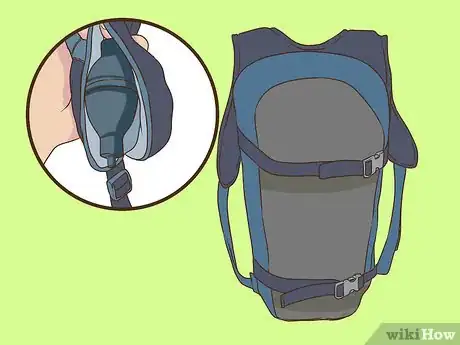
3Decide if you want a pressurized pack. All hydration packs have a tube coming out of the pack so that you can drink the water within. But some packs have a second compartment within the water pack that squirts the water out of the pack through a pressurized system. In other packs, you have what amounts to a long straw, so that instead of squirting the water out of the tube, you have to suck it out.[8]
- Some people find pressurized packs superior to non-pressurized packs because they can get to that last drop of water with minimal effort.
- The other benefit of a pressurized hydration pack is that you can turn the pack to uses other than a source of drinking water. Hikers and climbers tend to favor these packs for their ability to spray mud off of hands, clean dishes, and clean up messy pets before they jump in the car or tent.[9]
- Pressurized packs are more expensive and heavier than non-pressurized packs, but require less cleaning because nothing can backwash into the tube.
-
4Consider the fit. Some packs resemble typical backpacks, while others are closer in design to a vest. Some have a bit of space between the pack and your back, while others fit far more snugly against your body. Some packs have straps along the side, while others have strips of fabric to allow for extra pockets and storage capacity. Most packs are also aimed toward either men or women, though there are a few unisex options available. Before you buy a hydration pack, try it on to ensure it is comfortable.[10]
- Bikers, runners, and skiers might prefer a slender backpack-style pack.
- Hikers and mountain climbers will probably prefer a pack with greater storage capacity.
- Female packs will accommodate the shorter average torso length of women.
- Be sure to get a pack that is sized properly for you. Sizes usually run small/medium/large.
- Play with the straps and clips to find a fit that works for you.
-
5Ensure your pack is not too heavy. Hydration packs generally tend to be quite heavy. Don’t be deceived by their small size. When shopping for a pack, check the label for information about the hydration pack’s weight when filled. If you’re unsure or can’t find info about the pack’s weight, ask a sales representative.[11]
- One liter of water weighs one kilogram, so you can also add the weight of the water to the weight of the pack to get the loaded weight.
- Pressurized hydration packs are heavier than unpressurized hydration packs.
- Packs that hold more water will be heavier than packs that hold less water.
-
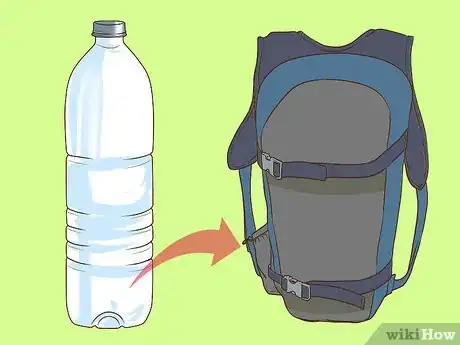
6Think about alternatives to the hydration pack. Instead of a hydration pack, you could use a regular water bottle and stick it in the pocket on the side. Alternatively, you could invest in a water bladder, which is basically the part of the hydration pack that holds the water. But unlike a hydration pack, the water bladder can be placed in any pack you want and removed to another pack if you later decide you want a different backpack.[12]
- Most backpacks designed for outdoor use have a hole for a water bladder hose that allows you to easily poke the drinking tube of a separate water bladder through.
Using a Hydration Pack
-
1Fill the bladder. Unzip the hydration pack and fill the water bladder within. Some manufacturers require you to unscrew the water bladder, then fill it. With other types of water bladders, you might have to unlock the clip that holds it together at the top. Still other varieties of hydration packs feature water bladders that require you to slide open a locking mechanism at the top of the bladder. With the bladder open, fill it with clean water, then close it once it’s full.[13]
- Use cooler water if you’re headed out for a summer run, and warmer water if you’re headed out during the winter.
- Consult manufacturer directions for specific steps on how to fill your hydration pack.
-
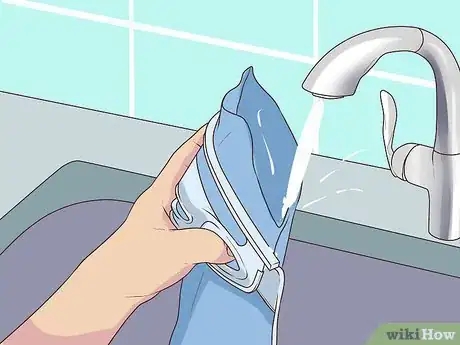
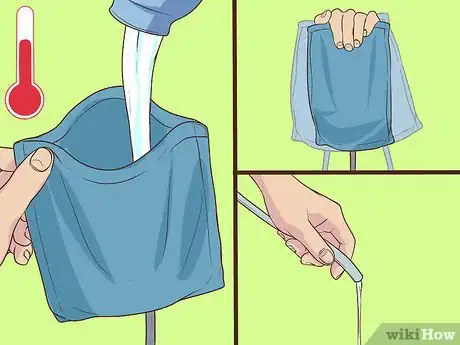
2Rinse the pack between uses. Make sure that you always rinse out the water pack before and after you use it. To rinse your water pack, fill it with warm water, shake the water around, and then empty it. Also, make sure to run water all the way down through the hose and out of the mouthpiece. Do this every time you use your water pack to help keep it clean.
-
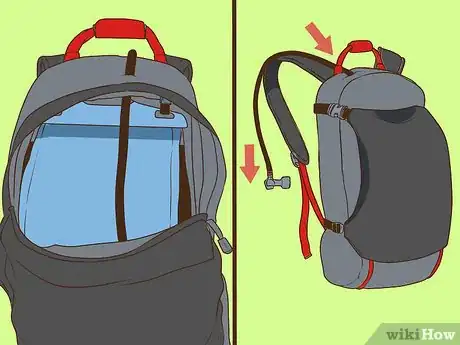
3Strap the pack on. Once you’ve filled the water bladder, replace it within the hydration pack. Zip the hydration pack closed. Place your right arm through the hydration pack’s right-side strap, and place your left arm through the left-side strap.[14]
- The process is similar to putting on a backpack.
-
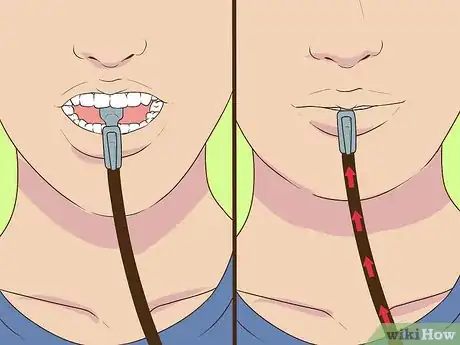
4Place the tube in your mouth. Bite down on the tube and suck inward, just as you would when drinking from a straw. The suction power should allow the water to come out of the tube. Swallow the water until you’ve had enough, then release the drink tube. Clip it to the hydration pack strap on your chest. Detach it when you’re ready for another drink.
- Some drinking tubes might require you to twist a valve on the bite piece open.[15]
- If you have a pressurized hydration pack, you’ll need to build the pressure inside the pack by squeezing the pressure valve (attached to the air tube) eight to ten times before biting down on the drink tube.
-
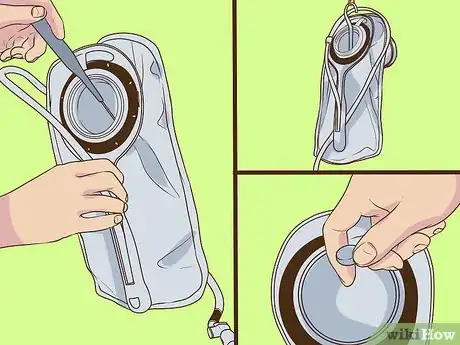
5Clean your bladder. Depending on the model, you might be able to get a brush inside the bladder and scrub away with warm water. This is especially important if you’ve used electrolyte/sugar mixes in your pack. If you have an unusually-shaped bladder – like some of the vest-shaped hydration packs – cleaning the interior completely with a brush is impossible. Instead, you’ll have to swish some mixture of hot water and an antibacterial powder additive around inside, then rinse thoroughly several times with warm water.[16]
- When you’re done cleaning the interior of the bladder, open it up as best you can and hang it upside down for several hours so that all excess liquid drains out.
- Always consult manufacturer directions for cleaning in order to clean your pack in the optimal way.
- Never use bleach or boiling water to clean the reservoir.[17]
- Clean the bladder every time you use it if you’re putting sweetened drink mixes into the bladder. If you’re using only water in the bladder, you can get away with cleaning it once a week or even less.
-
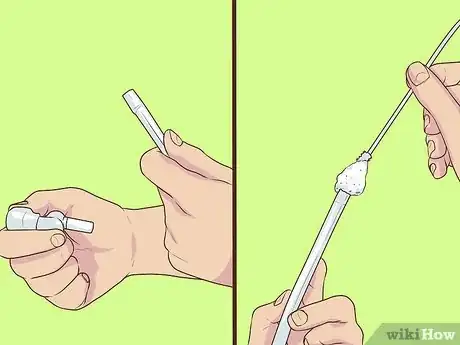
6Clean your hose. As with the bladder, drinking water only requires a less rigorous tube cleaning schedule than does drinking a sweetened drink mix through the hydration pack tube. Most packs offer a specially-designed hose cleaning kit (not included with the pack) to help you clean your hose regularly. You’ll probably need to scrub the inside of the tube with an elongated brush (similar to a pipe cleaner) and a mixture of warm, soapy water.
- Always consult manufacturer directions for cleaning in order to clean your pack in the optimal way.
-
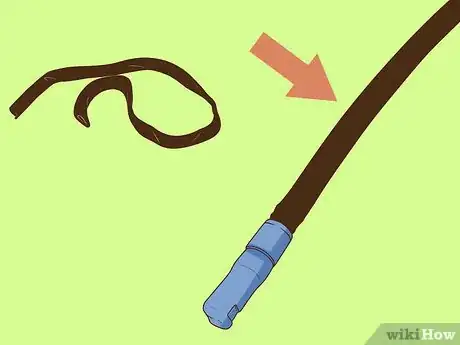
7Insulate your hose during winter use. In below-freezing temperatures, your water will freeze in its hose. Many manufacturers sell specially designed insulation sleeves for the hoses, but you could probably get creative and cut a couple of long tube socks into a functional insulation sleeve for your hydration pack’s tube.[18]
- Because the water in the actual bladder stays closer to your body, there is little chance that it will freeze.
- Another tip to prevent water from freezing in the hose is to blow water back into the bladder after drinking when the temperature is below freezing. (This only works with non-pressurized hoses, of course.)[19]
References
- ↑ http://www.outdoorgearlab.com/Hydration-Pack-Reviews/Buying-Advice
- ↑ https://totalwomenscycling.com/mountain-biking/buying-guide-hydration-packs
- ↑ http://www.outdoorgearlab.com/Hydration-Bladder-Reviews/Buying-Advice
- ↑ http://www.outdoorgearlab.com/Hydration-Pack-Reviews/Charts
- ↑ https://totalwomenscycling.com/mountain-biking/buying-guide-hydration-packs
- ↑ http://www.outdoorgearlab.com/Hydration-Pack-Reviews/Buying-Advice
- ↑ http://www.outdoorgearlab.com/Hydration-Bladder-Reviews/Buying-Advice
- ↑ http://www.outdoorgearlab.com/Hydration-Pack-Reviews/Buying-Advice
- ↑ http://www.outdoorgearlab.com/Hydration-Bladder-Reviews/Buying-Advice
- ↑ http://www.outdoorgearlab.com/Hydration-Bladder-Reviews/Buying-Advice
- ↑ http://www.outdoorgearlab.com/Hydration-Pack-Reviews/Buying-Advice
- ↑ http://www.outdoorgearlab.com/Hydration-Pack-Reviews/Buying-Advice
- ↑ http://www.ospreypacks.com/user_manuals/OM_Hydration_S16_ENG.pdf
- ↑ http://www.ospreypacks.com/user_manuals/OM_Hydration_S16_ENG.pdf
- ↑ https://sourceoutdoor.com/en/faq
- ↑ http://www.outdoorgearlab.com/Hydration-Pack-Reviews/Buying-Advice
- ↑ https://www.youtube.com/watch?v=_PQj7E4Fc1Q
- ↑ http://www.outdoorgearlab.com/Hydration-Pack-Reviews/Buying-Advice
- ↑ http://www.outdoorgearlab.com/Hydration-Bladder-Reviews/Buying-Advice
