X
This article was co-authored by wikiHow staff writer, Jack Lloyd. Jack Lloyd is a Technology Writer and Editor for wikiHow. He has over two years of experience writing and editing technology-related articles. He is technology enthusiast and an English teacher.
This article has been viewed 210,610 times.
Learn more...
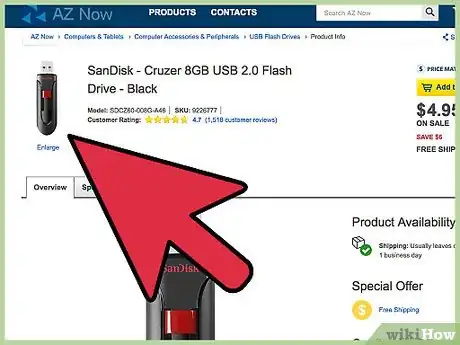
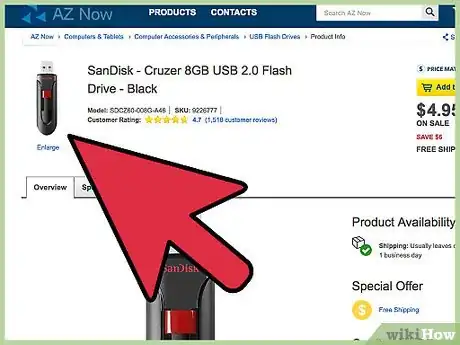
Memory sticks--more commonly known as "flash drives"--are miniature portable hard drives capable of holding files, folders, pictures, and even entire programs or operating systems independent from your computer's hard drive. You can add files to a memory stick by plugging it into your computer's USB port and dragging files into its interface.
Steps
Method 1
Method 1 of 2:
Using a Memory Stick on a PC
-
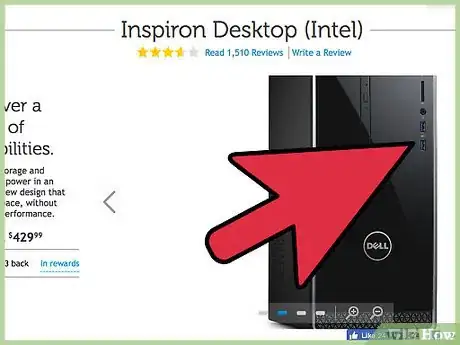
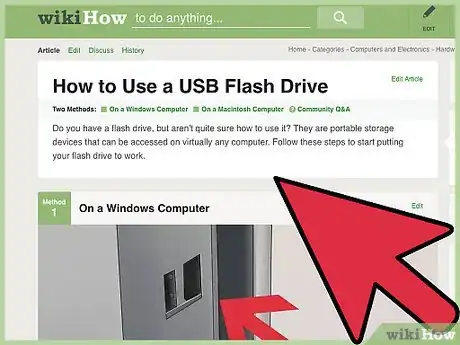
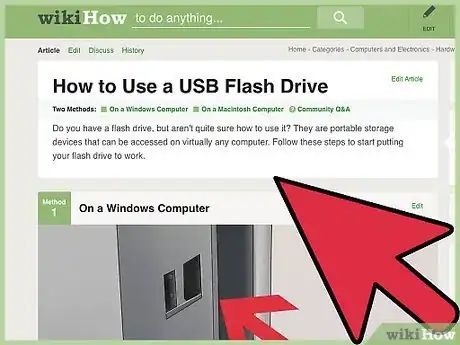
1Locate your PC's USB port. USB ports are rectangular with a solid piece of plastic on the upper half of the slot and an empty space on the bottom. The port should have a graphic of three branching arrows pointing upward (or downward, depending on your PC) next to it.
- If you're using a desktop, your USB ports are most likely integrated into the CPU, while laptop USB ports are usually on the left or right edges of the casing.
-
2Plug your memory stick into the USB port. Make sure the solid piece on the inside of the memory stick's port is on the bottom when you plug it in.Advertisement
-
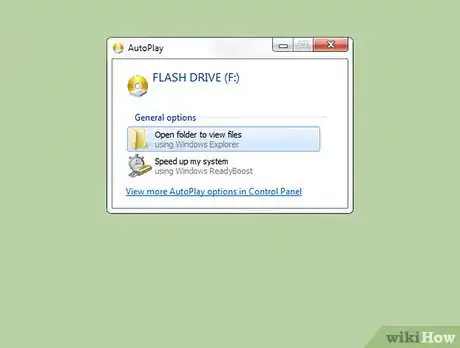
3Wait for the memory stick's interface to appear. This may take a few minutes if this is your first time installing this memory stick on your PC.
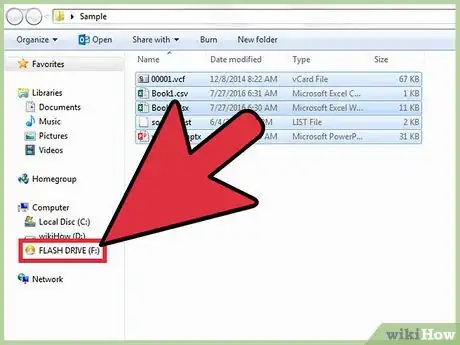
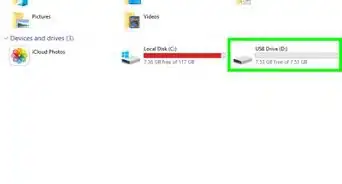
- If the memory stick doesn't automatically open, double-click "My Computer" and find your memory stick's name under the "Devices and drives" section. Double-click its name to open the memory stick window.
-
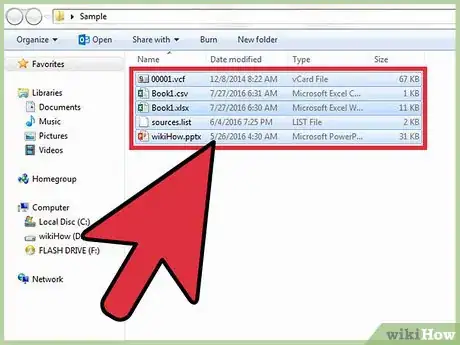
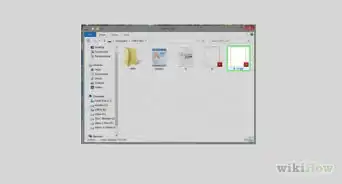
4Select the files you would like to add to the memory stick. If your files are all in the same place, simply click and drag your cursor across your files until you've highlighted all of them.
- To search for a file on your PC, open the Start menu and type the file's name into the search bar at the bottom of the menu. If you're using Cortana, the field should say "Ask me anything".
-
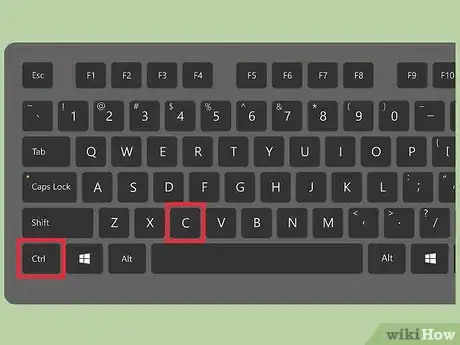
5Hold down Ctrl and tap C to copy your files.
- If you don't want to save your files on your computer, just click-and-drag your selected files over to the memory stick window and drop them there.
- Some memory sticks will duplicate your files by default, leaving the original copies of the files on your computer.
-
6Click the memory stick window. This will select the memory stick as the destination for your files.
-
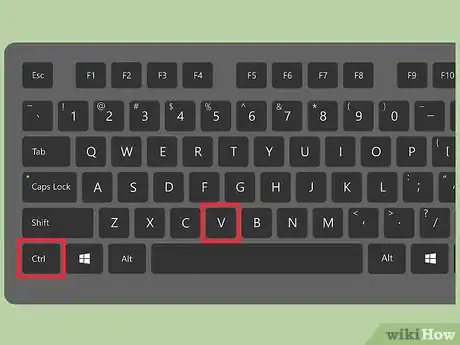
7Hold down Ctrl and tap V to paste your files. This will add them to your memory stick.
-
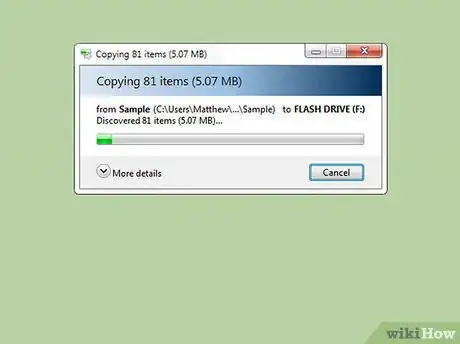
8Wait for your files to finish transferring. Depending on the size of your files, adding them to the memory stick can take anywhere from a couple of seconds to hours.
-
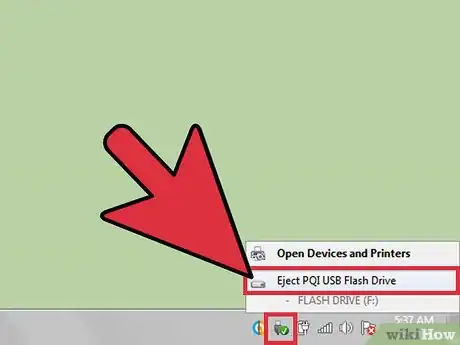
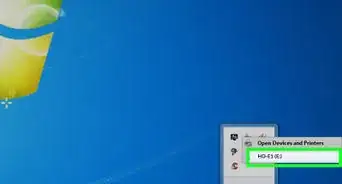
9Find the memory stick icon in the lower right-hand corner toolbar. This toolbar is in the same area as the clock. The icon resembles the outline of a memory stick with a check mark next to it, and it should produce the phrase "Safely Remove Hardware and Eject Media" when you hover over it with your cursor.
- You may have to click the upward-facing arrow in the far left side of this toolbar in order to see the flash drive icon.
-
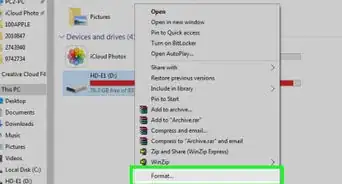
10Click the memory stick icon to eject your memory stick. Ejecting your memory stick before physically removing it from your computer is important, because failing to do so can corrupt files both on your computer and on the memory stick.
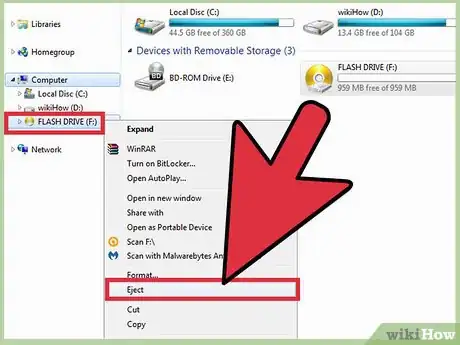
- You can also right-click the memory stick's name in the "My Computer" directory and select "Eject [Memory Stick Name]".
-
11Remove your memory stick from your computer. Do this gently, or you might damage your memory stick. You have successfully added files to your memory stick!
Advertisement
Method 2
Method 2 of 2:
Using a Memory Stick on a Mac
-
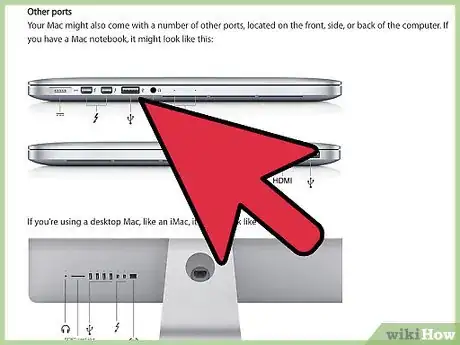
1Locate your Mac's USB port. USB ports are rectangular with a solid piece of plastic on the upper half of the slot and an empty space on the bottom. The slot should have a graphic of three branching arrows pointing upward next to it.
- If you're using a desktop, your Mac's USB ports are probably integrated into the display casing, while Mac laptops have USB ports on the left or right side of the keyboard casing.
-
2Plug your memory stick into the USB port. Make sure the solid piece on the inside of the memory stick's port is on the bottom when you plug it in.
-
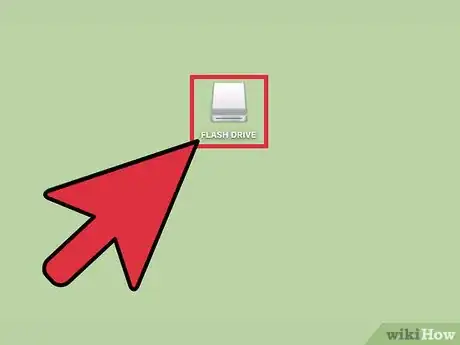
3Wait for the memory stick's icon to appear on your desktop. This may take a few minutes if this is your first time installing this memory stick on your Mac.
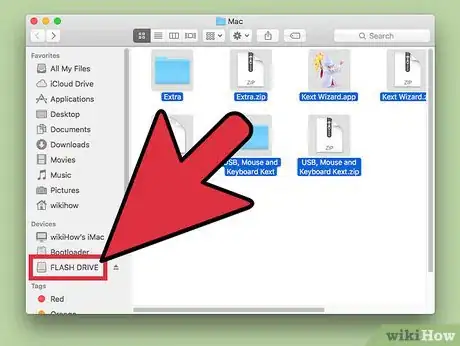
- If your memory stick's icon doesn't show up, open your Finder and look for the memory stick's name in the left-hand side of the window. It should be under the "Devices" tab.
-
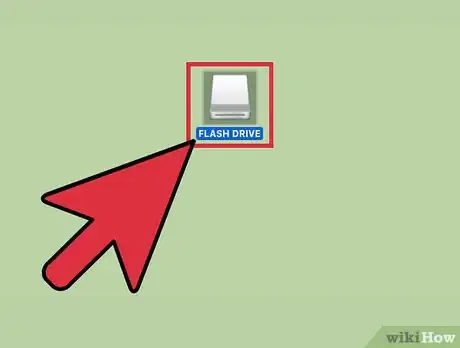
4Double-click the memory stick's icon. This will open the memory stick's interface, to which you can add files the same way you would add files to another folder.
-
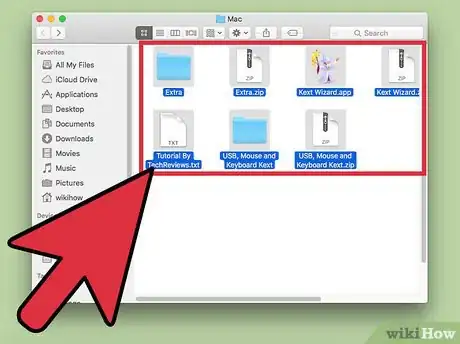
5Select the files you want to add to the memory stick. If your files are all in the same place, simply click and drag your cursor across your files until you've highlighted all of them.
- To find a file manually, open the Finder and type the file's name into the search bar in the right-hand corner of the window. You can open the Finder by clicking the word "Finder" in the upper left-hand corner of your screen, or you can click the blue face icon in your dock.
-
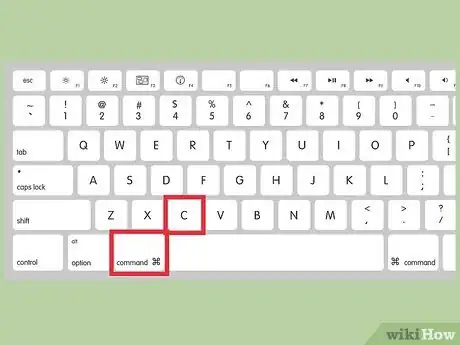
6Hold down ⌘ Command and tap C to copy your files.
- If you don't want to save your files on your computer, just click-and-drag your selected files over to the memory stick window and drop them there.
- Some memory sticks will duplicate your files by default, leaving the original copies of the files on your computer.
-
7Click the memory stick window. This will select the memory stick as the destination for your files.
-
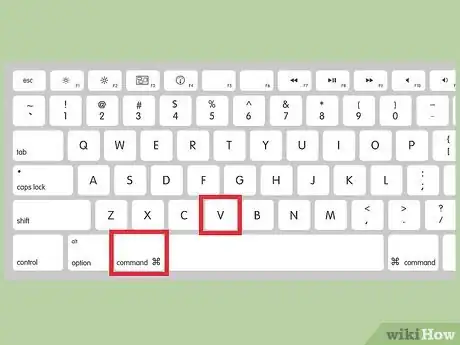
8Hold down ⌘ Command and tap V to paste your files. This will add them to your memory stick.
-
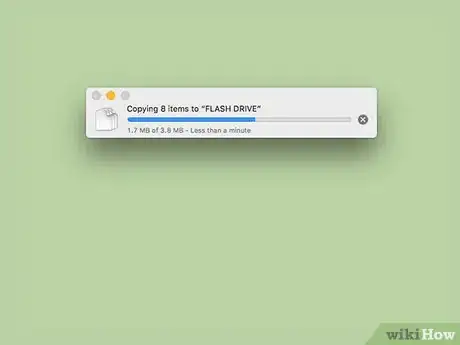
9Wait for your files to finish transferring. Depending on the size of your files, adding them to the memory stick can take anywhere from a couple of seconds to hours.
-
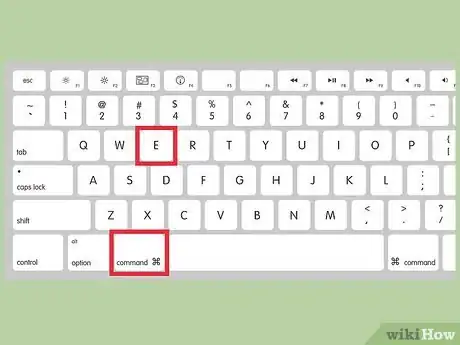
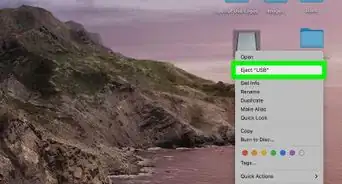
10Hold down ⌘ Command and tap E to eject your memory stick. Ejecting your memory stick before physically removing it from your computer is important, because failing to do so can corrupt files both on your computer and on the memory stick.[1]
- You can also two-finger click the memory stick's name in the Finder or on your desktop and select "Eject [Memory Stick Name]".
-
11Remove your memory stick from your computer. Do this gently, or you might damage your memory stick. You have successfully added files to your memory stick!
Advertisement
Community Q&A
-
QuestionCan you add the files at different times?
 Community AnswerYep! Unlike with a CD-R, you can add files to your memory stick whenever you like. The only restriction on the addition of files is the memory stick's remaining memory.
 -
QuestionHow can I update a folder already stored on a memory stick?
 Community Answer(1) Plug the memory stick into your computer. (2) Drag the folder to your desktop. (3) Drag the files into the folder. (4) Put the folder back into the memory stick. (5) Safely eject the memory stick.
 -
QuestionHow do I transfer pictures from a tablet to a memory stick?
 Community AnswerGenerally, you'll have to plug your tablet into your computer, then transfer your photos to your computer, then transfer them to your memory stick. You could also just plug both devices into your computer and transfer them from your tablet straight to the memory stick. Finally, you could buy an OTG cable and use it to plug a memory stick into the USB port on your tablet.
Advertisement
Warnings
- Don't store extremely personal information on your memory stick if you intend to carry it with you at school or work. If you lose the memory stick, other people have access to that information.⧼thumbs_response⧽
- Be careful with your memory stick, especially if the USB connector is not retractable--damaging its exterior or interior parts may prevent you from accessing its files.⧼thumbs_response⧽
Advertisement
About This Article
Advertisement
