

Google Docs
Inserting Text Boxes and Shapes
Customizing text boxes and shapes
The drawing tool has a variety of line and shape tools you can use to format your text box or shape. You can also modify the size and color of the font inside the text box or shape, and the colors of the background and lines.
To format a text box or shape:
- With the drawing tool open, select the desired text box or shape.
 Selecting a text box to format
 - Click the desired formatting command to modify the text box or shape.
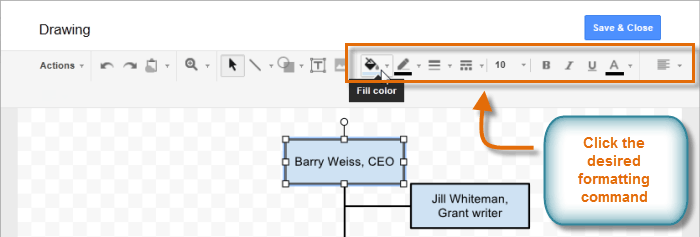 The formatting commands
 - The shape will appear formatted.
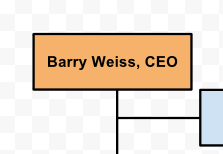 The formatted shape
To add or edit the text inside of a text box or shape, double-click it to open the text editing box.
To change the order of text boxes or shapes:
If one shape overlaps another, you may need to change the ordering so the correct shape appears in front. You can bring a shape to the front or send it to the back. If you have several overlapping objects, you may need to use Bring forward or Send backward to achieve the correct ordering.
- In the Drawing dialog box, right-click the desired text box or shape. Hover the mouse over Order, then select an ordering option.
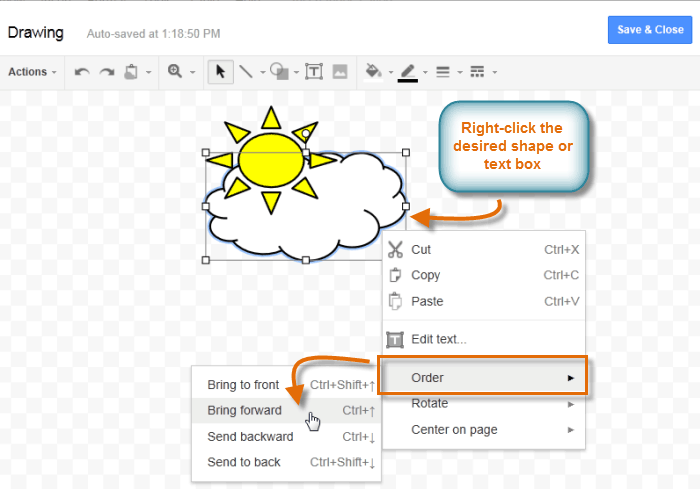 Modifying the order
 - The order will appear changed in the drawing.
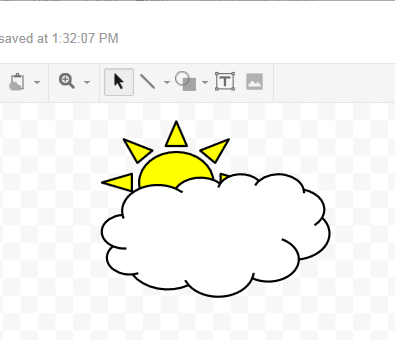 The reordered shapes


