This article was co-authored by Ashley Adams. Ashley Adams is a Licensed Cosmetologist and Hair Stylist in Illinois. She completed her Cosmetology education at John Amico School of Hair Design in 2016.
wikiHow marks an article as reader-approved once it receives enough positive feedback. In this case, 82% of readers who voted found the article helpful, earning it our reader-approved status.
This article has been viewed 141,813 times.
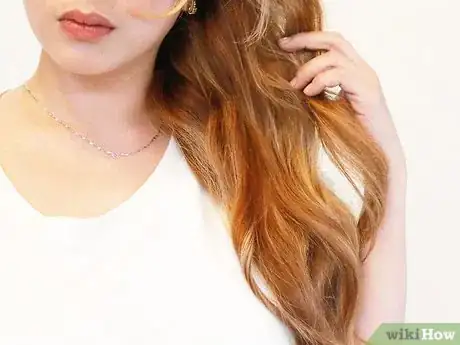
Sponge rollers are a retro heat-free alternative to curling irons and wands. Experiment with different styles without worrying about damaging your hair. Use small sponge rollers, also known as foam rollers, to create tight ringlets. Set your hair in large rollers to produce voluminous, bouncy curls. To create face framing waves and a dimensional do, use a variety of sizes in your hair.
Steps
Selecting Your Rollers and Preparing your Hair
-
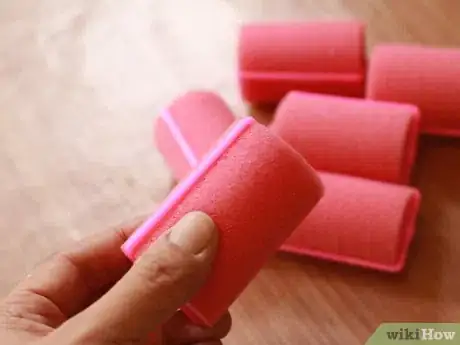
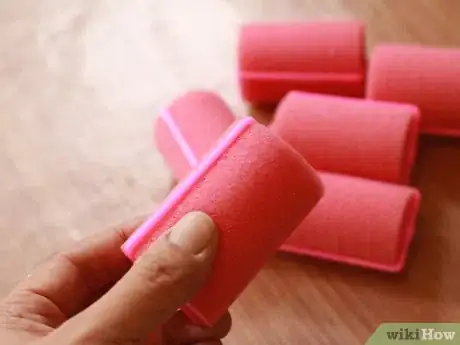
1Choosing the right rollers. Sponge rollers, also known as foam rollers, come in a variety of sizes. To achieve tight ringlets, use smaller rollers. To create loose curls or waves, use larger rollers.[1]
-
2Consider wet setting your hair. Wet setting hair involves putting a shape in your wet locks, typically a curl, and waiting for the shape to dry in place. This is ideal for hair that struggles to hold a curl. You can wet set your hair before bed, allow it to dry overnight, and remove the rollers in the morning. Or, you can also sit under a hair dryer to set the curls if you want to wear them earlier in the day.Advertisement
-
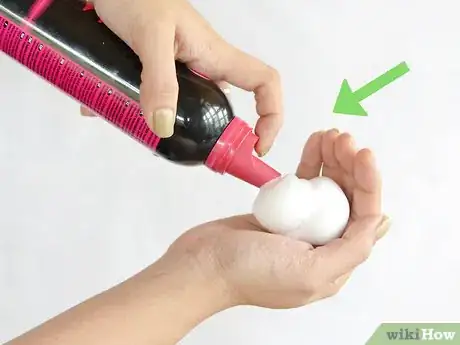
3Consider washing and drying your hair. If your hair holds curl well, you can put the foam rollers in your dry hair. Shampoo and condition your tresses as normal. Squeeze the excess water from your locks with an old t-shirt or a microfiber towel.[4] Squirt a generous amount of mousse into your hand and apply it to your hair.[5] Blow dry your locks and proceed to setting your hair.[6]
Creating Ringlets
-
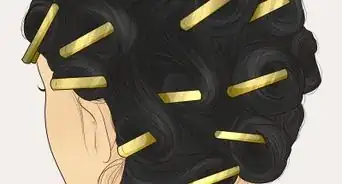
1Set a row of small rollers down the center of your head. To achieve tight ringlets, you will need to set your hair in small sponge rollers. The first row of rollers will go down the center of your head staring at the front of your scalp and ending at the nape of your neck.
- Use a comb to section off a vertical segment of hair at the front of your scalp. This first section should be centered on your head. Do not make it longer than the curler itself or thicker than the curler. A section that is too long or too thick will not remain tightly curled.
- Unclip your first roller.
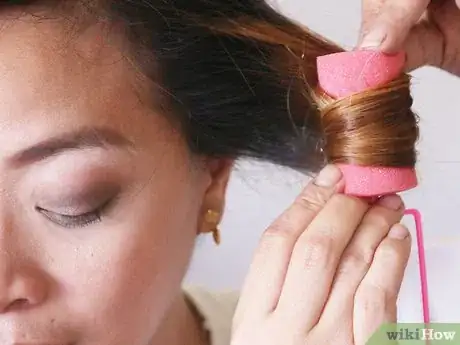
- Place the roller behind the section of hair. Slide the roller up the strand from the roots to the tips so that the hair is standing straight up.
- Tuck the ends under the roller and proceed to twist it down towards your scalp.
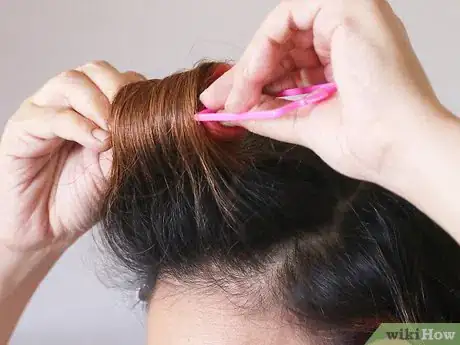
- Continue to section off your hair and set rollers down the center of your head until your reach the nape of your neck.[7]
-
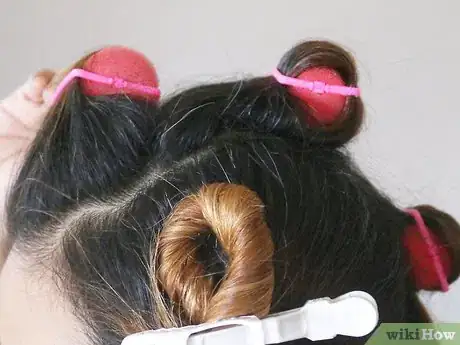
2Set the hair on the sides of your head. Once you have completed the top section, you can set rollers on the right and left sides of your head. Work from the front to the center back of each side of your head. Section of the hair and set the rollers as you did for the top section—don’t forget to roll away from your head.[8]
-
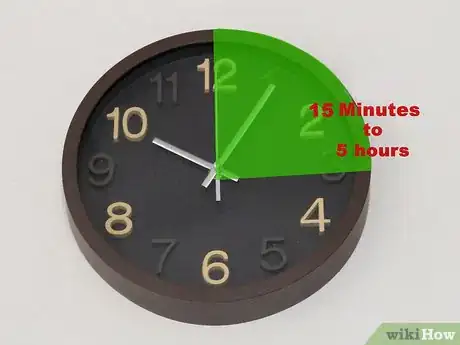
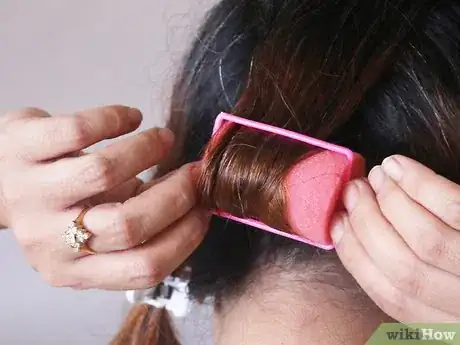
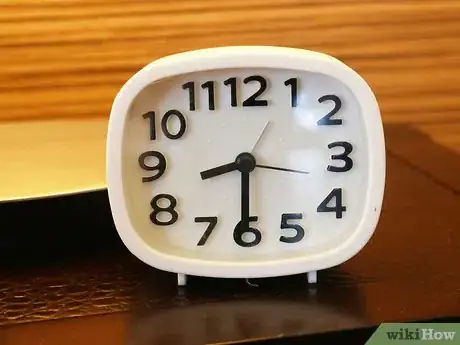
3Allow the curls to set. Everyone’s curls will set at different rates. If you wet set your hair, leave the rollers in overnight and allow your hair to air dry. If you put rollers in your dry hair, you may opt to leave them in for anywhere from 15 minutes (for a slight wave) to 5 hours—your ringlets will become more defined the longer the rollers are left in your hair.[9]
-
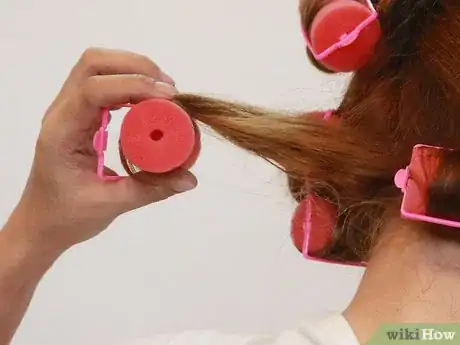
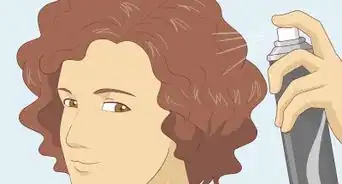
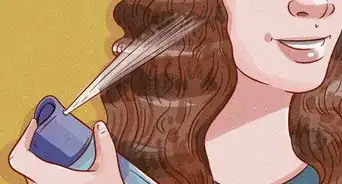
4Take out the rollers and style your hair. After allowing your curls to set, remove the rollers one at a time. Comb your fingers through the ringlets to fluff and separate the curly strands. Finish your do with a spritz of hairspray or a small dollop of pomade.
- Brushing or combing through your ringlets will cause them to snarl.[10]
Creating Voluminous Curls in the Lower Half of your Hair
-
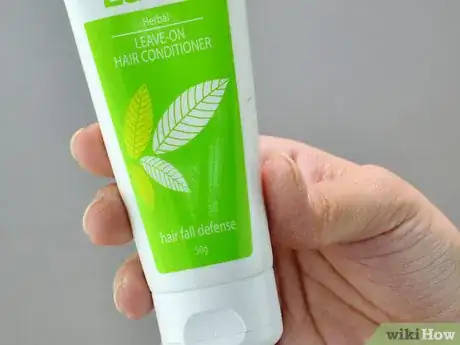
1Apply a leave-in-conditioner to your damp hair. After washing your hair, remove excess water from your locks with a towel. Apply a quarter-sized amount (or more for hair that is thick or long) of leave-in-conditioner from the roots to the ends of your hair. Allow your hair to air dry until it is only slightly damp.
- The leave-in-conditioner will make the ends of your hair easier to manage.
-
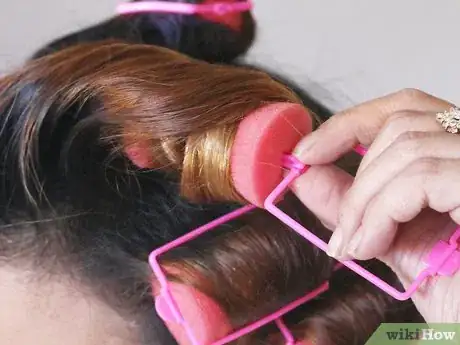
2Set your curls, rolling from the ends to the middle of the shaft. Setting curls in the lower half of your hair will add volume and bounce to your tresses—it is also much more comfortable to sleep in. Keep in mind that you will need to have long hair for this look to work.
- Retrieve your 1 to 1 ½ inch sponge rollers.
- Grab a 1 inch section of hair at the right front side of your head.
- Unclip the roller and place it at the ends of the 1 inch section.
- Wind your hair around the roller towards your face.
- Stop rolling once you reach the middle of the shaft and secure the roller in place.
- Repeat until all of your hair is set in rollers.
-
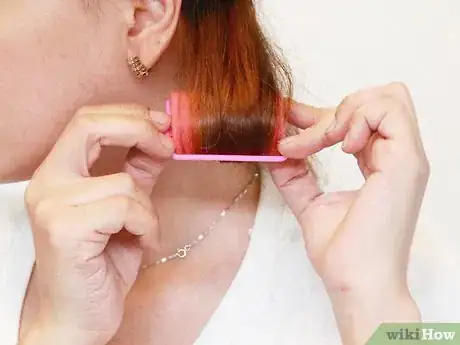
3Remove the rollers in the morning and style your hair. When you wake up in the morning, remove the rollers from your hair one at a time. As you unwind your hair, avoid yanking and pulling on the curls. Once all the rollers are out, grab your hair with one hand just above the curls. With the other hand, comb your fingers through your locks. Smooth out any unruly curls with a boar bristle brush.
Creating Loose Face Framing Waves
-
1Gather your rollers. To create loose face framing waves, you will need four different sizes of foam rollers. Using different sized rollers will also create the illusion of layers in your hair.
- If your foam rollers are color coordinated by size, you will need a set of pink (largest), green, yellow, and blue (smallest).
- If your foam your are not color coordinated by size, use four different sized rollers varying in diameter from 1 ½ inches to ¼ inch.
-
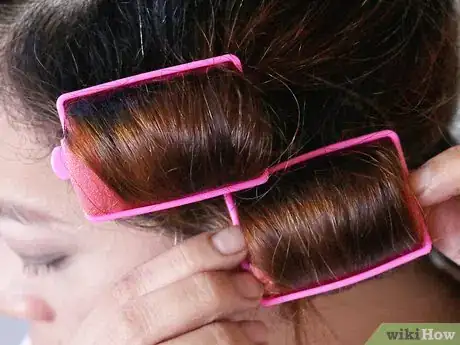
2Set the hair that frames your face. To achieve loose, soft face framing waves, use the largest sized rollers on the hair the surrounds your face.
- Grab a 1 to ½ inch section of hair.
- Place the roller at the end of the strand.
- Wind the roller up towards your face.
- Once the roller reaches your scalp, clip the roller to secure it in place.
- Repeat this process on the rest of the hair the frames your face.
-
3Roll the top and middle layers of your hair. Use a combination of the two smallest sized rollers (yellow and blue) to set the top two layers of your hair. Using this combination of smaller rollers will produce tighter curls while adding texture and dimension to your hair.
- Grab ½ inch to ¼ inch section of hair from your top layer.
- Unclip the roller and place it at the end of the section of hair.
- Wind the roller away from your face.
- Once you have reached your scalp, clip the roller to secure it in place.
- Repeat this process on the middle layer of your hair.
-
4Roll the bottom layer of your hair. When setting the bottom layer of your hair, use the second largest size of roller. This will add additional volume and texture to your locks.
- Grab a 1 inch to ¾ inch section of hair from the bottom layer.
- Unclip the roller and place it at the end of the section of hair.
- Wind the roller away from your face.
- Clip the roller in place once it reaches your scalp.
-
5Allow your waves to set. After putting in all of the rollers, let your waves set.
- If you wet set your hair, allow your hair to air dry.
- If you put the rollers into your dry hair, leave them in for 3 to 5 hours.
-
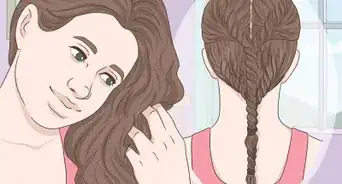
6Remove the rollers and style your hair. Once your curls have set, unclip and remove the rollers one at a time. Separate your locks by combing through your waves with your fingers. Finish your wavy do with a spritz of hairspray.[11]
Expert Q&A
Did you know you can get expert answers for this article?
Unlock expert answers by supporting wikiHow
-
QuestionCan you use foam curlers on wet hair?
 Laura MartinLaura Martin is a Licensed Cosmetologist in Georgia. She has been a hair stylist since 2007 and a cosmetology teacher since 2013.
Licensed Cosmetologist
-
QuestionDo you use bendy rollers on wet or dry hair?
 Laura MartinLaura Martin is a Licensed Cosmetologist in Georgia. She has been a hair stylist since 2007 and a cosmetology teacher since 2013.
Licensed Cosmetologist
-
QuestionHow long do you have to leave rollers in your hair?
 Laura MartinLaura Martin is a Licensed Cosmetologist in Georgia. She has been a hair stylist since 2007 and a cosmetology teacher since 2013.
Licensed Cosmetologist
References
- ↑ http://www.thehairstyler.com/features/articles/hairstyles/hair-rollers-tips-and-tricks
- ↑ http://www.thefashionspot.com/beauty/589233-sea-salt-spray/
- ↑ http://bygumbygolly.com/2011/09/how-i-do-late-30searly-40s-sponge/
- ↑ http://www.thefashionspot.com/beauty/589233-sea-salt-spray/
- ↑ http://bygumbygolly.com/2011/09/how-i-do-late-30searly-40s-sponge/
- ↑ http://www.xovain.com/hair/foam-rollers-tutorial
- ↑ http://www.xovain.com/hair/foam-rollers-tutorial
- ↑ http://www.xovain.com/hair/foam-rollers-tutorial
- ↑ http://www.xovain.com/hair/foam-rollers-tutorial
About This Article
To use sponge rollers, start by dampening your hair and applying a leave-in conditioner, which will make your hair easier to work with. Then, working with one 1-inch section of hair at a time, unclip a roller and place it at the end of your hair. Next, wind your hair around the roller and toward your face. For lower curls, stop rolling once you reach the middle of your hair shaft. For face-framing curls, keep rolling until you reach your scalp. Finally, repeat with the rest of your hair and leave the rollers in overnight before taking them out. To learn how to create ringlets with sponge rollers, scroll down!

-Step-12-Version-4.webp)





-Step-12-Version-4.webp)


