This article was medically reviewed by Luba Lee, FNP-BC, MS. Luba Lee, FNP-BC is a Board-Certified Family Nurse Practitioner (FNP) and educator in Tennessee with over a decade of clinical experience. Luba has certifications in Pediatric Advanced Life Support (PALS), Emergency Medicine, Advanced Cardiac Life Support (ACLS), Team Building, and Critical Care Nursing. She received her Master of Science in Nursing (MSN) from the University of Tennessee in 2006.
There are 7 references cited in this article, which can be found at the bottom of the page.
This article has been viewed 91,493 times.
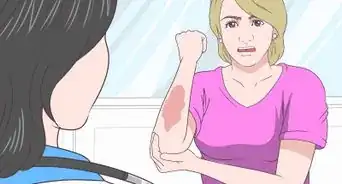
Whether you’re using a clothing iron or a curling iron, chances are that you’ll burn yourself at some point. In most cases, you’ll only receive a mild first-degree burn that can be treated with cool water and an adhesive bandage. If you burn yourself more severely, you may receive a second-degree burn. In this case, you can wrap the burn loosely at home, and you’ll need to visit your doctor.
Steps
Treating a First-Degree Burn
-
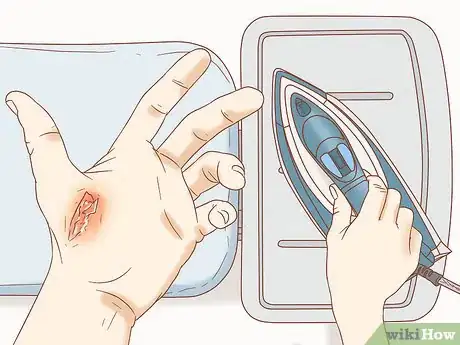
1Remove the iron from your skin and set it down in a safe location. While removing the burning-hot iron from your skin may seem obvious, it’s equally important that you place the iron in a location where it won’t present further danger.[1] For example, instead of dropping the iron to the floor (where you could step on it), place it in the center of the ironing board or a countertop.
- Also unplug or turn off the iron so it won’t continue to pose a threat.
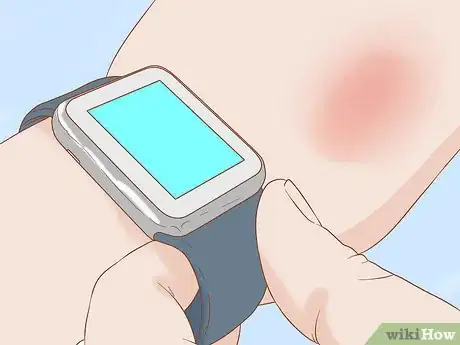
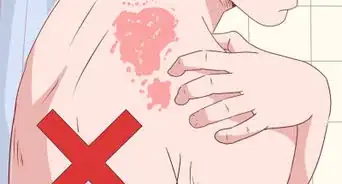
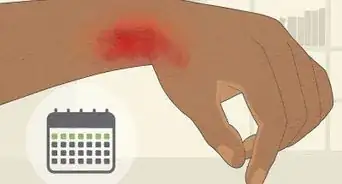
- First-degree burns cause the affected skin to turn red and swell slightly. They’re also often slightly painful or itchy.
-
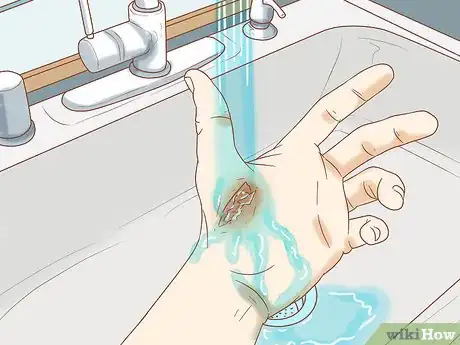
2Run cool water over the burn for 10 minutes or until the pain stops. Turn on a faucet until the water coming out is on the cool side of lukewarm. Hold the burned patch of skin directly under the water and keep it there for 10 minutes. If the pain from the burned area stops before 10 minutes have passed, you can turn off the water.[2]
- Never run cold water over the burn, and don’t submerge the burned skin in a bucket of ice water. The excessively cold temperatures can further damage the burned skin.
Advertisement -
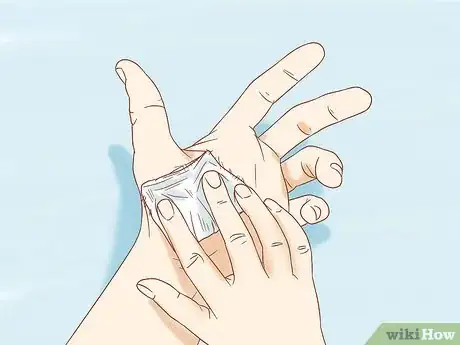
3Cover the burn with a clean, nonstick gauze cloth. Use a clean cloth to lightly pat the burned skin dry. Then, place a piece of non-stick gauze over the burn. This will protect the burn from injury and also keep the damaged skin away from other sources of heat (e.g., the sun’s rays).[3]
- If the burn is less than 1 inch (2.5 cm) across, you could just cover it with an adhesive bandage.
-
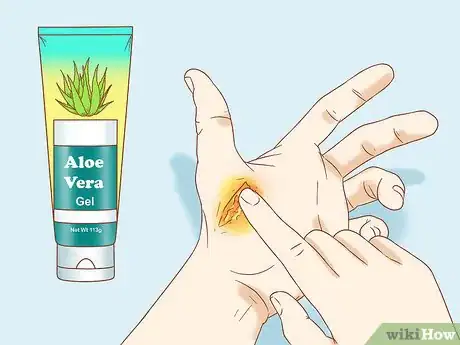
4Apply aloe vera gel or petroleum jelly to the burn 2–3 times a day. To speed up the healing process and to protect the burn from being scraped or scratched, smear a thin layer of protective gel over the burn. Be gentle while doing so, so that you don’t hurt yourself. Do this 2 or 3 times a day at roughly 6-hour intervals to help the burn heal.[4]
- If you’re concerned about infection, apply an antibacterial cream like Neosporin instead of the aloe gel.
- You can purchase any of these products at your local drugstore, pharmacy, or supermarket.
-
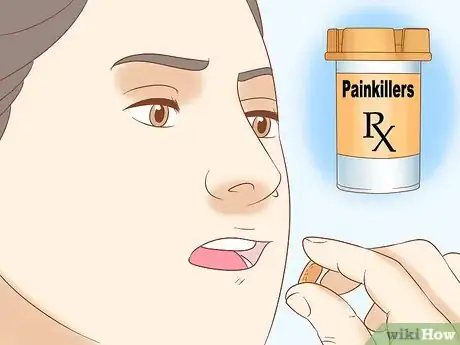
5Take over-the-counter painkillers to decrease the pain. Your burn will be a little tender and painful for 3–4 days after it occurs. To help treat the pain, take an OTC painkiller like Ibuprofen, Tylenol, or Paracetamol. Always read the instructions closely and take the medicine as directed.[5]
- These meds should be available at any nearby pharmacy, drugstore, or grocery store.
- If you’re under 16 years old, don’t take aspirin for the pain.
Dealing with a Second-Degree Burn
-
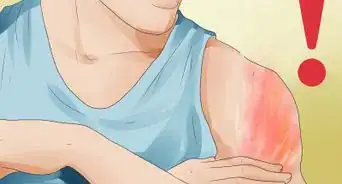
1Remove jewelry and clothing near the burn unless it’s stuck to the skin. Second-degree burns cause your skin to break out in painful pus-filled blisters and are more painful than first-degree burns. To avoid contaminating the burnt area, remove any clothing or jewelry that’s near the burn. Burns often swell up, so it’s important to get clothing and jewelry away from the burned area. If any of your clothing has melted and stuck in the burned skin, do not remove it from the burn.[6]
- For example, if you’ve burned the back of your hand and you’re wearing a bracelet, remove the bracelet.
- However, if you were wearing a nylon jumper and some of the nylon stuck in the burned skin, don’t try to tear it away. This could tear you skin open and make the wound more severe.
-
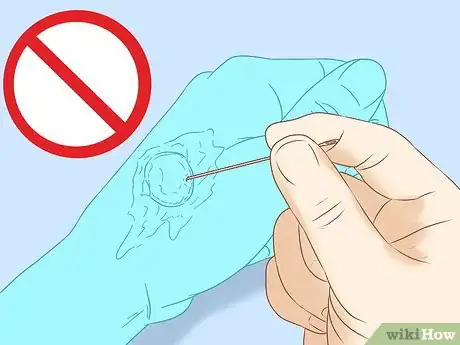
2Do not pop any blisters that appear on the skin. Depending on the severity of the burn, blisters may appear within 5–10 minutes. While these blisters are unsightly and painful, resist the urge to pop them, since doing so will create an open wound on your skin.[7]
- For more minor second-degree burns, it may take as long as 24 hours for small blisters to form.
-
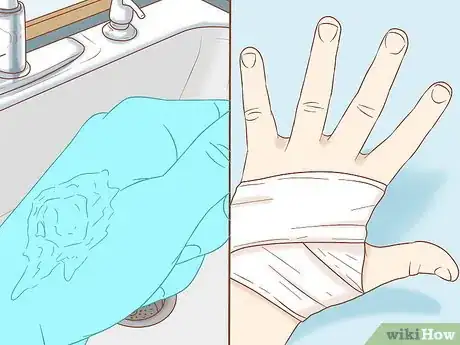
3Gently wash and bandage the burn if you do pop blisters. Accidents happen, and you may inadvertently break open 1 or more of the blisters on your skin. In this case, use hand soap and cool water to gently wash the torn area. Apply Neosporin or another antibacterial ointment to the torn skin to prevent infection. Then, cover the burned area loosely with a gauze bandage.[8]
- You’ll need to work slowly and delicately while washing and covering the burned area to avoid serious pain.
-
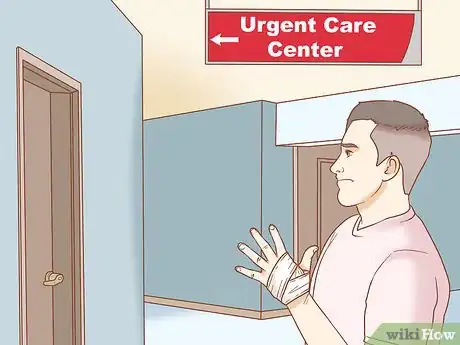
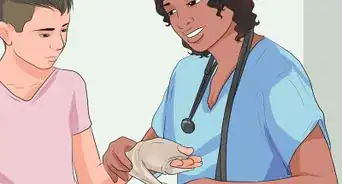
4Visit an Urgent Care center if the burn is wider than 2–3 in (5.1–7.6 cm). A second-degree burn is considered “minor” as long as it’s less than 3 inches (7.6 cm) across. If your burn is larger than this, it’s medically serious and needs to be treated by a doctor. Keep the burn covered and see a doctor as soon as possible.[9]
- If you were burned during weekday business hours, try calling your general practitioner and see if they can give you an appointment within the hour.
Soothing a Curling Iron Burn
-
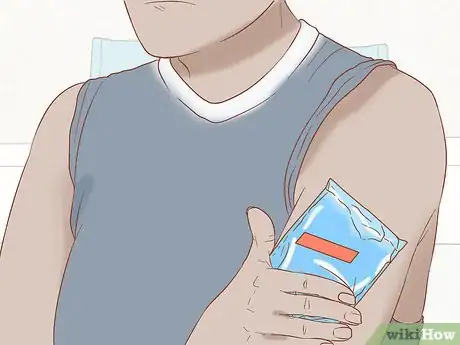
1Apply a cold compress to the burned area. If you’ve burned your scalp, forehead, or ear with a curling iron, you’d have a tough time sticking the area under a faucet. Instead, soak a washcloth in cool water, wring it out lightly, and hold the cloth to your burn. Keep the cold compress in place for 10–15 minutes or until pain stops.[10]
- The compress will stop the skin from burning and keep the burn from getting worse.
-
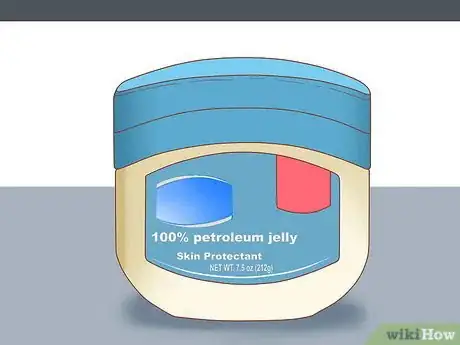
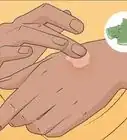
2Keep the burn moist by frequently applying petroleum jelly. Petroleum jelly will keep the burn moist. Not only will this keep the burn from drying out and causing pain, but it will help the burn heal with as little scarring as possible. Check the burn every 3–4 hours to see if it’s still moist. If the skin has dried out, use 1 or 2 fingers to smear a dollop of jelly onto the burn.[11]
- To help the burn heal quickly and with minimal scarring, avoid covering it with makeup.
-
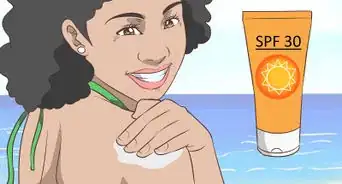
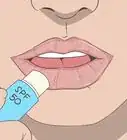
3Prevent the burn from being exposed to sunlight outdoors. If your burn is located somewhere that your clothing doesn’t cover (e.g., on your forehead or hand), keep the burn out of the sun as much as possible. If it receives hot, direct sunlight, the burn will worsen and is more likely to scar.[12]
- If you must be out in the sun, apply a sunscreen with SPF 30 (or higher) mineral-based sunscreen before venturing outside. Check the ingredients on the sunscreen to make sure it contains either titanium oxide or zinc oxide.
- Or, try wearing a hat or long sleeves to cover the burn if you’re out on a sunny day.
Warnings
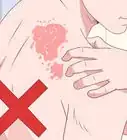
- If you’re ironing clothing, make sure to use an ironing board or a towel laid over a table. Never attempt to iron clothing if it’s draped across your legs or supported by your hand.⧼thumbs_response⧽
- Do not apply butter or any other greasy substance to a first degree burn.[14]⧼thumbs_response⧽
References
- ↑ https://www.nhs.uk/conditions/burns-and-scalds/treatment/
- ↑ https://www.aad.org/public/skin-hair-nails/injured-skin/burns
- ↑ https://www.mayoclinic.org/diseases-conditions/burns/diagnosis-treatment/drc-20370545
- ↑ https://www.aad.org/public/skin-hair-nails/injured-skin/burns
- ↑ https://www.nhs.uk/conditions/burns-and-scalds/treatment/
- ↑ https://www.nhs.uk/conditions/burns-and-scalds/treatment/
- ↑ https://www.aad.org/public/skin-hair-nails/injured-skin/burns
- ↑ https://www.aad.org/public/skin-hair-nails/injured-skin/burns
- ↑ https://medlineplus.gov/ency/article/000030.htm
- ↑ https://www.mayoclinic.org/first-aid/first-aid-burns/basics/art-20056649
- ↑ https://medlineplus.gov/ency/patientinstructions/000662.htm
- ↑ https://www.healthpartners.com/care/hospitals/regions/specialties/burn-center/sun-precautions-after-burn-injuries/
- ↑ https://medlineplus.gov/ency/article/000030.htm
- ↑ https://www.nhs.uk/conditions/burns-and-scalds/treatment/






Medical Disclaimer
The content of this article is not intended to be a substitute for professional medical advice, examination, diagnosis, or treatment. You should always contact your doctor or other qualified healthcare professional before starting, changing, or stopping any kind of health treatment.
Read More...