X
wikiHow is a “wiki,” similar to Wikipedia, which means that many of our articles are co-written by multiple authors. To create this article, volunteer authors worked to edit and improve it over time.
This article has been viewed 29,742 times.
Learn more...
Video and editing technology continues to advance. You can now record video on your camera, transfer it onto a computer, and use editing software to make your own videos without needing to get the video processed by an outside source. As cameras continue to improve in quality, so will the quality of the videos you can produce. Read the article below to learn how to transfer video onto the computer if you have a PC or Mac.
Steps
Method 1
Method 1 of 2:
Transfer Video Onto PC.
-
1Connect an IEEE 1394 cable, commonly called a FireWire cable, to your camera If you camera didn't come with an IEEE 1394 cable, you can buy one at a consumer electronics or office supply story.
-
2Connect the IEEE 1394 cable to the the on the computer. Once the camera is connected to the computer, the computer should automatically install the drivers needed to interact with the camera.
- If you are connecting the camera to the computer for the first time and the computer does not install drivers, you will need to install them. Use the driver disk that came with the camera, order a disk from the manufacturer or download the driver from the manufacturer's website.
- Your computer may not come with an IEEE 1394 port. If it does not, then you will need to plug a cardbus adapter into your computer.
Advertisement -
3Choose "Capture Video using Windows Movie Maker" from the popup window. The window should appear automatically after you connect the camera to the computer.
- If you don't get a popup window, then click "Start," "Programs," and "Windows Movie Maker" and start the Windows Movie Maker program. Once the program starts, under the Capture Video option, click "Capture from video device."
- Windows Movie Maker is a free Windows software that should already be on your computer. If it is not, you can go to Microsoft's website to download it.
-
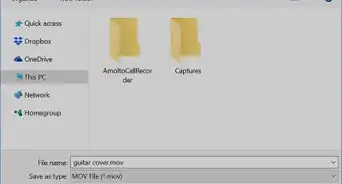
4Enter a file name and the location. Click "Save."
-
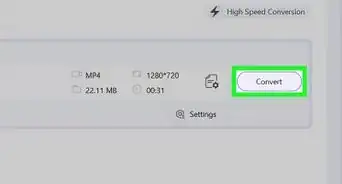
5Choose the format of the file in the next window. Click "Save."
- "Best quality for playback on my computer" will save the video in Windows Media Video (WMV), which is the best quality for playback on your computer, but not the best quality if you want to create a DVD. Windows Media Video is compatible with most websites.
- "Digital Device Format (DV-AVI)" format is best if you want to save your video back to a tape after you edit it or you want to create a DVD. The AVI format is a larger file, but it retains more of the original file quality than any other format.
- Windows Movie Maker supports a variety of file formats but they may not be compatible for import, according to the Microsoft website.
-
6Select whether you want to capture the entire video automatically or parts of the video manually. Click "Save."
- Click "Show preview during capture" if you want to watch the video while it is being captured to the computer.
-
7Capture the video.
- Click "Create clips when wizard finishes" if you want separate shots to be divided into clips instead of one long video when it completes.


Advertisement
Method 2
Method 2 of 2:
Transfer Video Onto Mac.
-
1Connect your camera to your Mac using an IEEE 1394 or USB cable, depending on your camera output connection.
-
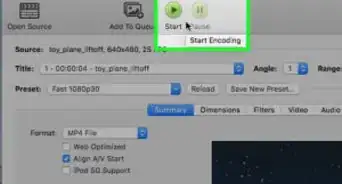
2Start your video editing software.
- You should already have iMovie software on your Mac. You can download it free from the Apple website if it isn't.
-
3Create a new project and save it to your Movies folder when prompted.
- If you are not prompted, go to the "File" menu and click "New Project." Name your project.
-
4Import your video footage.
- Click "File." Go to "Import from Camera."
- Click "Automatic" to import the entire video and the "Manual" option to chose the import start locations. Go to the portion of the video you want to import and click "Import."


Advertisement
Things You'll Need
- Computer
- Video camera
- IEEE 1394 cable
- IEEE 1394 cardbus Adapter
- USB cable


References
About This Article
Advertisement