This article was co-authored by wikiHow staff writer, Hannah Madden. Hannah Madden is a writer, editor, and artist currently living in Portland, Oregon. In 2018, she graduated from Portland State University with a B.S. in Environmental Studies. Hannah enjoys writing articles about conservation, sustainability, and eco-friendly products. When she isn’t writing, you can find Hannah working on hand embroidery projects and listening to music.
There are 14 references cited in this article, which can be found at the bottom of the page.
This article has been viewed 14,067 times.
Learn more...
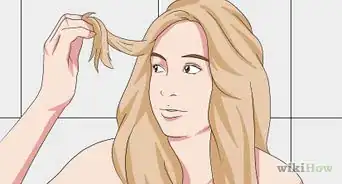
Lace front wigs are natural looking wigs that are usually made of human hair. These wigs can be styled almost like normal hair, but they do require some preparation before you put them on. If you have a lace front wig that you want to style, all you need to do is bleach the knots, place it on your head correctly, and cut it to your liking.
Steps
Styling Your Baby Hairs
-
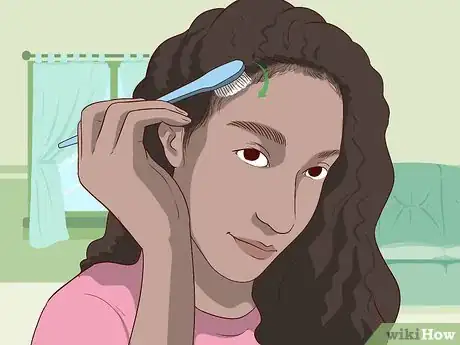
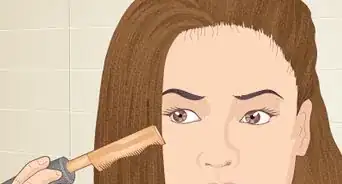
1Use a comb to brush all of your baby hairs forward. Most lace front wigs have some smaller, thinner hairs near the front of the wig that will be wispy if you don’t slick them down. Use a comb to pick these hairs out and brush them forward onto your forehead. The hairs will be different lengths, and can come down to your eyebrows or even longer.[1]
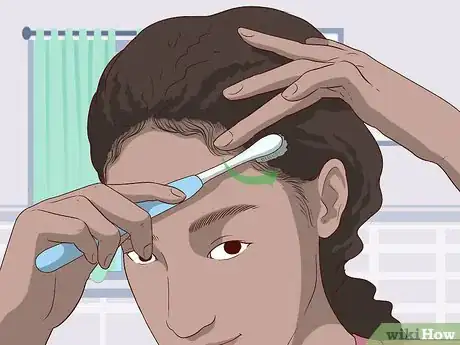
- You can also use the pointy end of a pick or a toothbrush to pull your baby hairs to the front.
-
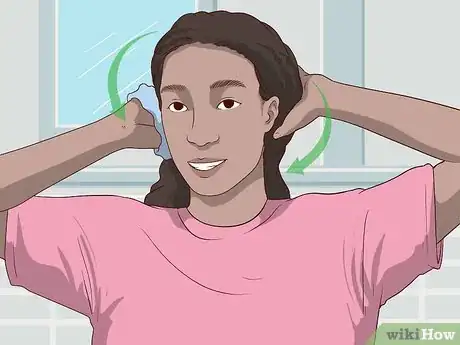
2Tie the rest of your hair back with a hair tie. As you work with your baby hairs, the rest of your wig needs to be kept out of the way. If your wig is long enough, you can push the long hair behind your ears, or you can tie it back with a hair tie or a headband. Make sure the only hair that is on your forehead is the hair you want to be slicked down.[2]Advertisement
-
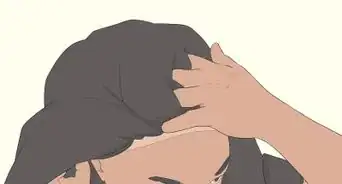
3Apply a small amount of gel to your forehead. If you’ve just put your wig on, your adhesive gel that you used to stick it to your scalp might be wet enough to use on your baby hairs. Otherwise, put a pea sized amount of adhesive gel or normal hair styling gel on your hairline with your finger.[3]
Tip: Don’t use too much gel, or your baby hairs will look crunchy. Stick with a pea sized amount, or less if your wig hair isn't super thick.
-
4Comb your baby hairs to the side and upwards on your forehead. Use a fine toothed comb to gently brush small sections of your baby hairs outward and upward toward your hairline. Your baby hairs should end up looking like a wavy line on your head. Do this to all of your baby hairs around your entire hairline.[4]
- You can choose sections in whatever size you’d like them to be, depending on what you want your finished style to look like.
- You can swoop your sideburns out over your ears, or lay them down flat on your jaw.
-
5Set your baby hairs with hairspray. Spray a small amount of hairspray over all of your baby hairs so that they stay in place. Be careful spraying hairspray near your eyes. Smooth down your hair with a finger after you spray hairspray on it for an extra sleek look.[5]
Creating Up-Dos
-
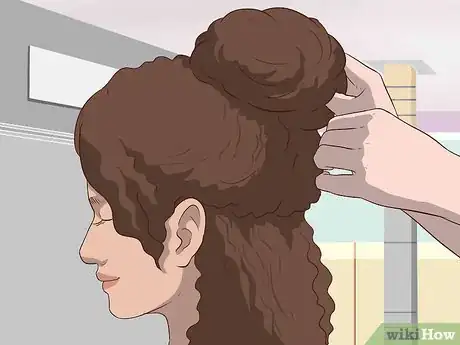
1Put your hair in a half-ponytail or bun. Lace front wigs look natural from the front, but the back might look more like a wig. Keep half of your hair down to cover the nape of your neck, while still putting a bun or a ponytail in. Separate the hair from the top of your ears upward into a hair tie, and then tie it into a bun or ponytail.[6]
-
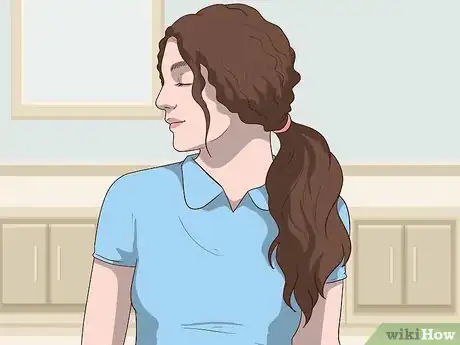
2Style your hair in a low ponytail. If you’d like to keep the nape of your neck covered with your wig, put your hair into a low, sleek ponytail. Brush your hair and tuck it all behind your ears, making sure that there are no lumps of hair anywhere. Secure it tightly with a hair tie.[7]
Tip: Curl your hair if you’d like to have more volume in your ponytail.
-
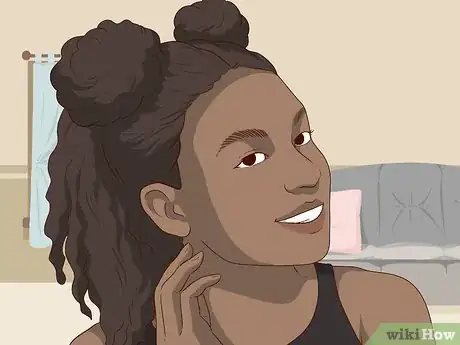
3Put half space buns in your wig. Space buns are a style that can also leave hair covering the nape of your neck. Brush your hair and collect it into a hair tie from the top of your ears upward, like you would for a half-up ponytail. Separate the hair from the hair tie into two sections parted down the middle. Make each section of hair into a bun that sits on the top of your head.[8]
- Leave some pieces of hair out of your up-do in the front if you’d like to have some layers that frame your face.
-
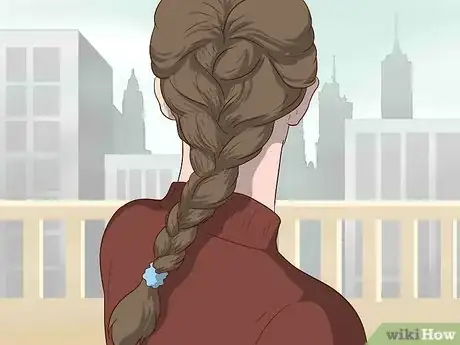
4Braid your hair into french braids. French braids are a cute way to keep your wig out of your face. Split your wig into two sections by parting it down the middle of your head. Grab 1 of the sections, start braiding at the top part of your head, and braid toward the back, picking up sections of hair as you go. Secure the braid with a hair tie and do the other side.[9]
Using Heat Tools
-
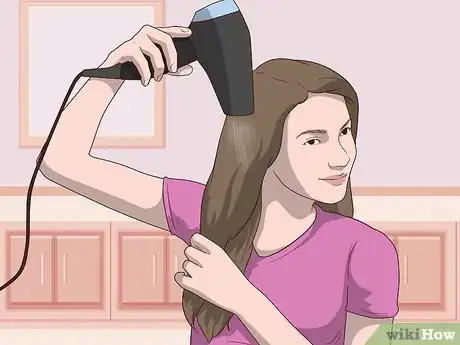
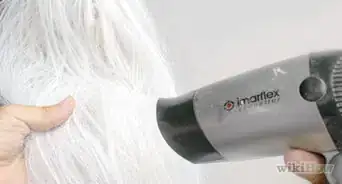
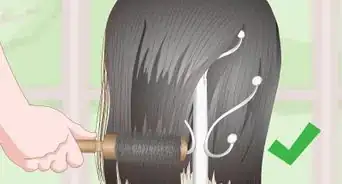
1Dry your wig with a hair dryer before using heat tools. Your wig should be fully dry before you use any heated tools on it. Using heat tools on damp hair can damage or burn your wig. You can let your wig air dry for a full day or use a hair dryer on low heat to make sure it is fully dry.[10]
-
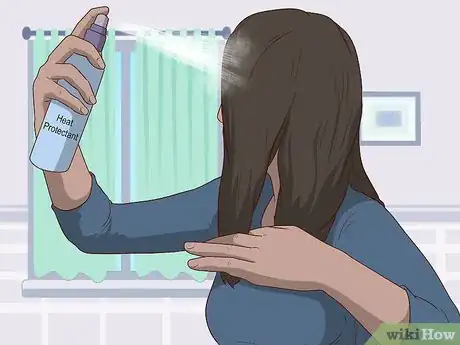
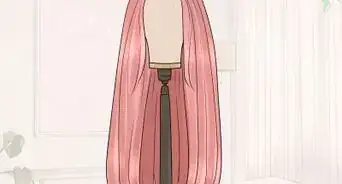
2Apply heat protectant to avoid damage. Heat protectant helps to lock in your wig’s natural moisture and keep it looking shiny. Spray a liberal amount of heat protectant throughout your wig before you use heat on it. You can buy heat protectants at most beauty supply stores.[11]
- You can use a brush to make sure that your heat protectant is covering your entire wig.
-
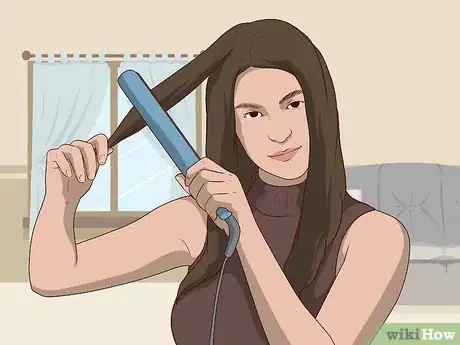
3Use a flat iron for a sleek look. Set your flat iron to a low temperature (preferably below 300 °F (149 °C)) and gently run it over 1 inch (2.5 cm) sections of your hair. Flat irons will straighten your wig and give you a sleek and defined style. Straightening your wig is great for when you want to show off its length or a new cut. Straight hair looks the best on blunt cuts, like bobs or a-lines.[12]
Warning: If your wig is really curly, it’s probably not a good idea to straighten it, because it can ruin the curl pattern.
-
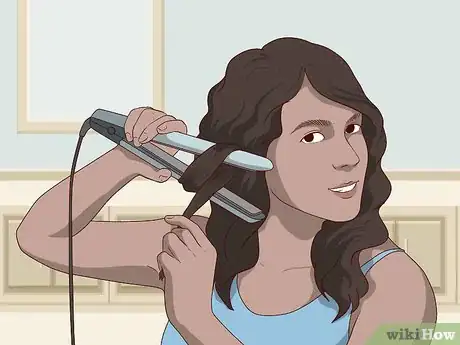
4Create waves with a flat iron for a more relaxed look. If you want to style your hair but still have it looking mostly natural, you can use a flat iron to create waves and volume. Set your flat iron to a low temperature and twist 1 inch (2.5 cm) sections of hair around it about 3 times. Repeat this until you have loose curls all over your wig. Spray some hairspray on your wig to keep the curls in place.[13]
- If you want your curls to be even looser, you can run a brush through them after they are done.
-
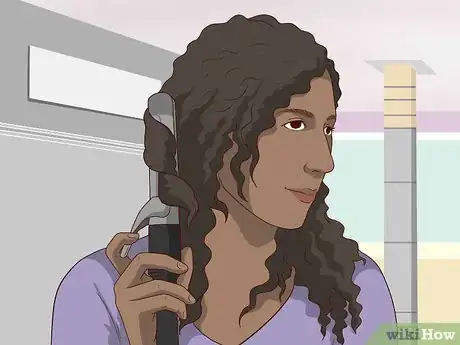
5Use a curling iron for tight curls. A curling iron will give your wig tight, ringlet like curls. Turn your curling iron to a low temperature and wrap 1 inch (2.5 cm) sections of hair 5 to 6 times around your iron. Do this over your entire wig until you have small curls all over. Spray some hairspray all over your wig to keep the curls in place.[14]
Things You’ll Need
Styling Your Baby Hairs
- Adhesive gel
- Fine toothed comb or toothbrush
- Hairspray
Creating Up-Dos
- Hair tie(s)
- Brush
Using Heat Tools
- Hair dryer
- Flat iron
- Curling iron
References
- ↑ https://www.youtube.com/watch?v=OItnX2cYc98&feature=youtu.be&t=222
- ↑ https://www.youtube.com/watch?v=OItnX2cYc98&feature=youtu.be&t=272
- ↑ https://www.youtube.com/watch?v=OItnX2cYc98&feature=youtu.be&t=300
- ↑ https://www.youtube.com/watch?v=_LsV22HMdi0&feature=youtu.be&t=212
- ↑ https://www.youtube.com/watch?v=_LsV22HMdi0&feature=youtu.be&t=501
- ↑ https://www.youtube.com/watch?v=g-7Y-Yihohs&feature=youtu.be&t=53
- ↑ https://www.youtube.com/watch?v=axEl-uwiBks&feature=youtu.be&t=356
- ↑ https://www.youtube.com/watch?v=JwCLA_Q_240&feature=youtu.be&t=104
- ↑ https://www.youtube.com/watch?v=GzDFR3Zr_ho&feature=youtu.be&t=80
- ↑ https://www.youtube.com/watch?v=s5nBn3_gcCI&feature=youtu.be&t=192
- ↑ https://www.allure.com/story/wigs-beginners-guide
- ↑ https://www.youtube.com/watch?v=ZJAGZw3s2o0&feature=youtu.be&t=144
- ↑ https://www.youtube.com/watch?v=X5WKE4topXE&feature=youtu.be&t=201
- ↑ https://www.youtube.com/watch?v=X5WKE4topXE&feature=youtu.be&t=232
